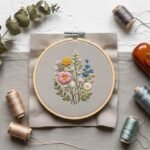
You love your photos but they live stuck in folders on your phone. An aesthetic photo wall DIY turns those favorite memories into a daily, pin-worthy display you’ll actually look at. It’s the perfect one-afternoon project that’s beginner-friendly, budget-conscious, and easy to customize.
You’ll learn layout tricks, mounting methods that won’t damage walls, and finishing touches that make your display look curated. A compact paper trimmer speeds cutting, while removable mounting strips let you swap photos without filling holes.
Follow the steps below and you’ll have an aesthetic photo wall DIY ready to photograph and pin by evening.
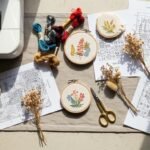
Gather and prep your materials — beginner-friendly, budget approach

Start by choosing your photo sizes and a loose color story—stick to 3–4 colors from the palette for cohesion. Plan for 20–30 photos for a medium wall (about 4 x 6 to 5 x 7 sizes). Print at home or order matte prints for less glare.
Prep tips:
- Use a paper trimmer for crisp edges.
- Use low-tack painter’s tape to mock up spacing without harming paint.
- Keep a measuring tape and a small bubble level on hand for precision.
Lay everything out on the floor first—that saves time and avoids rehangs.
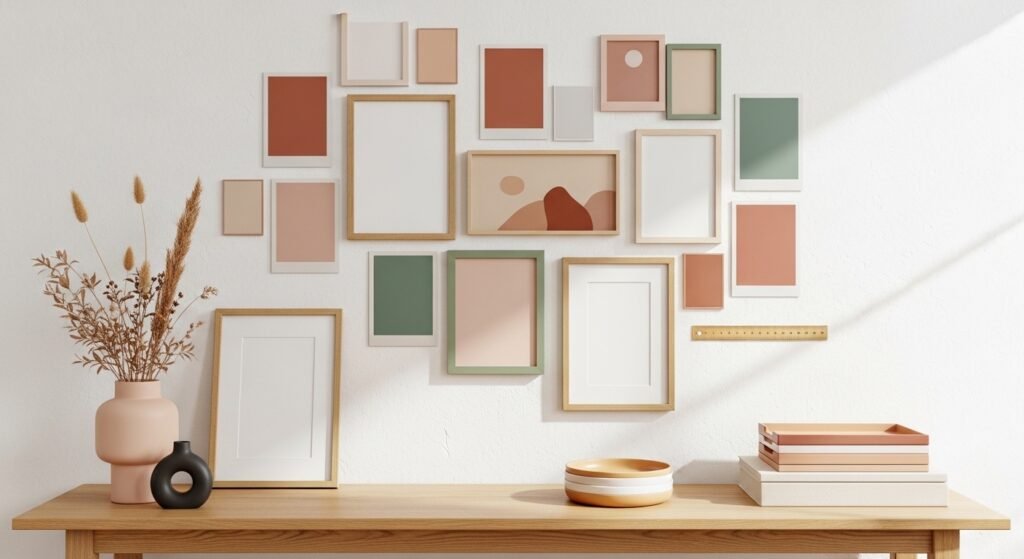
Plan the layout and mock it up — one-afternoon planning

Decide on a grid, salon style, or staggered collage. For an even grid, measure a centerline on the wall and mark at 2–3 inch spacing between frames. For a casual collage, cut kraft paper templates the same size as your prints to move pieces around easily.
Step-by-step:
- Tape templates to the wall with low-tack painter’s tape.
- Stand back and adjust until balance feels right—aim for the top of the display to sit 4–6 inches above furniture.
- Photograph your mockup with your phone so you can reference it while hanging.
Mocking up prevents layout regrets and saves time when you actually mount.
Mounting photos & mixing media — no-sew, upcycled options
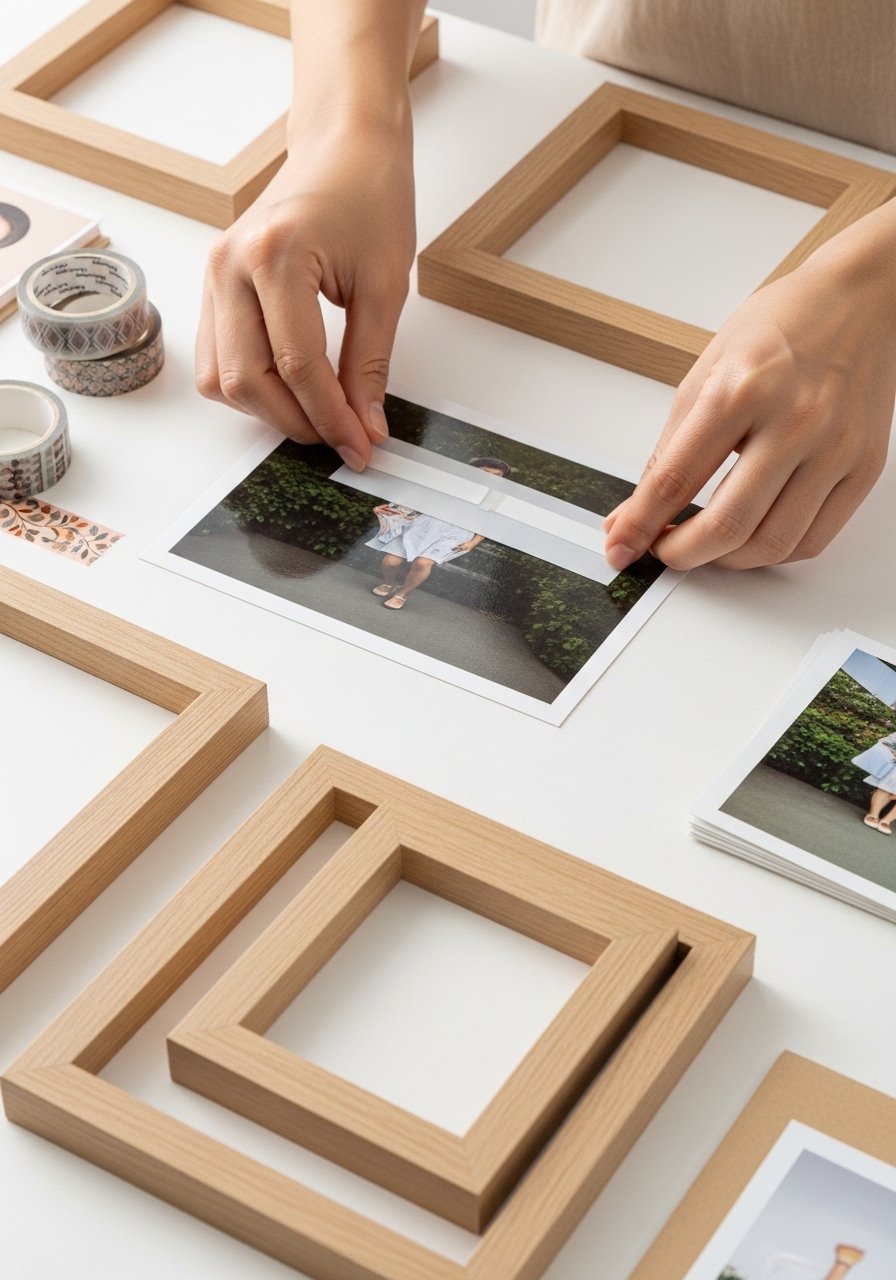
Use a mix of hanging methods for texture: small frames, wooden clips on string, and directly mounted photos. For frames, a lightweight picture hanging kit with anchors works on plaster. For damage-free mounting, use removable mounting strips.
Tips and timings:
- Press strips for 30 seconds and wait 1 hour before adding heavier frames.
- For a DIY clipboard-style look, use wooden clipboard clips and twine.
- Use double-sided foam tape for a slight lift behind prints to cast shadow and depth.
Common mistakes:
- Don’t skip the level—small angles add up across a grid.
- Avoid heavy frames with only adhesive strips; combine with small picture hooks if needed.
Finishing touches, sealing the look, and seasonal swaps

Add texture with dried sprigs, small shelves, or a woven coaster. To protect prints, spray a thin coat of matte sealer if they’ll be in direct light; let it dry for 15–20 minutes between coats. A small craft sealer spray works well.
Storage and swaps:
- Store unused prints flat in clear zip pouches to avoid bending.
- Keep a stackable organizer tray near your console for seasonal sets.
- For gifting, tuck prints into kraft envelopes and tie with twine.
Small updates let you refresh the look in 10–20 minutes without rehanging everything.

Your wall is now a cohesive story of places and people, ready for selfies and pins. Save this guide, pin the images, and try the layout mockup first—it's what saves most people time. If you want one tool recommendation, a reliable paper trimmer makes every cut look professional.
Pin this guide for your next craft afternoon and share with a friend who’s been hoarding photos. Which layout are you trying first?