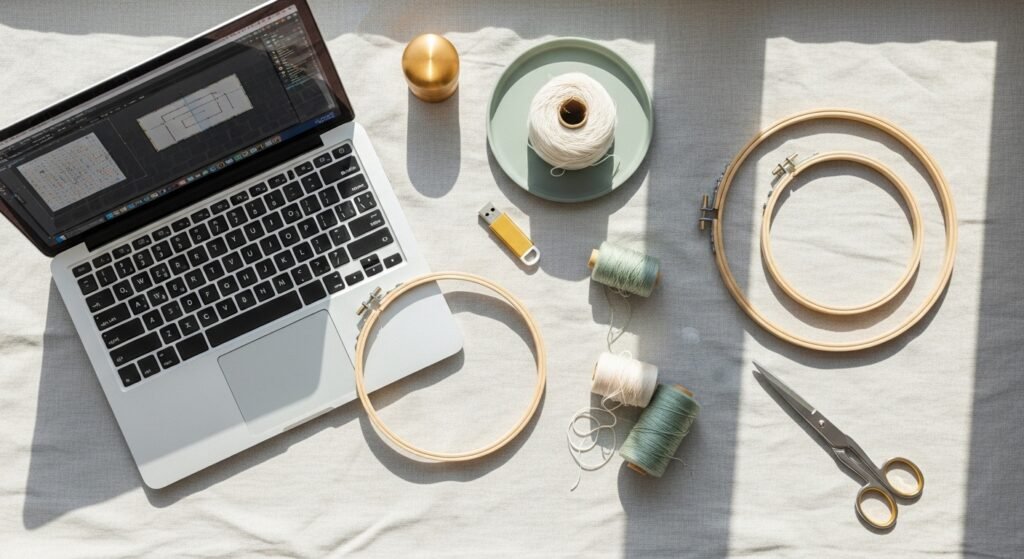
You love detailed, professional-looking embroidery but feel stuck turning your artwork into stitch-ready files. Creating computer embroidery designs from scratch feels technical, yet you can learn a reliable, beginner-friendly workflow that saves time and prevents wasted stabilizer and thread.
Start with easy-to-use tools that bridge art and machine. I use lightweight embroidery software for tracing and a small USB flash drive to transfer designs to my machine. In under an afternoon you’ll draft, digitize, test, and finish a clean sample ready for gifting or sale.
Here’s exactly how to build computer embroidery designs from scratch, with practical times, hoop sizes, and links to the gear that makes each step faster.
Set up your workspace and prep files (beginner-friendly)
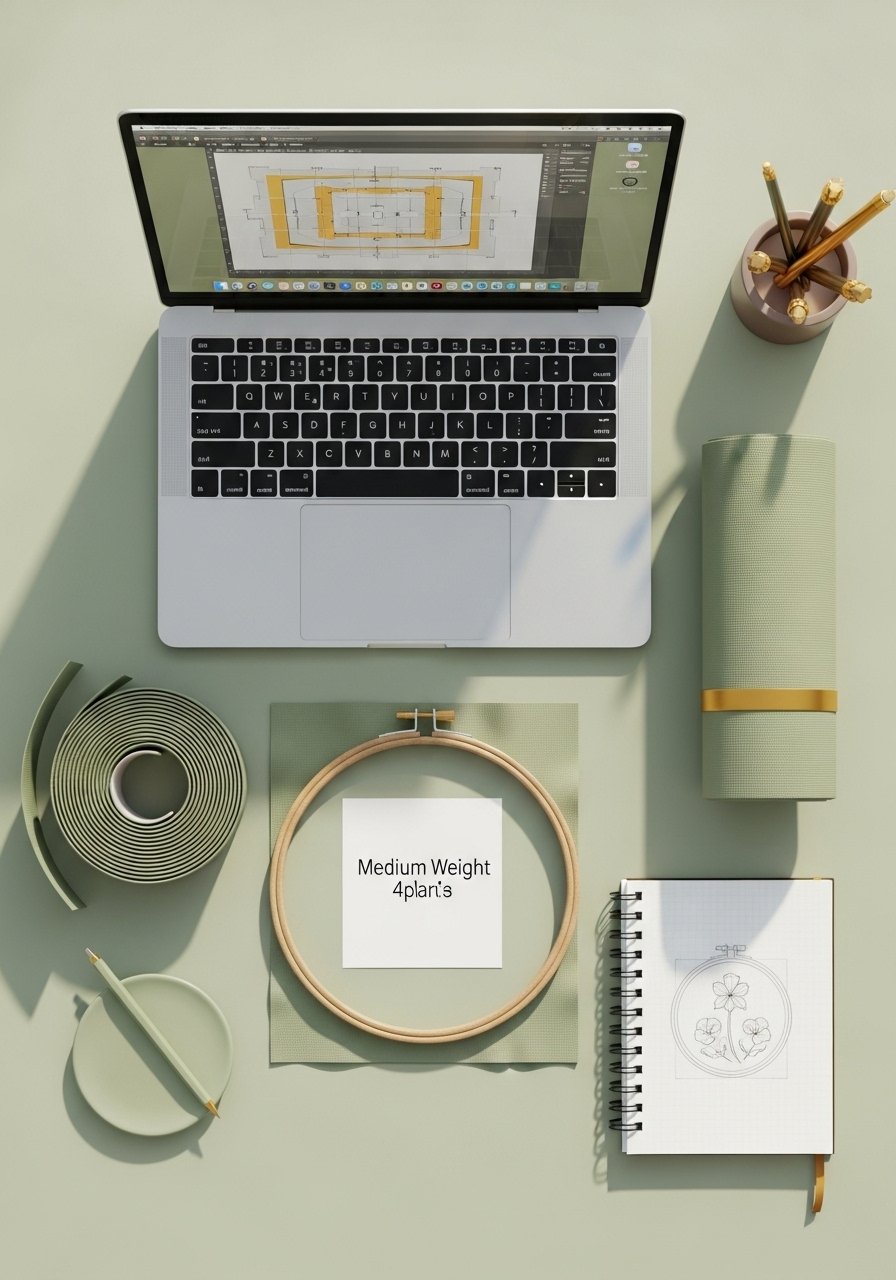
Clear, consistent lighting and a tidy surface save mistakes. Work with a 4"x4" test hoop for samples and a 5"x7" hoop for final pieces. Use a stable laptop and back up files to a USB stick before formatting for your machine.
Tips:
- Hoop fabric taut but not stretched.
- Use a medium-weight embroidery stabilizer for most cottons.
- Sketch simple shapes at 100–300 px for clean digitizing.
If you’re short on space, keep tools in a stackable craft organizer tray for easy cleanup between sessions.
Digitize and convert artwork into stitches (core technique)
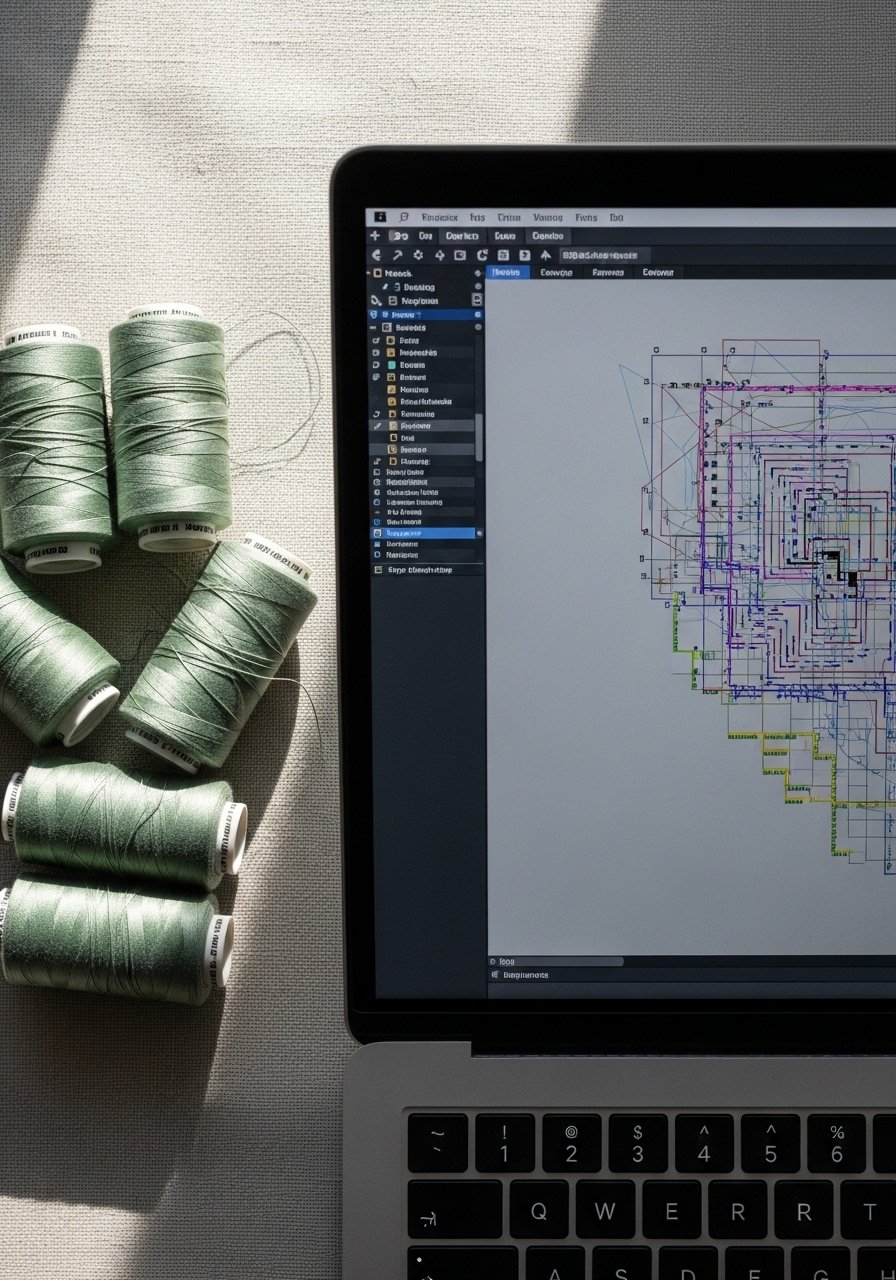
Digitizing turns vector paths into stitch commands. Work in layers: outlines, fills, and details. Aim for tidy stitch order to avoid excessive trims.
Step-by-step:
- Trace or import your artwork into your embroidery digitizing software.
- Assign stitch types: satin for narrow lettering, tatami/fill for broader areas.
- Set stitch density: 4–6 stitches/mm for medium fabrics; reduce density for delicate fabrics.
- Export in your machine format and save a back-up on your USB flash drive.
If you’ll stitch many designs, consider an embroidery machine with a 5"x7" hoop for faster sampling.
Test stitch, tweak, and troubleshoot (easy fixes)
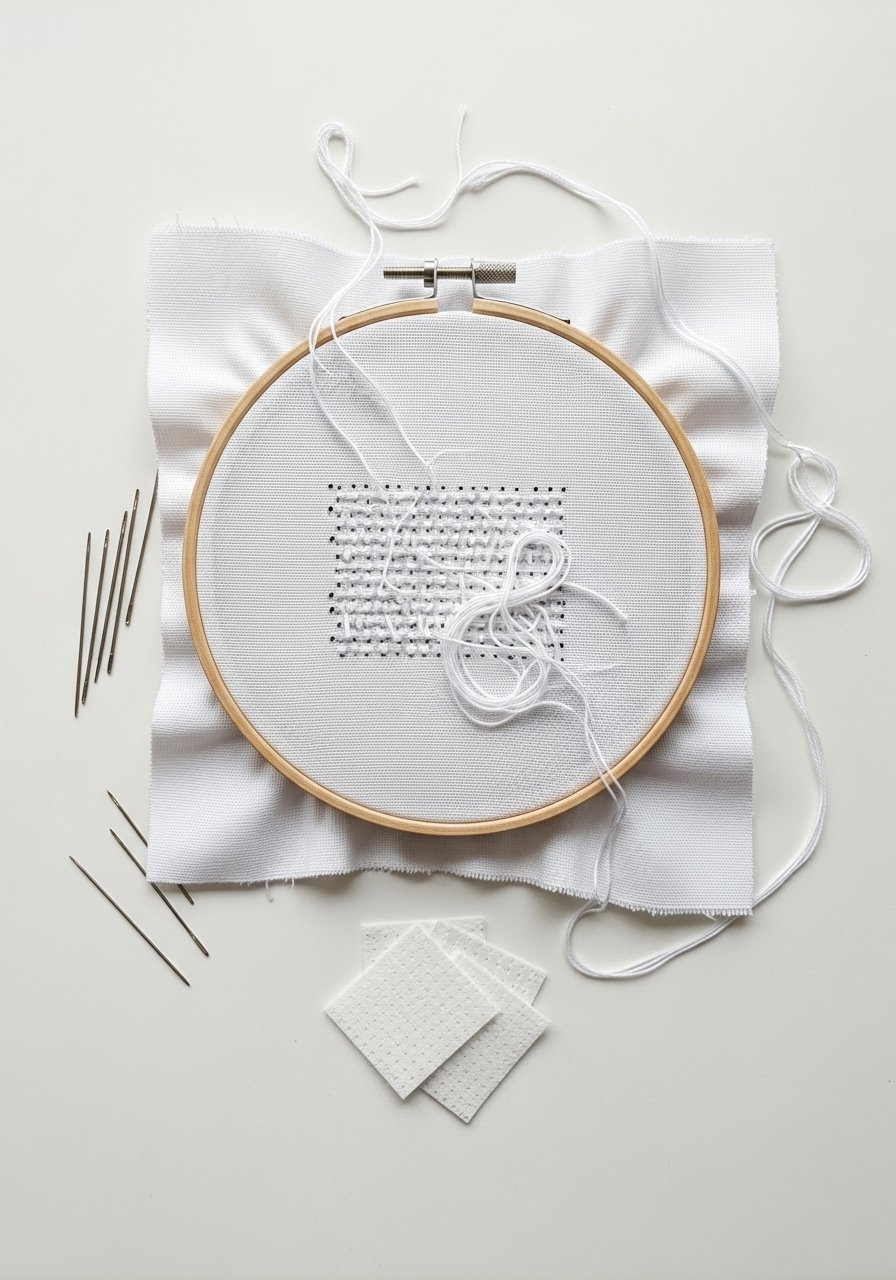
Always test stitch on the actual fabric and stabilizer. Expect a 10–20 minute test stitch for small designs and 30–60 minutes for denser files. Look for puckering, skipped stitches, or tilted satin columns.
Fixes:
- Switch to a firmer tear-away stabilizer for less puckering.
- Use a finer machine needle if you see skipped stitches.
- Trim jump stitches with sharp embroidery scissors.
Thread choice matters. Try a mid-sheen polyester embroidery thread for durable, vivid color.
Finish, display, and store your designs (pin-worthy presentation)
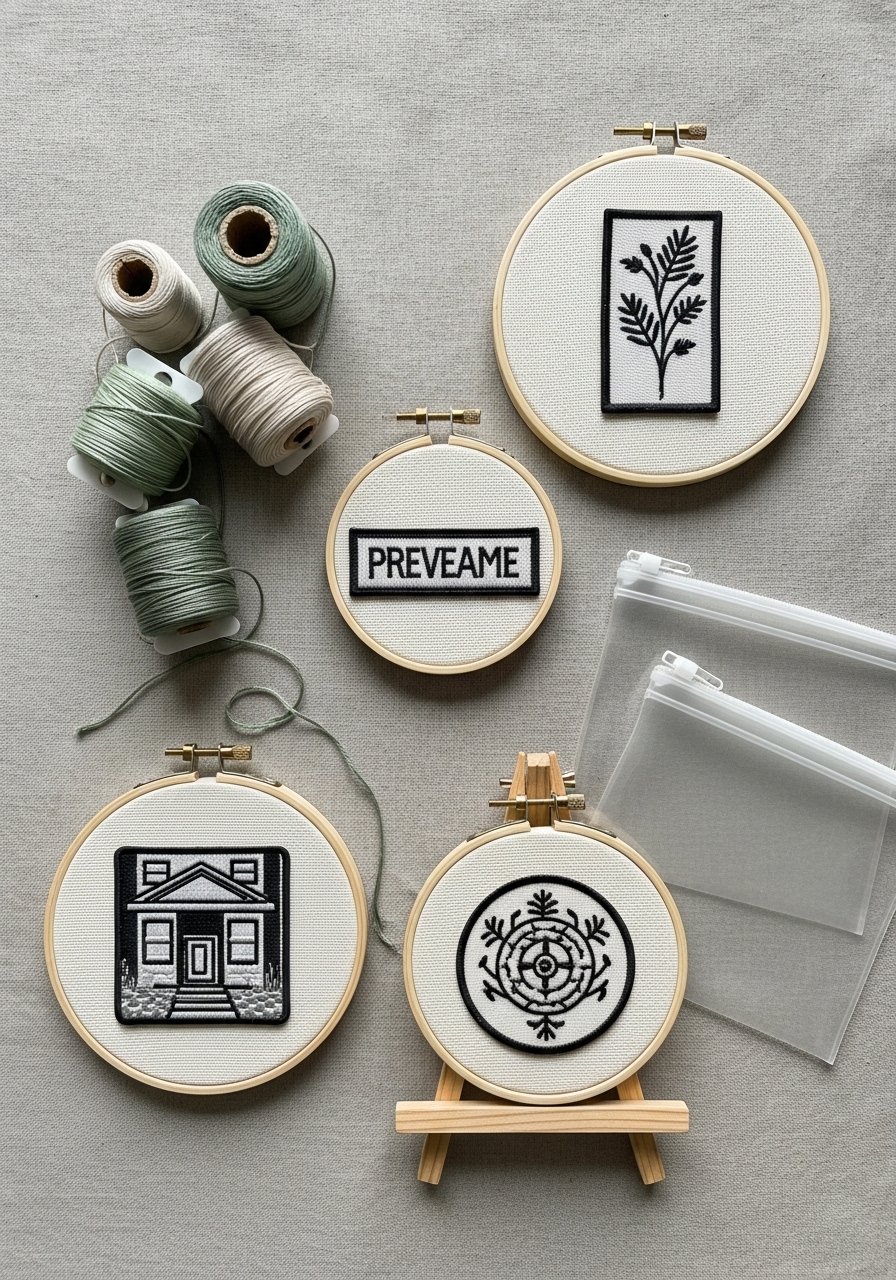
After a clean trim and stabilizer removal, press gently from the back with a steam iron on low. If you used a soluble stabilizer for lace details, rinse per product directions and let pieces air-dry 1–2 hours.
Presentation and storage:
- Use a small wooden easel for gift photos.
- Store extras in clear zip pouches to avoid tangles.
- Keep a roll of water-soluble stabilizer for delicate overlays.
Quick batch tip: Digitize a set of five simple motifs and test them back-to-back. It saves setup time and gives consistent results.
Your finished computer embroidery designs will look crisp, with clean edges and balanced stitch density. Pin this guide for a one-afternoon design session and share with a friend who loves to stitch. Which design will you digitize first?





