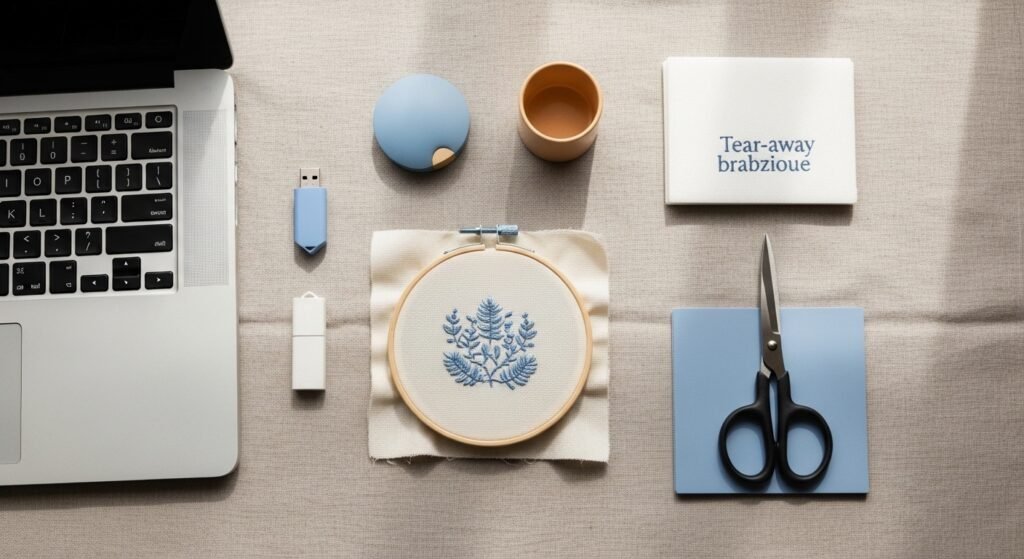
You’ve found the perfect embroidery design online, but getting it from your computer to your machine feels fiddly. If you’ve ever wasted time converting file types or hunting for a card reader, this guide shows how to download computer embroidery designs and transfer them to your machine in just minutes—reliably and without stress.
The secret is simple: pick the right file format, a quick transfer method, and a neat hoop/stabilizer setup. A basic USB flash drive and a compact USB-C to USB-A adapter solve most transfer headaches.
Read on and you’ll learn step-by-step download tips, fast transfer routes, and quick test-stitch tricks so you can stitch a new design in under an hour.
Gather and prep your workspace for fast transfers
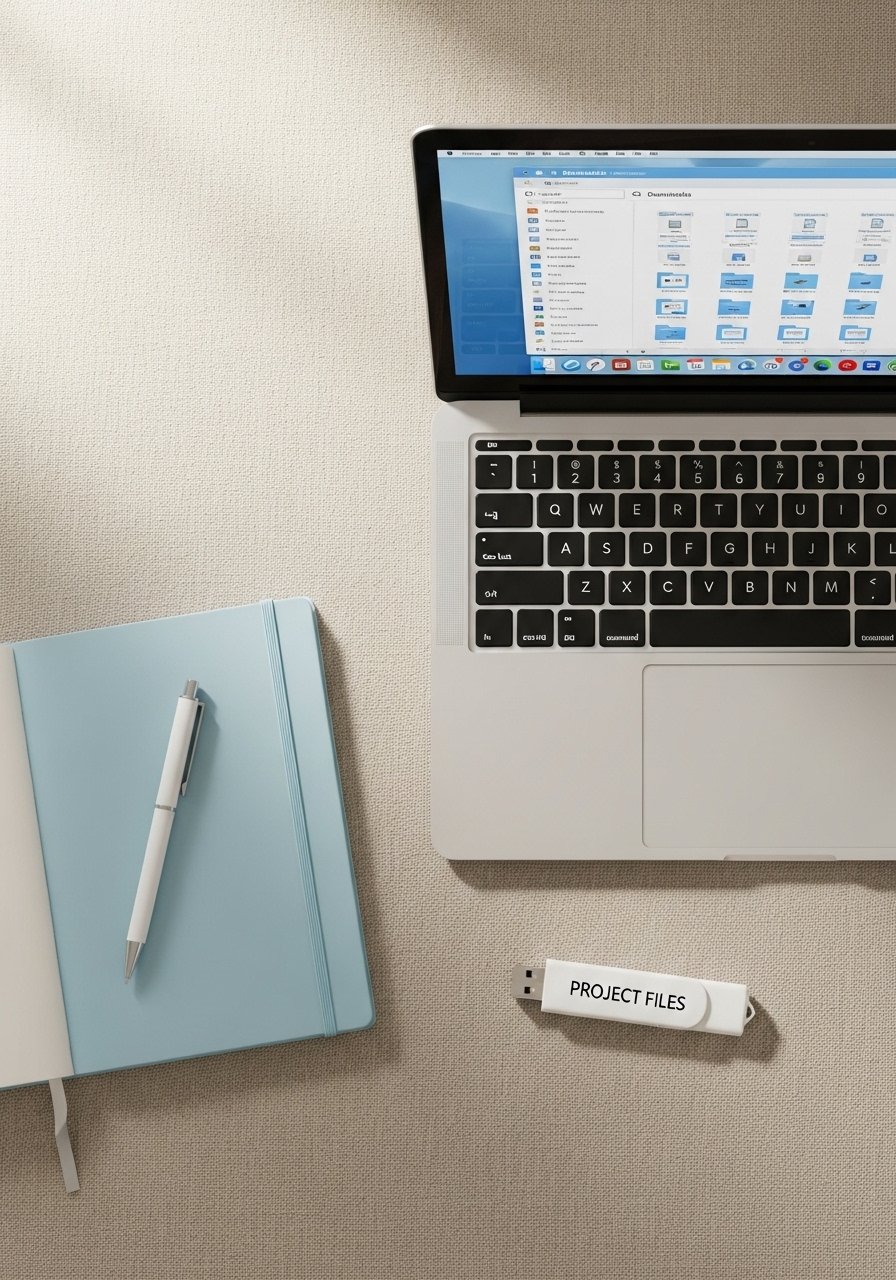
Start with a clean computer desktop and a known folder for designs. That cuts download hunting to seconds. Aim to spend 5–10 minutes prepping once, then it’s habit.
- Keep a reliable USB flash drive or an SD card dedicated to embroidery files.
- If your computer lacks the right port, use a USB-C to USB-A adapter or carry a compact SD card reader.
Tip: Name folders by style (e.g., “floral_4x4”) so you can find designs on your machine fast.
Download designs the smart way (formats and safety)
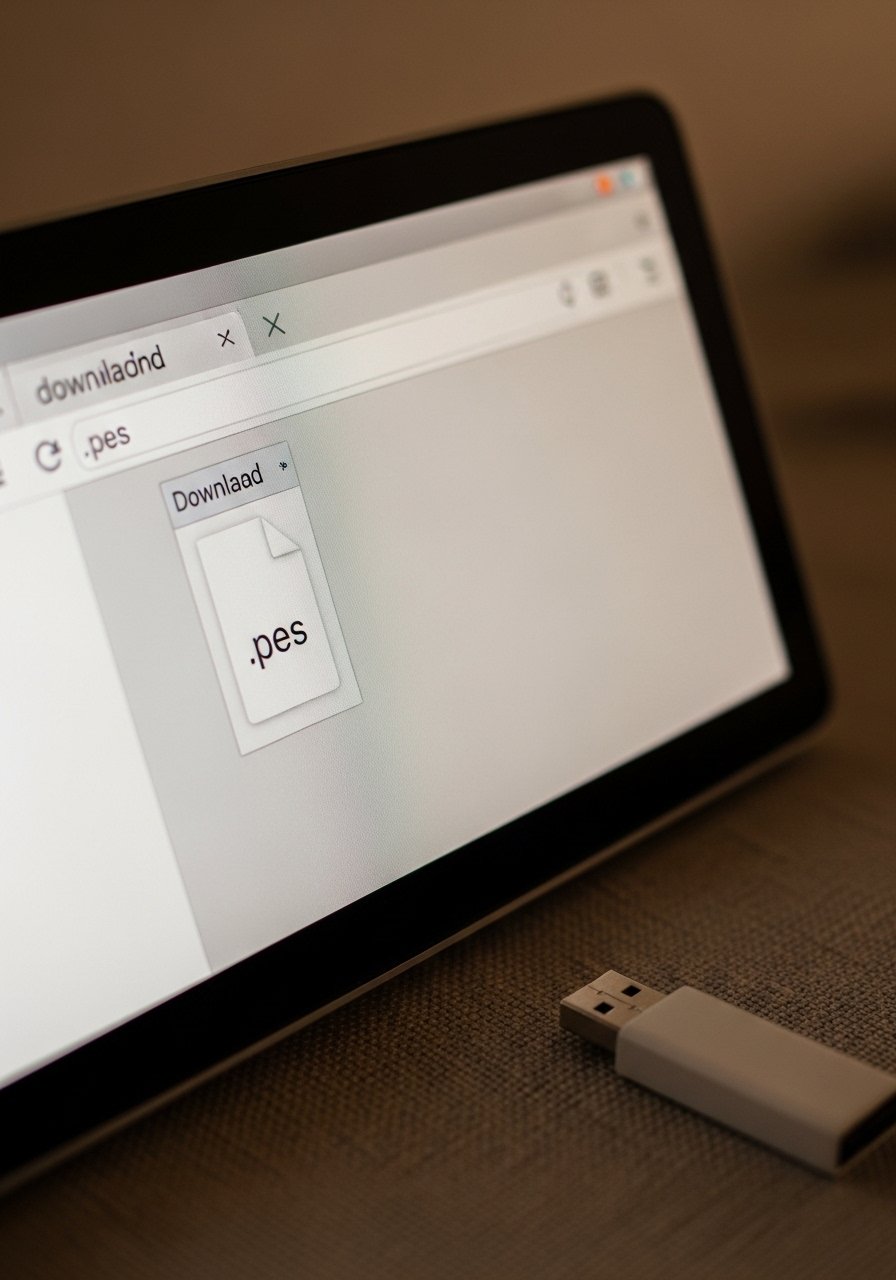
Not all embroidery files speak your machine. Before you download:
- Check your machine’s supported formats (common: .pes, .dst, .exp).
- Pick a reputable seller and download a test file first.
- Save the file into your dedicated folder and keep a backup.
Quick checklist:
- Convert only if needed — many free converters add errors.
- If you need conversion, search for embroidery software that supports your machine's format.
- Keep a small USB flash drive case for organized storage.
Safety tip: Scan downloads with antivirus and avoid zipped files from unknown sources.
Transfer files to your machine — three fast methods
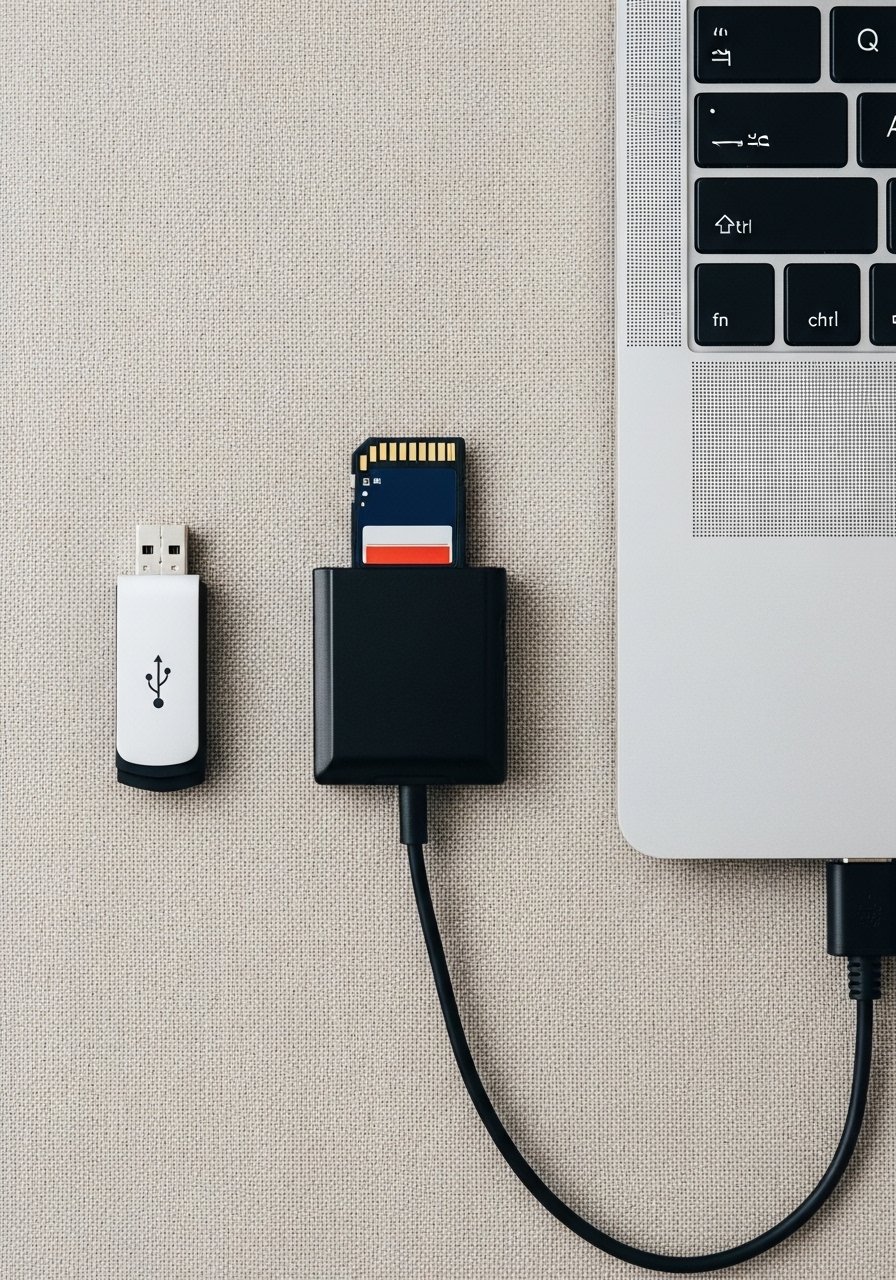
Pick the fastest route for your machine:
- USB Stick (most common)
- Copy the design to the root folder of your USB flash drive.
- Insert into your machine’s USB port and follow the machine’s import steps.
- SD Card
- Use an SD card and SD card reader if your computer needs one.
- Direct Cable or Wi‑Fi (if supported)
- Some machines accept designs via direct USB connection or wireless transfer. Check your manual.
Pro tips:
- Keep file names short (under 8–12 characters) to avoid machine read errors.
- Safely eject drives to prevent corruption.
- Use a fresh, fast-capacity drive (16–32 GB) and store extras in a USB flash drive case.
Hoop, stabilizer, and quick test stitch for fail-safe results
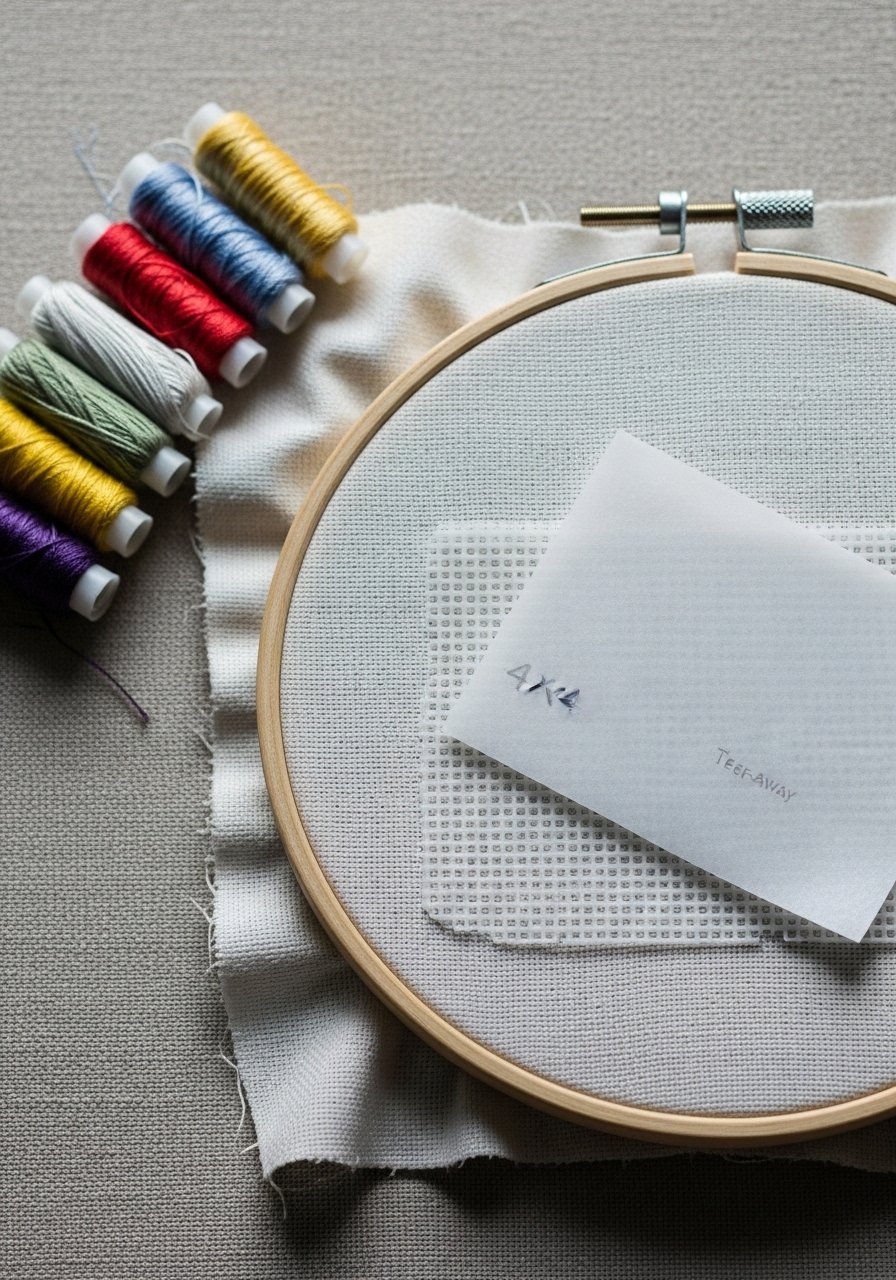
Once the design’s on the machine, set up to stitch:
- Use a 4×4 inch or machine-appropriate hoop. Try an embroidery hoop that sits flat.
- Layer a piece of tear-away stabilizer about 1/8–1/4 inch larger than the hoop; a sheet of tear-away stabilizer works well.
- Thread with quality floss and a fresh embroidery needle.
Quick test stitch (10–15 minutes):
- Load design and scale to fit the hoop.
- Run a 10–20% smaller test on scrap fabric to check density.
- Adjust tension or file size as needed.
Avoid common mistakes: don’t skip a test stitch and don’t hoop crooked—both waste time.
Store designs and finished pieces neatly
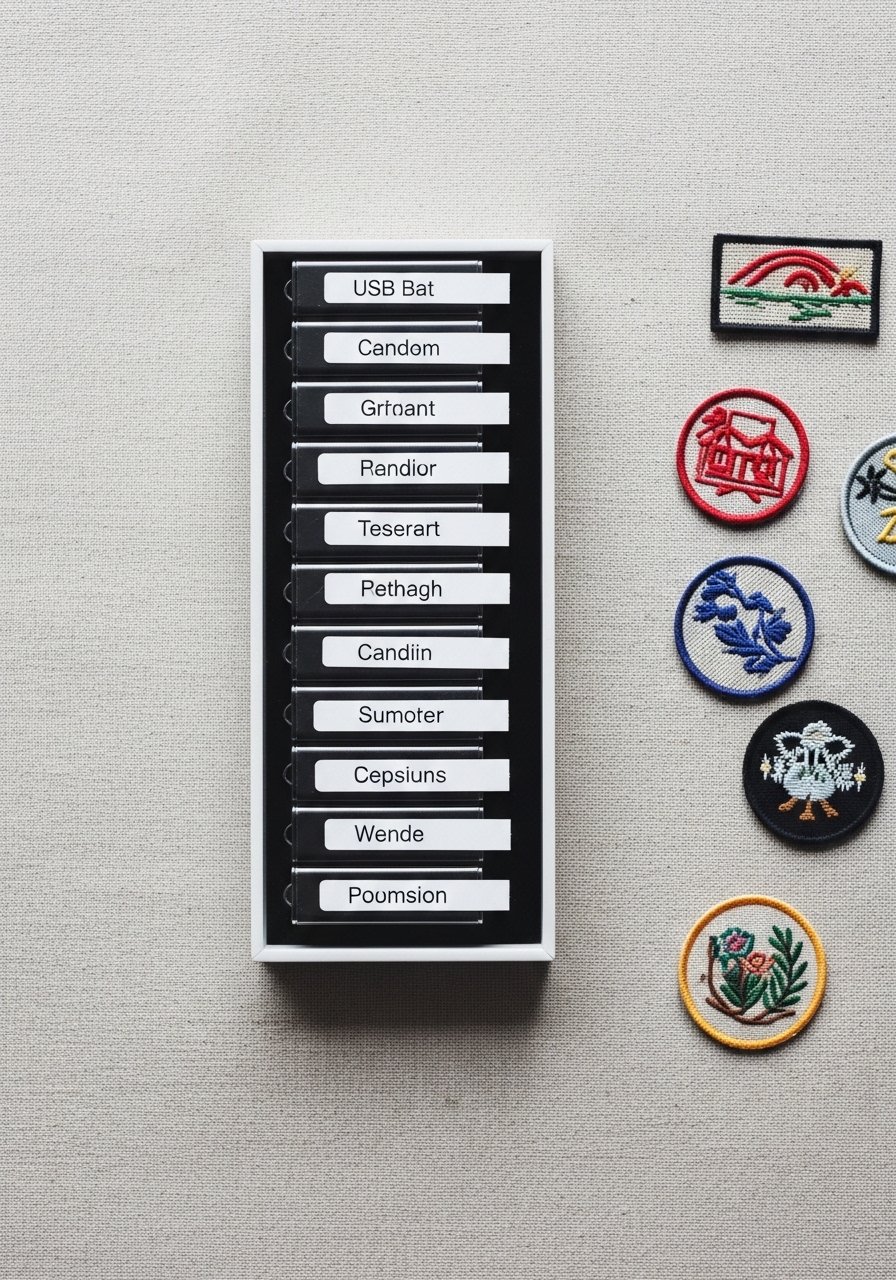
After stitching, archive the working file and finished photo. Use a small USB flash drive case and a craft organizer tray to keep everything accessible. Label main folders by project and back up to cloud storage if you can.
Save this pin-worthy process so your next download-to-stitch takes minutes, not hours.
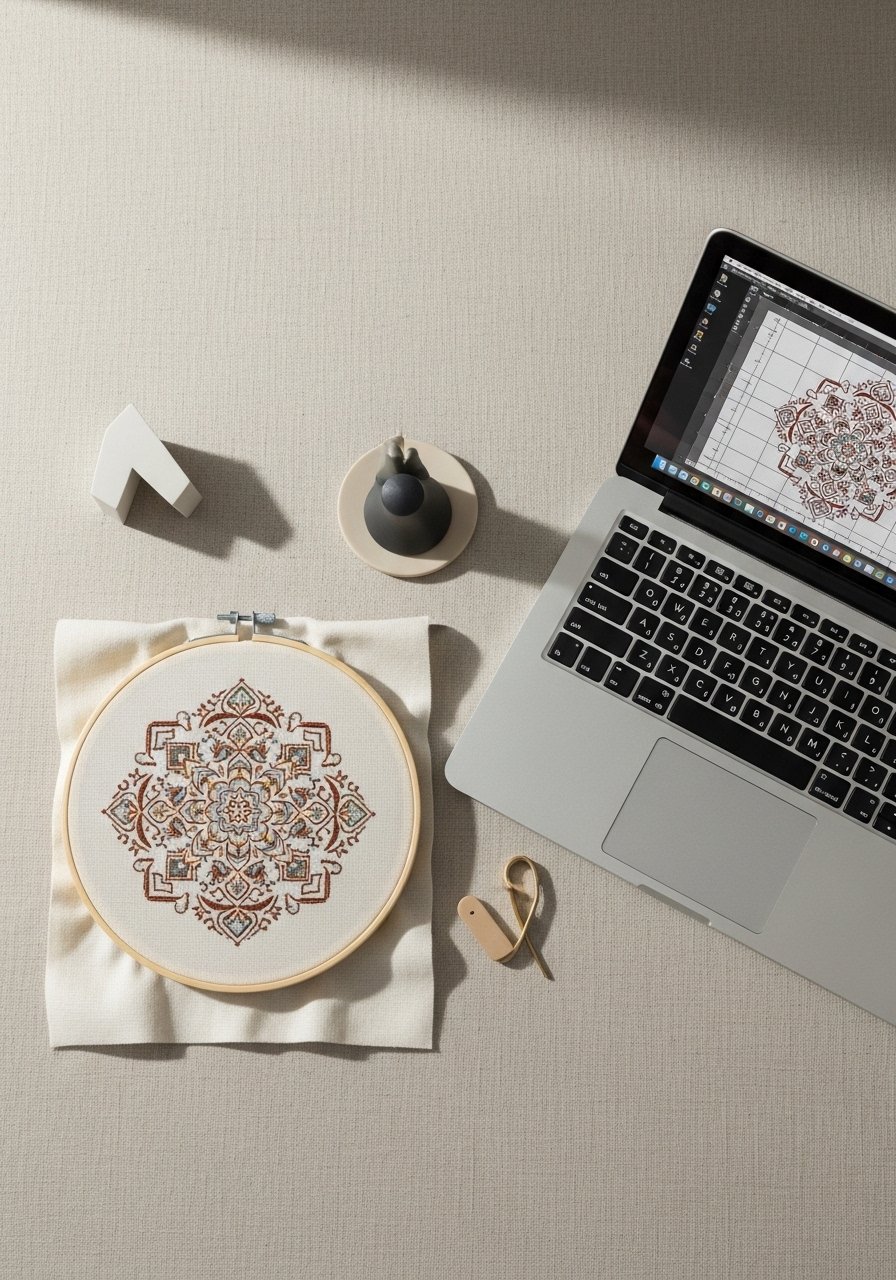
You just learned how to download computer embroidery designs and transfer them to your machine in just minutes, plus a quick hoop-and-test routine that saves time and thread. Pin this guide for your next craft afternoon and grab a USB flash drive if you don’t have one yet — it’s the small tool that speeds up every design transfer. Which design will you try first?





