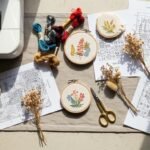
You painted a favorite thrift-store bowl and now worry the pretty rim will chip the first time it’s used. You’re not alone—many DIYers ask how to seal painted ceramic bowls so the finish lasts through handling, washing, and everyday use.
This guide teaches you how to seal painted ceramic bowls the right way so they’re chip proof and long lasting. You’ll learn prep, two sealing options (fast spray vs. ultra-durable epoxy), and realistic drying times. A little tape and the right brush make the job painless—try a low-tack painter's tape and a quality foam brush set to get crisp edges and smooth coverage.
Read on for a one-afternoon, beginner-friendly method, plus troubleshooting tips so your seal doesn’t peel or yellow.
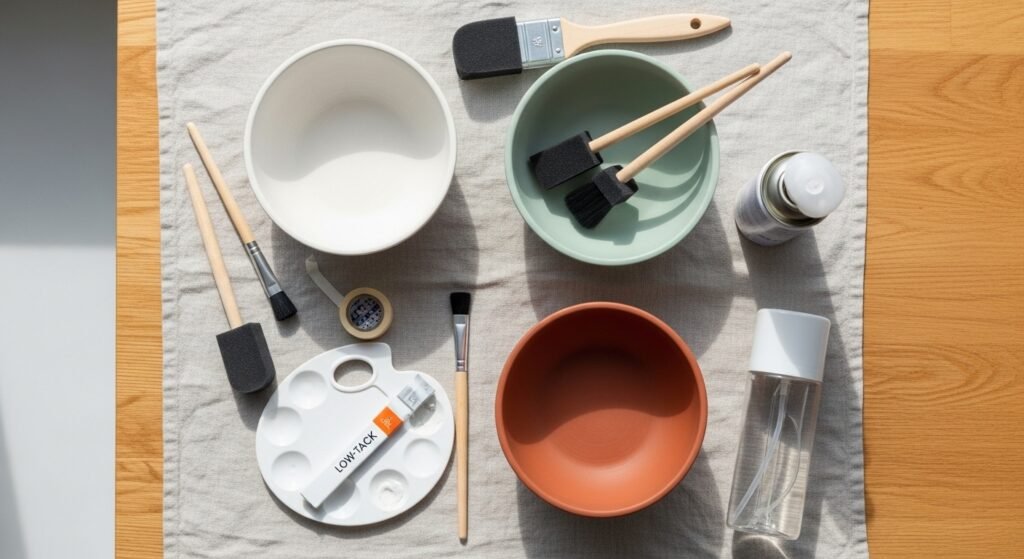
Gathering and Prepping Your Materials to Seal Painted Ceramic Bowls

Start by cleaning and scuffing the surface so any topcoat grabs hold. Wash bowls with warm soapy water, rinse, and let dry. Lightly sand painted areas with fine-grit sandpaper if paint feels glossy.
- Use a detail paint brush set for touch-ups before sealing.
- Mask rim or inside areas with low-tack painter's tape to protect raw clay or unpainted sections.
Prep time: about 20–30 minutes. If paint is fresh, allow 24–48 hours to fully cure before sealing.
The Core Technique: Spray vs. Epoxy — Which to Use?

Choose your finish based on use. For display pieces or light use, a clear spray sealer is fast. For chip proof, food-safe looking results that stand up to heavy handling, epoxy resin gives a thick protective shell.
Spray method (fast, one-afternoon):
- Work outside or in a ventilated area.
- Apply thin, even coats of clear acrylic spray, holding 8–12 inches away.
- Let each coat dry 15–30 minutes; do 3–4 thin coats.
Tips:
- Spray in short bursts to avoid drips.
- Test on a scrap ceramic piece first.
Epoxy method (durable, chip resistant):
- Mix an epoxy resin kit per manufacturer ratio.
- Pour or spread with a foam brush for even coverage.
- Use a foam brush set to smooth edges quickly.
Curing:
- Tack-free in 4–6 hours, fully cured in 24–72 hours depending on resin.
- Expect a thicker, glass-like layer that protects against chips.
Getting the Finish Right: Avoiding Bubbles, Runs, and Yellowing

A few pro tricks stop common problems.
- Pop resin bubbles with a heat gun quickly after pouring. Keep it moving and 6–8 inches away.
- Lay work on a silicone craft mat to catch drips and make cleanup easy.
- For spray sealers, allow full cure 24 hours before light use and 72 hours before washing.
- Don’t over-apply: multiple thin layers beat one thick coat every time.
Quick troubleshooting:
- If seal peels later, the paint likely wasn’t fully cured or surface was oily—clean and sand, then re-seal.
- If yellowing appears, switch to a UV-resistant option like a dedicated outdoor Mod Podge variant or UV-stable epoxy.
Displaying, Gifting, and Storing Your Sealed Ceramic Bowls
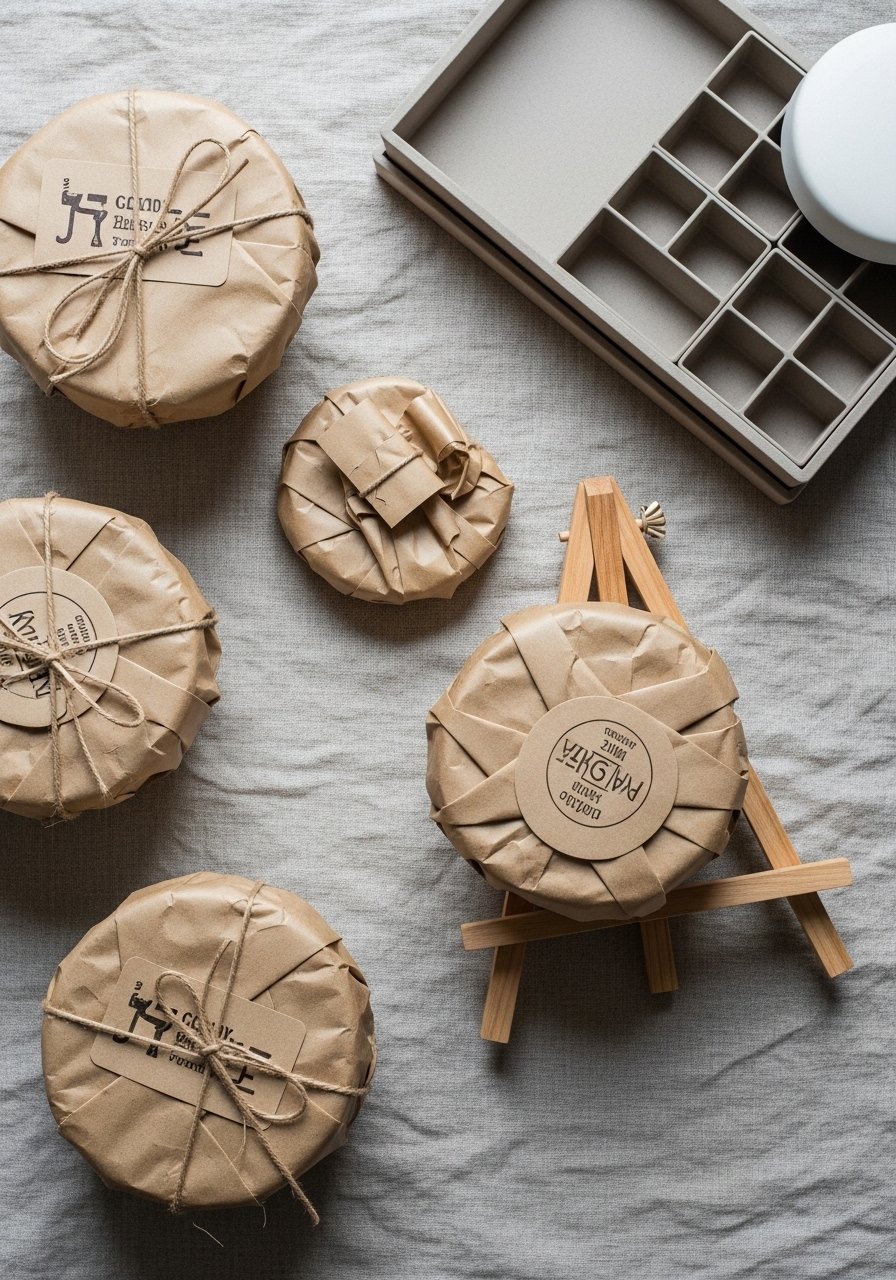
Once cured, display or package your bowls so they don’t rub against each other.
- Use small wooden easels to show a single bowl without touching the rim.
- Store in stackable craft organizer trays with paper dividers for batch projects.
If gifting, include care notes: hand wash recommended for epoxy-sealed bowls; avoid harsh scrubbers.
You can now confidently seal painted ceramic bowls with a chip proof finish that lasts. Pin this guide for your next one-afternoon craft session and try both methods on test pieces to see which finish you like best. Which bowl will you seal first?