You love fresh flowers but hate matchy-store vases. Learning how to decorate a vase from scratch gives you a polished, personalized piece that fits your home and your time—whether you have an hour or one afternoon. Decorating a vase from scratch is beginner-friendly and budget-friendly, and you’ll avoid the cookie-cutter look.
The secret? A reliable acrylic paint set makes crisp color and a low-tack painter's tape helps you get clean geometric lines. Try a versatile acrylic craft paint set and a sheet of low-tack painter’s tape to cut your learning curve. You’ll learn base prep, painting techniques, finishing tips, and display ideas in this step-by-step guide.
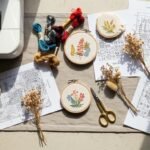
Gather and prep for a one-afternoon, beginner-friendly project
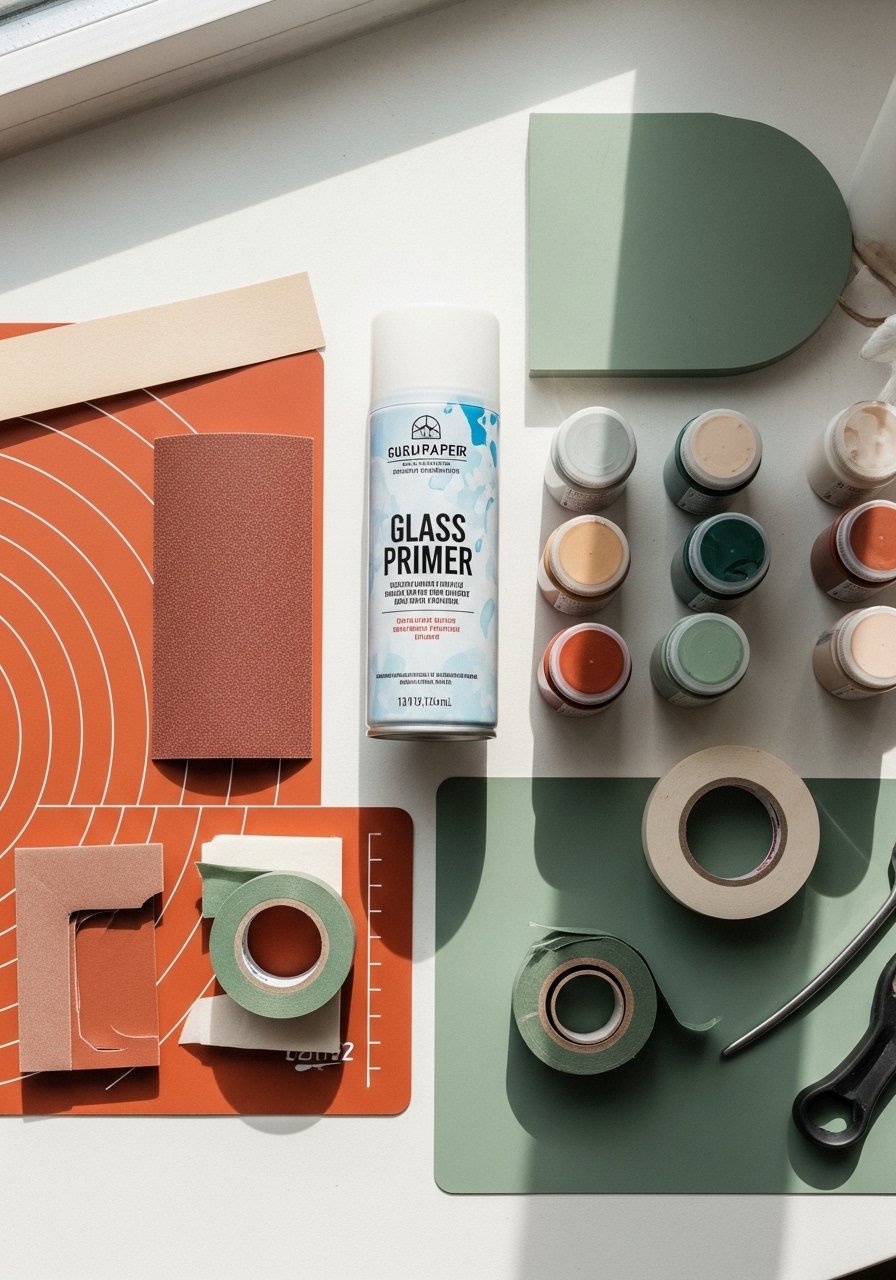
Before you decorate a vase from scratch, prep saves time and prevents peeling. Lightly sand the vase with 220-grit sandpaper to scuff the surface—1–2 minutes around the rim and body is usually enough. Wipe with rubbing alcohol and let it dry for 5–10 minutes.
- Spray one light coat of glass primer spray for better paint adhesion; dry time is typically 15–30 minutes.
- Protect your station with a silicone craft mat so paint and resin wipe right off.
Prep tips:
- Work in a ventilated spot for sprays and resin.
- Mask any areas with low-tack painter’s tape to keep crisp edges.
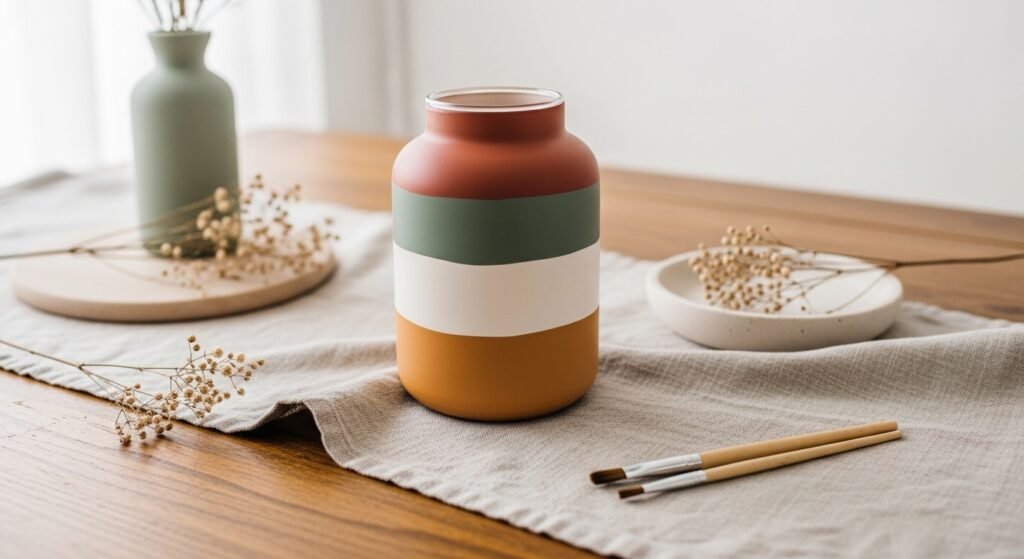
Base coating and paint techniques — easy, clean lines

Choose colors and apply two thin coats of acrylic for opaque coverage. Thin coats dry fast—expect 15–30 minutes to touch and 30–60 minutes between coats.
- Use a foam brush set for even base coats.
- Add details with a detail paint brush set for stripes, dots, or florals.
- Remove tape slowly after the final coat is tacky but not fully cured to avoid lifting.
Pro tips:
- Press tape edges firmly with a bone folder substitute (your fingernail or edge of a ruler) to prevent bleed.
- If paint bleeds, sand lightly with 220-grit and repaint.
Add texture, decals, and upcycled touches (budget-friendly)

Want texture? Try decoupage, jute wrapping, or painted stencils.
- For glued trims, use a drop of E6000 adhesive beneath beads or rope; allow 24 hours to fully set.
- Use paint pens for quick hand-lettering or dot patterns—no brush skills required.
- Upcycle fabric scraps or lace with a thin coat of Mod Podge sealer over the top; it dries to the touch in 15–20 minutes, cures in 24 hours.
Quick numbered steps for a fabric wrap:
- Trim fabric to fit the vase height + 1/2" overlap.
- Brush a thin layer of Mod Podge, press fabric smooth, then seal with another thin coat.
- Weight the seam overnight for best adhesion.
Seal, gloss, and display — finish like a pro
Sealing protects paint and adds polish. For a soft-matte look use a clear Mod Podge. For glass-smooth shine, a thin layer of epoxy resin gives a hard, glossy shell.
- Mix an epoxy resin kit per manufacturer directions—many kits use 1:1 ratio and cure 24–72 hours.
- Pop surface bubbles quickly with a craft heat gun on low; don't overheat the glass.
- If you prefer quick drying, spray a clear gloss sealer in even passes; follow label drying times.
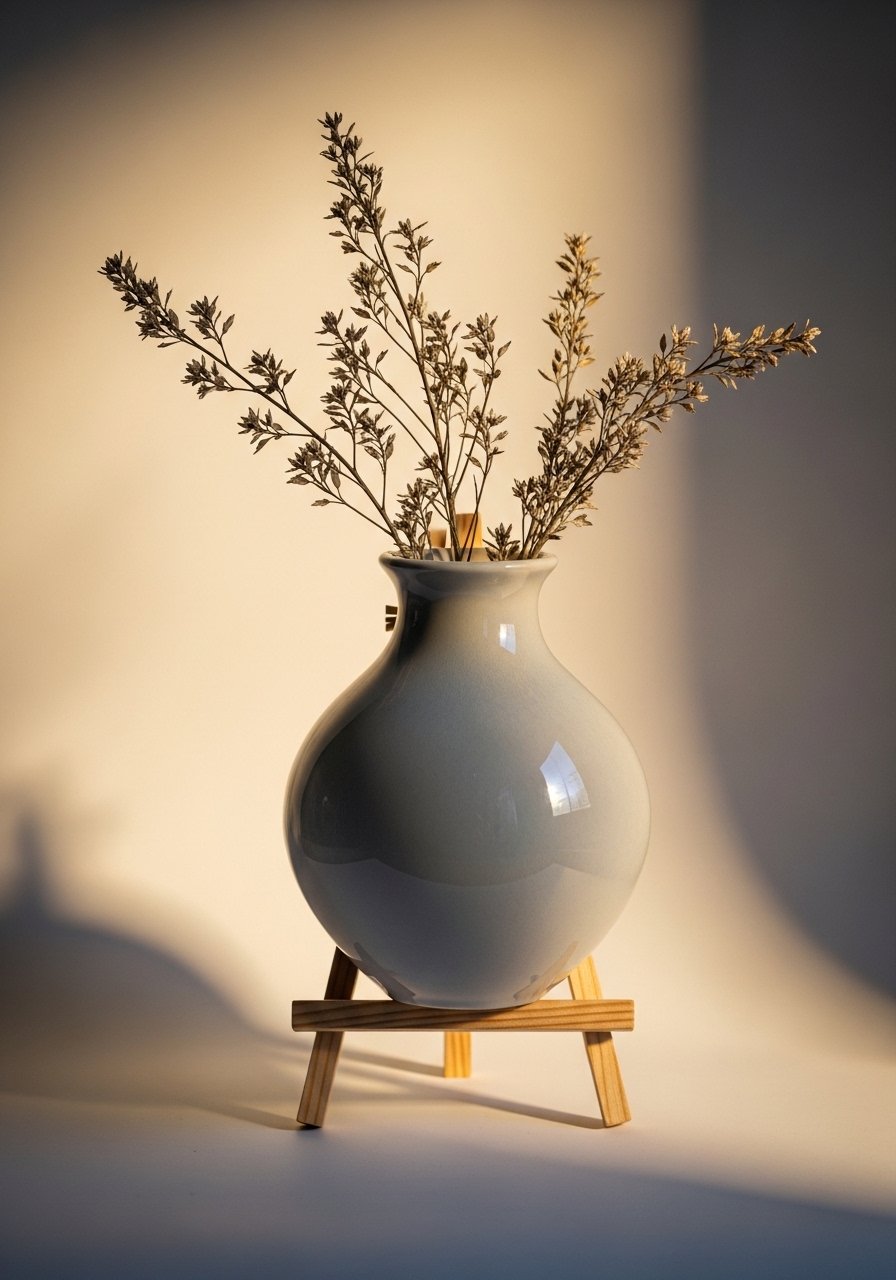
Display and storage:
- Let finished vases cure on a silicone mat, then store wrapped flat in tissue.
- Use a small wooden easel or craft organizer trays to gift or display multiple pieces.
Once you decorate a vase from scratch with these steps, you'll have a polished, personal piece that looks curated. Pin this guide for your next craft afternoon and save time by keeping your favorite paint and tape ready. Which color combo will you try first? Ready to make it? Let's go!