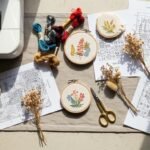
You love pretty, practical crafts that don’t demand advanced tools. These 24 ceramic bowl painting ideas for beginners are simple enough to try tonight and satisfying enough to keep you painting into the weekend. Each project uses easy-to-find supplies, clear steps, and realistic drying times so you can finish a piece that looks boutique but feels made-by-you.
I’ll show texture tricks (sponges, dotting tools), clean-line techniques (painter’s tape and stencils), and one-coat finishes that still feel rich. There are seasonal vibes—cottagecore florals, Japandi minimal lines, boho speckles—so you’ll find styles for gifting or shelf-styling. Grab a small set of acrylic ceramic paints and a handful of brushes and you’re set; I reach for my FolkArt acrylic craft paint set for bold, opaque coverage and a soft foam brush pack for smooth base coats. Ready? Let’s paint some bowls.
- Tiny Dot Ombre Breakfast Bowl

This dotted ombre bowl is playful and forgiving—perfect for beginners who want a gradient without blending skills. The textured dots give a tactile, handmade look that’s great for cereal, tapas, or a jewelry catchall. Kids and gift-makers will love how forgiving dot placement can be.
Materials
- 1 small ceramic bowl (6–7" diameter), washed and dried
- 3 acrylic ceramic paints: dark blue, medium blue, pale blue (20–30 ml each)
- 1 set of round dotting tools (0.5–8 mm)
- 1 soft foam brush (1")
- 1 small detail round brush (size 2)
- 1 jar of water and paper towels
- 1 rubbing alcohol wipe to de-grease
Instructions
- Wipe the bowl inside with a rubbing alcohol wipe; let dry 5 minutes.
- Apply one thin coat of pale blue with a foam brush; dry 20–30 minutes.
- Decide ombre bands (three equal horizontal zones). Lightly pencil guide lines on rim’s inside if helpful.
- Dip the largest dotting tool into dark blue and place dots densely near the rim; continue around.
- Switch to medium blue and smaller dots in the middle band, spacing them slightly apart.
- Use pale blue with the smallest dotting tool near the center; fill gaps for a gradual fade.
- Let air dry 24 hours, then bake according to paint label (typically 30–35 minutes at 300°F / 150°C).
- Cool fully before handling—surface should be firm, not tacky.
How to Display or Gift It
Set the bowl on a wooden breakfast tray with linen napkins for a cozy morning set. Tie a small gift tag with twine and tuck a dried lavender sprig for gifting. Store stacked with soft felt separators if making a batch. For neat gifting, tuck the bowl into a kraft gift box.
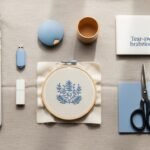
- Minimal Japandi Band Bowl

Simple lines feel so calm—the Japandi band bowl uses negative space and one neat painted stripe for quiet elegance. This is a fast project if you like minimalism and clean edges. Beginners will appreciate the controlled look painter’s tape gives.
Materials
- 1 medium ceramic bowl (8–9" diameter)
- 1 roll painter’s tape (1/2" width)
- 1 chalky acrylic paint (15–30 ml) in beige or clay
- 1 flat foam brush (1")
- 1 fine-grit sanding pad (220)
- 1 soft cloth
- 1 craft knife for trimming tape edges
Instructions
- Clean bowl, sand any glossy spots gently, wipe clean; wait 5 minutes.
- Measure and mark the band height with a pencil; place painter’s tape straight around the bowl.
- Press tape edges down firmly with a bone folder or fingernail to prevent bleed.
- Use a foam brush to apply two thin coats of chalky paint, 15 minutes drying between coats.
- Remove tape slowly after the second coat while paint is still slightly tacky to keep razor edges.
- Let dry 24 hours, then bake or cure per paint instructions (if required).
- Lightly sand any rough edges and wipe clean before use.
How to Display or Gift It
Pair with natural wood utensils or a small linen napkin for a Japandi tabletop. Display on a low shelf with ceramic vases. Store in a drawer with felt dividers. I keep painter’s tape on hand—it makes stripes flawless; try a painter's tape roll.
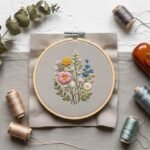
- Cottagecore Wildflower Inside Bowl

Tiny florals bring cottagecore charm to any shelf. This one focuses on small, repetitive blooms painted inside the bowl rim. The result feels delicate and handcrafted—great for decorative fruit bowls or bridal shower gifts.
Materials
- 1 shallow ceramic serving bowl (9–10")
- 5 small acrylic paint colors (cream, pink, mustard, moss green, brown) in 20 ml tubes
- 1 fine detail round brush (size 0–2)
- 1 toothpick for ultra-fine dots
- 1 pencil for light layout
- 1 palette or disposable plate
- 1 rubbing alcohol wipe
Instructions
- Clean bowl with alcohol; let dry 5 minutes.
- Lightly sketch a loose floral cluster layout around the inside rim.
- Use the size 0 round brush to paint petals in pink; add centers with mustard.
- Add tiny leaves and stems in moss green; use a toothpick to dot seeds for texture.
- Let dry 30 minutes between colors to prevent smudging.
- Apply a second touch-up pass for opacity if needed; air dry 24 hours.
- Cure per paint directions (bake if required) and cool fully.
How to Display or Gift It
Nestle a dried posy or wrapped soap inside for a handmade gift. Display on an open shelf with a linen runner and a small wooden easel for a porch vignette. A simple small wooden easel shows it like art.
- Boho Speckle Rim Bowl

Speckles look artisan-made and hide imperfections, perfect for beginner painters. This rim-only speckle technique gives an on-trend boho feel without overwhelming the shape of the bowl.
Materials
- 1 ceramic bowl (7–9")
- 1 bottle of terracotta acrylic paint (30 ml)
- 1 small bottle of black acrylic ink or watered-down black paint
- 1 old toothbrush or stiff-bristled paint brush for flicking
- 1 disposable gloves
- 1 paper towel and drop cloth
- 1 palette for thinning paint
Instructions
- Wipe the bowl clean and protect your workspace with a drop cloth.
- Paint the rim with one even coat of terracotta; dry 20–30 minutes.
- Dilute black paint 50/50 with water on the palette.
- Hold toothbrush close to the rim and run thumb across bristles to flick speckles gently.
- Rotate bowl to speckle evenly; practice on scrap first.
- Rinse brush immediately, let bowl air dry 24 hours.
- Bake/cure per paint label for durability.
How to Display or Gift It
Fill with wrapped candies or trail mix and top with a kraft tag for gifting. Display stacked with other neutral bowls for a textured tablescape. Keep extra bowls cushioned in a craft organizer tray if making sets.
- Ceramic Bowl Painting Ideas for Beginners: Marbleized Swirl Bowl

Marbling gives a luxe look while staying surprisingly simple—no brush skills required. The swirling veins feel modern and elegant, fitting both minimal and refined cottagecore kitchens.
Materials
- 1 white ceramic bowl (8")
- 3 acrylic pour paints: white (base), grey, blush (30–60 ml each)
- 1 silicone pour mat or disposable foil
- 1 disposable cup for mixing
- 1 stir stick
- 1 toothpick for veining
- 1 gloves and apron
Instructions
- Clean bowl and set on a silicone mat raised on a cup so it can dry underneath.
- Mix each color with a pouring medium per manufacturer directions (approx 1:1 paint to medium).
- Pour a base thin layer of white inside the bowl.
- Drip small amounts of grey and blush; tilt the bowl slightly to encourage flow.
- Run a toothpick through the colors to create veins and marbling; avoid over-mixing.
- Let sit for 24–48 hours until fully dry and tack-free; then cure per paint instructions or via oven method if label allows.
- Trim any drips once cured; sand lightly if needed.
How to Display or Gift It
Marble bowls look great on a marble tray or paired with gold flatware for gifting. Wrap in tissue and tuck instructions for hand-wash only. Use a silicone drying mat for messy pours.
- Handwritten Quote Sundae Bowl
Adding hand-lettering turns a simple bowl into a sweet, personal gift. This works well for short words—“eat,” “joy,” or a name. Paint pens give control for neat script.
Materials
- 1 small glazed ceramic bowl (6–7")
- 1 black ceramic paint pen (0.7–1 mm tip)
- 1 pencil and eraser for layout
- 1 white matte paint (optional base)
- 1 small round brush for touch-ups
- 1 clear gloss sealer (if not using bakeable paint)
- 1 rubbing alcohol wipe
Instructions
- Clean bowl; if background needs contrast, paint interior white and dry 20–30 minutes.
- Sketch your word lightly with pencil at the center.
- Trace over pencil with the ceramic paint pen in smooth, steady strokes.
- Let ink dry 1 hour; apply second pass if faint.
- Air dry 24 hours, then bake or cure per pen instructions.
- Add a coat of clear gloss sealer if desired—let cure 72 hours before washing.
How to Display or Gift It
Fill with mini spoons or single-serve toppings for a dessert-themed gift. Wrap in clear cellophane and tie with twine. For display, stand on a shelf with small framed prints; a small wooden easel works well.
- Two-Tone Half-Dip Bowl

A half-dip finish feels modern and is forgiving—tape helps, but freehand has charm too. The contrast is striking and very beginner-friendly.
Materials
- 1 medium ceramic bowl (8–9")
- 1 matte green ceramic paint (30 ml)
- 1 painter's tape (1/2" or 3/4")
- 1 foam brush (1–2")
- 1 coarse sea sponge for texture (optional)
- 1 sandpaper (220) for prep
- 1 soft cloth
Instructions
- Clean and sand rim if glossy, wipe clean.
- Mark the halfway line; mask lower or upper half with painter’s tape.
- Apply two even coats of green with foam brush, 15 minutes between coats.
- Remove tape while paint is tacky for a soft crisp line.
- Add sponge texture by dabbing lightly if desired; dry 24 hours fully.
- Cure per paint instructions; cool before use.
How to Display or Gift It
Make matching sets by painting bowls in varying half-dip colors and package together. Store stacked with paper separators in a craft box. A painter's tape roll keeps lines crisp.
- Metallic Brushstroke Accent Bowl

A single metallic stroke feels high-end with minimal effort. Use a metallic acrylic or leaf for shine—paint it on thickly for texture or thin for a subtle gleam.
Materials
- 1 ceramic bowl (7–8")
- 1 metallic gold acrylic paint (20 ml) or gold leaf kit
- 1 flat synthetic brush (1/2"–3/4")
- 1 masking fluid or tape if desired
- 1 small palette knife for gold leaf
- 1 clear matte or gloss sealer
- 1 lint-free cloth
Instructions
- Clean bowl; apply a base coat if needed and dry.
- Decide stroke placement; practice on paper.
- Load brush with gold paint and make one confident stroke. Don’t overwork.
- For leaf: apply adhesive, lay leaf, press gently, remove excess with brush.
- Allow metallic to dry 60 minutes; add a second fine stroke if patchy.
- Seal with clear coat per product directions; cure fully.
How to Display or Gift It
Place as a tabletop accent with dried pampas grass for a luxe boho touch. Wrap in tissue and tuck instructions for hand-wash only. A small clear gloss sealer protects the finish.
- Playful Animal Face Snack Bowl

Kid-friendly and personal—paint a simple animal face inside a bowl for snacks. Big shapes and bold lines make mistakes easy to fix.
Materials
- 1 child-safe ceramic bowl (6–7")
- 1 acrylic paint set with bright colors (20–30 ml each)
- 1 medium round brush (size 4)
- 1 fine liner paint pen for details
- 1 pencil for sketching
- 1 soap and water for cleanup
- 1 clear food-safe sealant (check label)
Instructions
- Wash bowl thoroughly; sketch the animal face lightly.
- Block in larger shapes (ears, muzzle) with a medium brush; let dry 20–30 minutes.
- Outline with the fine liner pen for eyes, nose, smile.
- Touch up shapes and add whiskers or freckles.
- Air dry 24 hours, then cure per paint/sealant directions.
- Confirm all paints and varnishes are labeled food-safe before using for food.
How to Display or Gift It
Package with a small spoon and a note for the child’s name. Use a colorful fabric gift bag for a playful presentation.
- Geometric Tape-Resist Bowl
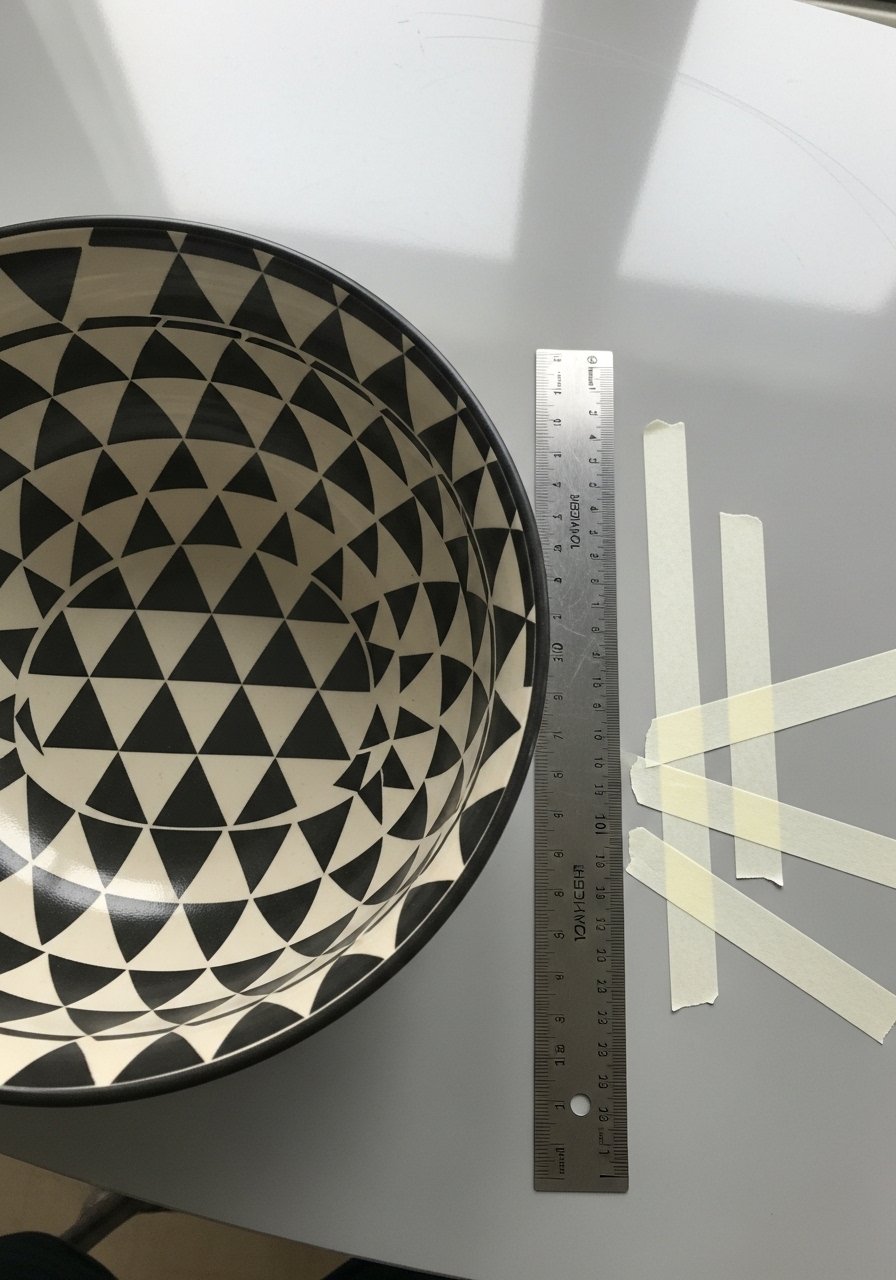
Geometric tape-resist gives sharp modern lines without precision painting skills. It’s satisfying to peel the tape and reveal exact shapes.
Materials
- 1 medium ceramic bowl (8")
- 1 fine painter’s tape (1/8"–1/4")
- 2 contrasting ceramic paints (black and cream, 20–30 ml each)
- 1 small foam brush
- 1 ruler and pencil for layout
- 1 craft knife for trimming tape
- 1 sandpaper (220)
Instructions
- Prep bowl, sketch geometric pattern with pencil.
- Apply tape along pencil lines, pressing edges firmly.
- Paint exposed segments with foam brush; apply two thin coats, 15 minutes apart.
- Remove tape carefully while paint is tacky for crisp edges.
- Air dry 24 hours, then cure per paint instructions.
- Lightly sand any raised edges after cure if needed.
How to Display or Gift It
Pair with a matching plate or mug for a modern housewarming gift. Store in a stackable craft organizer tray between projects.
- Chalkboard Label Prep Bowl

Turn a bowl into a versatile labeled piece with chalkboard paint. Great for batch serving or seasonal displays—change the label whenever you like.
Materials
- 1 ceramic bowl (8–9")
- 1 chalkboard paint (30 ml)
- 1 small foam roller or brush
- 1 fine sanding pad
- 1 piece of chalk or chalk marker
- 1 painter’s tape for masking
- 1 clear coat (optional for outdoors)
Instructions
- Sand where label will go; wipe clean.
- Mask area with tape and apply 2–3 thin coats of chalkboard paint, 15 minutes drying between coats.
- Remove tape carefully; let paint cure 24–48 hours.
- Condition surface by rubbing chalk over it and wiping off.
- Write labels with chalk marker for a crisp look.
- Recondition if surface gets heavy wear.
How to Display or Gift It
Use as a serving piece for condiments with labels like “nuts” or “mints.” Wrap with a small chalkboard tag and slate board for gifting. Store chalk in a small mason jar with twine.
- Ceramic Bowl Painting Ideas for Beginners: Retro Sunburst Bowl
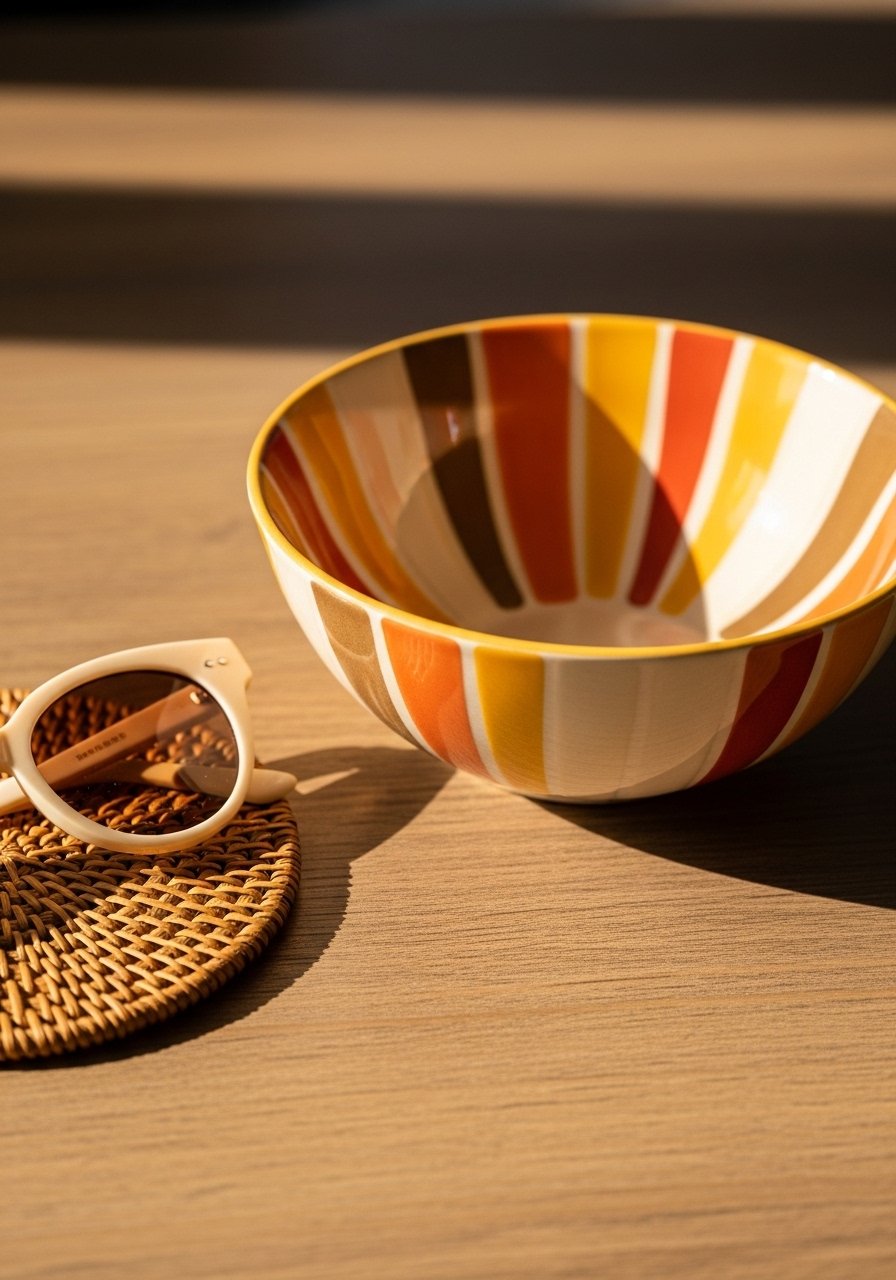
Retro sunburst is cheerful and nostalgic—great for adding a pop of color to the kitchen. The repetitive rays are meditative to paint and look sophisticated in a set.
Materials
- 1 ceramic bowl (8")
- 3 mid-century colors (mustard, burnt orange, cream) in 20–30 ml
- 1 pencil and compass or small round object for center guide
- 1 thin flat brush (1/4")
- 1 painter’s tape for crisp rays (optional)
- 1 palette and water jar
Instructions
- Find center point of the bowl base and mark with a pencil.
- Lightly draw radial guide lines for equal rays.
- Paint alternating colors with a thin flat brush; keep strokes outward from center.
- Let each color dry 15–20 minutes between adjacent rays to avoid smudging.
- Apply a second coat as needed; dry 24 hours.
- Cure per paint label for durability.
How to Display or Gift It
Make a trio in complementary retro colors and package them in a box with vintage fabric. Display on open shelving for a bold pop. Use a fabric gift bag for charming presentation.
- Salt-Painted Textured Bowl

Salt painting makes tactile, organic textures—great for rustic farmhouse vibes. It’s forgiving for beginners and looks like it took longer than it did.
Materials
- 1 ceramic bowl (7–9")
- 1 tube acrylic paint (pale blue) mixed with coarse sea salt
- 1 coarse sea salt (2–3 tablespoons)
- 1 small spatula or palette knife
- 1 clear sealer (matte)
- 1 disposable mixing cup
- 1 gloves
Instructions
- Mix paint with coarse salt (approx 1 tbsp salt per 1 tbsp paint).
- Apply mixture to rim or desired area with a spatula in thick patches.
- Let dry 24–48 hours; salt will create raised texture.
- Brush off excess salt if loose; seal with a clear matte sealer.
- Cure sealer as directed; allow full 72 hours before washing.
How to Display or Gift It
Texture bowls pair well with woven placemats and natural linens for farmhouse styling. Wrap with kraft paper and twine and tuck a small dried herb sprig. Store finished items in a craft organizer tray to avoid scuffs.
- Gradient Brushstroke Soup Bowl

Brushstroke gradients show off natural brush marks for a painterly look. You’ll enjoy watching the colors blend during application.
Materials
- 1 deep ceramic soup bowl (10 oz)
- 2–3 acrylic colors for gradient (30 ml each)
- 1 wide flat synthetic brush (1")
- 1 palette for mixing
- 1 water jar and paper towel
- 1 painter’s tape (optional for neat rim)
Instructions
- Base coat bowl with the lightest color; dry 20–30 minutes.
- Load brush with two colors slightly overlapping on the bristles.
- Paint horizontal strokes from rim down, overlapping strokes to blend.
- Smooth transitions with light dry brush strokes while paint is still wet.
- Let dry 24 hours; apply a second glaze coat if needed.
- Cure per paint directions; cool fully.
How to Display or Gift It
Pair with a matching napkin for a cozy soup night gift. Display on open shelving with stacked bowls in same hue family. A foam brush pack is handy for base coats.
- Speckled Galaxy Bowl

A galaxy speckle bowl uses flicking and metallics for a celestial finish. It hides small imperfections and feels dramatic for evening tablescapes.
Materials
- 1 dark ceramic bowl (8")
- 1 navy acrylic paint (30 ml)
- 1 metallic silver paint (10–20 ml)
- 1 white acrylic for star speckles
- 1 old toothbrush for flicking
- 1 disposable palette and water cup
- 1 gloves
Instructions
- Paint bowl navy; allow two coats with 15 minutes between; dry 24 hours.
- Thin white and silver paints with a few drops of water for splatter.
- Flick paint from toothbrush toward the bowl at safe distance to create stars.
- Add a few larger star dots with a toothpick if desired.
- Let dry 24 hours and cure per paint instructions.
- Seal with a clear coat for longevity; cure fully.
How to Display or Gift It
Great for midnight snack bowls or as a dramatic gift for stargazers. Package in a black tissue-lined box. Use a black gift box for dramatic unboxing.
- Wabi-Sabi Crackle Wash Bowl
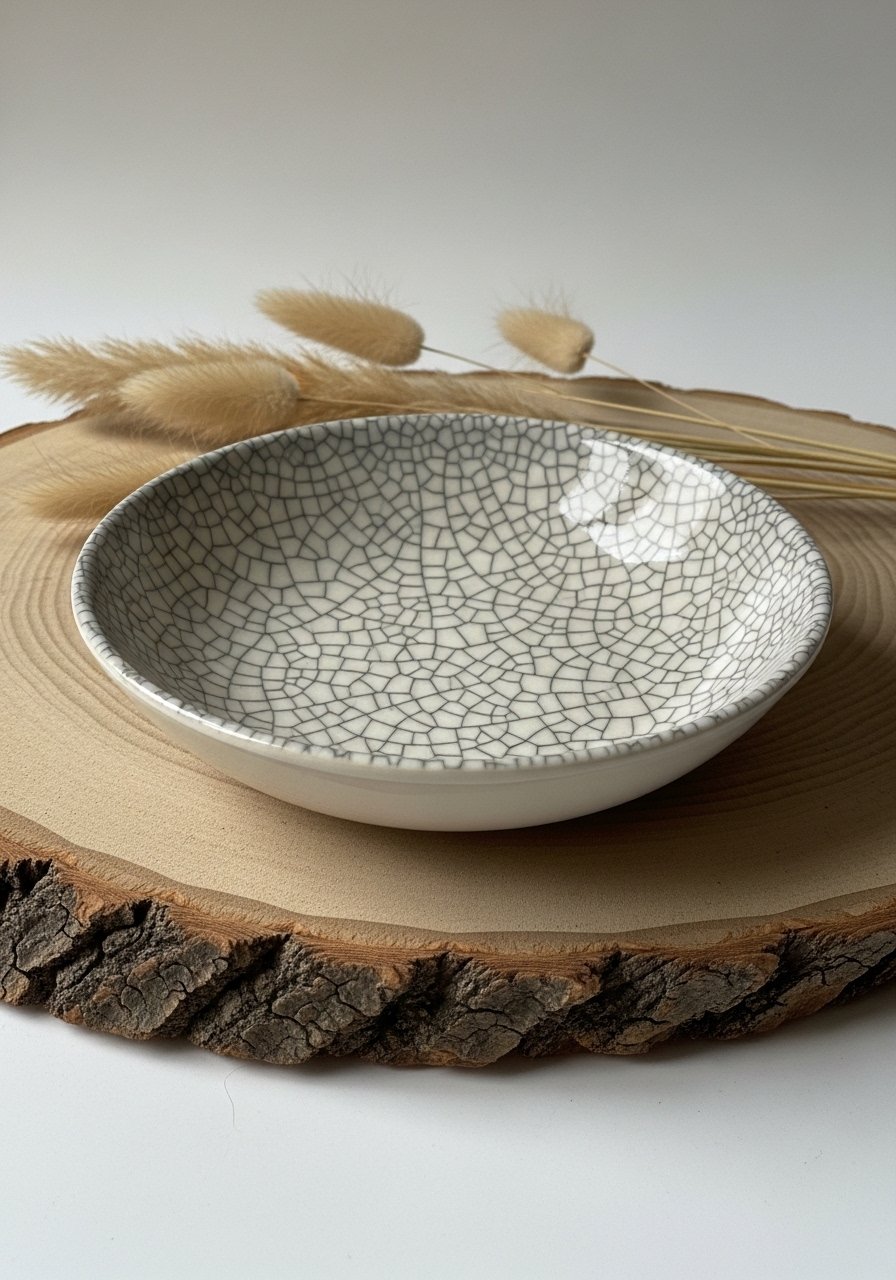
Embrace imperfections with a crackle wash for a wabi-sabi look. This technique intentionally creates controlled cracks that feel organic.
Materials
- 1 ceramic bowl (8–9")
- 1 crackle medium (30–50 ml)
- 2 acrylic paint colors (base and top wash)
- 1 soft flat brush
- 1 sealant suitable for crackle finish
- 1 gloves and drop cloth
Instructions
- Paint base color and allow to dry thoroughly (24 hours).
- Apply crackle medium per manufacturer’s instructions and let become tacky.
- Paint top wash color over the medium; crackles will form as it dries.
- Allow full 24–48 hours to reveal crackle.
- Seal gently to avoid filling cracks; cure per sealer label.
How to Display or Gift It
Pair with handmade pottery and linen for a calm tabletop. Wrap with a skinny ribbon and a note about the technique. Store delicately in a cushioned craft organizer tray.
- Abstract Pour Accent Bowl

If you like fluid art but want to keep it subtle, a small abstract pour inside the bowl gives a wow factor without the mess of full pours.
Materials
- 1 ceramic bowl (7–8")
- 3 pour paints (teal, white, metallic gold)
- 1 pouring medium
- 1 disposable cup and stir sticks
- 1 silicone mat and gloves
- 1 toothpick for micro-veins
Instructions
- Mix paints with pouring medium per product instructions.
- Pour small puddles into the bowl center and tilt gently to move color.
- Use a toothpick to accent veins and remove air bubbles.
- Let sit 48 hours; cure per paint label.
- Clean any drips from rim after cure.
How to Display or Gift It
Pair with matching small plates or use as a jewelry catchall. Wrap with tissue and a small care note. A silicone craft mat will protect your table during pours.
- Tonal Brush Dots Salad Bowl
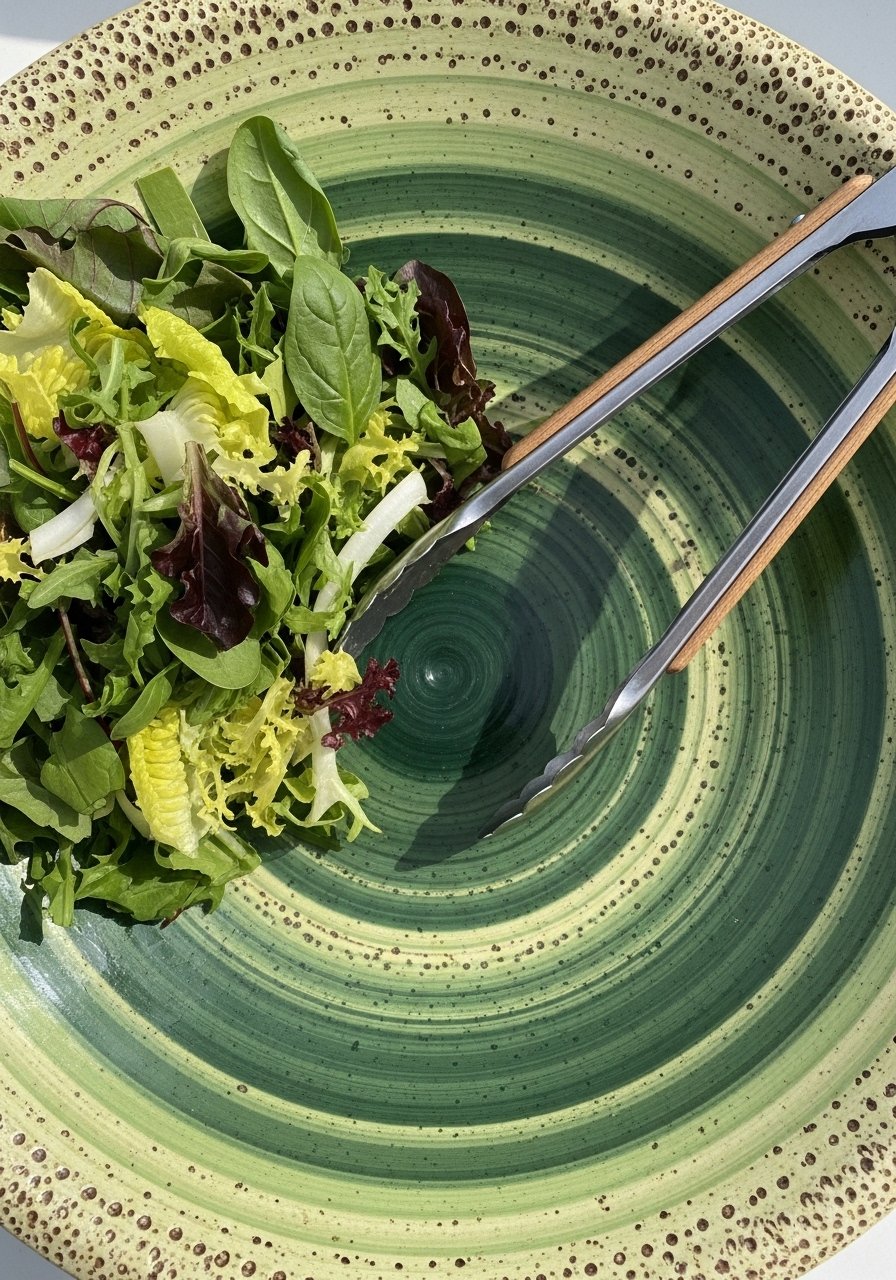
Concentric brush dots create a rhythmic, handmade pattern that looks carefully curated but is beginner-friendly. Great for large serving bowls.
Materials
- 1 large ceramic bowl (10–12")
- 3–4 tonal green paints (20–30 ml each)
- 1 medium round brush (size 6–8)
- 1 pencil and ruler for spacing guides
- 1 palette
- 1 clear sealer for food safety
Instructions
- Clean bowl and lightly mark concentric guide circles.
- Dip brush tip and stamp dots along guides, working from center outward.
- Alternate tones for depth; let sections dry 15 minutes as needed.
- Fill gaps and refine dots for uniform spacing.
- Dry 24 hours; cure per paint instructions and seal if needed.
- Ensure food-safe sealer if using for salad greens.
How to Display or Gift It
Fill with mixed greens and citrus for a gift-ready meal-in-a-bowl. Store with felt separators if stacking; consider a craft organizer tray for batches.
- Checkerboard Dessert Bowl
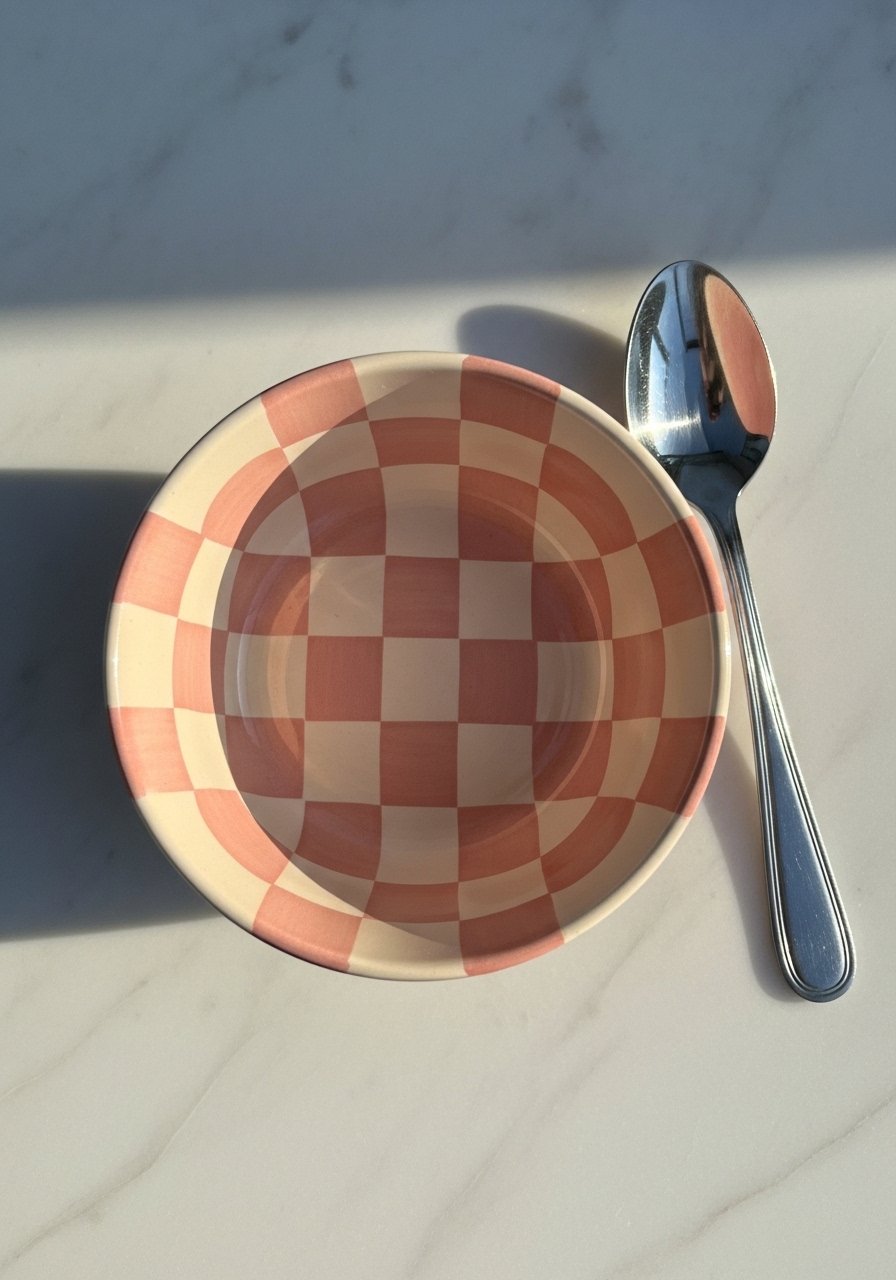
Checkerboard is classic and surprisingly meditative to paint. Precision comes from tape and measured squares, but imperfect lines are charming too.
Materials
- 1 small ceramic bowl (6–7")
- 2 paint colors (blush and cream), 20–30 ml each
- 1 thin painter’s tape and ruler
- 1 pencil for grid marks
- 1 small foam brush and detail brush
- 1 craft knife for tape trimming
Instructions
- Measure and draw a simple grid inside the bowl with pencil.
- Apply tiny strips of painter’s tape to cover lines if you want razor edges.
- Paint alternating squares with a small brush, 15 minutes drying between coats.
- Remove tape carefully while paint is tacky for clean edges.
- Let dry 24 hours and cure per paint instructions.
- Touch up any small bleeds with a detail brush.
How to Display or Gift It
Use for single-serve desserts with a tiny spoon. Stack wrapped bowls in a small kraft gift box for a cute host gift.
- Watercolor Wash Rim Bowl
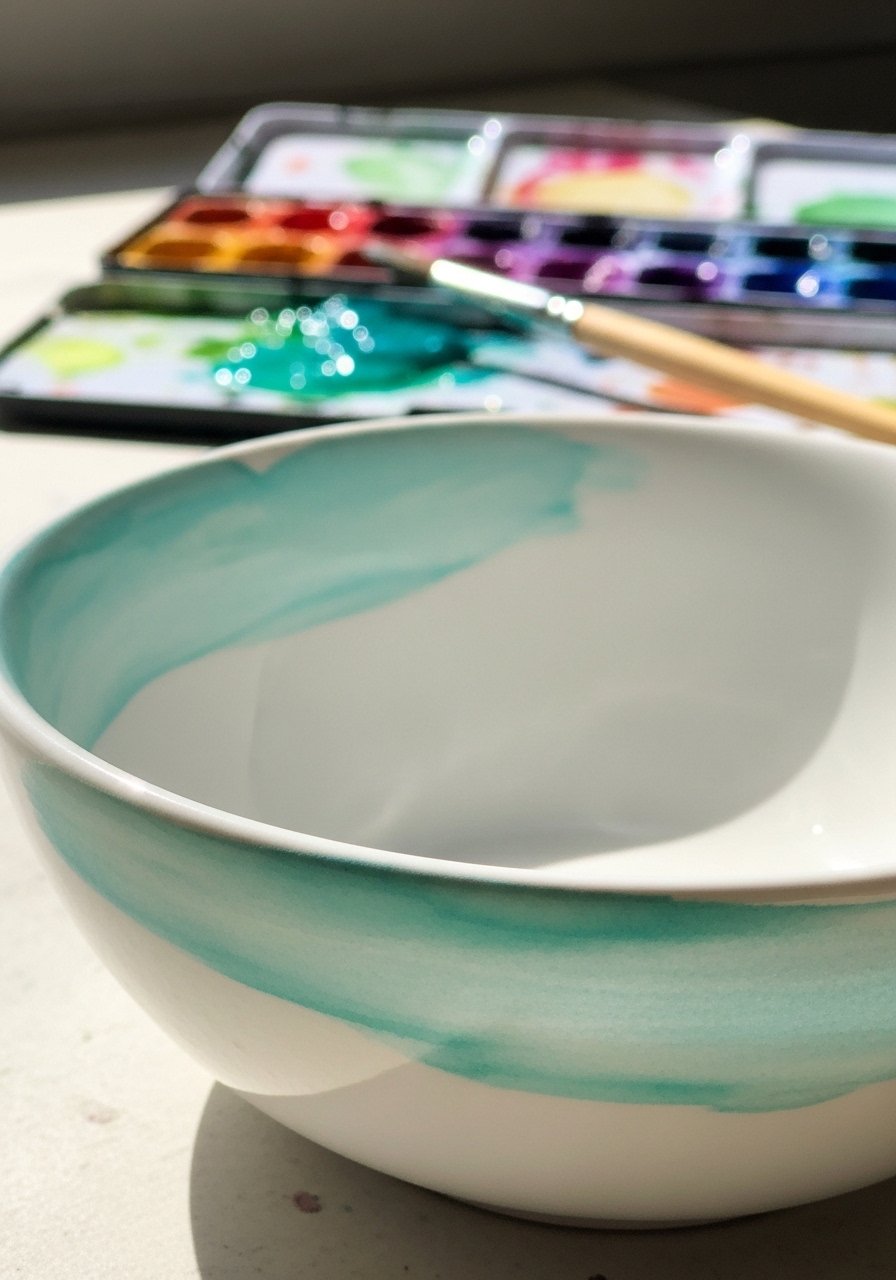
A watercolor wash mimics ceramic glazing and feels airy. Thin paint and quick strokes create a blurred, soft color band.
Materials
- 1 ceramic bowl (8")
- 1 thinned acrylics or specialized ceramic watercolor paint (20 ml)
- 1 mop brush or soft round brush (size 6)
- 1 water jar and paper towels
- 1 palette for dilution
- 1 hairdryer on low (optional to speed drying)
Instructions
- Thin paint heavily on palette (approx 1 part paint : 3 parts water).
- Load brush and apply light washes to the rim, allowing pigment to pool naturally.
- Tilt bowl to encourage drips for an organic edge (optional).
- Blot lightly to soften edges; dry 10–15 minutes between passes.
- Let dry 24 hours and cure per paint label.
- Apply a second thin wash if color is too faint after cure.
How to Display or Gift It
A soft wash bowl is lovely with pastel linens for spring tables. Wrap in tissue and tie with ribbon. Keep a hairdryer on low to speed dry between layers.
- Lace Imprint Vintage Bowl

Use lace as a stencil to press texture into paint for a vintage-inspired look. The imprint gives subtle, complex detail without fine brushwork.
Materials
- 1 ceramic bowl (8–9")
- 1 lace scrap (cotton or linen)
- 1 acrylic paint (thin consistency)
- 1 small brayer or foam roller
- 1 paddle or bone folder to press lace
- 1 scissors and tape to hold lace in place
- 1 clear sealer (matte or satin)
Instructions
- Stretch lace over the bowl interior and tape edges to hold.
- Thin paint slightly and roll or dab over lace with a brayer.
- Press gently with bone folder to transfer pattern.
- Remove lace carefully; touch up any weak spots with a small brush.
- Dry 24 hours, then seal per product guidance.
- Cure fully before use.
How to Display or Gift It
Pair with a tea towel featuring similar lace trim for a coordinated gift. Store delicately in a cushioned box and consider a kraft gift box.
- Stamped Leaf Border Bowl

Stamping is quick and repeatable—great for making matching sets. Use rubber stamps or potato stamps for an approachable DIY.
Materials
- 1 ceramic bowl (8")
- 1 leaf rubber stamp or carved potato stamp
- 1 olive green ceramic paint thinned for stamping
- 1 small foam roller or flat brush for ink-up
- 1 paper towel and palette
- 1 ruler for spacing guide
Instructions
- Prepare stamp and thin paint for even transfer.
- Lightly mark spacing dots around rim for alignment.
- Ink stamp with paint and press firmly to the bowl; repeat around rim.
- Touch up gaps with a small brush if needed.
- Dry 24 hours, then cure per paint label.
- Seal if desired for durability.
How to Display or Gift It
Stamped sets make lovely hostess gifts—bundle 2–3 bowls with a wooden salad server. Store extras in a craft organizer tray.
- Negative Space Leaf Bowl
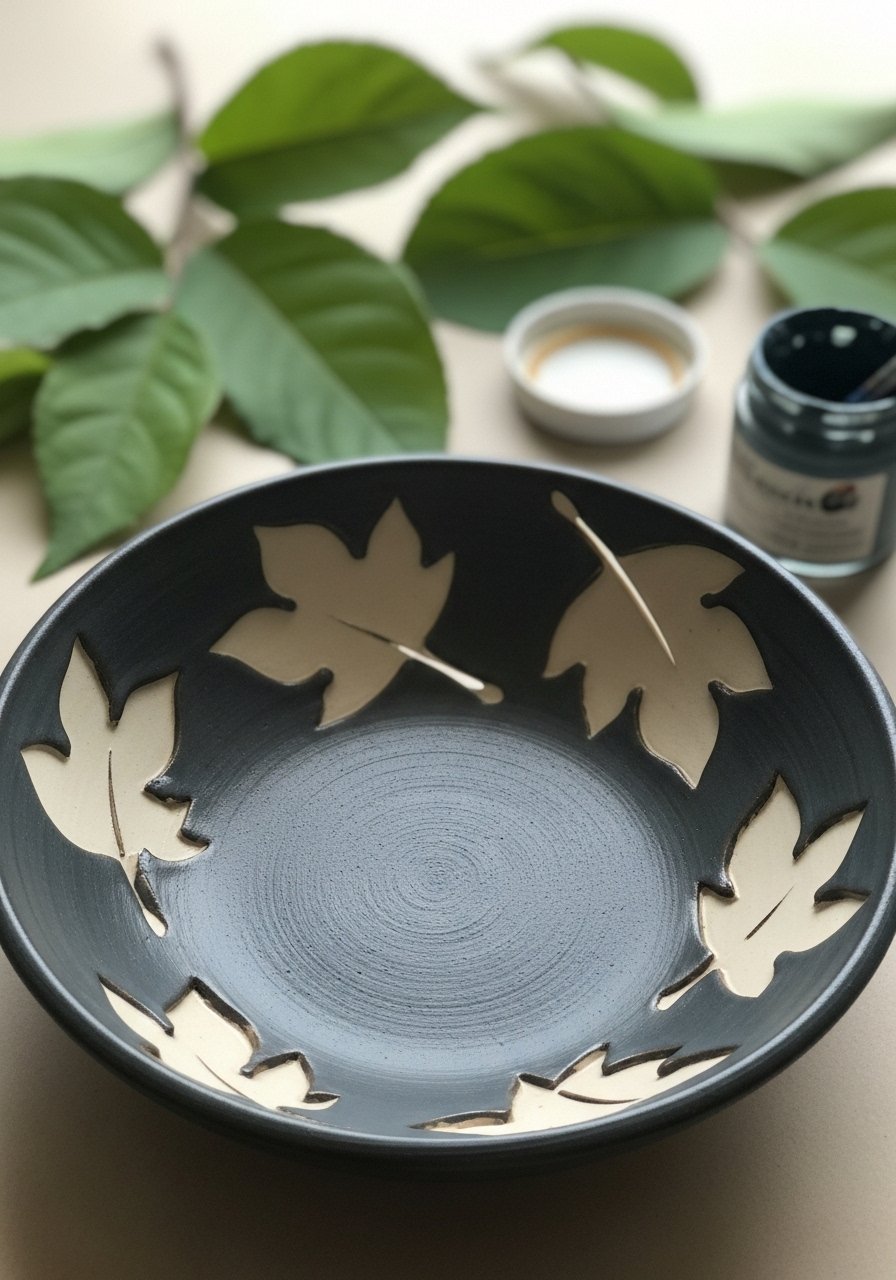
Negative space painting is graphic and forgiving. Paint the whole bowl dark, masking leaf shapes first to reveal the ceramic beneath.
Materials
- 1 ceramic bowl (8")
- 1 dark base paint (navy or forest) 30 ml
- 1 leaf-shaped vinyl stickers or cut-out masking
- 1 foam brush and small detail brush
- 1 palette knife for removing stickers
- 1 clear sealer if desired
Instructions
- Apply leaf mask stickers where you want the ceramic to show.
- Paint entire bowl with dark base color in two thin coats.
- Remove stickers while paint is tacky to avoid pulling paint.
- Touch up edges with a small brush if needed.
- Dry 24 hours and cure per paint directions.
- Seal if extra protection is desired.
How to Display or Gift It
These bowls fit nature-inspired tablescapes. Add matching napkins and a eucalyptus sprig for gifting. Use a kraft gift box for rustic charm.
- Glossy Resin Geode Accent Bowl
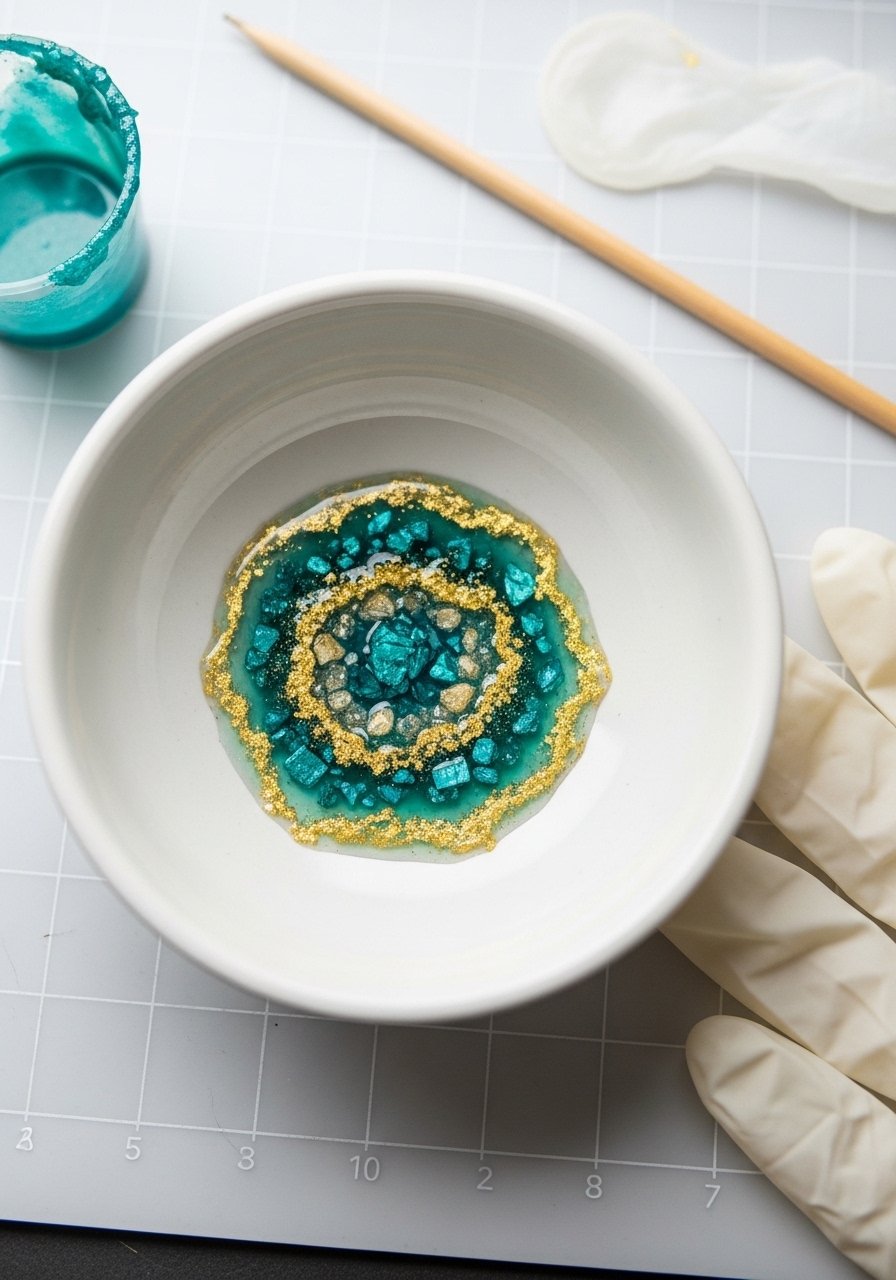
Finish a plain bowl with a small resin geode puddle for a high-impact focal point. Resin adds shine and depth; follow resin safety and cure times carefully.
Materials
- 1 ceramic bowl (8")
- 1 epoxy resin kit (clear), small kit (2 oz resin + hardener)
- 1 mica powders and fine glitter (teal and gold accents)
- 1 disposable mixing cup and stir stick
- 1 gloves, respirator mask, and silicone craft mat
- 1 heat gun or small torch to remove air bubbles
Instructions
- Clean bowl and tape off the area for resin puddle.
- Mix resin and hardener per kit instructions (usually 1:1 by volume).
- Stir in mica powders and pour a small puddle in the bowl base.
- Use a heat gun briefly to pop bubbles; add accents or crushed shell.
- Let cure 24–72 hours depending on resin brand and room temp.
- Ensure fully cured (firm, no tackiness) before use; do not use for food if resin is interior.
How to Display or Gift It
A geode bowl is a luxe gift—pair with a velvet pouch and gift box. Seal the outside of bowl if resin is only focal point. Store in a cushioned black gift box for elegant presentation.
You’ve now got 24 beginner-friendly, satisfying ceramic bowl painting ideas—everything from playful speckles to luxe resin accents. Try one project tonight and pin a few favorites to come back to. Which style are you trying first: the calming Japandi band, the playful animal bowl, or the glossy geode accent? Share your finished pieces with friends or gift them for instant charm.
One tool that helps across nearly every project is a small set of soft foam brushes and detail brushes—I reach for mine for even base coats and tidy edges. If you want a reliable all-purpose brush set, check out this foam brush pack and a detail round brush set. Happy painting—can’t wait to see what you make!