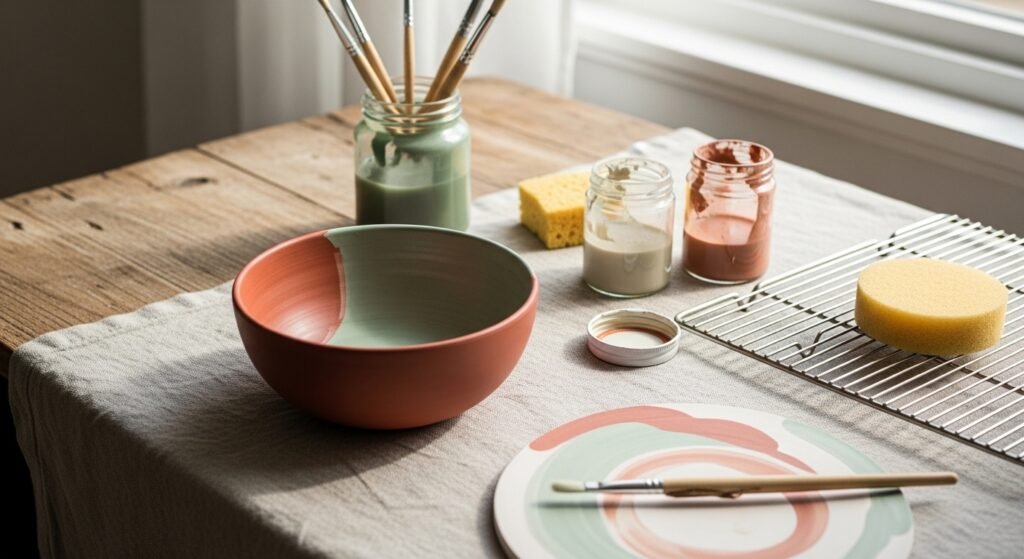
You love the idea of bold, painterly bowls, but underglazes can look dull or patchy if you don’t prep and fire them right. If you’ve ever had colors flatten after glazing or seen brushstrokes disappear, this guide shows how to use underglazes for ceramic bowl painting to get vivid colors and a flawless finish.
You’ll learn quick prep, the best brush and tool choices, and simple glazing and firing cues so your colors stay bright. For smooth application, try a soft round ceramic brush set and a reliable underglaze set to experiment with palettes that fire true.
Follow these step-by-step actions for beginner-friendly results you can finish in one afternoon of painting (firing excluded).
Gather and prep like a pro for quicker, cleaner painting
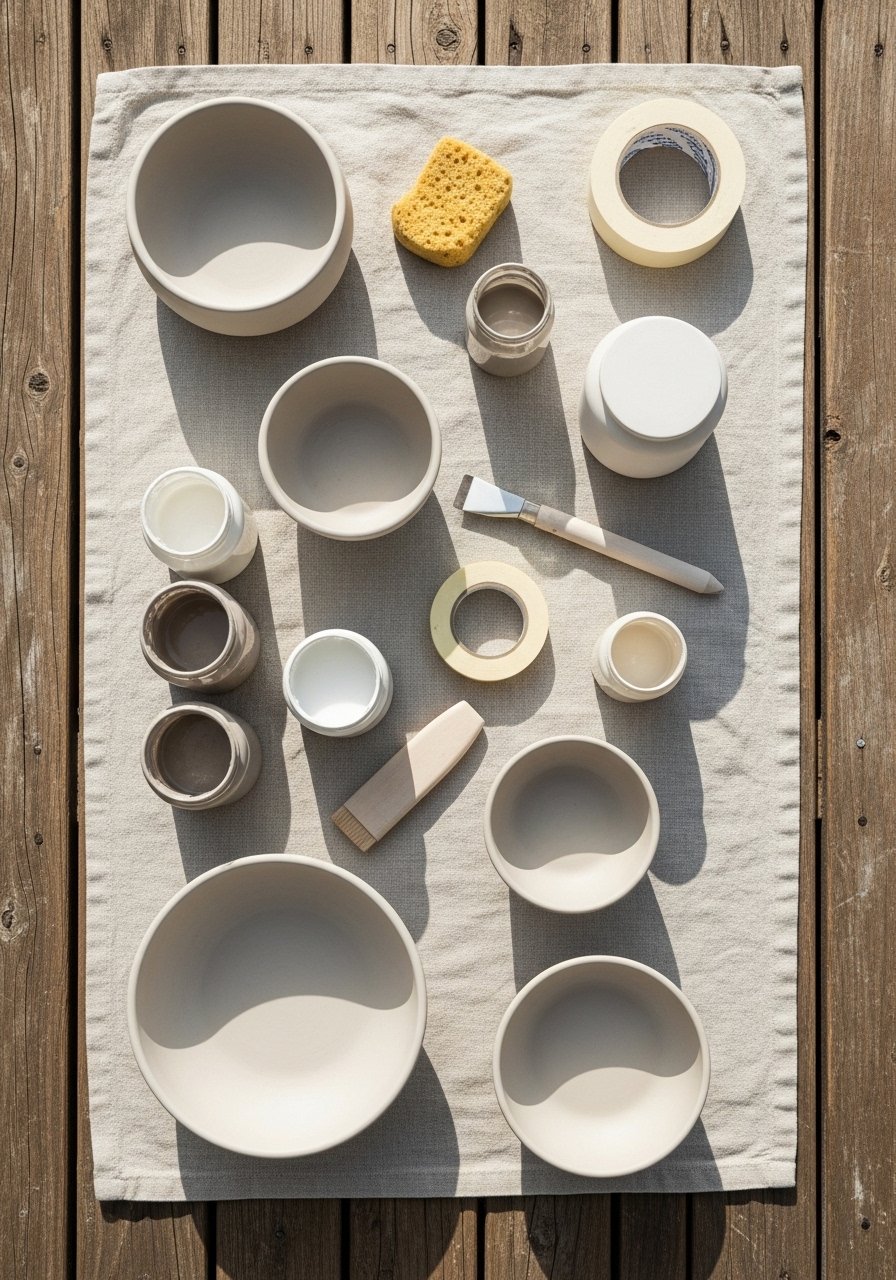
Start with clean, bisque-fired bowls—dust and oils interfere with underglaze adhesion. Wipe each bowl with a damp lint-free cloth and let it dry fully. A small bisque bowl is easier to test color and technique before committing to a large set.
Tips:
- Tape areas you want to keep clean with low-tack painter’s tape for crisp borders.
- Use a set of bisque ceramic bowls if you don’t have bisque on hand.
- Keep tools organized in a stackable craft organizer tray so you can work fast while the underglaze is wet.
Estimate: prepping 2–3 bowls takes about 15–20 minutes.
Paint confidently: layering, blending, and sgraffito techniques

Begin with thin, even coats. Underglazes behave like opaque watercolor—thin washes look translucent, thicker coats are opaque. Aim for full coverage in 1–2 thin coats rather than one heavy pass.
Step-by-step:
- Stir your underglaze jar well. A small palette knife helps mix settled pigments.
- Load your soft round ceramic brush set with paint, wipe the tip on the jar edge, then paint with steady strokes.
- For crisp lines, let the first coat dry to the touch (15–30 minutes) before adding details.
Try sgraffito (scratch-through) using a ceramic sgraffito tool set for etched patterns, or blend colors while wet for soft gradients. Remember: a 2 oz jar of underglaze typically covers several small bowls, so you don’t need large quantities to practice.
Get the finish right: glazing and firing without color loss
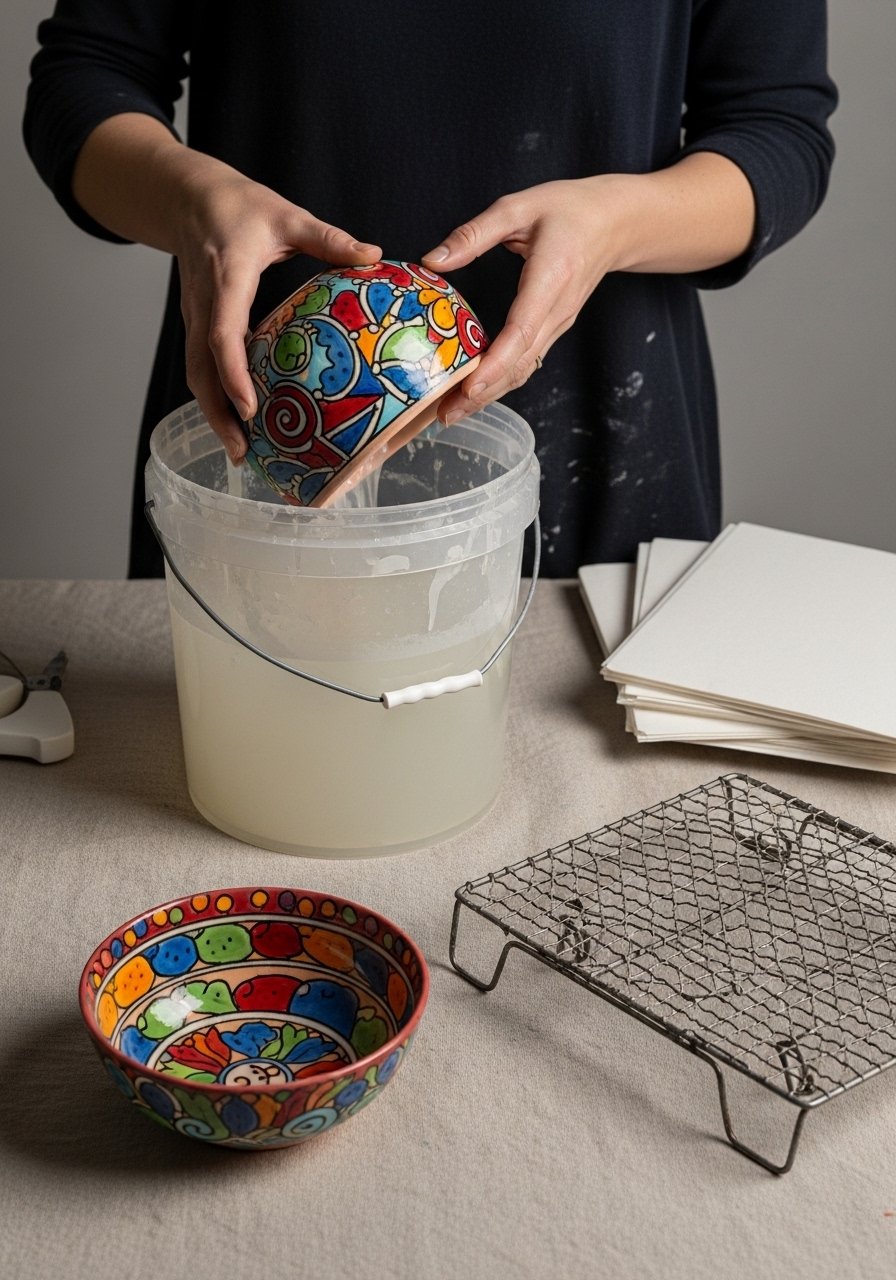
After painting, let pieces sit 24 hours for any fine cracks to settle (touch-dry in 15–30 minutes is not enough). Apply a clear glaze designed to fire with underglaze; brush or dip evenly to avoid pooling.
Helpful products:
- A clear glossy dipping glaze works well for bright color saturation.
- Use kiln shelf paper or stilts to prevent sticking during firing.
Firing note: follow the underglaze and glaze manufacturer firing schedule. Most hobby underglazes are low-fire; if you don’t own one, consider a small tabletop kiln or local studio kiln service. Expect a full cycle plus cool-down to take several hours.
Troubleshooting:
- If colors dull after glaze, try a thinner glaze layer or a glaze rated for underglazes.
- Tiny bubbles? Pop them with a quick pass of a craft heat gun before firing (only on glazed but unfired pieces).
Display, gift, or store your bowls the right way
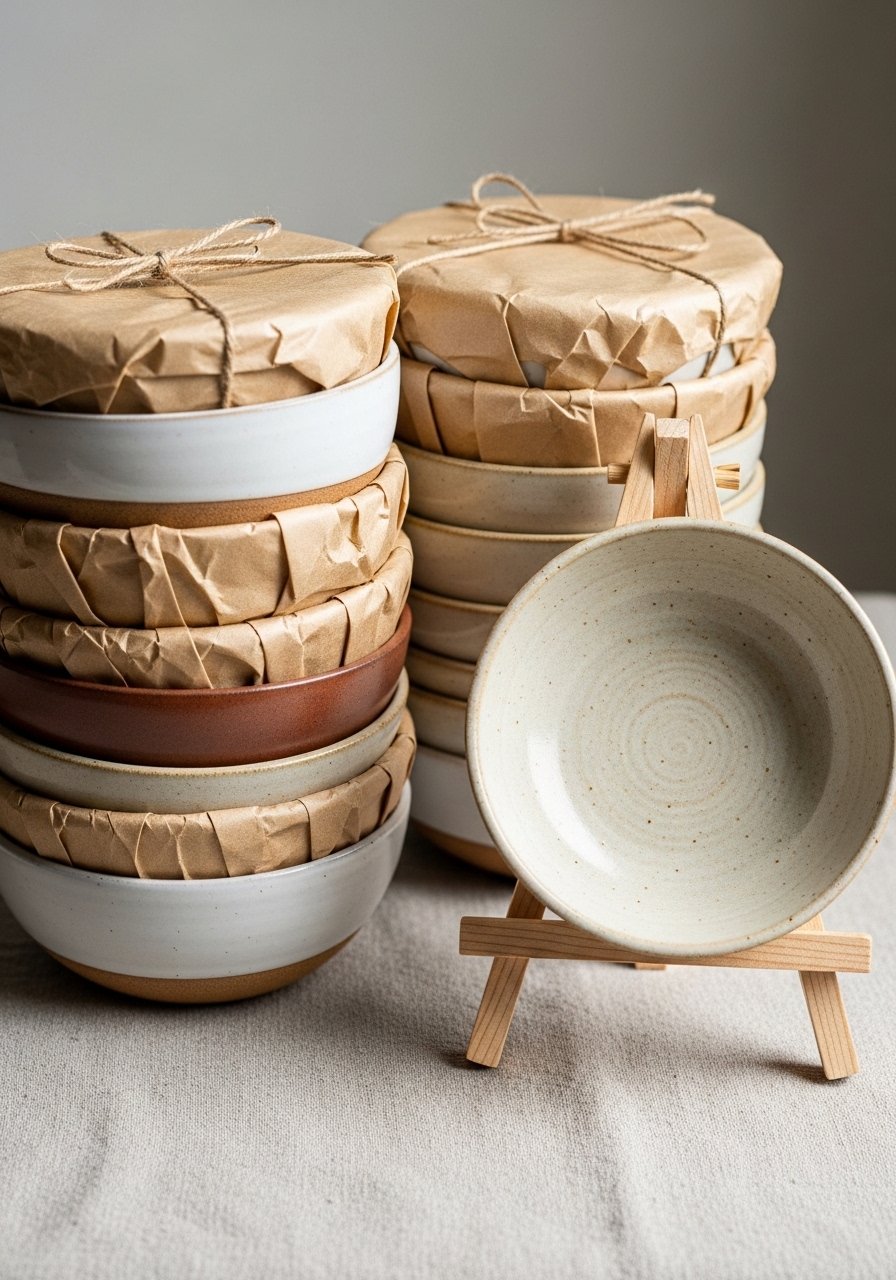
Cool, fired bowls can be displayed or packed for gifting. For safe stacking, place felt dots between pieces to avoid scratching. If you're sending bowls as gifts, wrap flat and secure with kraft tissue and a small box.
Product tips:
- Store extras in kraft gift boxes for gifting.
- For short-term display, a small wooden easel showcases one bowl without crowding your shelf.
Pin-worthy finishing: bright, even glaze over vivid underglaze looks best under bright natural light—exactly the setting in your photos.
You’ve now got the steps to confidently use underglazes for ceramic bowl painting and keep colors vivid through glazing and firing. Save this guide, pin it for your next craft afternoon, and try one color-testing bowl before committing to a full set. Which color combo will you try first?





