
You’re juggling snacks, tiny scissors, and a to-do list, but you still want holiday memories made with glue-sticky hands and big grins. If you’ve searched for “holiday crafts for kids” that are simple, festive, and actually finishable in one afternoon, this guide is for you.
You’ll learn beginner-friendly projects that use items you’ll reach for again and again. I keep a self-healing cutting mat nearby for quick template cuts and a roll of low-tack painter's tape to hold patterns in place without wrecking surfaces. Ready for a calm, pin-worthy craft afternoon with kids?
Below are four easy projects, time estimates, exact measurements, and the small tool swaps that make them look professional without taking forever.
Gathering and prepping supplies for holiday crafts for kids (easy, budget-friendly)

Start with a tidy workspace so projects don’t turn chaotic. Lay down a self-healing cutting mat and sort materials into stackable craft organizer trays — kids can grab what they need without spreading glitter everywhere.
Tips:
- Pre-cut templates for children under 8 to save time.
- Use a precision craft knife only for adult prep; keep detail scissors for kids.
- Label trays by task: paint, glue, embellishments.
Plan 30–45 minutes of prep for a group of 2–4 kids; this halves the chaos later.
Make quick beginner-friendly felt ornaments (one-afternoon, no-sew option)

Felt ornaments are forgiving and kid-safe. Use 3–4” felt shapes for little hands.
Steps:
- Trace shapes on felt and have an adult cut with the precision knife for crisp edges.
- Let kids decorate with paint pens or glue on wooden beads and sequins.
- Seal lightly with a coat of Mod Podge for a soft sheen and dry 15–20 minutes touch dry, 24 hours full cure.
Helpful tools:
- Layer on color with an acrylic craft paint set and use foam brushes for fast coverage.
- Embellish with wooden beads threaded on twine for rustic charm.
Common mistake: too much glue—use thin lines so pieces stay flat and dry faster.
One-afternoon no-sew mini stockings (beginner-friendly, parent-approved)

No-sew stockings are fast and kid-accessible. Cut felt to 8” x 6”, fold, and glue the sides.
Steps:
- Fold each 8” x 6” rectangle and press edges with a hand for a clean line.
- Apply thin strips of fabric glue and hold for 30 seconds, or clip briefly until tacky.
- Add trim with washi tape and tiny wooden beads glued as accents.
Products that help:
- Use fabric glue for washable holds.
- Keep embellishments organized in stackable craft organizer trays.
Time estimate: 45–60 minutes per stocking from start to hang-ready.
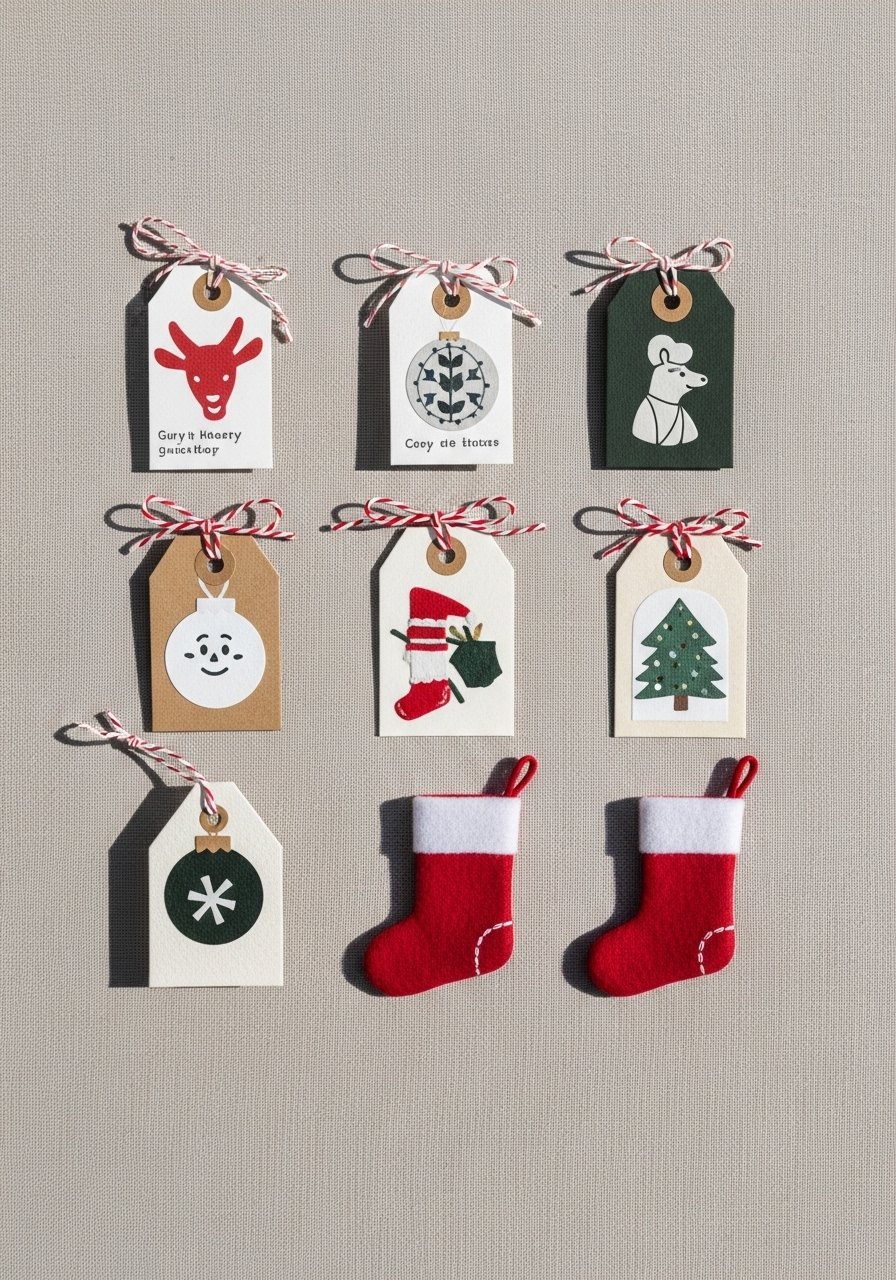
Upcycled gift tags and quick display ideas (budget, upcycled, pin-worthy)

Turn old holiday cards into pretty tags in 20 minutes. Cut cards into 2.5” x 3.5” rectangles, punch a hole, and add a strip of double-sided tape or a dab of Mod Podge gloss to attach scraps.
Tips:
- Mix textures: add a piece of felt, a dab of paint, or a wooden bead.
- Store extras in clear zip pouches for next year.
Display ideas:
- Clip tags to a small branch or a ribbon-wrapped mantle.
- Present a set in a kraft gift box for gifting.
Wrapping, storing, and keeping crafts stress-free (time-saving finishing)
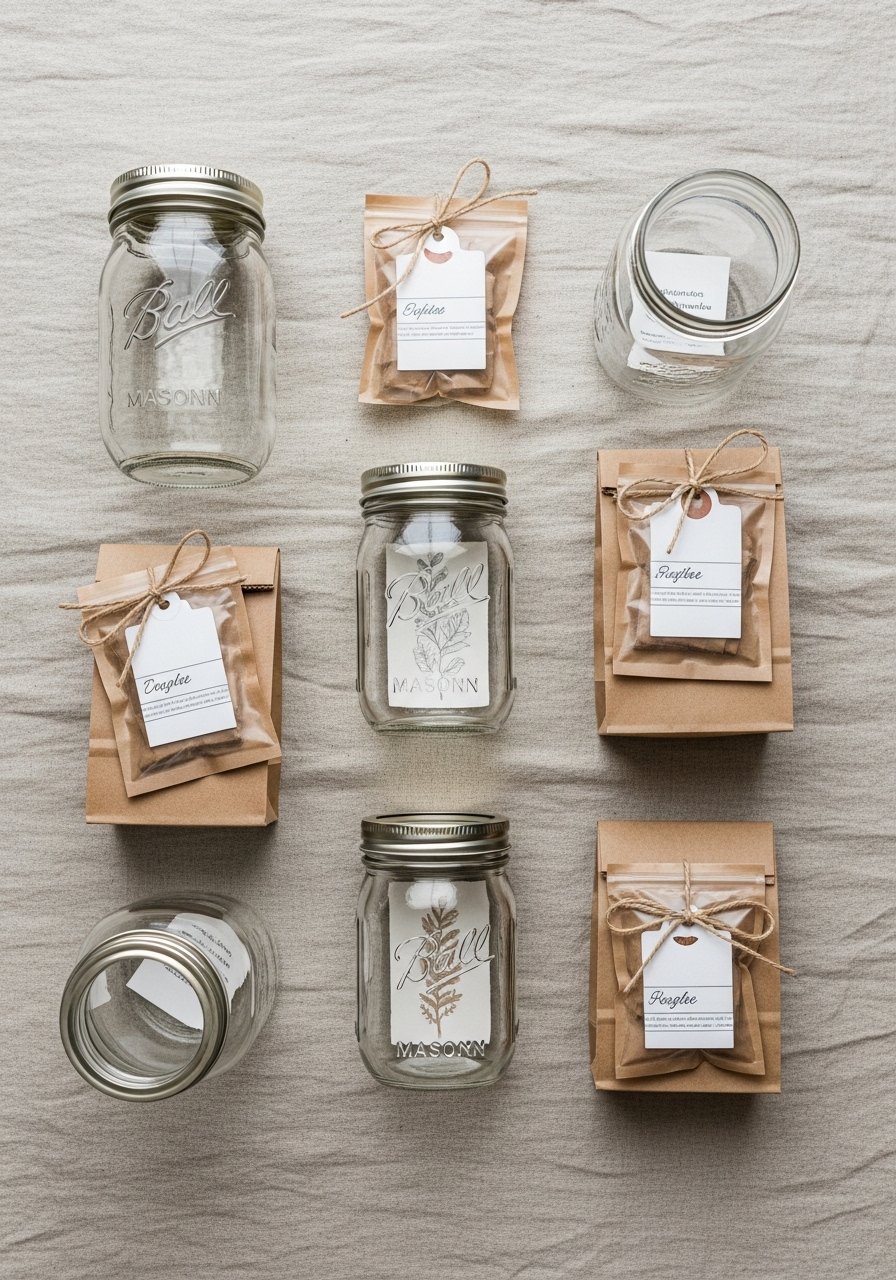
Keep finished projects tidy and ready to gift. Use clear zip pouches for sets and mason jars to display tree ornaments on a gift table.
Quick packing routine:
- Let paint fully cure 24 hours before stacking.
- Wrap delicate items flat in tissue and tuck into a kraft gift box.
A small stock of these storage helpers saves hours at holiday time.
These projects give you festive, beginner-friendly ways to make holiday crafts for kids that actually finish. Pick one to try this afternoon, pin the look for next year, and keep a few of these tools handy — a hot glue gun is my go-to for quick adult-only fixes. Pin this guide for your next craft afternoon and tell me: which project will you try first?


