
You want your room to feel cozy and a little magical, but store-bought setups look harsh or expensive. An aesthetic fairy light decor DIY fills your space with a warm, magical cozy glow without fuss or fancy tools. This beginner-friendly project is perfect for a one-afternoon craft session and works with jars, bottles, or wall frames.
The secret? Start with reliable lights and a small hot glue gun. I use warm strings for color and a battery-operated LED string lights set so placement stays cordless, and a compact mini hot glue gun for quick anchors that set in about 30–60 seconds. You’ll learn how to prep, build, and display your aesthetic fairy light decor DIY in under two hours.
Gather and prep for a clean, cozy build
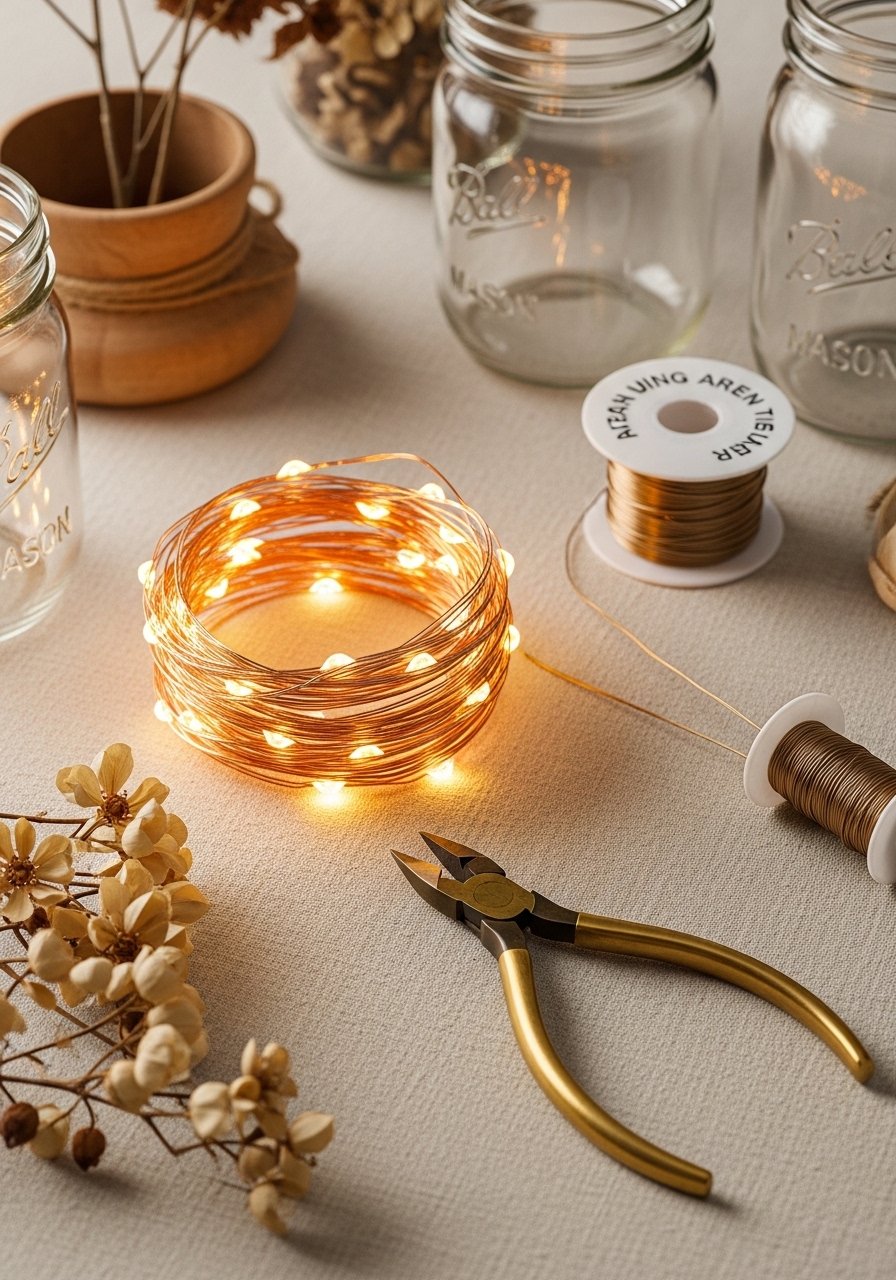
Prep saves time and frustration. Choose strings about 10–20 feet long depending on your display—longer for draping beds or canopies, shorter for jars. For glowing jars I use mason jars with lids — six jars is a good starter set for a window or shelf.
Quick tips:
- Untangle lights and test all bulbs before you start. Replace failing strands immediately.
- Cut a few pieces of floral wire to make tiny anchors inside lids or handles.
- Protect your table with a scrap of linen or a [heat gun-friendly surface] if you plan to melt glue; a craft heat gun helps with stubborn bubbles in resin accents.
Build the core fairy light elements (easy, no-sew)
This is the core technique for jar lights and simple draped garlands.
-
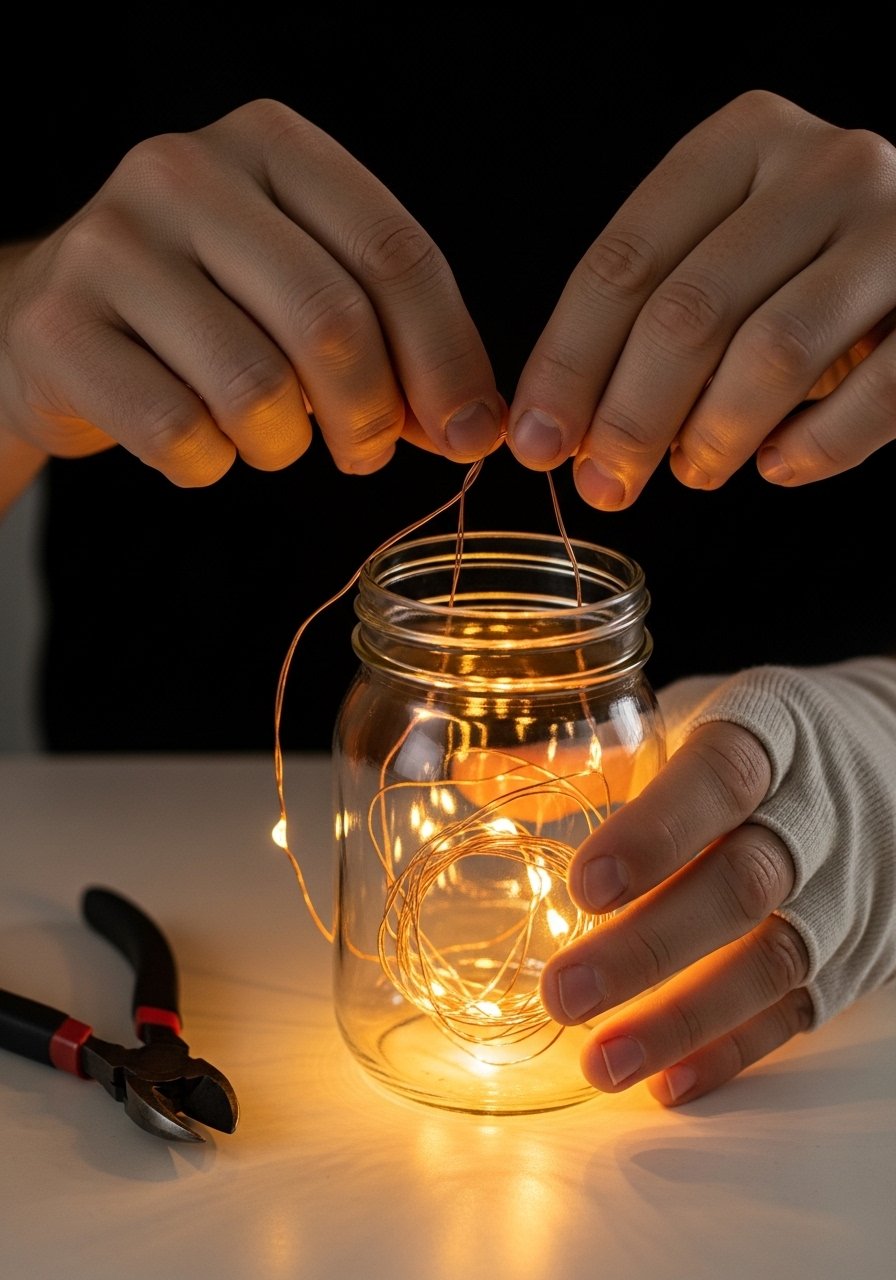
For jar lights:
- Remove lids; thread the light strand into each jar, leaving the battery pack outside. Use a short loop of floral wire twisted to the lid to hold the strand steady.
- Secure the wire anchor with a dot of hot glue—sets in 30–60 seconds.
- Add dried sprigs or tiny paper stars for texture.
-
For hanging/garland lights:
- Anchor your copper wire fairy lights along a shelf or headboard. Copper wires are bendy and blend into décor.
- Trim excess with wire cutters for crafts.
Pro tips:
- If bulbs sit too close to glass, wrap a tiny bit of baking parchment to diffuse harsh spots.
- Use warm white globe string lights for round, cozy pools of light—great for mantels.
Finish and fine-tune for a polished glow
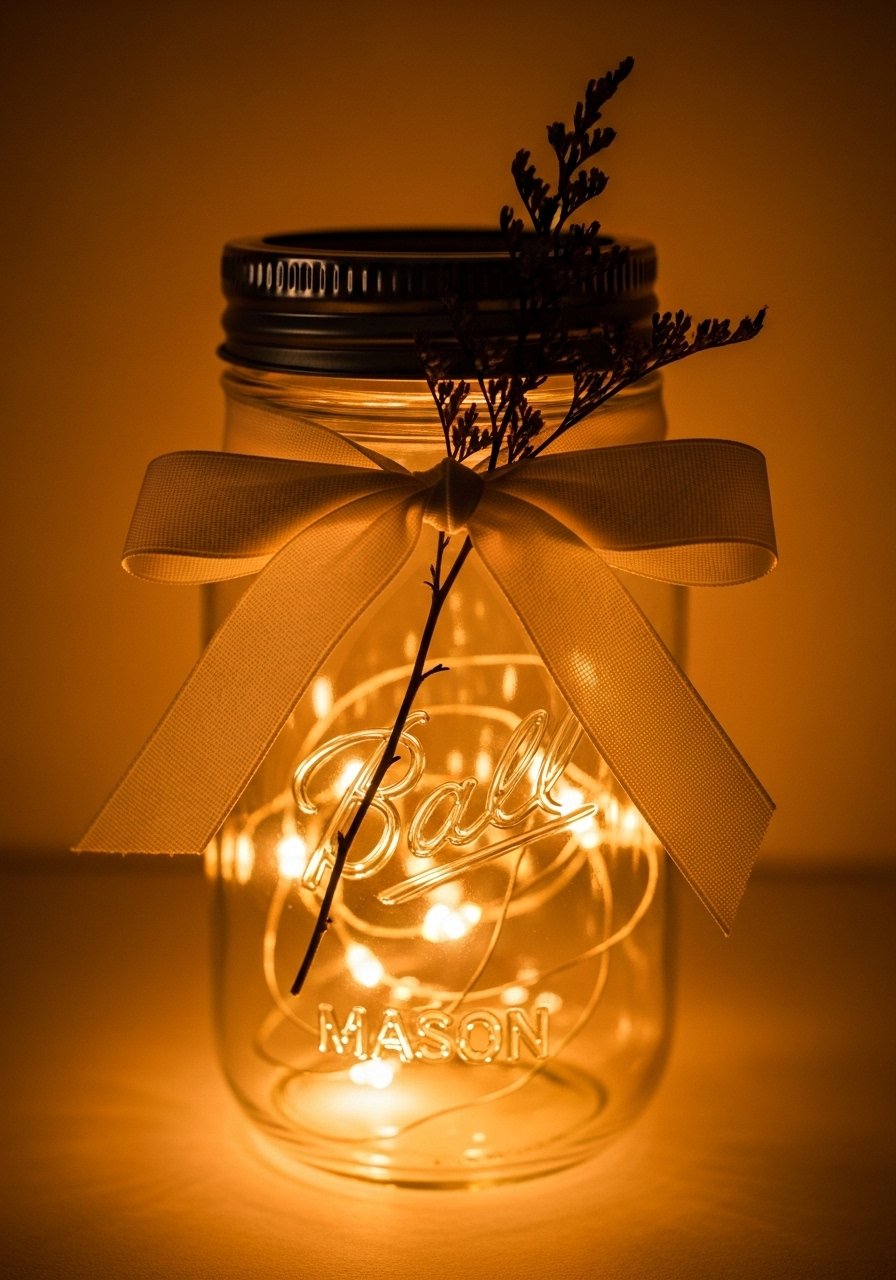
Getting the glow right is about balance and the right hardware.
- Use a battery pack with remote dimmer to control brightness without climbing. Dimming creates that warm, cozy vibe.
- Spot-fix loose wires with small dots of glue from your mini hot glue gun; avoid over-gluing near bulbs.
- If you add resin or painted accents, a craft heat gun pops air bubbles quickly and smooths finishes.
Watch for:
- Battery packs getting warm—swap batteries if it feels hot.
- Lights clumped in one area; spread bulbs evenly for soft diffusion.
Display, gift, and store your creations (pin-worthy)
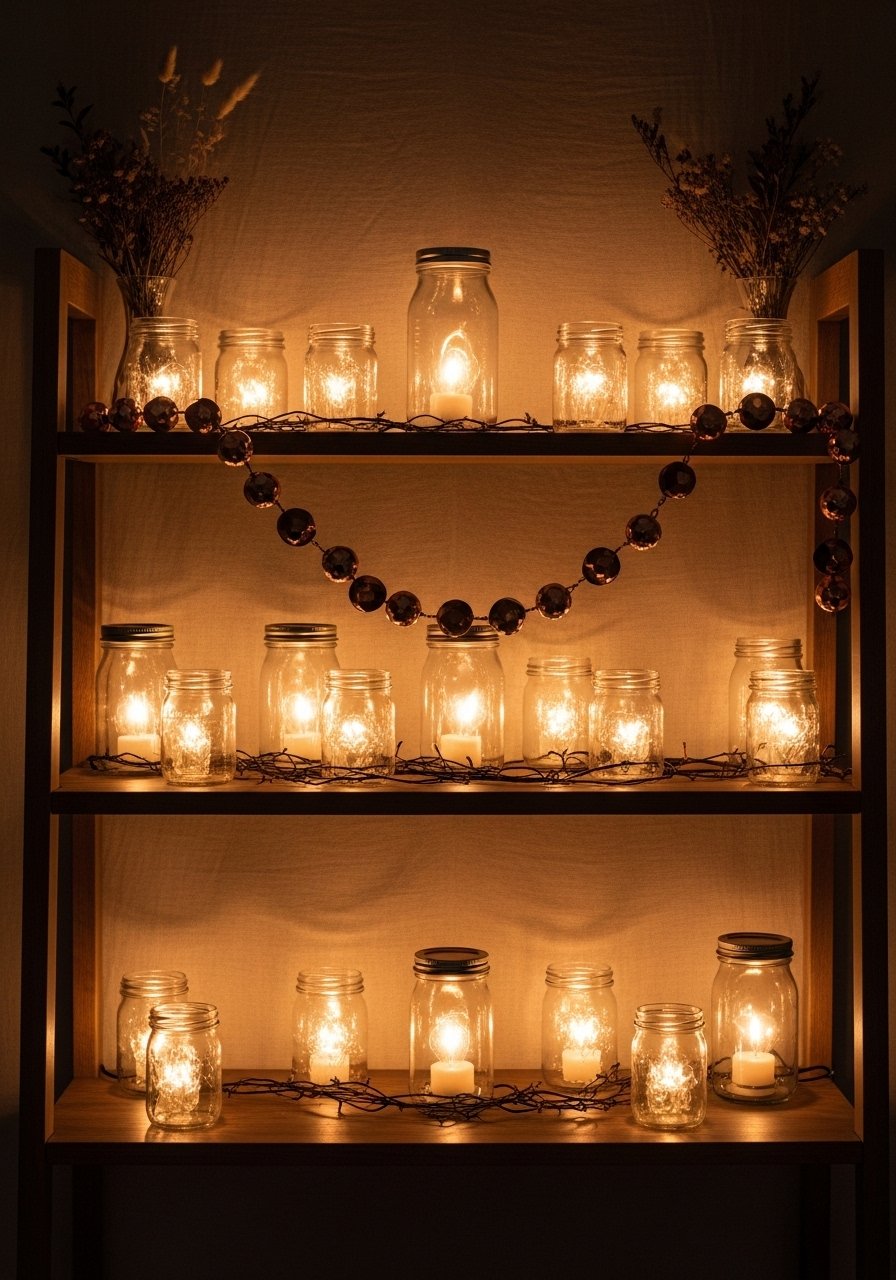
Display ideas:
- Cluster 3–5 jar lights at staggered heights on a bedside table for a cozy reading nook.
- Drape copper strings across a curtain rod using Command hooks for damage-free placement.
- Gift sets? Pack a jar light in tissue and a small kraft box for an easy handmade present.
Storage tips:
- Coil lights on a cardboard spool to prevent tangles.
- Store spare bulbs and battery packs in a small craft organizer.
This project is beginner-friendly, budget-conscious, and highly tweakable. If a tool pulls double duty for you, consider the mini hot glue gun again—it speeds assembly and fixes tiny mistakes fast.
You just made a warm, magical glow that’s cozy and totally pin-worthy. Save this guide and grab a few lights to try tonight—will you make jar lights, a draped garland, or a mixed display first? Pin this guide for your next craft afternoon and share it with a friend who loves cozy room ideas!


