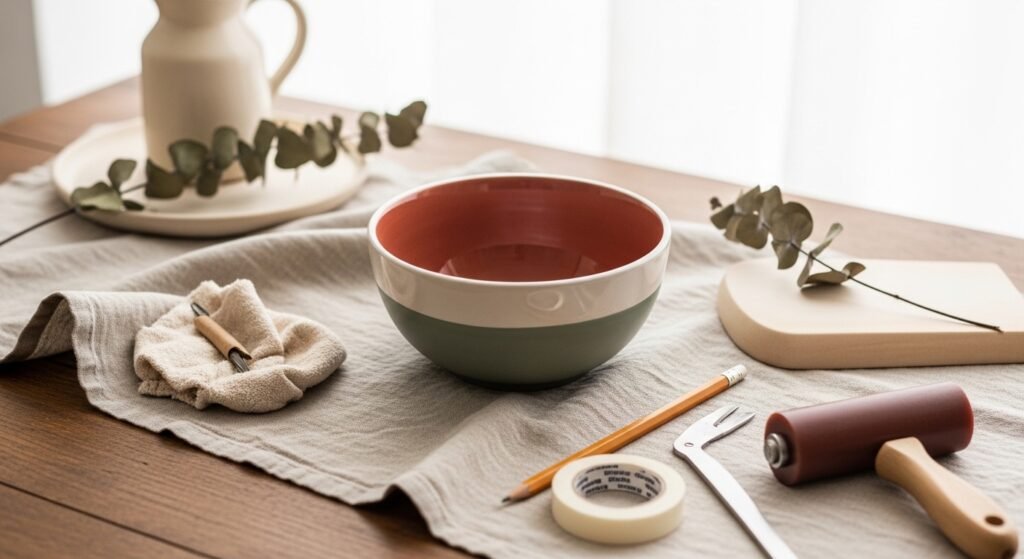
You love the look of crisp, hand-painted bowls, but transferring designs onto ceramic bowls always leaves you chasing smudges and crooked lines. If you’ve ever wished every line was perfectly precise and clean, this guide walks you through foolproof ways to move a design from paper to curve so you can paint with confidence.
The secret is using the right transfer method for your image and the right tools to keep it from shifting. For simple sketch transfers I use graphite transfer paper and tracing paper, and for photographic or multi-color pieces I reach for waterslide decal paper. Both make transferring designs onto ceramic bowls fast and beginner-friendly.
Read on for step-by-step methods you can finish in an afternoon, troubleshooting tips, and sealer advice so your lines stay crisp through painting and gifting.
Set up your workspace for precise transfers (easy, beginner-friendly)
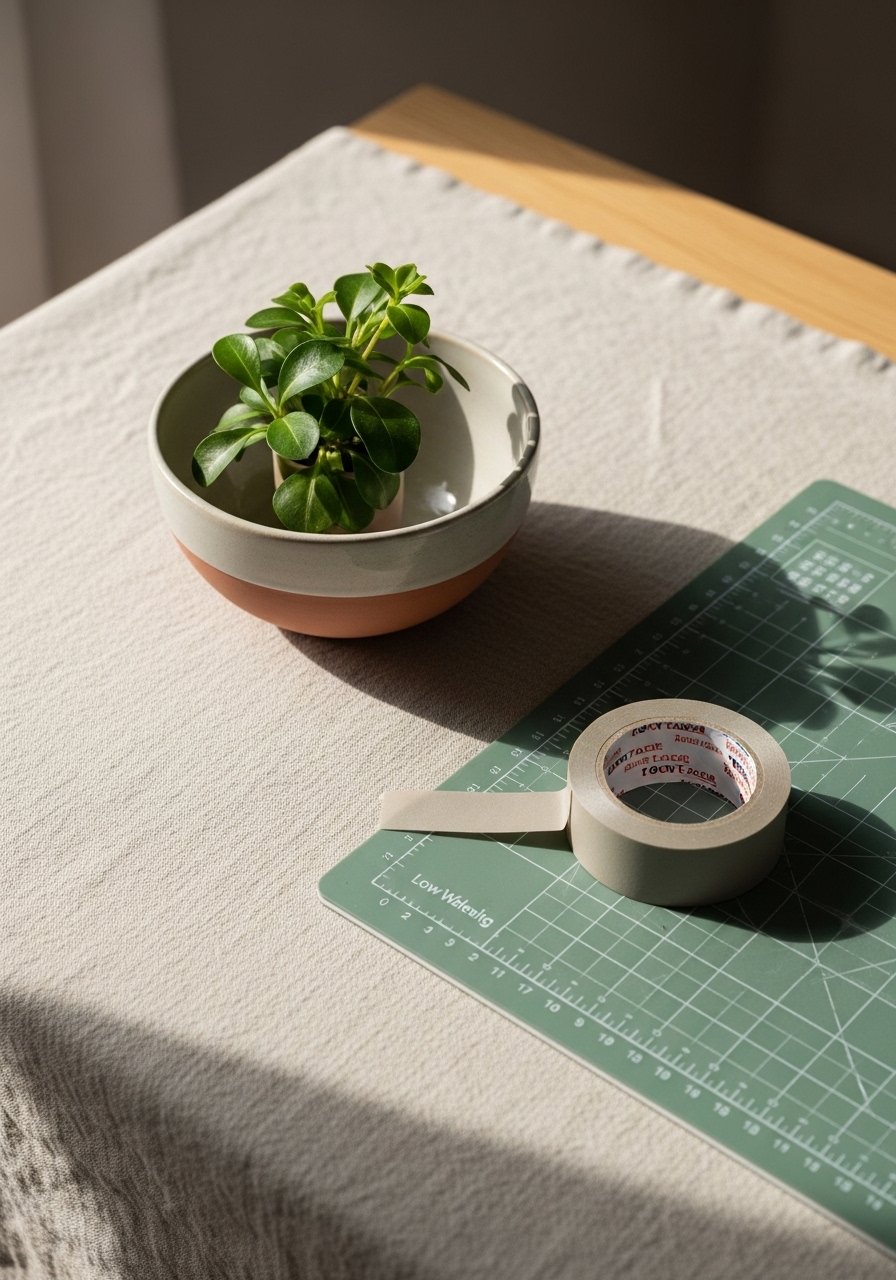
Clear a flat area and protect your surface—small shifts ruin line placement. Lay the bowl on a low-wobble base (a folded towel works) so it won’t roll. Use a self-healing cutting mat to prep paper pieces and a precision craft knife for trimming stencils.
Quick tips:
- Keep the bowl dry and grease-free; wipe with rubbing alcohol and a lint-free cloth.
- Use strips of low-tack painter's tape to anchor paper—it holds without tearing delicate paper.
- Pre-cut your design slightly larger than needed so you can fine-tune placement.
Transfer the design precisely (the core technique)

Choose a transfer method based on your design:
- For hand-drawn or line-art: place a sheet of graphite transfer paper graphite-side down onto the bowl area, then position tracing paper with your design on top and trace firmly with a pencil. Use a blunt stylus or the back of a ballpoint for sharper lines.
- For clean printed images: print on waterslide decal paper (follow the manufacturer’s instructions). Cut close to the image, soak briefly, and slide into place for near-perfect detail.
- For stencils: cut stencil film on a self-healing cutting mat using a precision craft knife and press edges with a small brayer roller to eliminate air gaps.
Step-by-step for graphite transfer:
- Tape the transfer paper to the bowl so it won’t slip.
- Tape the design paper on top, aligning key reference points.
- Trace slowly, pressing firmer on curved areas to pick up graphite.
- Lift a corner and check; retrace any faint areas.
Pro tip: Use short, confident strokes on curves—hesitation creates wobble.
Paint the lines and keep edges sharp (one-afternoon finish)
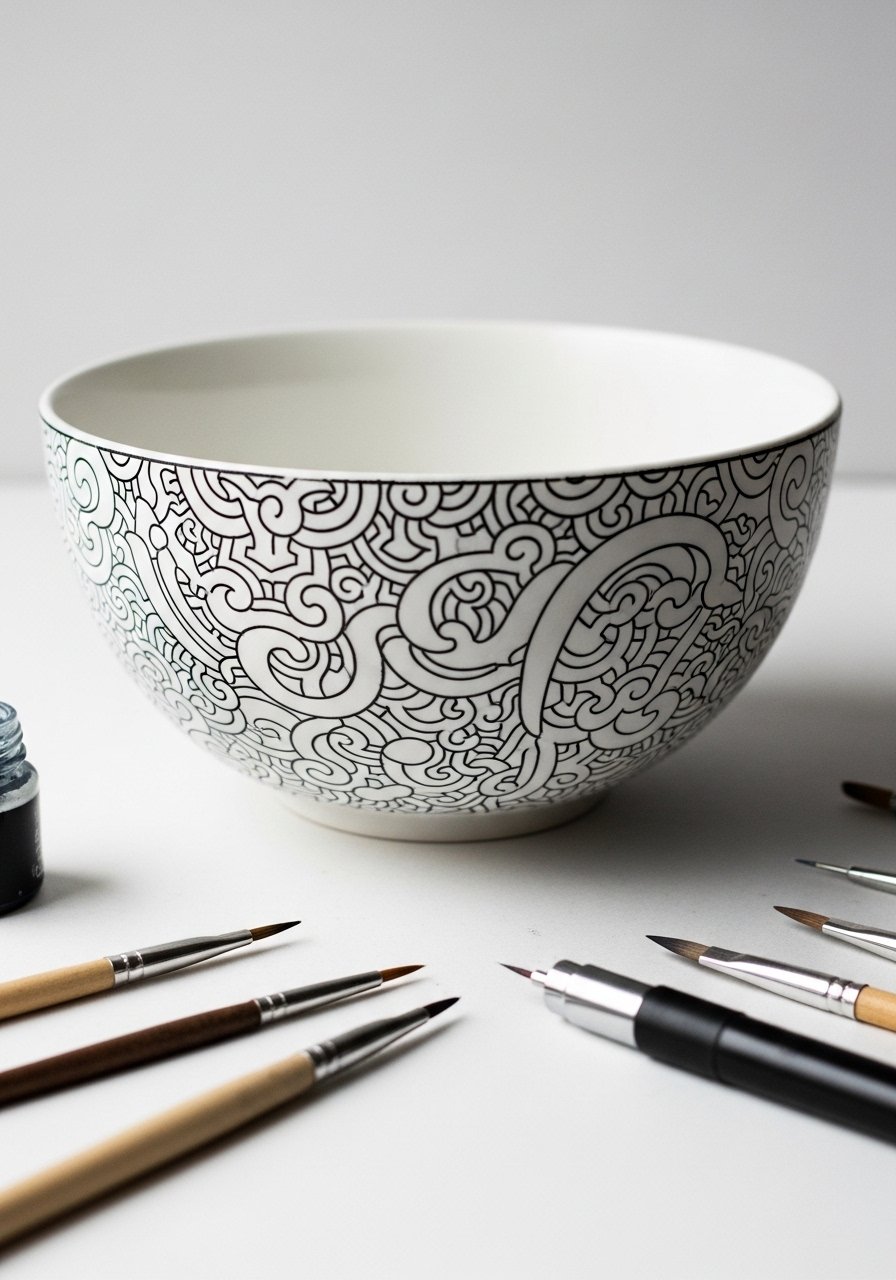
Once your design is transferred, paint over the graphite or decal outline:
- For freehand filling, use a set of fine detail brushes and a small jar of high-quality acrylics.
- For super-clean lines, use acrylic paint pens for outlines, then fill with brushes.
Timing and tips:
- Let each paint pass dry for 15–30 minutes before layering.
- Expect full cure of acrylic paint in 24–72 hours before sealing or light use.
- Keep a damp cloth nearby for micro-corrections; acrylic wipes up while wet.
- Avoid heavy brush overload—thin layers prevent pooling on curved bottoms.
Common fixes:
- If a line drags, wait until it’s tacky, then smooth with a clean, damp brush.
- To sharpen edges, touch up with a tiny amount of paint on a pointed brush.
Seal, cure, and present your bowls (display, gift, store)
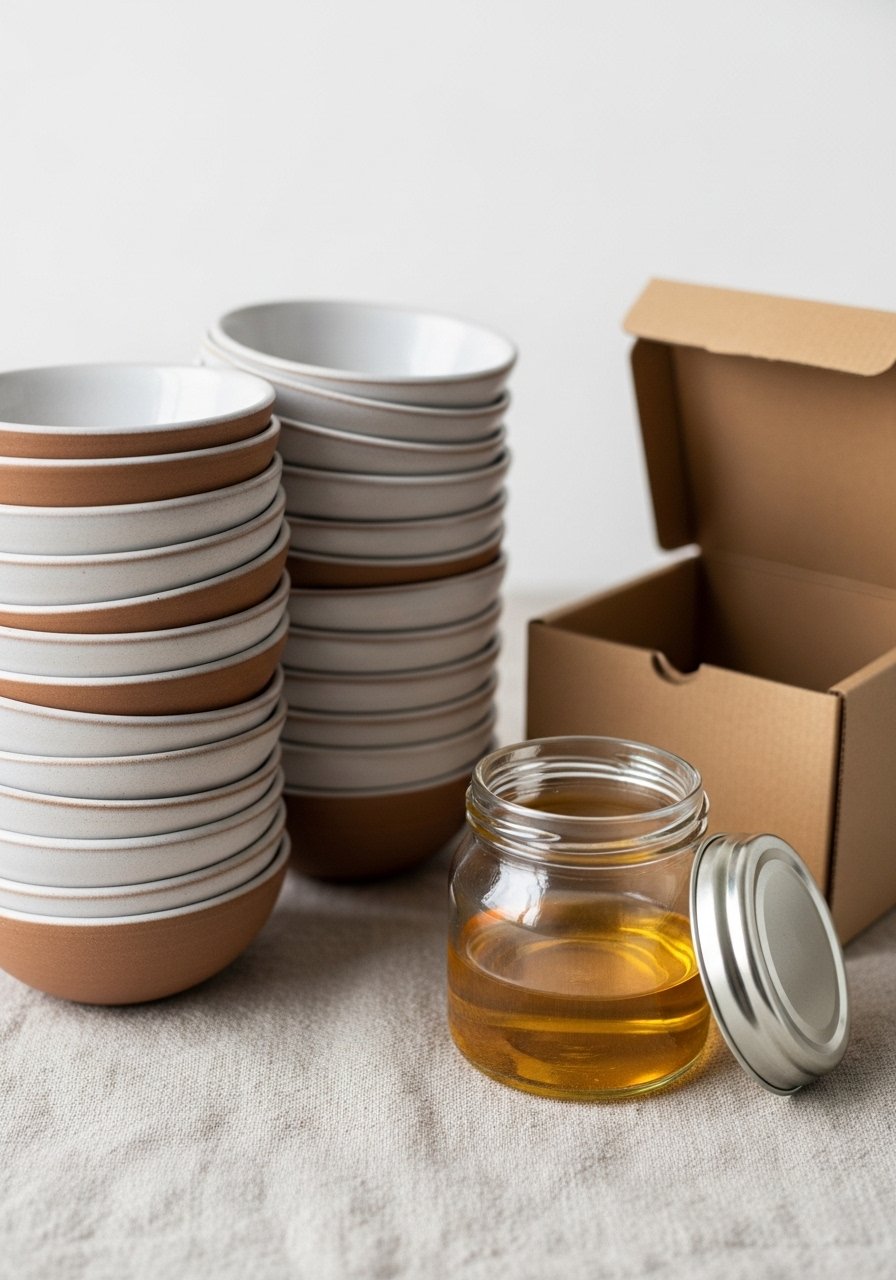
Protect your work depending on use:
- For decorative bowls, brush or spray a protective finish like Mod Podge dishwasher-safe sealer and allow 24 hours to cure.
- If you used waterslide decals, apply a thin clear coat after the decal fully adheres and dries for 12–24 hours.
- Store completed pieces on small wooden easels for display or wrap in kraft tissue for gifting.
Storage and batch tips:
- Transfer multiple designs at once on a self-healing cutting mat to speed up a batch session.
- Keep leftovers of decals flat in clear zip pouches to protect from creases.

You can transfer designs onto ceramic bowls so every line is precise—without fuss—by picking the right method, anchoring your papers, and using tools that remove wiggle and wobble. Save this pin for the next time you want a pin-worthy, hand-painted bowl. Ready to try a technique? Which design will you transfer first?
(If you loved this process, a precision craft knife and a roll of low-tack painter's tape are small buys that make a big difference—pin this guide and grab them before your next craft afternoon!)





