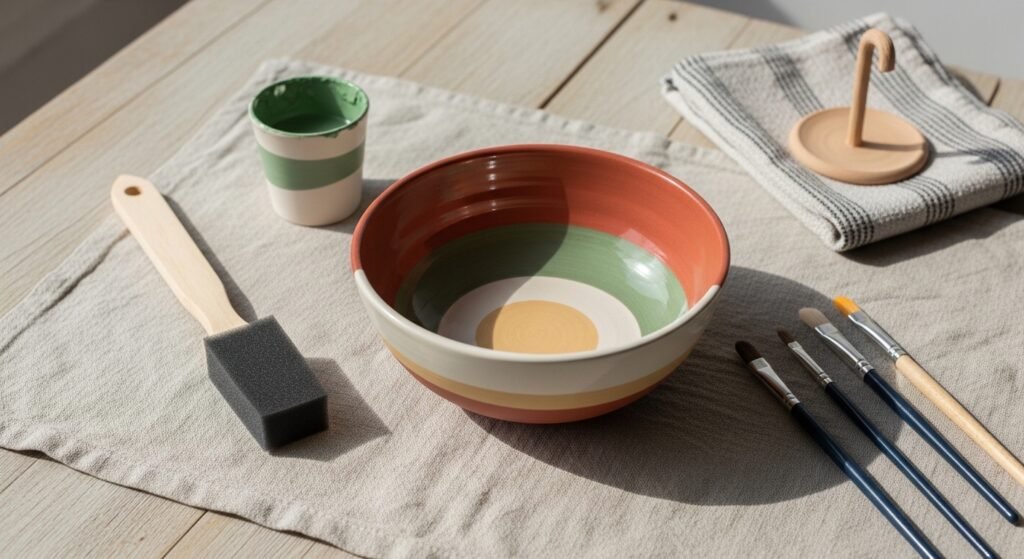
You love the look of hand-painted ceramics, but painting a ceramic bowl with acrylic paint can feel messy or short-lived. You want vibrant, even color that lasts and still looks gift-worthy. This guide shows you a beginner-friendly, one-afternoon method to get bold color and a durable finish without a kiln.
Start by scuffing and priming the surface for paint adhesion. I use a light sand and a dependable acrylic paint set so coverage is fast and smooth. Try this acrylic craft paint set and a fine grit sandpaper 400 grit to start—both cut time and frustration.
Read on and you’ll learn how to prep, paint clean lines, seal for durability, and style or gift your finished bowl.
Gather and prep your workspace and bowl
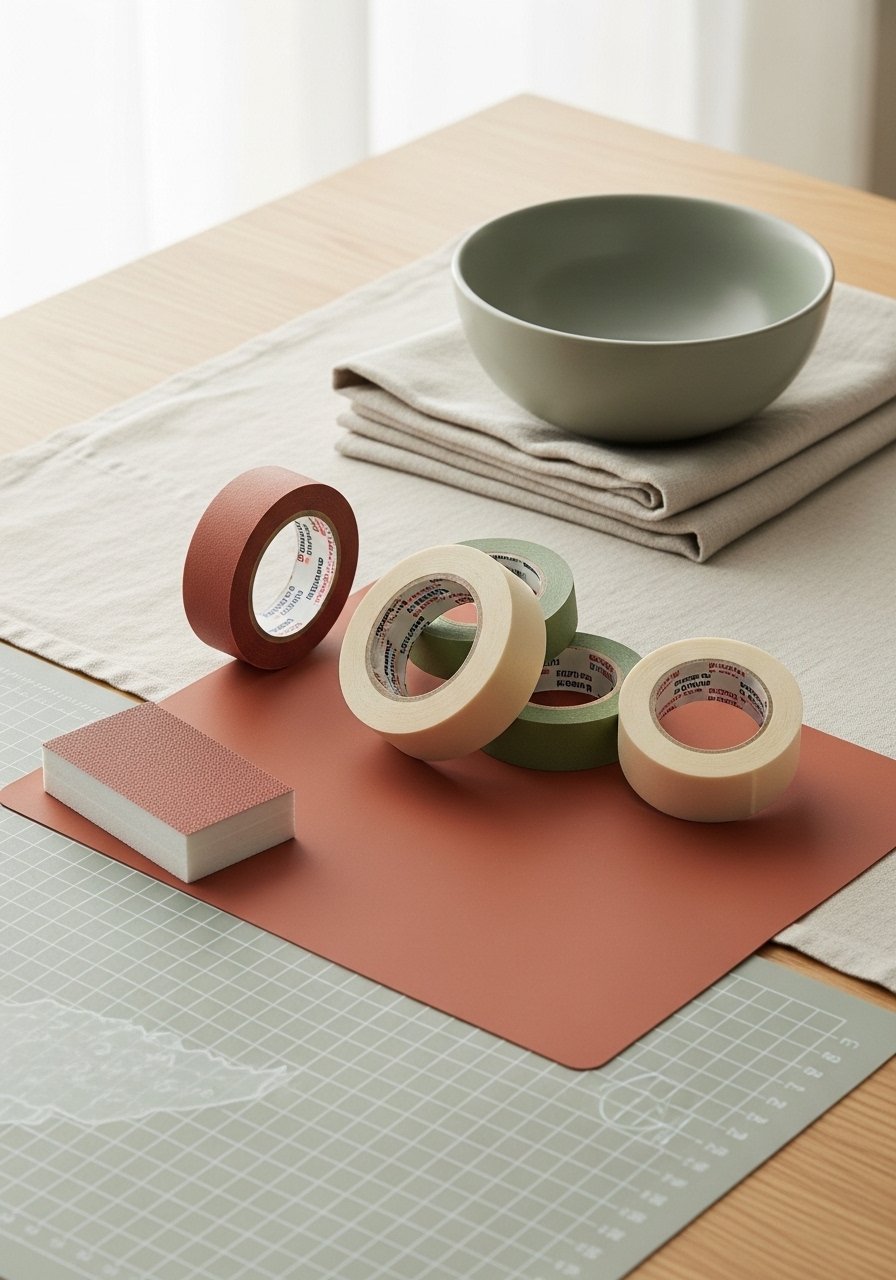
Preparation prevents peeling and streaks when you paint a ceramic bowl with acrylic paint. Work on a protected surface and gather tools first.
- Lightly scuff the bowl with 400-grit sandpaper to remove sheen—this helps paint grip.
- Wipe with a damp cloth and let dry fully, or use a little isopropyl alcohol if you have it.
- Mask any rim or unpainted areas with low-tack painter's tape so edges stay crisp: use low-tack painter tape.
- Lay down a nonstick base like a silicone craft mat to keep your table clean.
Tip: work near a window—bright natural light shows streaks and missed spots so you fix them before sealing.
Paint the bowl: base coats and designs
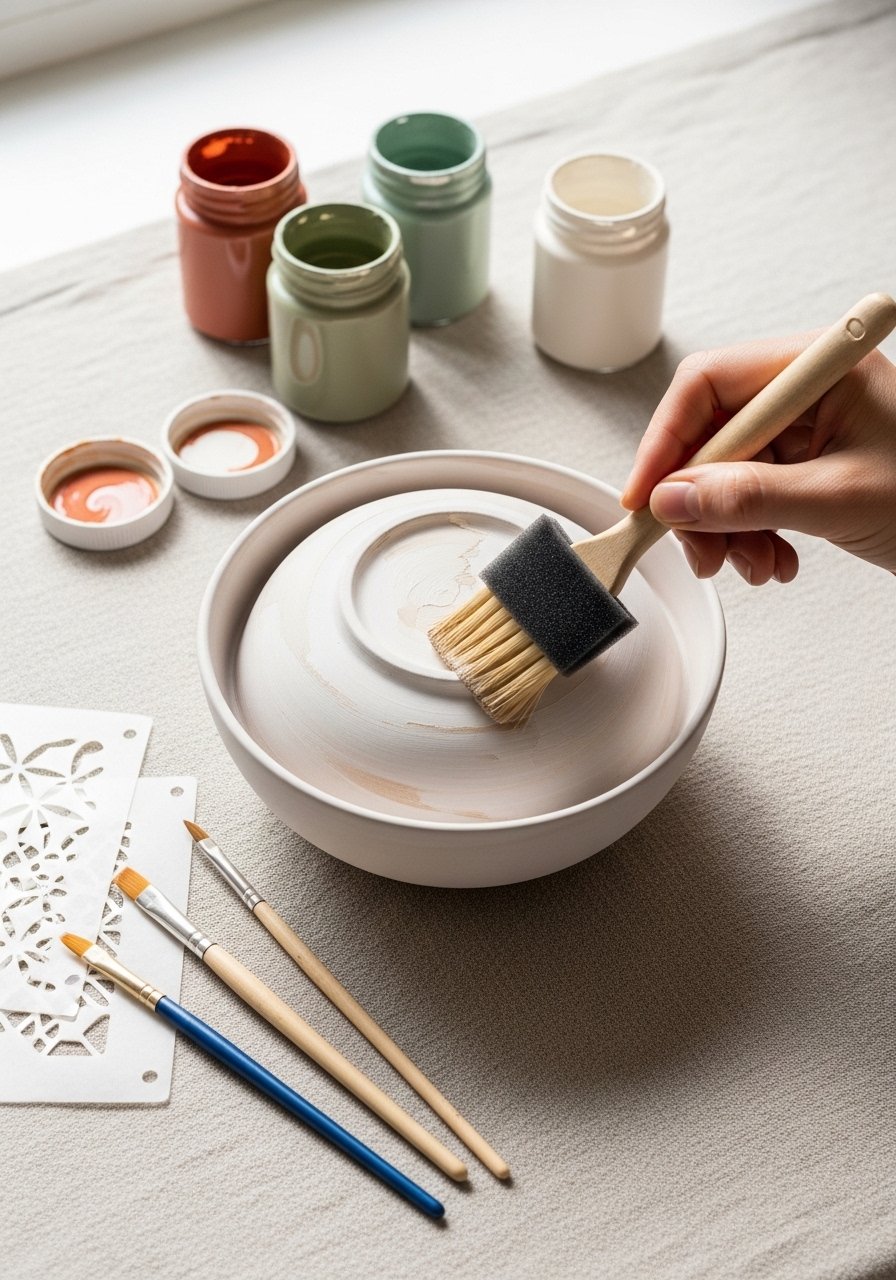
This is the core of learning how to paint a ceramic bowl with acrylic paint: thin, even coats and letting each layer dry.
- Apply a thin base coat with a foam brush set. Thin coats dry faster and avoid drips.
- Let the base coat dry 20–30 minutes to touch; wait 1–2 hours before adding a second coat for full opacity.
- Add patterns with a detail paint brush set or try simple shapes using craft stencils for painting.
Pro tips:
- Paint in thin layers for bright, streak-free color. Check coverage—you want fully opaque color with no streaks before a final coat.
- For tiny highlights or writing, use a paint pen or the smallest brush in your detail set.
- If paint bleeds under tape, press tape down firmly and use the edge of a brush to pull paint away from the line.
Seal and cure for long-lasting results

Sealing is how you make painted ceramic bowls hold color longer. For decorative bowls, choose a sealer that resists wear.
- For indoor decorative use, brush on Mod Podge Outdoor or dishwasher-friendly formulas after paint fully cures 24 hours: try Mod Podge outdoor sealer.
- For extra protection, finish with a thin coat of clear acrylic spray sealer. Spray in light passes, waiting 10 minutes between coats.
- Let sealed pieces cure 24–72 hours before gentle use.
Warning: painted bowls that will touch food require food-safe glaze fired in a kiln or food-safe resin. If your bowl will hold dry snacks, avoid sealing the interior unless the sealer is explicitly food-safe.
Use a wire drying rack so the bottom coat doesn’t pool or stick while curing.
Displaying, gifting, and caring for painted bowls

Once your bowl is sealed and cured, styling and care keep it looking fresh.
- Display on a small wooden easel for a shelf or photo-ready gift.
- Wrap carefully in kraft tissue paper for gifting; layer with bubble wrap for shipping.
- Clean gently with a soft damp cloth; avoid dishwasher use unless the sealer specifically allows it.
Batch tip: paint several bowls at once—base coats one afternoon, patterns the next, seal on day three. Using matching colors creates a pin-worthy set.
You just learned how to paint a ceramic bowl with acrylic paint for bold color and better longevity. Pin this guide for your next craft afternoon and try one colorway as a test before committing to a set. Which pattern will you paint first—polka dots, stripes, or a freehand botanical? Ready to make it? Let's go!





