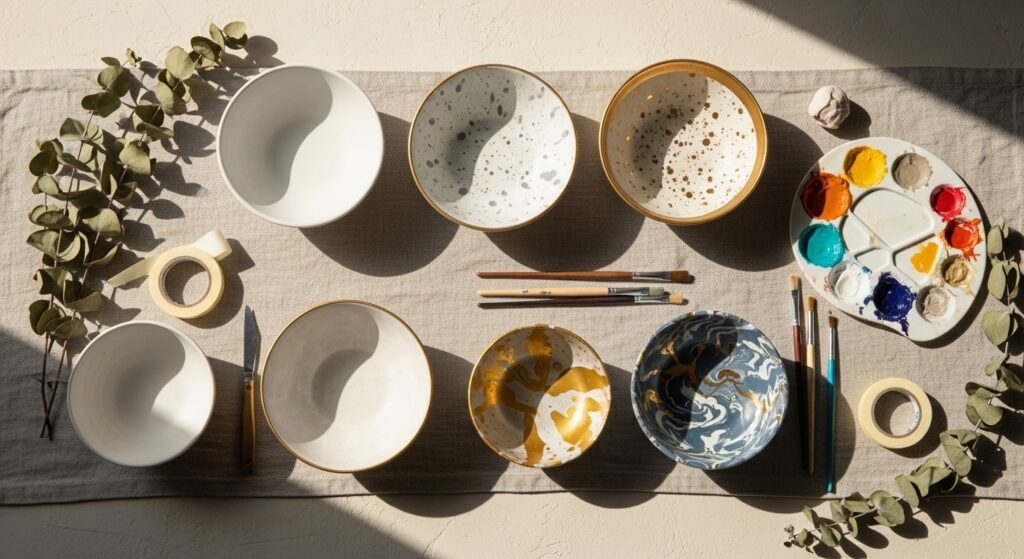
You’ve got plain cereal bowls and a tight budget — but that doesn’t mean you can’t create pieces that look boutique. These budget ceramic bowl painting ideas are all about small supplies, simple techniques, and big visual impact. You’ll find easy finishes from minimalist japandi strokes to cottagecore florals, faux-glaze effects, and gilded rims that read high-end but cost almost nothing to make.
Each idea lists realistic quantities, drying/curing times, and common pitfalls to avoid. I often start with a basic acrylic paint set and painter’s tape for crisp edges; a soft foam brush works great for even coverage. If you want to cut stencils fast, my Cricut Joy cutting machine has saved me hours, but a craft knife is just fine for simple shapes. Ready to pin a batch of beautiful, budget-friendly bowls? Let’s paint.
- Clean Matte Monochrome — a top budget ceramic bowl painting idea
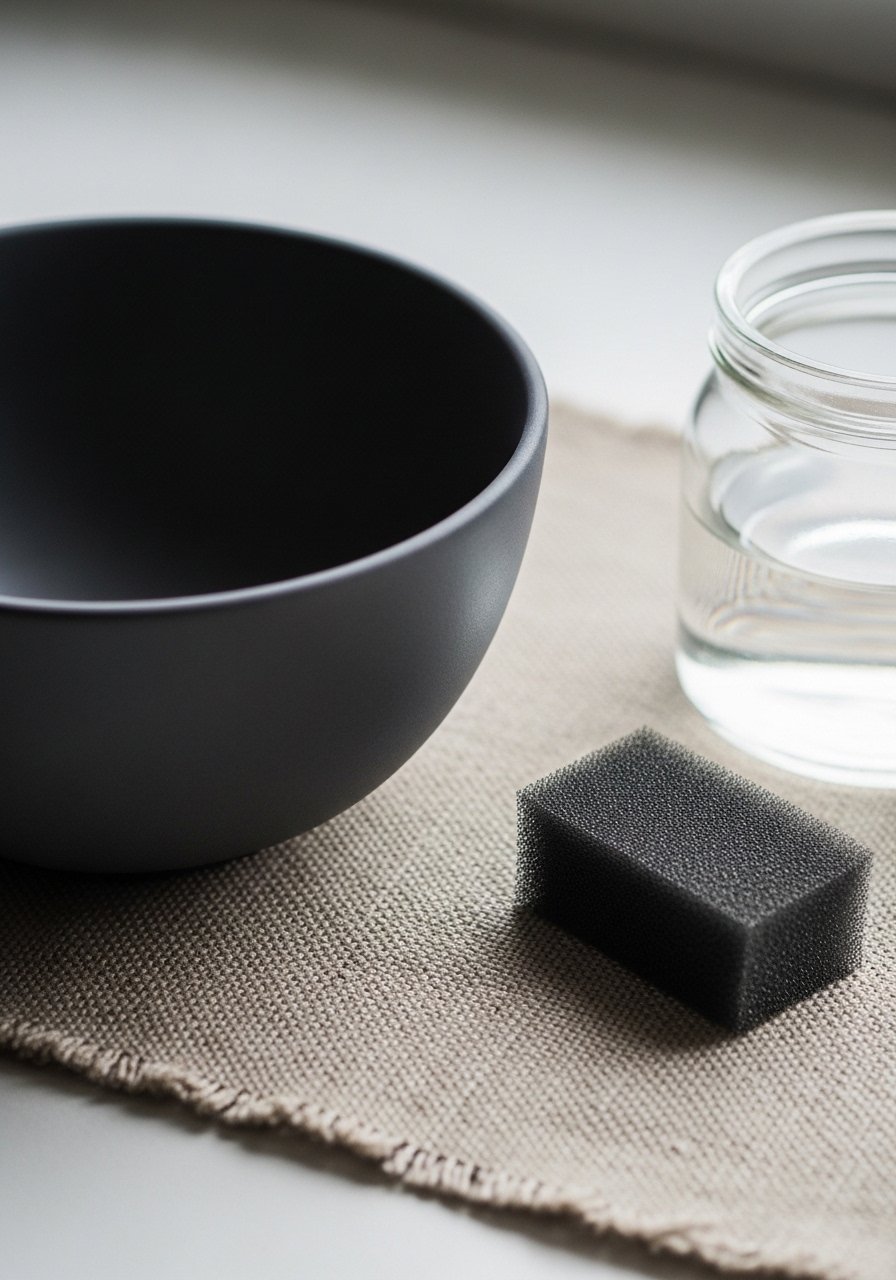
This simple matte monochrome glaze gives thrift-store bowls a quiet, designer look. It’s perfect when you want a uniform set for everyday use or staged photos. The finish feels silky in your hands and looks modern on open shelving. Beginners and busy gift-givers will love how fast this comes together.
Materials
- 1 plain ceramic bowl (microwave-safe), cleaned with isopropyl alcohol
- 100 ml DecoArt Americana acrylic paint (matte finish), color of choice
- 1 foam brush, 2-inch
- 1 small jar of water
- Sandpaper, 220-grit (1 sheet)
- Painter’s tape (1/2 inch roll)
- Clear food-safe sealer, water-based (1 thin coat)
- Paper towels
Instructions
- Clean the bowl thoroughly and let it dry. Rub with 220-grit sandpaper for 30 seconds to scuff the surface.
- Tape the inside rim if you want a crisp inner edge. Press tape firmly.
- Stir 1–2 tablespoons of acrylic paint and apply a thin first coat with the foam brush.
- Let dry 20–30 minutes; feel the surface — it should be dry-to-touch.
- Apply a second thin coat for full coverage. Dry 30 minutes.
- Remove painter’s tape slowly for a sharp line.
- Cure for 24 hours before using. Add one thin coat of clear food-safe sealer and allow 24 hours to dry fully.
Troubleshooting: If paint pools, sand lightly and reapply a thinner coat. Use a foam brush to minimize brush strokes.
How to Display or Gift It
Stack monochrome bowls in an open shelf for a calm, modern vignette. Wrap sets in kraft tissue and tie with twine for an affordable, boutique-style gift. For storage, keep them separated by tissue in a stackable craft organizer like a craft storage box to avoid scuffs.
- Painter’s Tape Geo Stripes — crisp lines on a budget
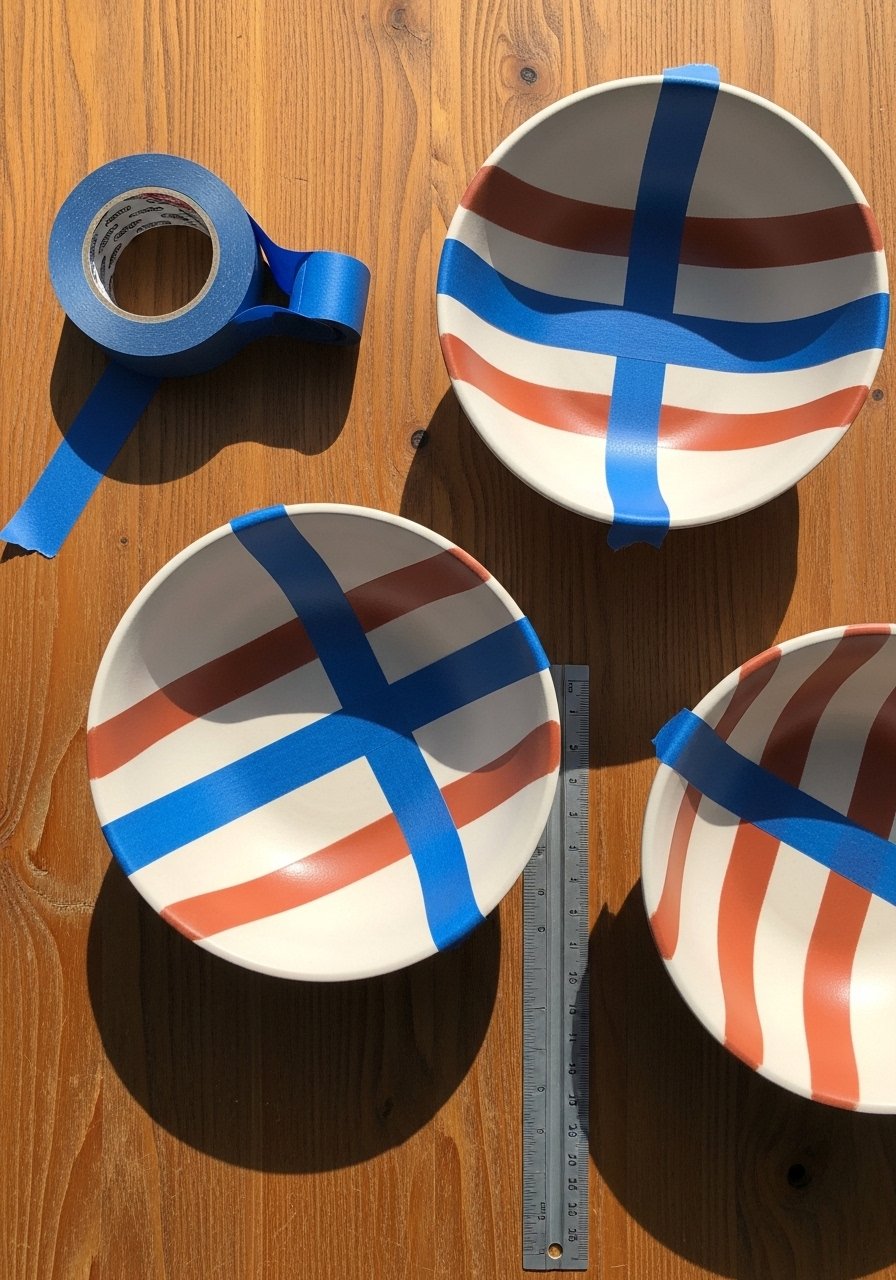
Geometric stripes using painter’s tape make your bowls look like they came from a design studio. It’s cheap, forgiving, and great for beginners. The crisp, modern lines pair well with Japandi or farmhouse kitchens and feel textured to the eye.
Materials
- 1 bowl, cleaned
- Painter’s tape (1/2 inch and 1-inch rolls)
- 2 colors of acrylic paint (20–30 ml each)
- Small flat synthetic brush, 1/2 inch
- Ruler and pencil for marking
- Scissors or a craft knife
- Clear matte sealer, water-based, 1 oz
Instructions
- Mark the bowl lightly with a pencil where each stripe will sit.
- Apply painter’s tape, pressing the edges so paint won’t bleed.
- Apply thin coats of paint with the flat brush. Let each coat dry 15–20 minutes.
- Add a second coat if needed for opacity. Dry 30 minutes.
- Remove tape at a 45-degree angle once paint is dry-to-touch.
- Cure 24 hours, then seal inside rim edges if desired.
Troubleshooting: If paint bled under tape, sand lightly and redo. For perfect lines, press tape with a bone folder or the edge of a ruler.
How to Display or Gift It
Pair with linen napkins and a small wooden spoon and tie with twine. For a casual shelf, layer small decorative bowls with mixed ceramics on a wooden tray.
- Faux Gold Leaf Rim — luxe look, budget cost
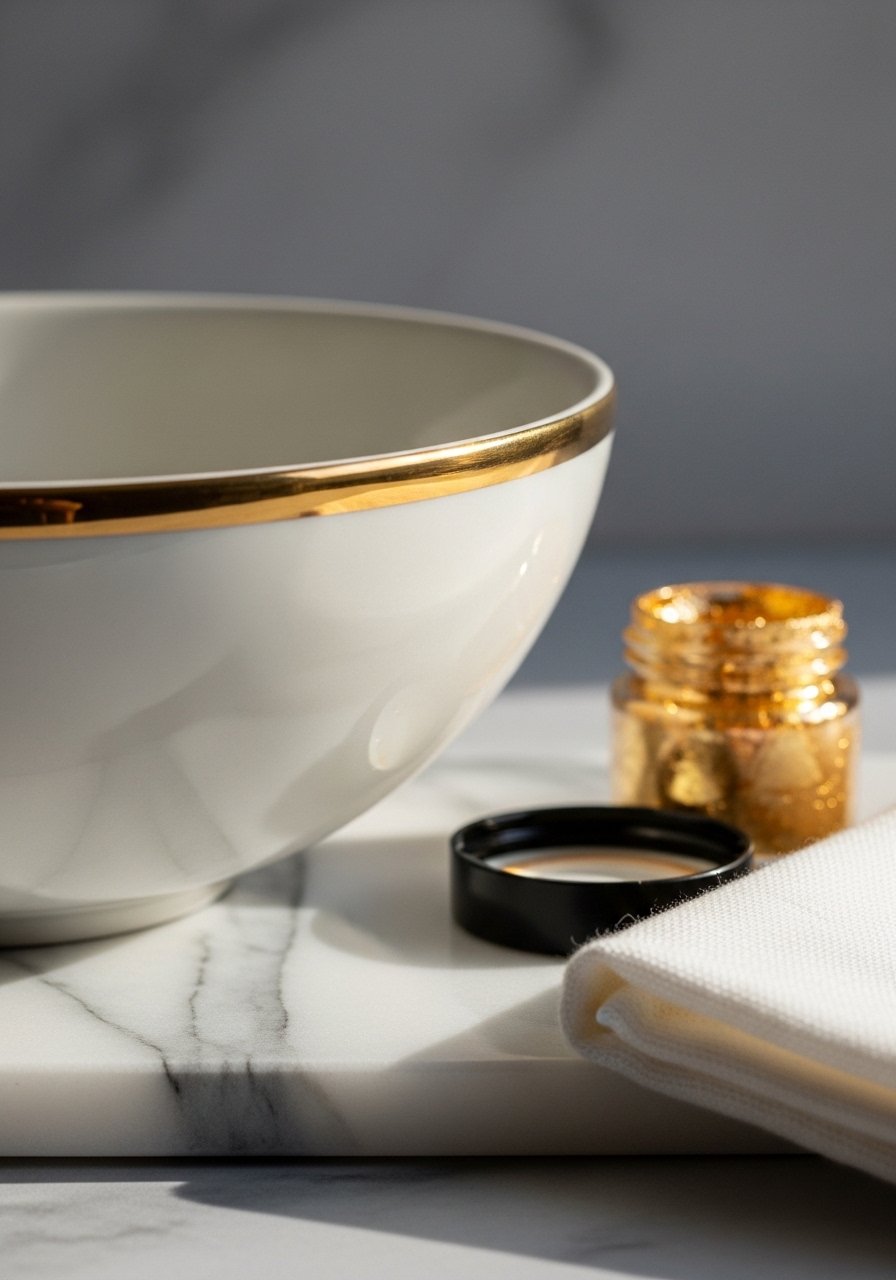
A delicate gold rim creates instant luxury and looks expensive even when done quickly. This faux gilding uses metallic acrylic or gold leaf paint rather than real gold leaf, so it’s affordable and forgiving. Great for gifts, bridal showers, or holiday tables.
Materials
- 1 bowl, clean and dry
- Metallic gold acrylic paint (small jar, 15 ml) or gold leaf effect pen
- Small round detail brush, size 0 or 1
- Painter’s tape (optional)
- Clear gloss sealer (water-based, food-safe)
- Paper towel
Instructions
- If you want a perfectly even rim, tape off the inside edge.
- Load the tiny round brush and apply a steady thin line of metallic paint.
- Allow to dry 20–30 minutes; examine for gaps.
- Add a second thin coat for full metallic richness. Dry 30 minutes.
- Seal with two light coats of clear gloss sealer. Dry 2–4 hours between coats.
- Cure fully 48 hours before gentle use.
Troubleshooting: Work in a warm, dust-free space; metallics show brush marks if overloaded.
How to Display or Gift It
Nest with cloth napkins and a wooden spoon wrapped with ribbon. For display, a small wooden easel highlights the rim on open shelving — try a mini wooden easel for shop-style styling.
- Speckled Stoneware Look — easy splatter technique
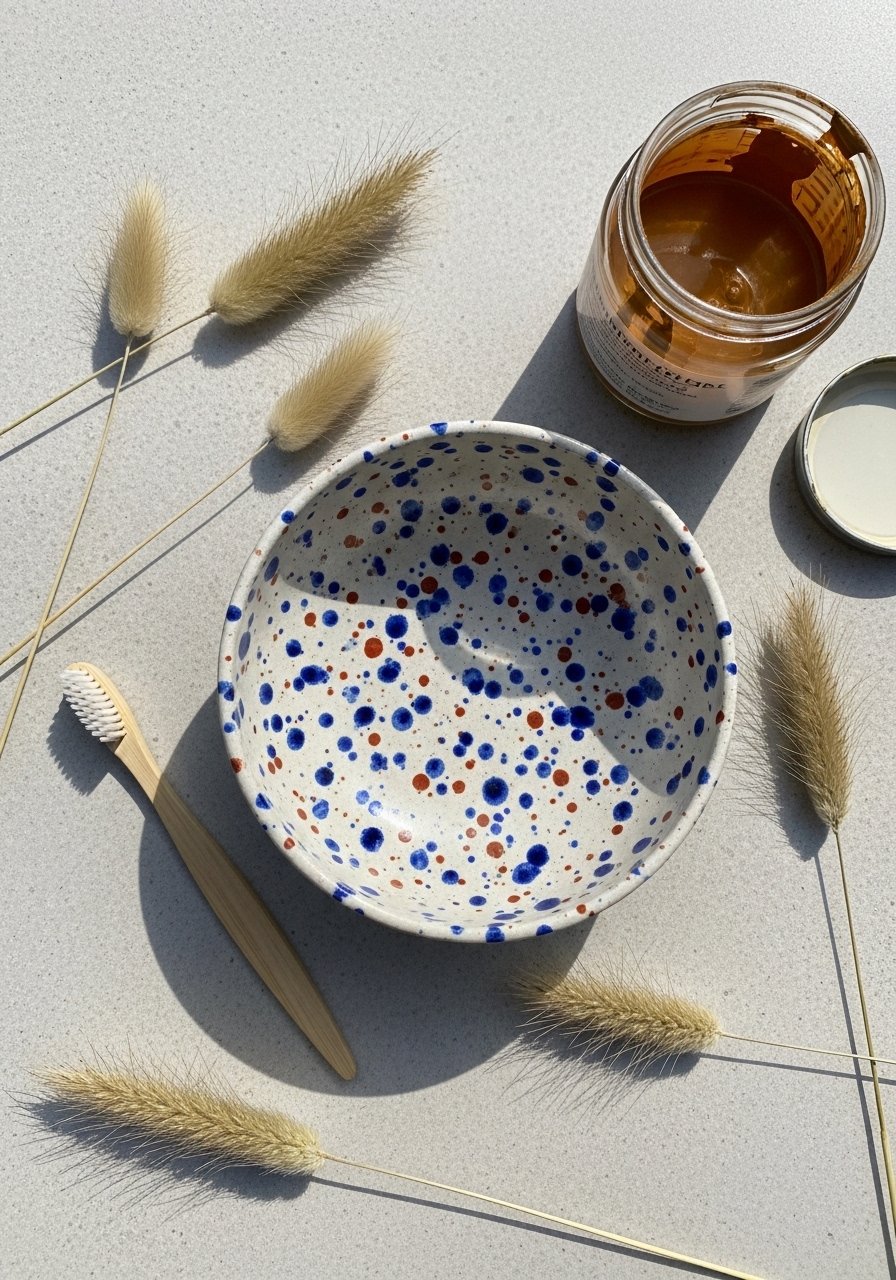
Speckled finishes mimic pricey stoneware but use scraps of paint and a toothbrush for splatter — virtually no cost beyond paint. The random texture feels artisanal and perfect for boho or farmhouse settings.
Materials
- 1 bowl, cleaned
- Acrylic paint: base color 30 ml, speckle colors 5–10 ml each
- Old toothbrush or stiff paintbrush for splatter
- Small mixing cup
- Disposable gloves
- Drop cloth or newspaper
Instructions
- Paint a base coat and let dry fully 30–45 minutes.
- Thin speckle paint 1:1 with water or flow extender in a cup.
- Dip toothbrush and flick toward the bowl’s outer surface from 8–12 inches away.
- Practice on paper until satisfied, then splatter bowl area by area.
- Let speckles dry 30 minutes. Add additional layers for density; wait 30 minutes between layers.
- Seal with a matte sealer, curing 24 hours.
Troubleshooting: If speckles are too big, thin paint more. If too sparse, add more layers.
How to Display or Gift It
Speckled bowls pair beautifully with woven placemats or a wooden coffee table. Wrap for gifting in kraft tissue, and tuck a dried flower inside for charm.
- Delicate Leaf Imprint — real botanicals, permanent look
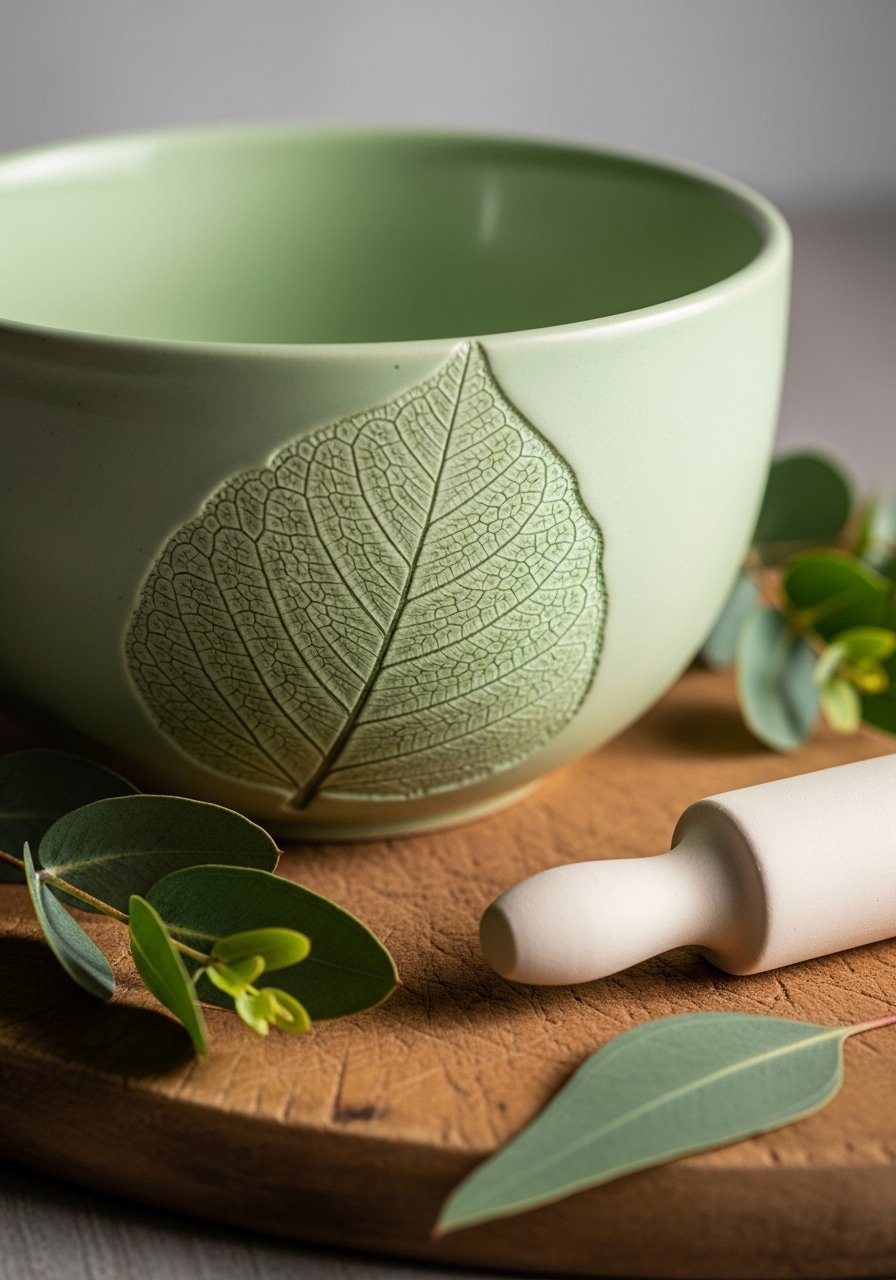
Pressing real leaves onto slightly tacky paint gives crisp botanical silhouettes — a cottagecore favorite. It’s tactile and pleasantly organic, ideal for nature-lovers and beginner painters.
Materials
- 1 bowl, cleaned
- Acrylic paint: base color 30 ml, contrast color 15 ml
- Fresh flat leaves (eucalyptus, bay leaf)
- Small foam roller or brayer
- Soft cloth and Mod Podge (matte)
- Scissors
- Clear matte sealer, water-based
Instructions
- Paint a base color and let dry completely 2 hours.
- Paint a thin layer of contrast color where the leaf will go.
- Place the leaf vein-side down and press with a foam roller for 20–30 seconds.
- Lift carefully; leaf silhouette should transfer.
- Let dry 30 minutes, then seal with Mod Podge or matte sealer. Dry 1 hour between coats.
- Cure 24 hours before use.
Troubleshooting: Use leaves with flat surfaces; thicker leaves may not transfer cleanly.
How to Display or Gift It
Pair the bowl with a sprig of dried lavender and wrap in tissue. Store items flat in a shallow craft tray to avoid rubbing the design.
- Stamped Dot Pattern — repeatable, kid-friendly
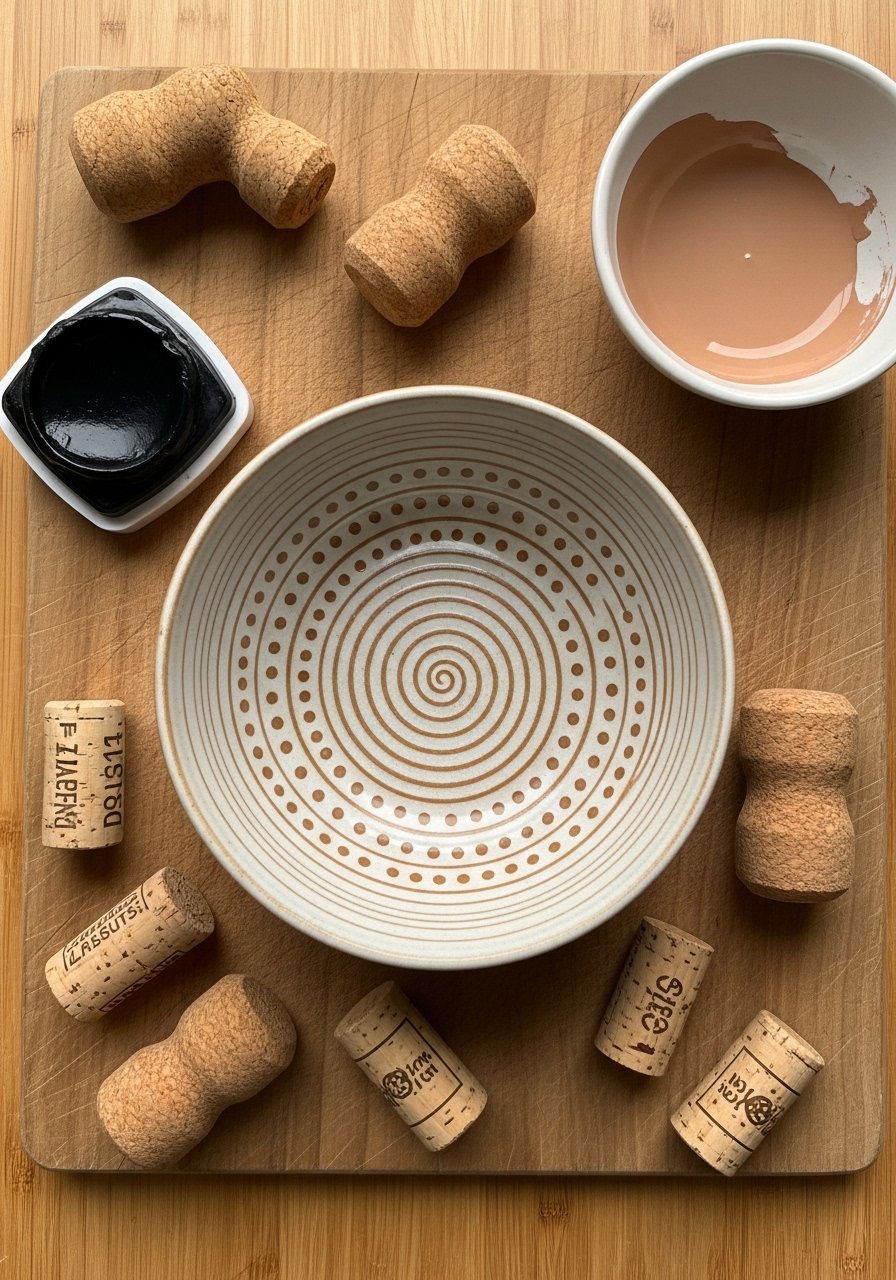
Stamping dots is rhythmic and forgiving — great to do with kids or for batch-making. Use corks, erasers, or a dotting tool for consistent marks. The tactile text feels artisanal and playful.
Materials
- 1–4 bowls (same size)
- Acrylic paint 20–30 ml
- Cork, cotton swab, or dotting tool
- Small paint dish
- Paper towel
- Clear satin sealer
Instructions
- Pour a small amount of paint into a dish.
- Dip the cork lightly, test on paper.
- Rotate bowl slowly and stamp dots in a steady line or pattern.
- Let dry 20–30 minutes between rings.
- Add a second pass for intensity. Dry 30 minutes.
- Seal with two thin coats; dry 1 hour between coats. Cure 24 hours.
Troubleshooting: Avoid overloading the cork to prevent blobs. Light tap and re-dip frequently.
How to Display or Gift It
Group stamped bowls on a breakfast tray. For gifting, stack with a ribbon and include a note describing the hand-stamped finish.
- Ombre Dip — a trendy budget ceramic bowl painting idea
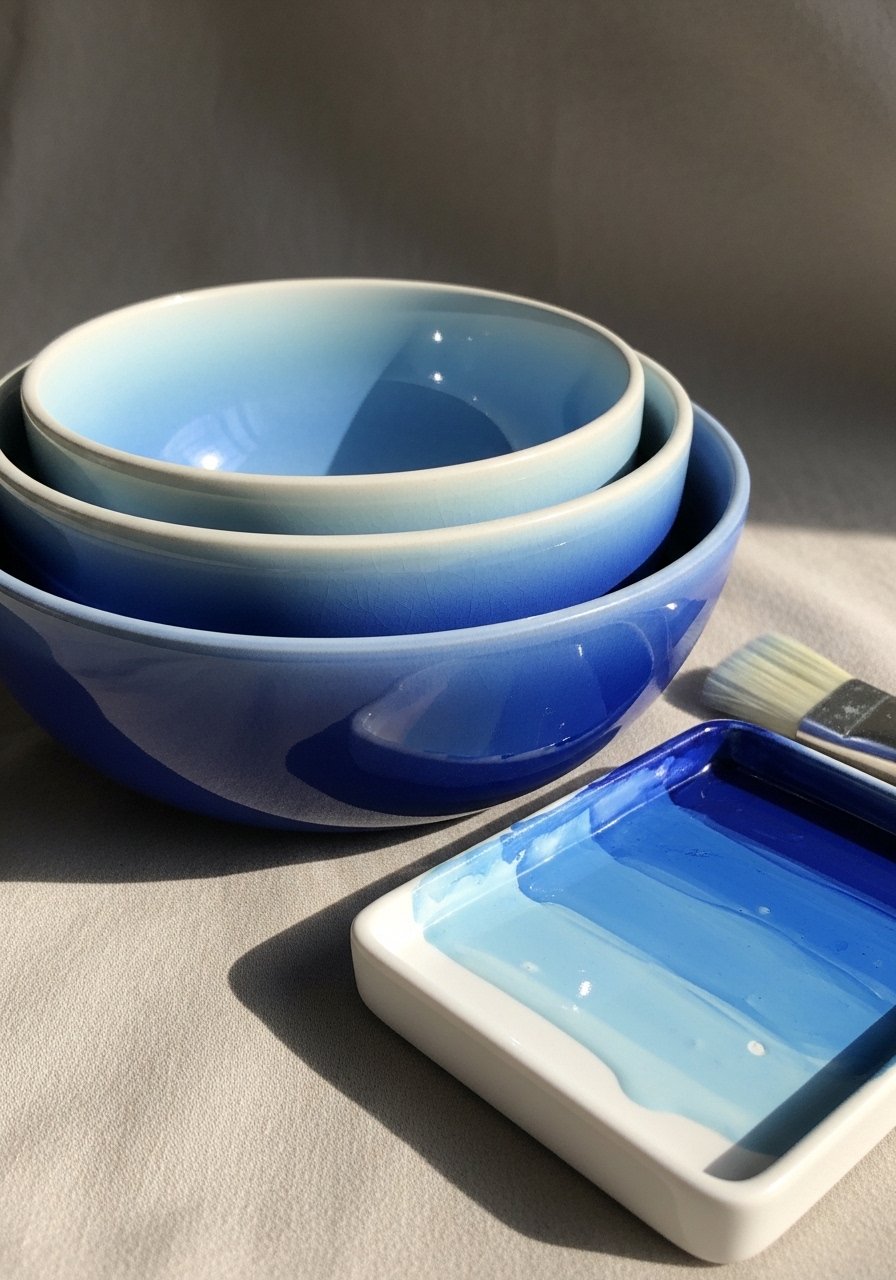
Ombre dip creates a gradient that looks studio-made. This budget ceramic bowl painting idea uses watered-down acrylics to blend colors smoothly. It’s soft to the eye and perfect for coastal, boho, or Japandi styling.
Materials
- 1 bowl
- Two coordinating acrylic colors, 25 ml each
- Water and mixing cup
- Soft flat brush, 1-inch
- Paper towels and a sanding block 120-grit
- Clear matte or satin sealer
Instructions
- Sand the bowl lightly and wipe clean.
- Mix color A with water to a milky consistency (about 1:1).
- Paint from the rim downward with horizontal strokes, then immediately paint color B from the base upward.
- While wet, blend the middle seam using a clean wet brush to create a soft transition.
- Let dry 30–45 minutes, add a second pass if needed.
- Seal with a thin coat. Cure 24 hours.
Troubleshooting: Work quickly while paint is wet to blend. If seam hardens, lightly dampen and rework.
How to Display or Gift It
Place ombre bowls near coastal decor, or wrap a nested set with jute and a dried seashell attached.
- Marbleized Swirl with Alcohol Ink — faux ceramic marble
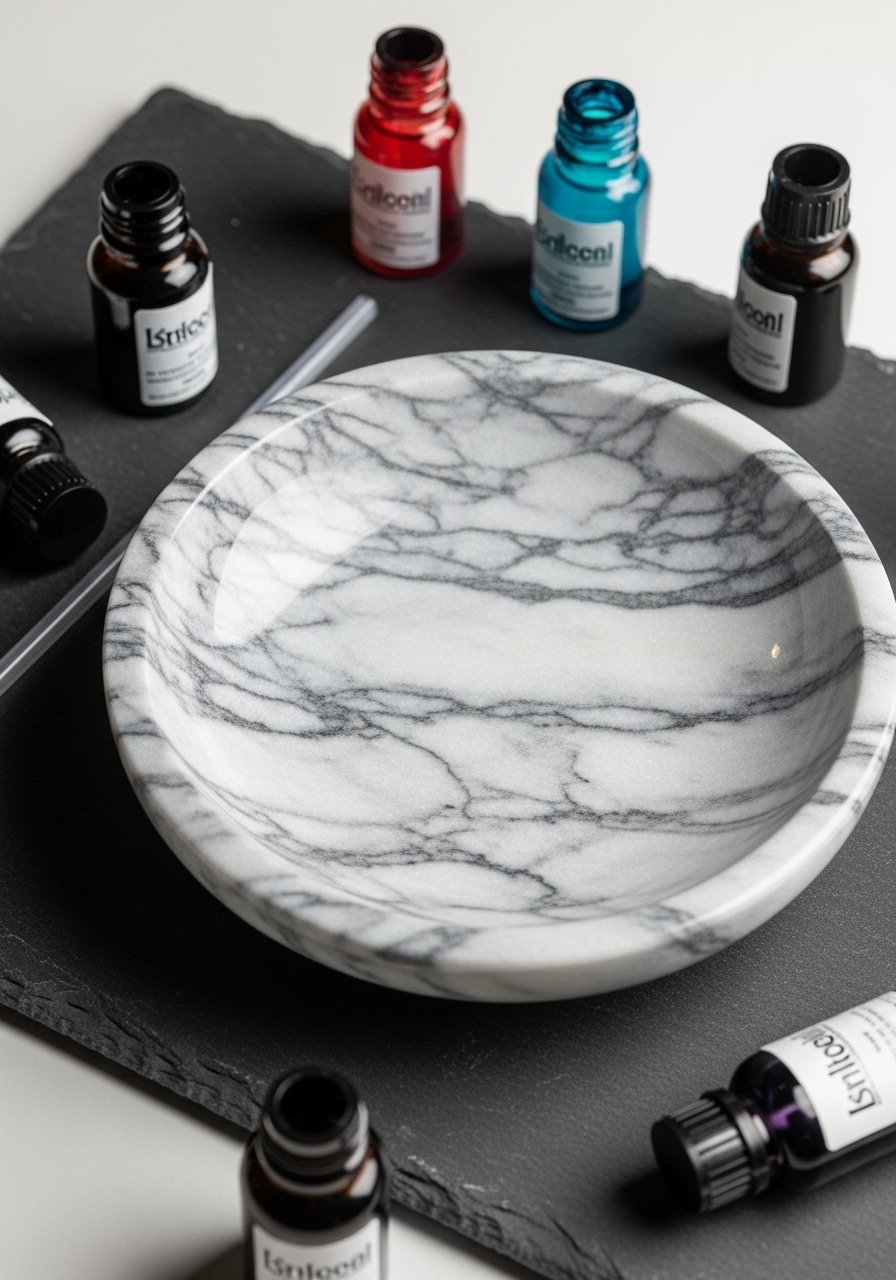
Alcohol ink creates organic marble-like veins on sealed acrylic surfaces. It reads like high-end ceramic when layered lightly. Best for decorative bowls or non-food surfaces unless sealed properly.
Materials
- 1 bowl (for decorative use unless fully sealed)
- Alcohol inks (black, gray, metallic), small vials 5–10 ml each
- Isopropyl alcohol 90%, small spray bottle
- Small pipette or straw
- Pourable crystal clear epoxy (optional for food-safe finish) 120 ml
- Nitrile gloves
Instructions
- Prime bowl with a white acrylic base and let dry 1 hour.
- Apply tiny drops of alcohol ink and blow gently through a straw or use a pipette to move the ink into veins.
- Add isopropyl alcohol sparingly to feather edges.
- Let dry 30 minutes between adjustments.
- For decorative use, seal with matte sealer. For food use, coat with a food-safe epoxy following manufacturer curing times (often 72 hours).
- Cure completely per epoxy directions before use.
Troubleshooting: Too much alcohol will disperse ink; add drops slowly.
How to Display or Gift It
Show on a marble slab or gift in a box with a sticker explaining care. Consider a food-safe epoxy kit for functional pieces.
- Tiny Terracotta Brush Strokes — rustic japandi style
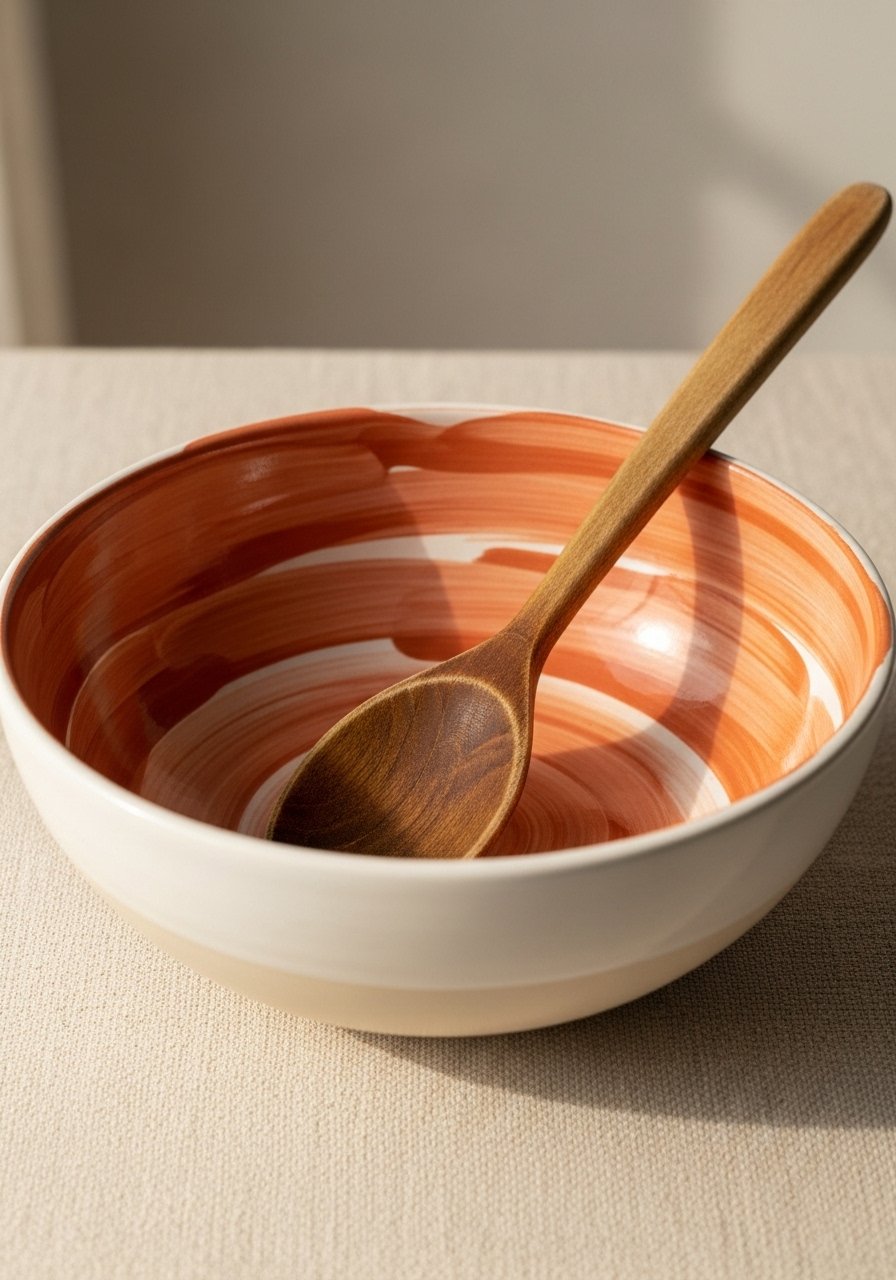
Loose, single-stroke marks create a handcrafted, Japandi-friendly aesthetic. It’s relaxed and modern, and imperfections sell the look rather than hide them.
Materials
- 1 bowl
- Acrylic paint: terracotta tone 20–30 ml
- Flat round brush, size 6
- Palette and water cup
- Paper towel
- Matte varnish, 1 oz
Instructions
- Mix paint to medium consistency. Test strokes on paper.
- Lightly load brush and apply quick, confident strokes; let brush run out for tapered edges.
- Cover bowl evenly with spaced strokes to create rhythm.
- Dry 20–30 minutes, add a second layer for depth.
- Seal with matte varnish; dry 1–2 hours. Cure 24 hours.
Troubleshooting: If strokes look heavy, thin paint slightly.
How to Display or Gift It
Pair with natural wood spoons and a linen napkin. For storage, nest bowls with sheet protectors between them.
- Minimalist Line Art — high-end gallery vibes
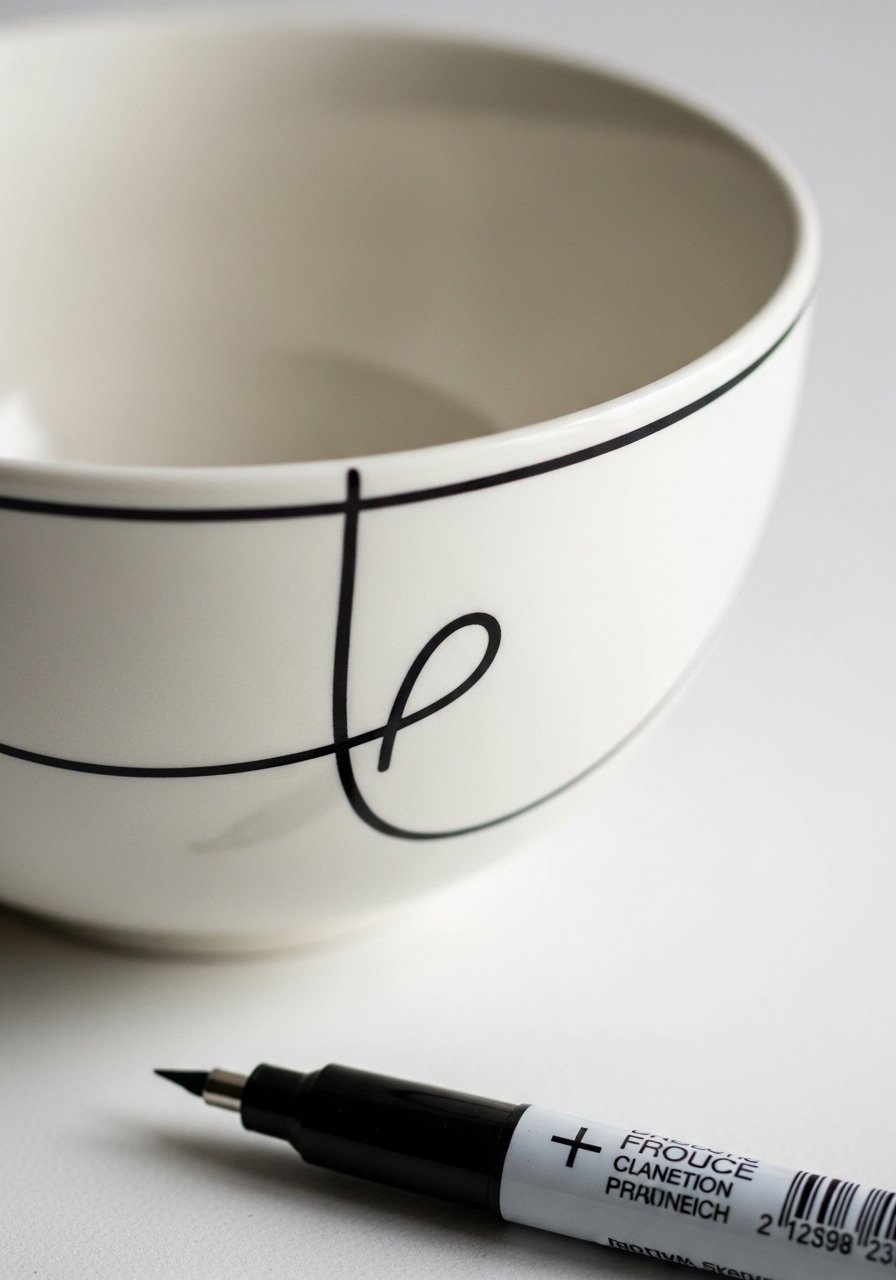
Line drawings are chic and minimal — think gallery gift without the price tag. Use a fine paint pen for clean control; this is great for confident crafters and gift-makers.
Materials
- 1 bowl
- Black oil-based paint marker, fine tip
- Pencil and eraser for sketching
- Paper towel
- Clear satin sealer
Instructions
- Lightly sketch your design with pencil.
- Trace with a black paint marker in steady strokes.
- Allow marker to dry 10–20 minutes.
- Add a second pass if lines look faint; dry 30 minutes.
- Seal with a coat of satin sealer; dry 1 hour. Cure 24 hours.
Troubleshooting: Practice on paper to steady your hand. If slip occurs, wait for full dry and touch up.
How to Display or Gift It
Display on open shelving with a single succulent nearby or gift with a thank-you card and a small wooden spoon.
- Chalkboard Center — writable and refreshing

A chalkboard paint interior lets you label contents or leave tiny messages. Budget-friendly and useful for pantry or table settings.
Materials
- 1 bowl
- Chalkboard paint 50 ml
- Small foam brush
- Fine-grit sandpaper 220
- Chalk for testing
- Clear matte sealer for exterior only
Instructions
- Sand interior lightly and wipe clean.
- Apply two thin coats of chalkboard paint, drying 1 hour between coats.
- Wait 24 hours, then condition by rubbing chalk all over and wiping away.
- Use chalk for temporary labeling; avoid abrasive cleaners.
Troubleshooting: For smooth writing, ensure even thin coats and full cure time.
How to Display or Gift It
Fill with spices, label with chalk, and nest with a small chalkboard tag tied on twine. Store in a pantry or hang on a pegboard.
- Tiny Terrazzo Chips — a popular budget ceramic bowl painting idea
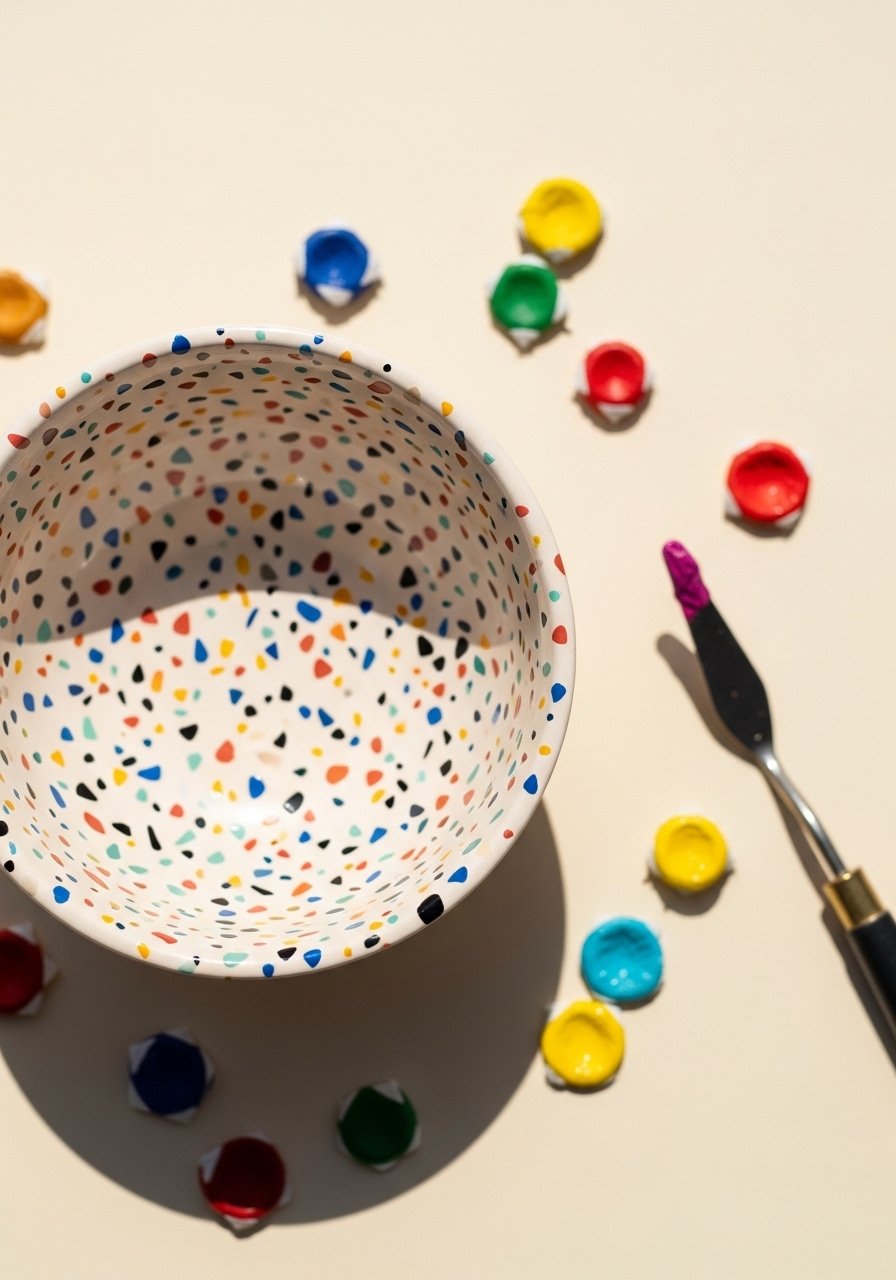
Terrazzo is trending for good reason — it looks complex but uses tiny painted “chips.” This popular budget ceramic bowl painting idea mimics stone with inexpensive paints and a dotting brush.
Materials
- 1 bowl
- Base acrylic color 30 ml
- Accent colors (3–4), 5–10 ml each
- Toothpick or small palette knife for chips
- Fine sandpaper 220
- Satin sealer, water-based
Instructions
- Paint a smooth base coat and dry 30–45 minutes.
- Use a toothpick to place irregular chips of color randomly.
- Let chips dry 20 minutes; add second layer where needed.
- Lightly sand any raised blobs once fully dry.
- Seal with satin sealer; dry 1–2 hours. Cure 24 hours.
Troubleshooting: Keep chips small for a subtle look; larger chips read less like terrazzo.
How to Display or Gift It
Nest bowls on a slate board or gift with a small sample pot of your terrazzo colors for DIY lovers.
- Brushstroke Floral Garland — cottagecore charm
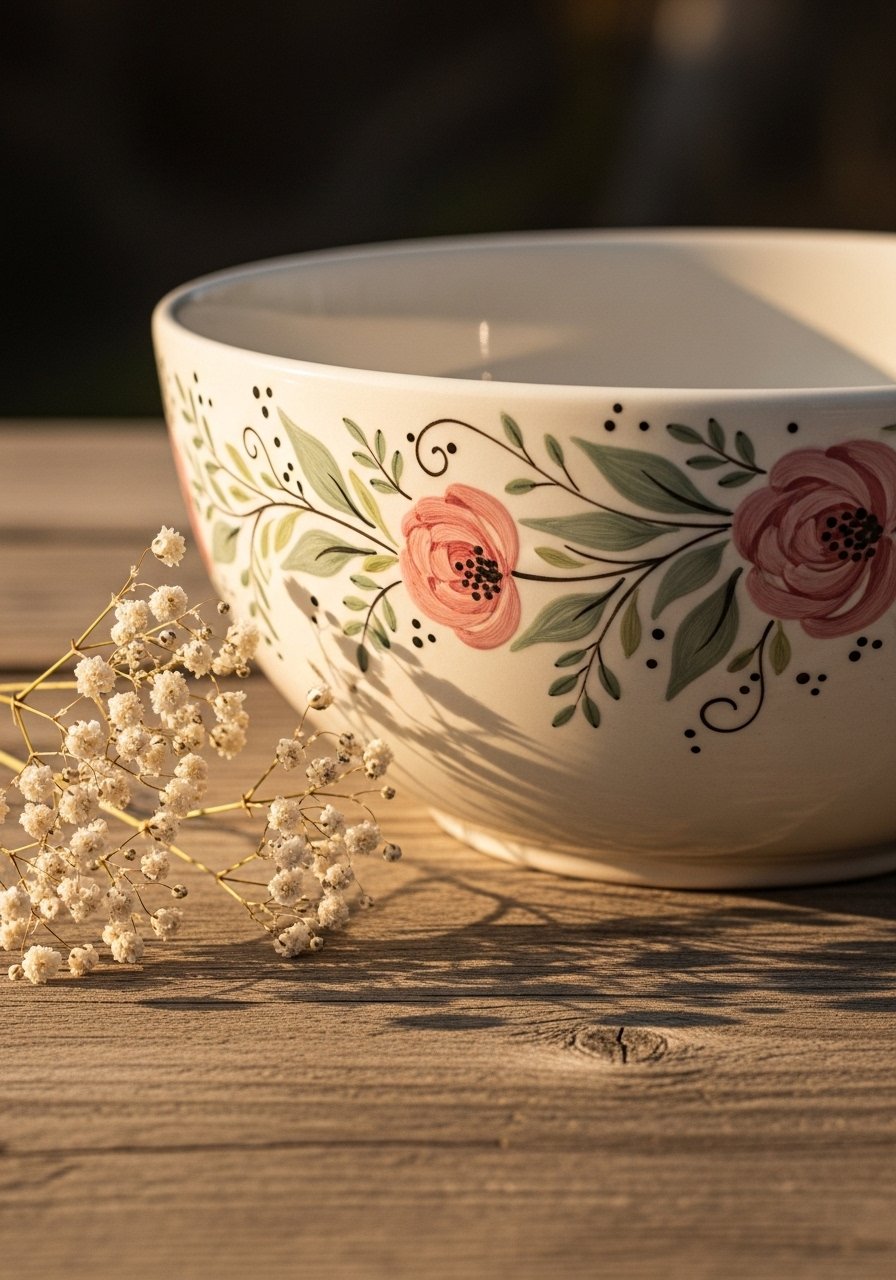
Loose floral garlands look hand-painted and personal. They’re lightweight, romantic, and perfect for cottagecore tables or bridal shower gifts.
Materials
- 1 bowl
- Acrylic paints: rose, sage, cream (15–20 ml each)
- Round brushes sizes 2 and 6
- Palette and water cup
- Clear matte sealer
Instructions
- Sketch garland layout lightly with pencil.
- Block in flower shapes with size 6 brush, then add details with size 2.
- Let each layer dry 15–20 minutes before adding accents.
- Seal with two coats of matte sealer; allow 1 hour between coats. Cure 24 hours.
Troubleshooting: Keep strokes loose; avoid overworking edges.
How to Display or Gift It
Fill with wrapped soaps or potpourri and gift wrapped in kraft paper with a dried sprig.
- Metallic Brush Dot Halo — small-budget glam
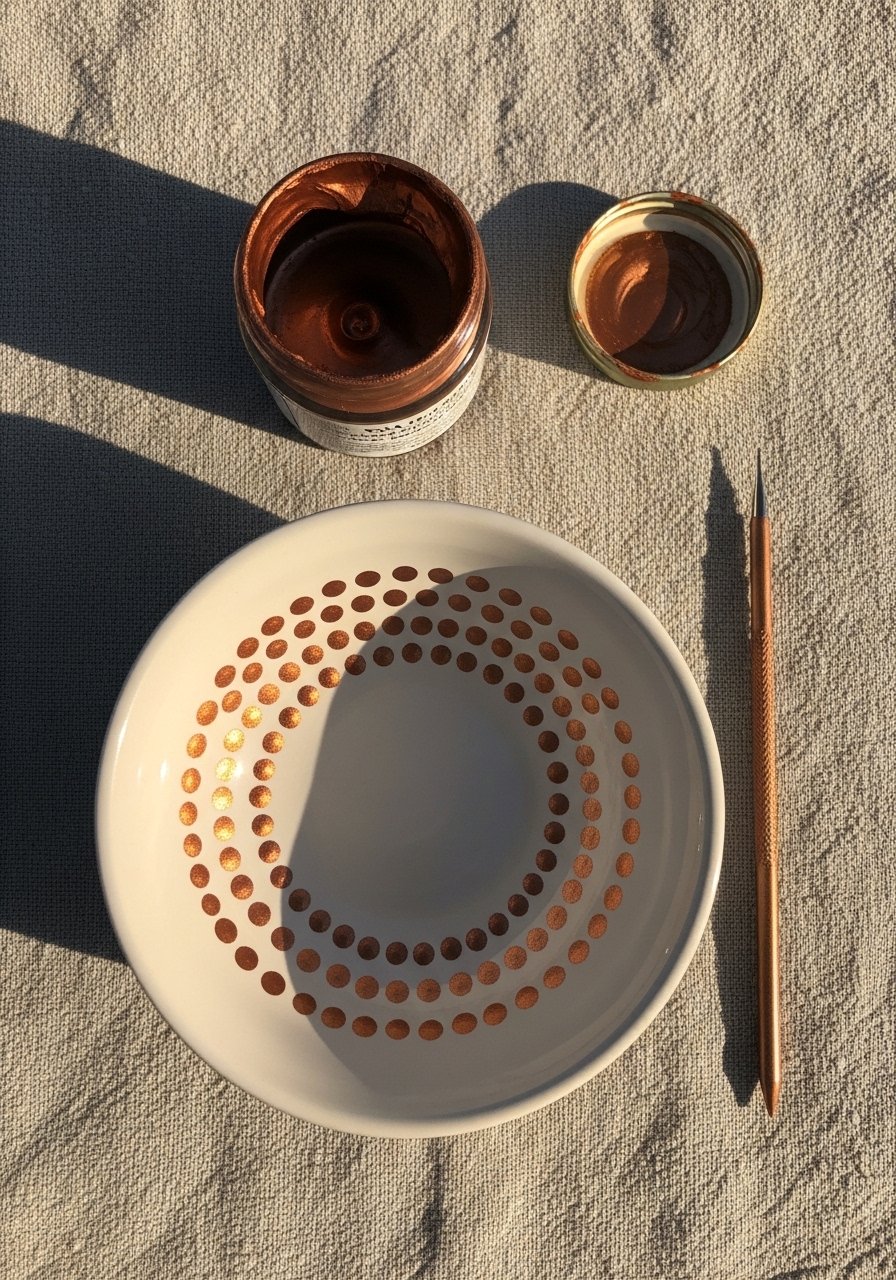
Concentric metallic dots create a halo effect that photographs beautifully. It’s quick, inexpensive, and gives a luxe feel without real metals.
Materials
- 1 bowl
- Metallic acrylic paint 15 ml
- Dotting tool or toothpick
- Pencil for faint guides
- Clear gloss sealer
Instructions
- Lightly mark concentric circles with pencil.
- Dip dotting tool and place dots along guides.
- Allow dots to dry 20–30 minutes.
- Add a second pass for opacity if necessary.
- Seal with gloss sealer; dry 1 hour. Cure 24 hours.
Troubleshooting: Keep dots consistent by re-dipping often.
How to Display or Gift It
Use as a jewelry dish or candle holder and wrap in tissue with a gift tag.
- Sgraffito Scratch Pattern — revealing contrast color
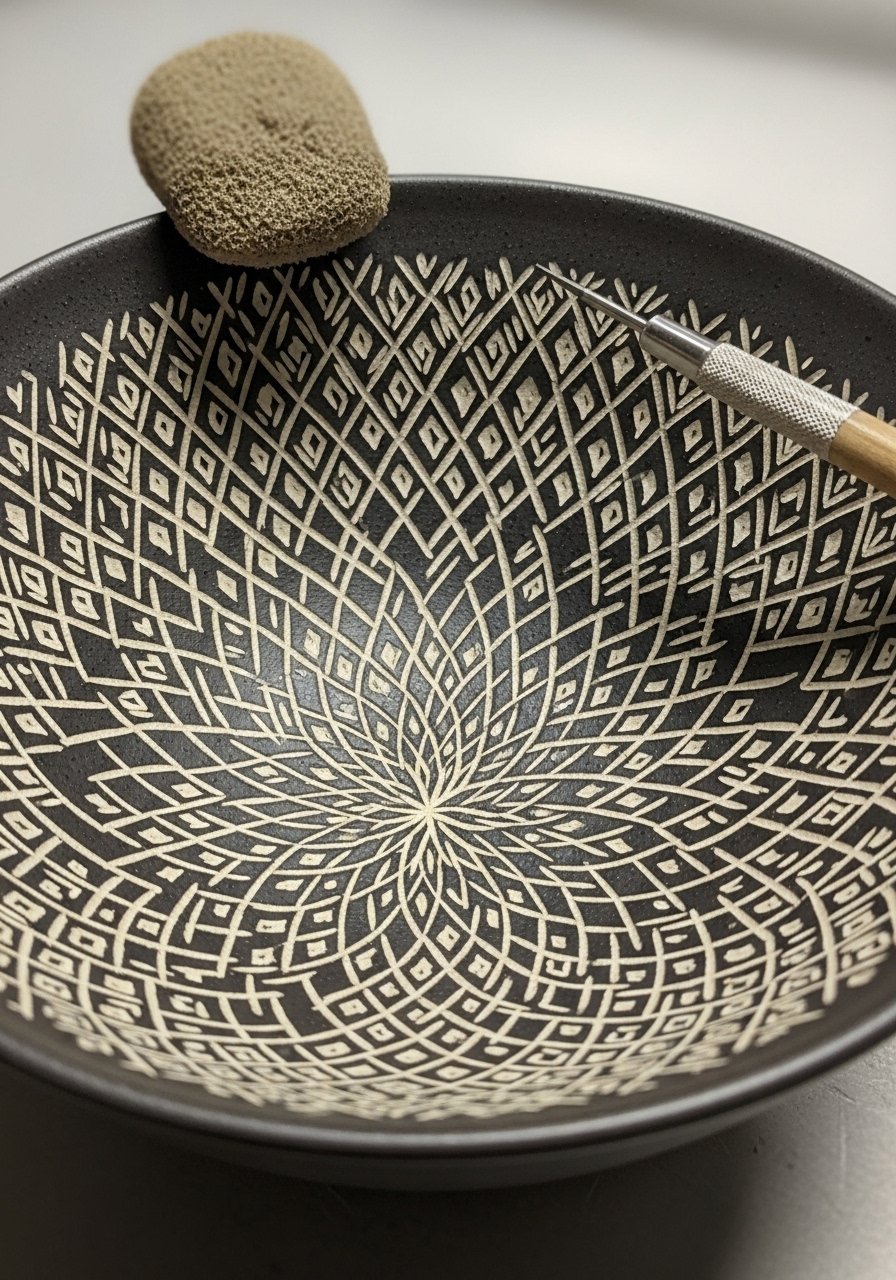
Sgraffito involves layering paint and scratching away the top to reveal the color beneath for a textured, hand-made feel. It’s tactile and looks artisanal.
Materials
- 1 bowl
- Two acrylic colors (contrast): top coat 25 ml, base 25 ml
- Needle tool or toothpick for scratching
- Sponge and fine sandpaper 220
- Clear matte sealer
Instructions
- Paint base color and let dry 1 hour.
- Apply a full top coat in contrasting color and let dry 30–45 minutes but still slightly tacky.
- Use a needle tool to scratch patterns down to the base color.
- Clean away dust and sand lightly if needed.
- Seal with matte sealer; dry 1 hour. Cure 24 hours.
Troubleshooting: If top coat is too dry, it may flake rather than scratch; time carefully.
How to Display or Gift It
Display as a tea-time set. For gifting, include a small card describing the sgraffito method.
- Delicate Dot Mandala — meditative, budget-friendly

Dot mandalas are calming to paint and look ornate. Use a dotting tool for consistent dots or improvised tools like the back of a paintbrush.
Materials
- 1 bowl
- Acrylic paints: base 30 ml, two accent colors 10 ml each
- Dotting tool set or toothpicks
- Compass or pencil for center mark
- Clear glossy sealer
Instructions
- Paint the base color; dry 30–45 minutes.
- Mark center with a pencil and work outward in rings.
- Apply dots steadily, reloading tool as needed.
- Add metallic dots for sparkle; dry 20–30 minutes between layers.
- Seal with glossy sealer; dry 1–2 hours. Cure 24 hours.
Troubleshooting: Keep hands steady and rest elbow on a table to avoid wobble.
How to Display or Gift It
Use as a jewelry bowl or tea caddy. Place on a small wooden display easel for shelves.
- Watercolor Wash Exterior — airy and soft
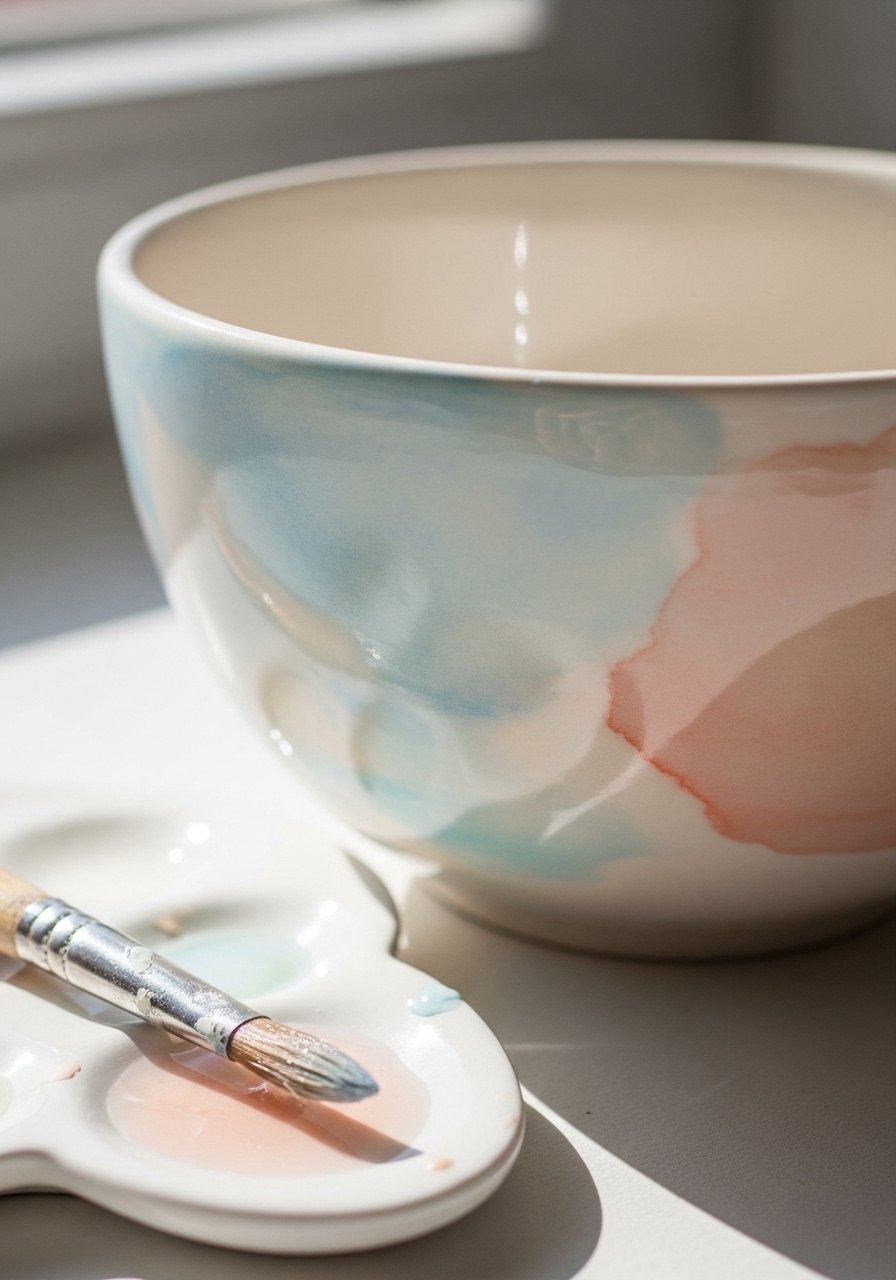
Watercolor wash with thinned acrylics produces soft, painterly effects that read like ceramics glazed in a studio. Light, translucent, and very forgiving.
Materials
- 1 bowl
- Acrylic paints 15–20 ml each, thinned with water
- Soft round watercolor brush, size 8
- Mixing cup and palette
- Clear matte sealer
Instructions
- Thin paint to watercolor consistency (about 2:1 water to paint).
- Apply light washes in layers, letting each dry 15–20 minutes.
- Build color slowly for control.
- After final wash, seal with matte sealer; dry 1 hour. Cure 24 hours.
Troubleshooting: Too much water can cause drips—work in small sections.
How to Display or Gift It
Pair with ceramic pitchers and pale linens for a soft table. Pack nested with tissue for safe gifting.
- Boho Tribal Stencil — repeatable pattern on a budget
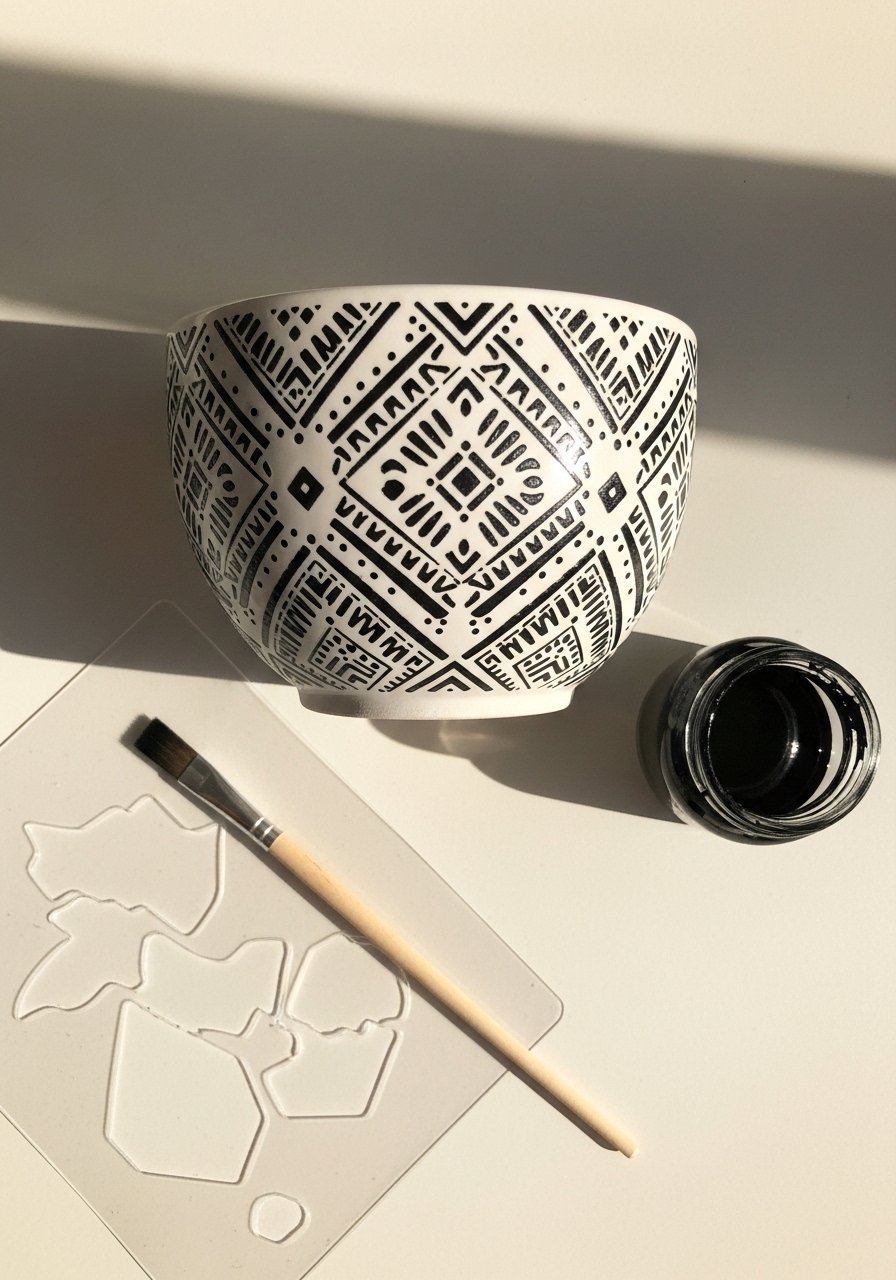
Reusable stencils help you create consistent tribal patterns quickly. They’re cheap, reusable, and great for making sets.
Materials
- 1 bowl
- Reusable stencil (silicone or mylar)
- Stencil brush or small foam pouncer
- Black acrylic paint 10–15 ml
- Painter’s tape to hold stencil
- Clear satin sealer
Instructions
- Hold stencil in place with tape and pounce paint sparingly.
- Remove stencil while paint is still slightly wet for crisp edges.
- Repeat around bowl; allow 20–30 minutes dry between passes.
- Seal with satin sealer; dry 1–2 hours. Cure 24 hours.
Troubleshooting: Dab off excess paint before pouncing to avoid bleed.
How to Display or Gift It
Group with woven placemats. For gifting, tuck a small bundle of matching napkins inside the bowl.
- Copper Wash Interior — warm metallic surprise
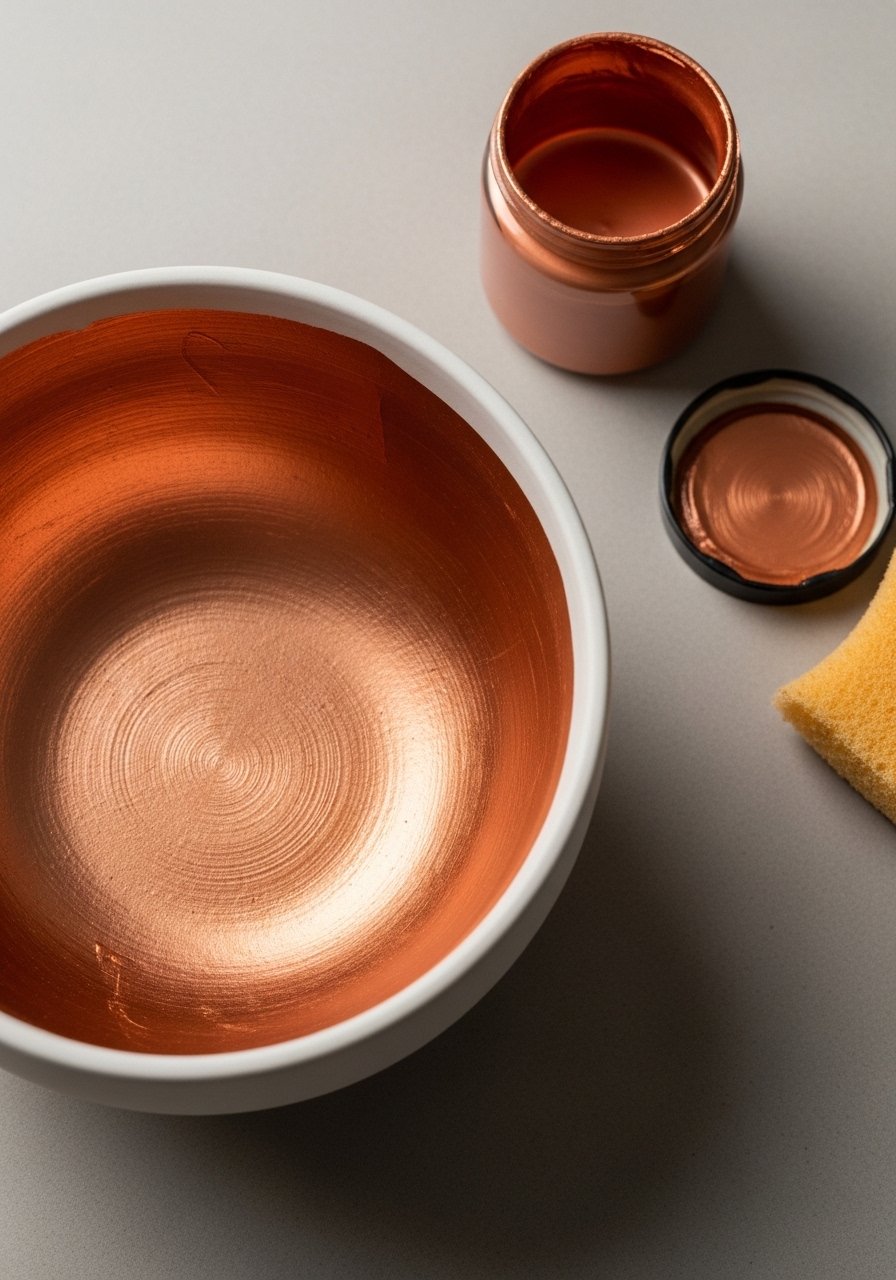
A metallic interior reads luxe and is surprisingly affordable. Use a soft sponge for streak-free application.
Materials
- 1 bowl
- Metallic copper acrylic 20 ml
- Soft sponge applicator
- Painter’s tape for rim
- Clear gloss sealer (food-safe if using for food)
Instructions
- Tape the rim if needed and sponge on metallic paint in even arcs.
- Let dry 30 minutes, add a second coat for depth.
- Seal with food-safe gloss if using for food; cure per sealer instructions (24–72 hours).
Troubleshooting: Avoid over-saturation to prevent pooling.
How to Display or Gift It
Present with a coordinating matte exterior bowl for contrast. Wrap with a fabric napkin and finish with twine.
- Mini Mosaic Inlay — upcycled budget brilliance
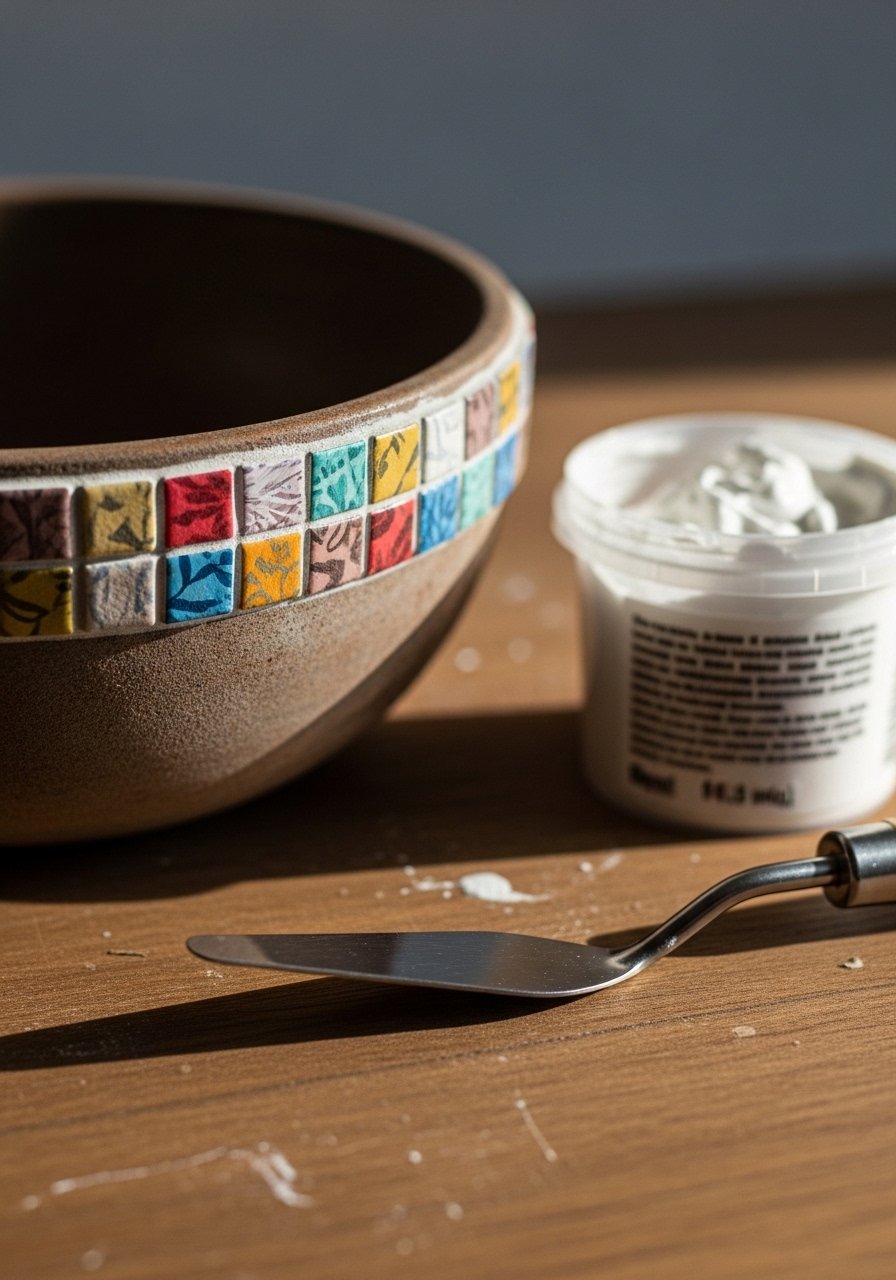
Use broken pottery or painted faux-tiles for a mosaic band. It looks time-intensive and expensive, but you can create chips with spare paint and glue.
Materials
- 1 bowl
- Broken ceramics or painted blanks cut into chips
- Strong craft glue or E6000, 5–10 g
- Fine grout or Mod Podge for smoothing
- Small palette knife
- Clear sealer
Instructions
- Arrange chips around the rim to plan your pattern.
- Glue chips in place and press firmly. Let set 1–2 hours.
- Apply grout or Mod Podge between chips; wipe excess.
- Allow grout to cure 24 hours.
- Seal gently if needed with a brush-on sealer.
Troubleshooting: Use gloves with E6000 and work in a ventilated area.
How to Display or Gift It
Use as a statement bowl on a console. Package in a low box with tissue to protect raised tiles.
- Shibori-Inspired Resist — subtle indigo pattern
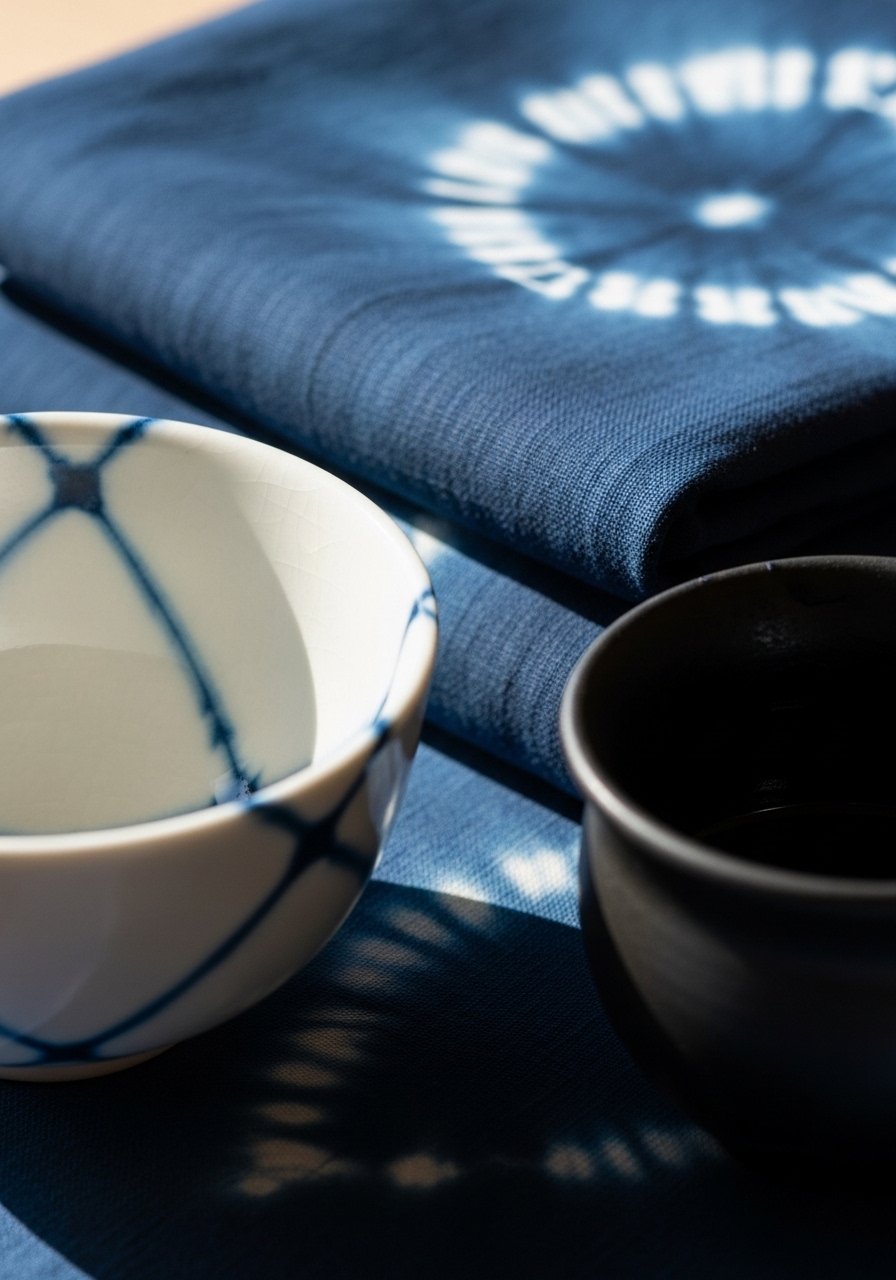
Shibori-style resist gives a layered indigo look using painter’s tape or rubber bands. It’s subtle, serene, and pairs well with natural textiles.
Materials
- 1 bowl
- Indigo or navy acrylic 20–30 ml
- Thin painter’s tape or rubber bands
- Soft round brush and sponge
- Clear matte sealer
Instructions
- Wrap bowl with tape or bands to create resist lines.
- Paint over with thinned navy wash and let dry 30–45 minutes.
- Remove bands/tape carefully to reveal resist.
- Seal with matte sealer; dry 1 hour. Cure 24 hours.
Troubleshooting: Test tension on a spare bowl to avoid ripping paint.
How to Display or Gift It
Pair with indigo-dyed napkins and a wooden spoon. Store flat to protect resist lines.
- Playful Kid’s Handprint Keepsake — sentimental and cheap
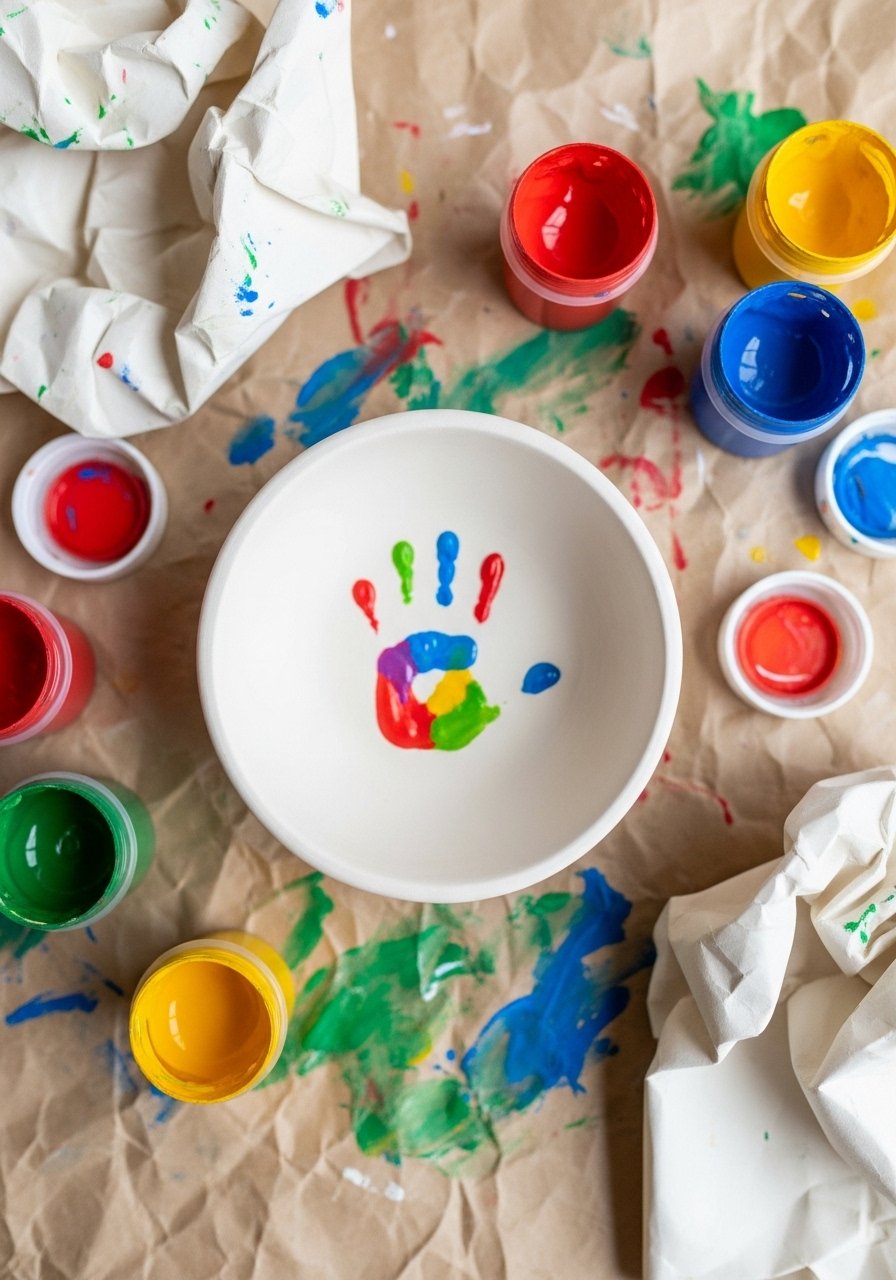
Handprint bowls make sweet gifts and are budget-friendly. Use non-toxic paints and seal for display pieces or occasional use.
Materials
- 1 small bowl
- Non-toxic acrylic paint 5–10 ml
- Soft damp cloth
- Clear matte sealer (display-only if using paint)
- Baby wipes
Instructions
- Wash and dry child’s hands and bowl surface.
- Paint child’s palm lightly and press into the bowl.
- Clean child’s hand immediately with wipes.
- Let print dry 30–45 minutes and seal with matte sealer for display. Cure 24 hours.
Troubleshooting: Practice once on paper before pressing the bowl.
How to Display or Gift It
Wrap with a photo and a handwritten date. Display on a shelf or in a glass-fronted cabinet.
- Starry Night Speckle with Glitter — small-batch glam

Add tiny glitter specks into a clear coat over a dark base for a starry finish. It’s dramatic and still low-cost.
Materials
- 1 bowl
- Dark navy acrylic 30 ml
- Clear gloss sealer with fine glitter mixed in or add loose glitter
- Soft brush and palette
- Clear topcoat sealer
Instructions
- Paint base coat and dry 30–45 minutes.
- Mix a tiny pinch of fine glitter into the gloss sealer and apply thin coats.
- Let dry 1 hour between coats. Cure 24–48 hours.
- Add final clear topcoat to lock glitter in place.
Troubleshooting: Use fine glitter to avoid sharp edges when touching.
How to Display or Gift It
Use as a jewelry dish or nighttime bedside bowl. Wrap in dark tissue and add a tiny LED tealight for display.
- Painted Sunflower Rim — cheerful budget gift idea
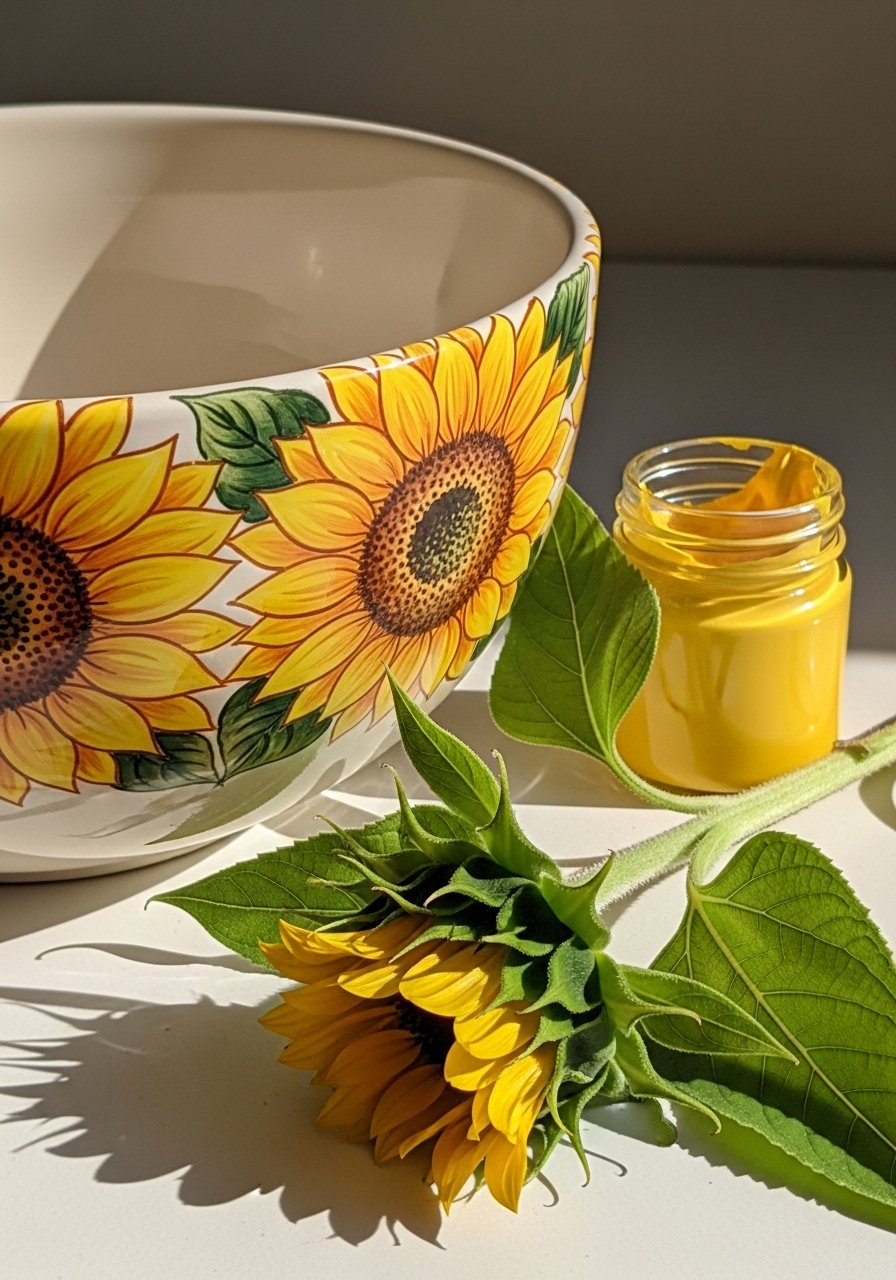
Sunny sunflower rims feel joyful and handmade. They’re inexpensive to paint and make excellent gifts for teachers or neighbors.
Materials
- 1 bowl
- Yellow, brown, green acrylic paints (5–15 ml each)
- Round brushes sizes 2 and 6
- Pencil for placement
- Clear matte sealer
Instructions
- Sketch petal placement along rim.
- Paint petals with yellow and add brown centers.
- Fill leaves with sage or olive green.
- Allow 20–30 minutes drying between layers.
- Seal with matte sealer; dry 1 hour. Cure 24 hours.
Troubleshooting: Keep petals loose — they look better when not perfect.
How to Display or Gift It
Fill with locally made jam or honey for a thoughtful host gift and wrap with a ribbon and kraft tag.
Pin, try, and share — then make more
You’ve just scrolled through 24 budget ceramic bowl painting ideas that make plain bowls feel carefully curated and boutique. There’s a mix of quick single-session projects and slightly more involved techniques, all designed to keep costs low and results high-end. I’d love to know which one you’ll try first — will you go metallic, botanical, or geometric?
Save or pin this post for later, and share a photo when you finish a set. Trust me, picking up a quality hot glue gun with temperature control changed how many projects go together — no stringy mess, and faster build time for mosaic or inlay work. Happy painting, and come back for more small-project inspiration.





