You love hands-on time with your kids but sometimes crafts turn chaotic fast. Sensory crafts for kids give you calm structure while sparking creativity and fine-motor learning. They’re perfect for rainy afternoons, homeschool sessions, or a short, focused craft time where your child explores texture, color, and cause-and-effect.
The secret? A washable finger paint set makes color play stress-free, and foam brushes keep little hands clean while making big strokes. Try a washable finger paint set and a foam brush set to get started quickly.
Keep reading—you’ll learn how to prep a kid-friendly workspace, make three easy sensory crafts in about an hour each, and store or gift finished pieces.
Gathering and prepping materials (easy, one-afternoon setup)

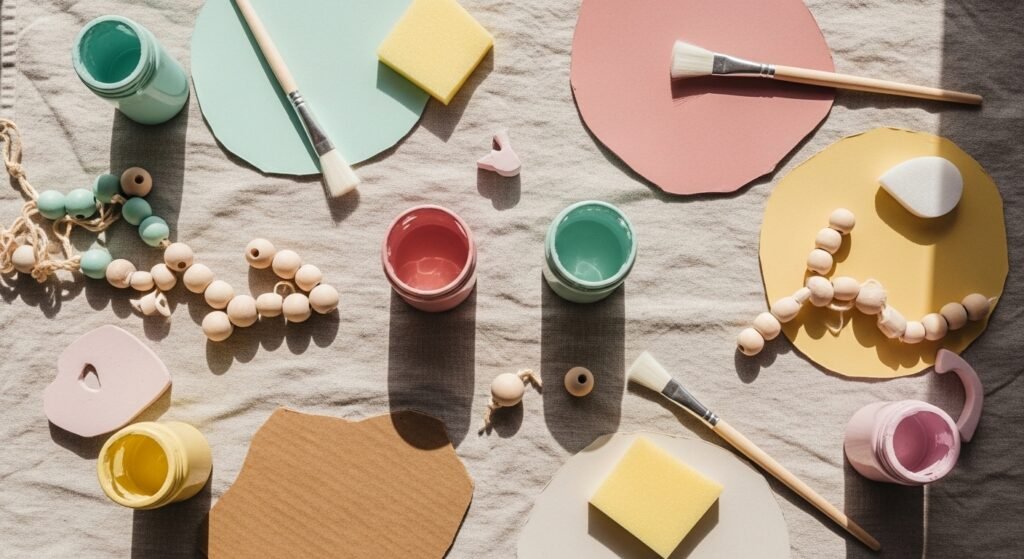
Start by organizing materials so you can stay present with your child. Lay out small portions of tactile supplies in shallow bowls—about 1/2 cup per texture is ideal for a single child. Use clear containers so kids can see options.
Helpful tips:
- Protect the surface with a self-healing cutting mat or washable table cover.
- Keep extras in clear zip pouches for quick cleanup.
- Sort beads, pom-poms, and buttons into stackable craft organizer trays to avoid spills.
Prep time: 10–15 minutes. For older kids, include scissors and a precision craft knife supervised by an adult.
Make three beginner-friendly sensory crafts (step-by-step)
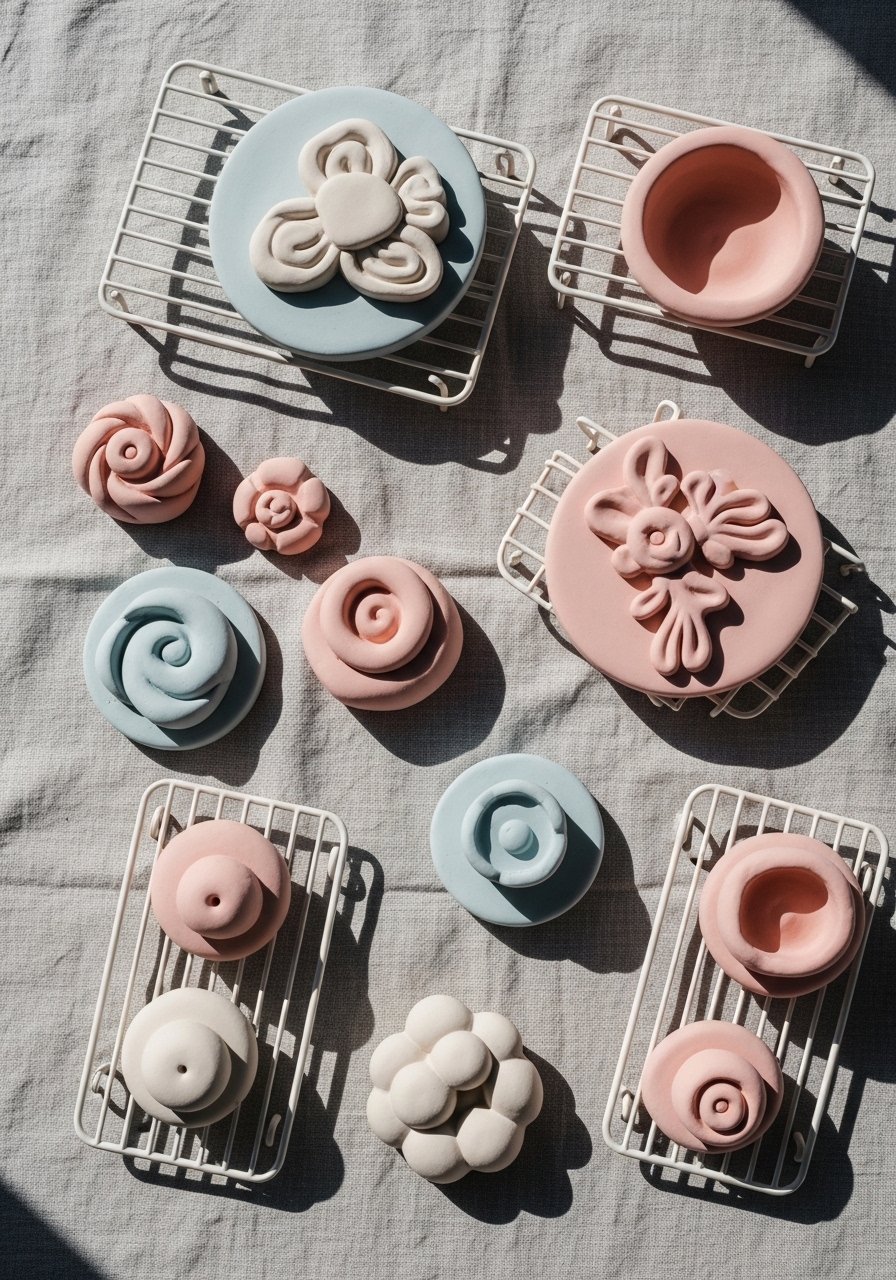
- Tactile Play Dough Tray (30–40 minutes play)
- Mix a batch of salt dough or use store-bought sensory dough. Add texture by pressing in rice, dried pasta, or wooden beads.
- Encourage imprinting: press forks, leaves, or buttons to make patterns.
- Pro tip: Seal decorative pieces with a thin coat of Mod Podge matte once any glued items are dry.
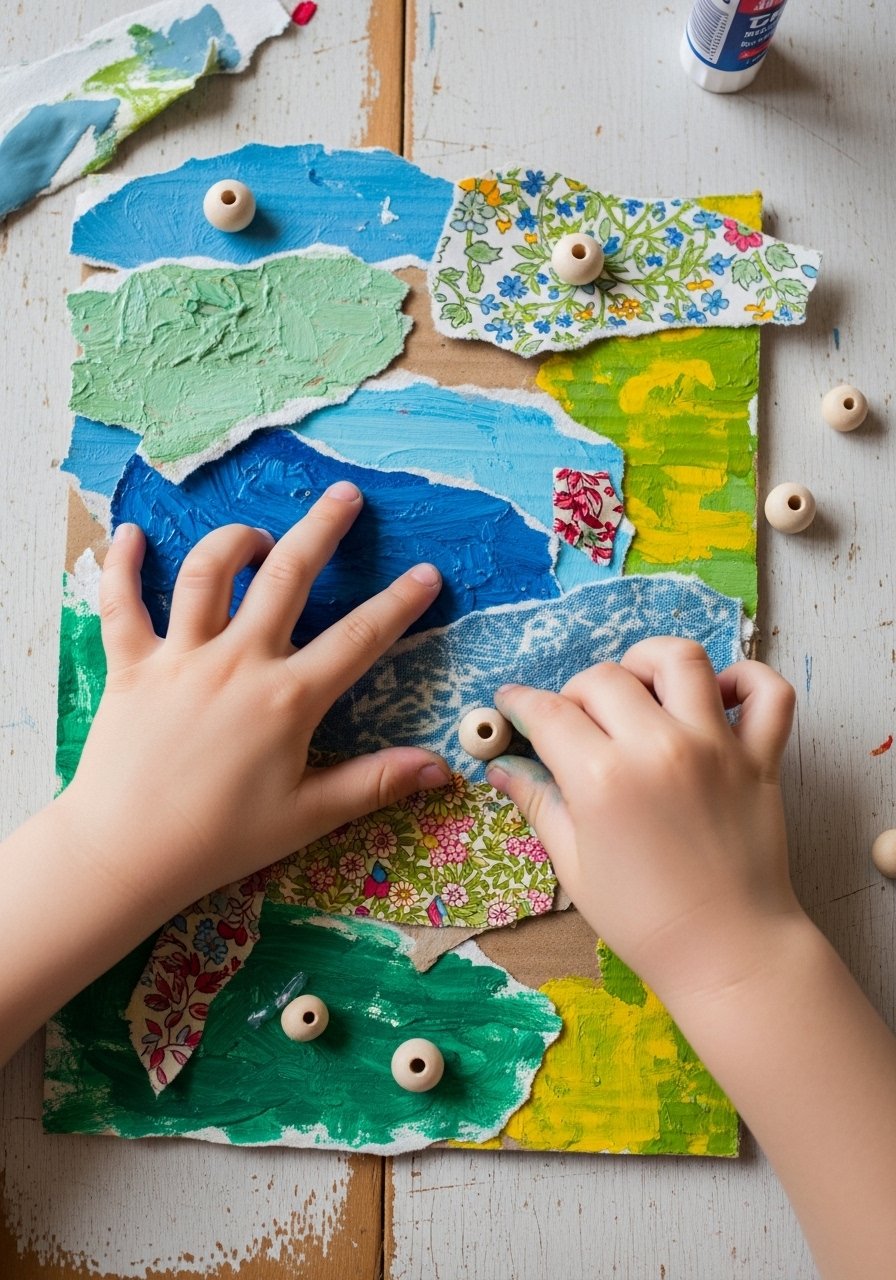
- Textured Collage Card (45–60 minutes including drying)
- Paint a 6"x8" piece of recycled cardboard with an acrylic craft paint set using foam brushes.
- Glue fabric, yarn, and beads in sections to create tactile zones. Use a low-temp hot glue gun for heavier items; craft glue works for paper/fabric.
- Drying time: allow 1–2 hours on a flat rack, longer if thick glue is used.
- Sensory Ribbon Wand (20–30 minutes)
- Thread ribbons, bells, and wooden beads onto a dowel or an embroidery hoop set cut-down ring for safe handling.
- Knot each ribbon securely. This is excellent for gross-motor play and sound exploration.
- Use wooden beads spaced for tactile contrast.
Getting the finish right (drying, safety, and tidy storage)
Finish like a pro:
- For painted areas, check for full opacity before adding another coat—usually 20–30 minutes dry time between thin coats with acrylics.
- Use a thin coat of Mod Podge matte to seal collages; allow 24 hours for full cure before heavy handling.
- Store sensory bits in labeled clear zip pouches inside stackable craft organizer trays for easy reuse.
Troubleshooting:
- If paint bleeds under tape, swap to low-tack painter's tape.
- For glue that pools, blot excess immediately and let pieces dry flat for at least 1–2 hours.
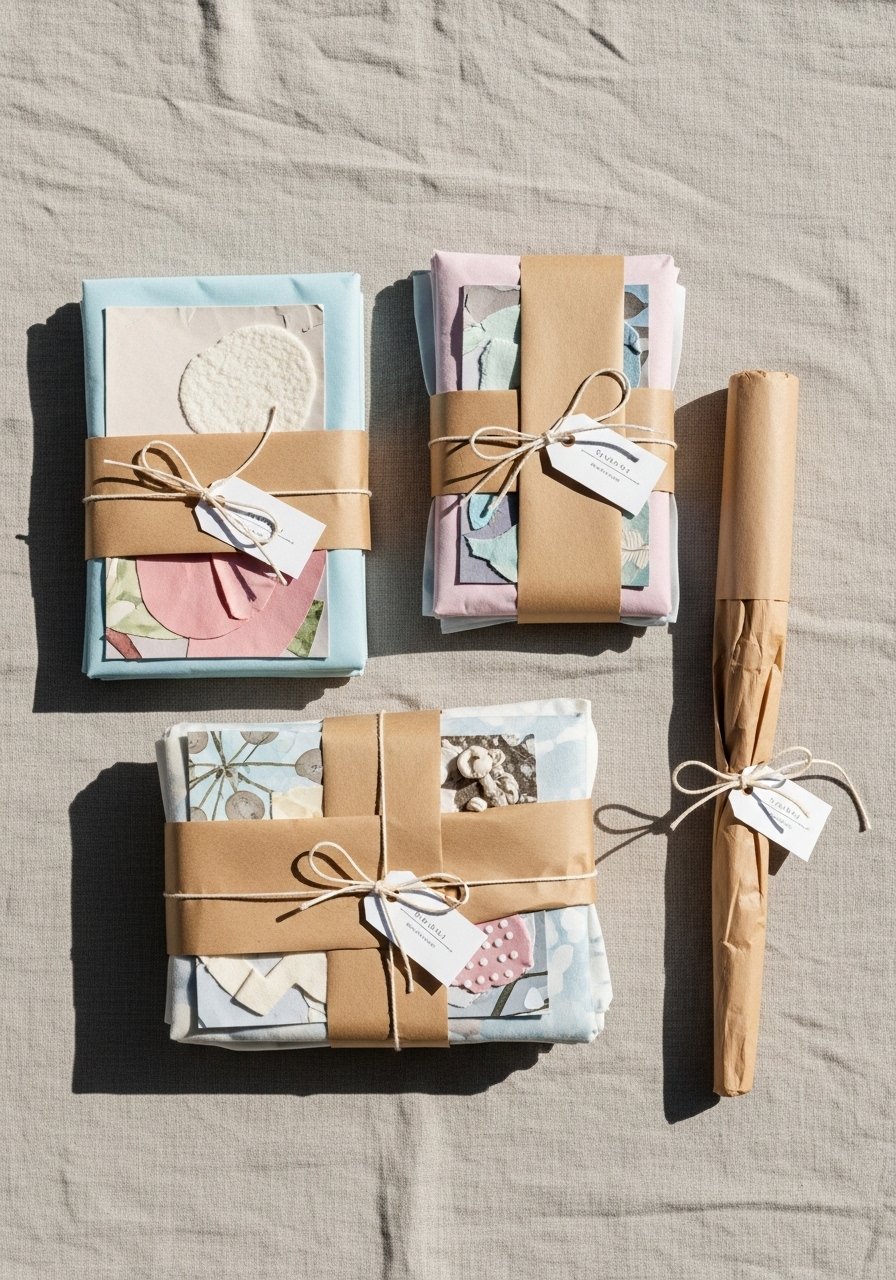
Displaying, gifting, and saving the projects (pin-worthy presentation)
Turn crafts into keepsakes or gifts:
- Frame flat collages in simple wooden frames or tuck flat pieces into kraft gift boxes with tissue.
- Label sensory kits and tuck them into a small basket with a tag. Use clear zip pouches for loose items.
- For classroom sharing, separate materials into portioned kits using stackable craft organizer trays.
Your child just practiced sorting, hand strength, and creative thinking while making something tactile and beautiful. Pin this guide for a quick afternoon plan, and grab a washable finger paint set to keep color play mess-manageable. Which sensory craft will you try first? Save this for later and share with a friend who loves hands-on play!


