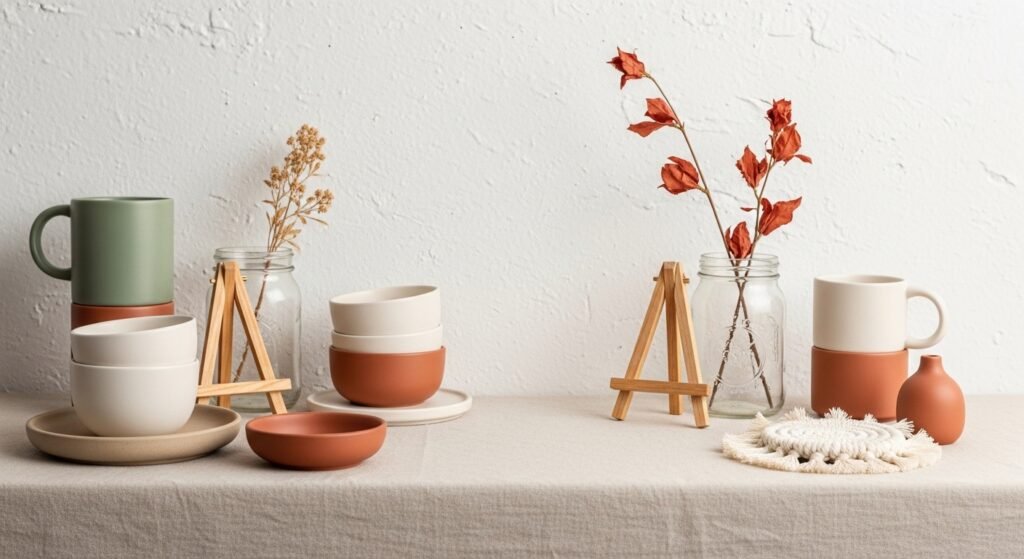
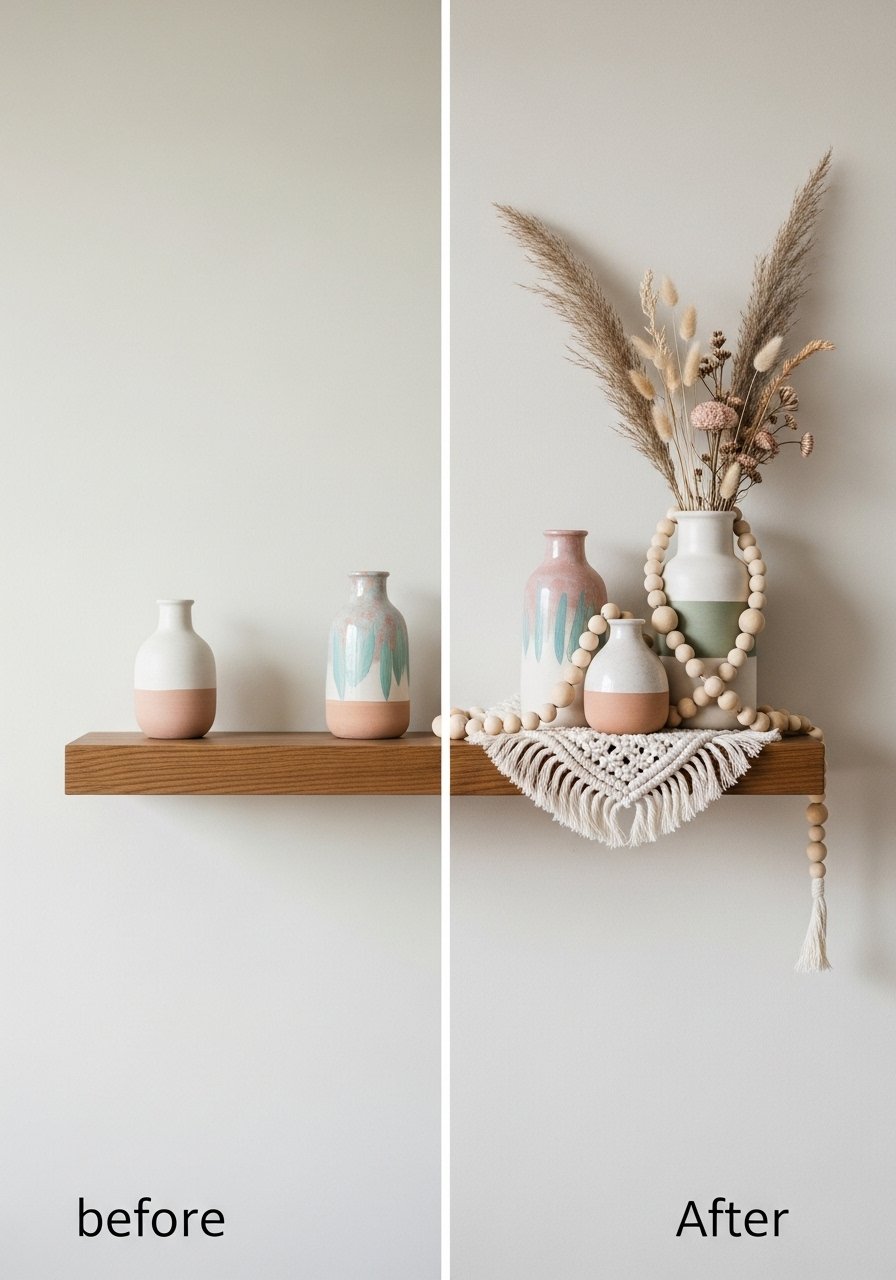
You walk past your shelves and wish they looked like the photos you pin. Making aesthetic shelf decor DIY doesn't have to be intimidating or expensive — you can craft layered, curated displays in an afternoon using small handmade pieces and a few store-bought helpers. This guide shows you easy, beginner-friendly projects that turn empty shelves into a styled vignette.
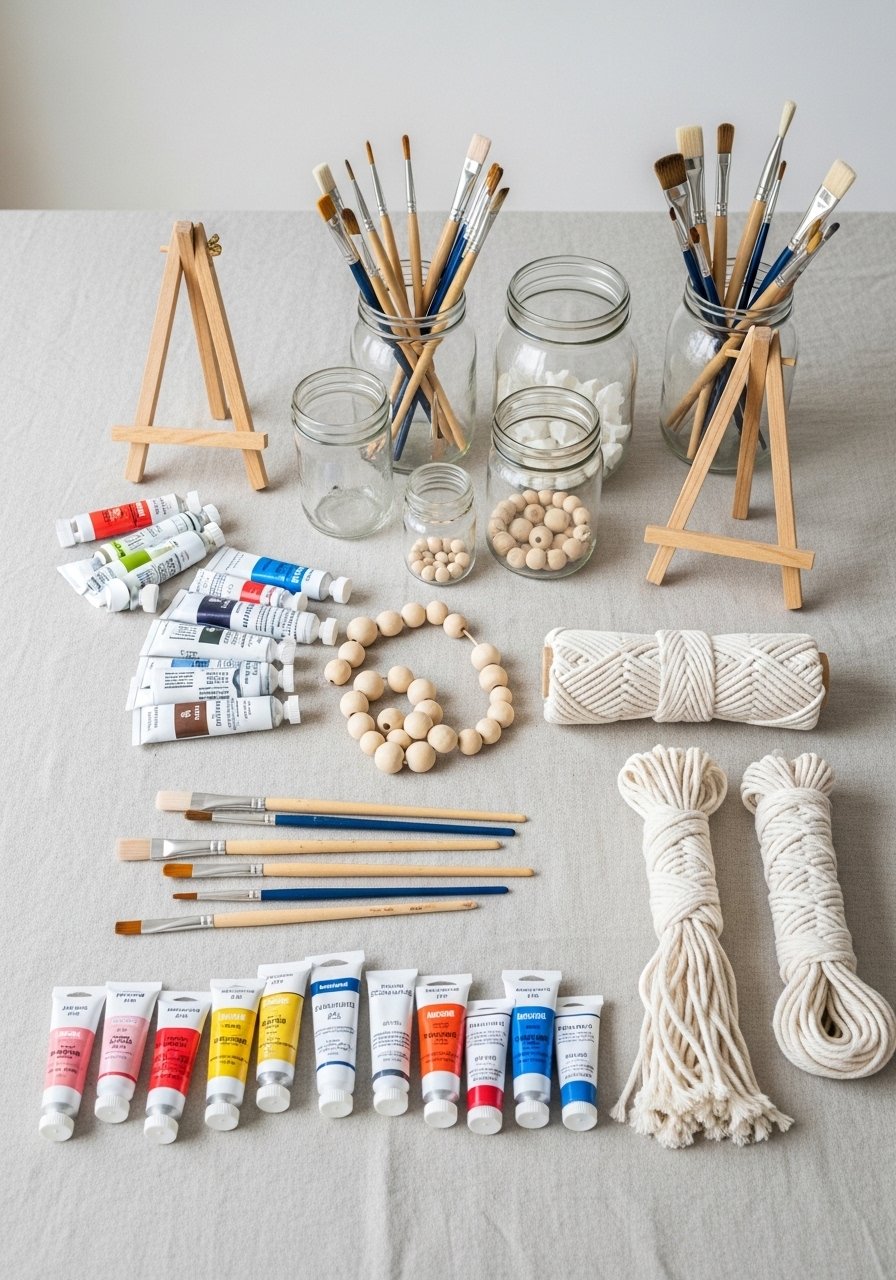
The secret? A small acrylic paint set and a foam brush set let you refresh thrifted vases in under 30 minutes of active work. You’ll also use simple adhesives and display staples to lock everything in place.
Read on to learn step-by-step projects, quick finishing tips, and shelf-styling rules that make your collage feel curated, not cluttered.
Gather and prep in one afternoon (beginner-friendly)
Prepping saves time. Clear a 2-foot working area and protect it with a washable cloth. Sand any rough wood with a fine sandpaper set for smooth paint and glue adhesion. Measure small shelf pieces: aim for objects roughly 4–10 inches tall to keep scale balanced.
Helpful prep steps:
- Wipe surfaces clean and let them dry for 10 minutes.
- Label items with a small piece of tape so you can test color combos quickly.
- Use a stackable craft organizer tray to keep small beads and hardware sorted.
Paint + refresh thrifted vases (easy, 20–30 minute active time)

Bringing old vases in line with your palette is the fastest way to get cohesive shelf decor. Use acrylic paint with thin coats for even coverage. Expect 20–30 minutes drying time between coats; two thin coats usually give opaque color.
Step-by-step:
- Lightly sand glossy surfaces so paint grips.
- Apply a thin coat with a foam brush. Let dry 20–30 minutes.
- Add a second coat. Seal with a thin layer of Mod Podge matte if the piece will be handled.
Pro tips:
- Paint the bottom rim for an intentional artisan look.
- Use a small wooden easel to dry and display tiny canvases or photos.
Make simple handmade accents (no-sew, budget-friendly)
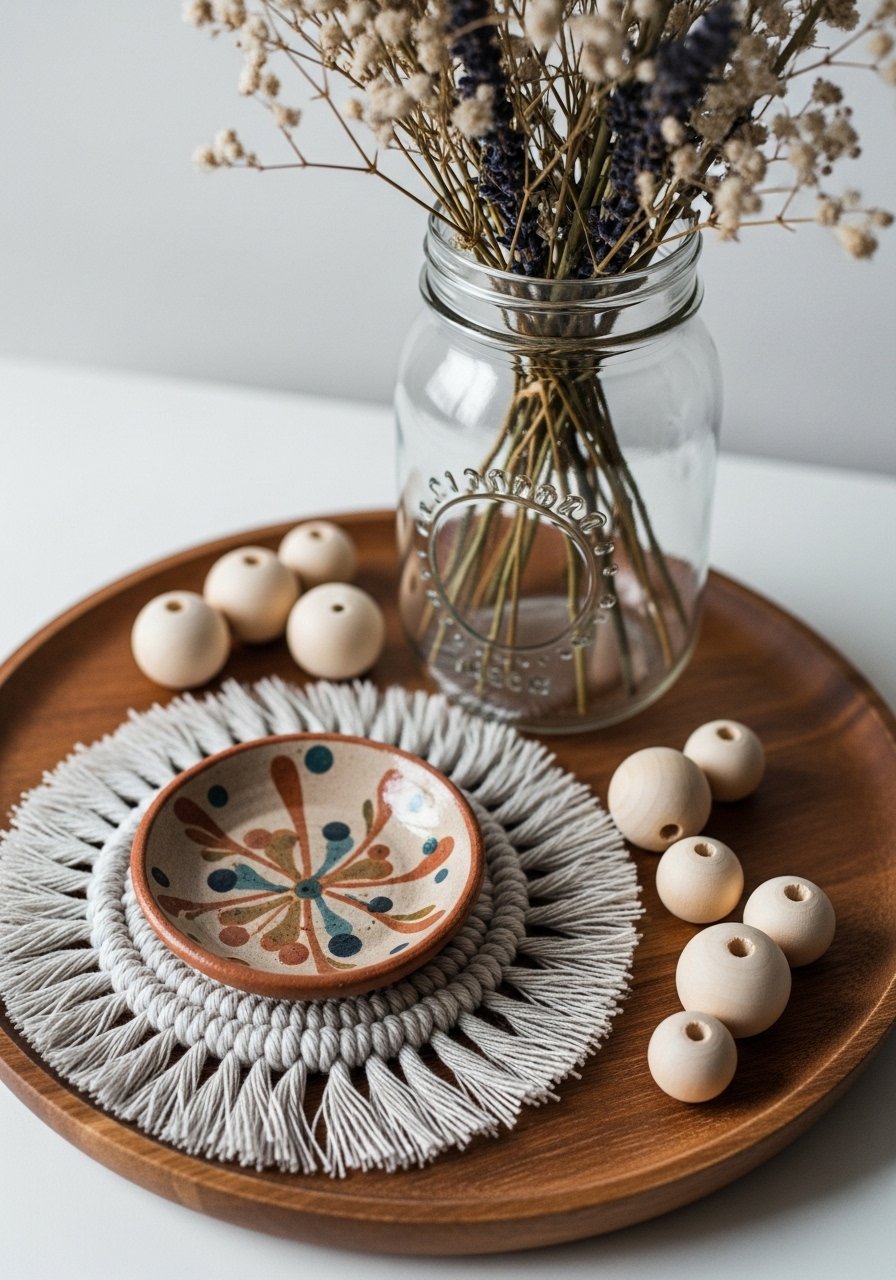
Add texture with mini projects you can finish quickly. Try air-dry clay dishes, tiny macramé coasters, or painted wooden beads.
Quick macramé coaster (30–45 minutes):
- Cut four lengths of 3mm macramé cord at 12 inches each and knot a simple square pattern. I use 3mm macramé cord.
- Glue the ends with a mini hot glue gun and trim.
Air-dry clay dishes:
- Press clay into a small bowl as a mold; dry 24 hours.
- Sand edges lightly and paint with the same acrylic palette for cohesion.
Storage and finishing:
- Keep extras in mason jars for a tidy look.
- Use washi tape to mark craft batches or create tiny labels.
Finish, style, and arrange like a pro (pin-worthy displays)
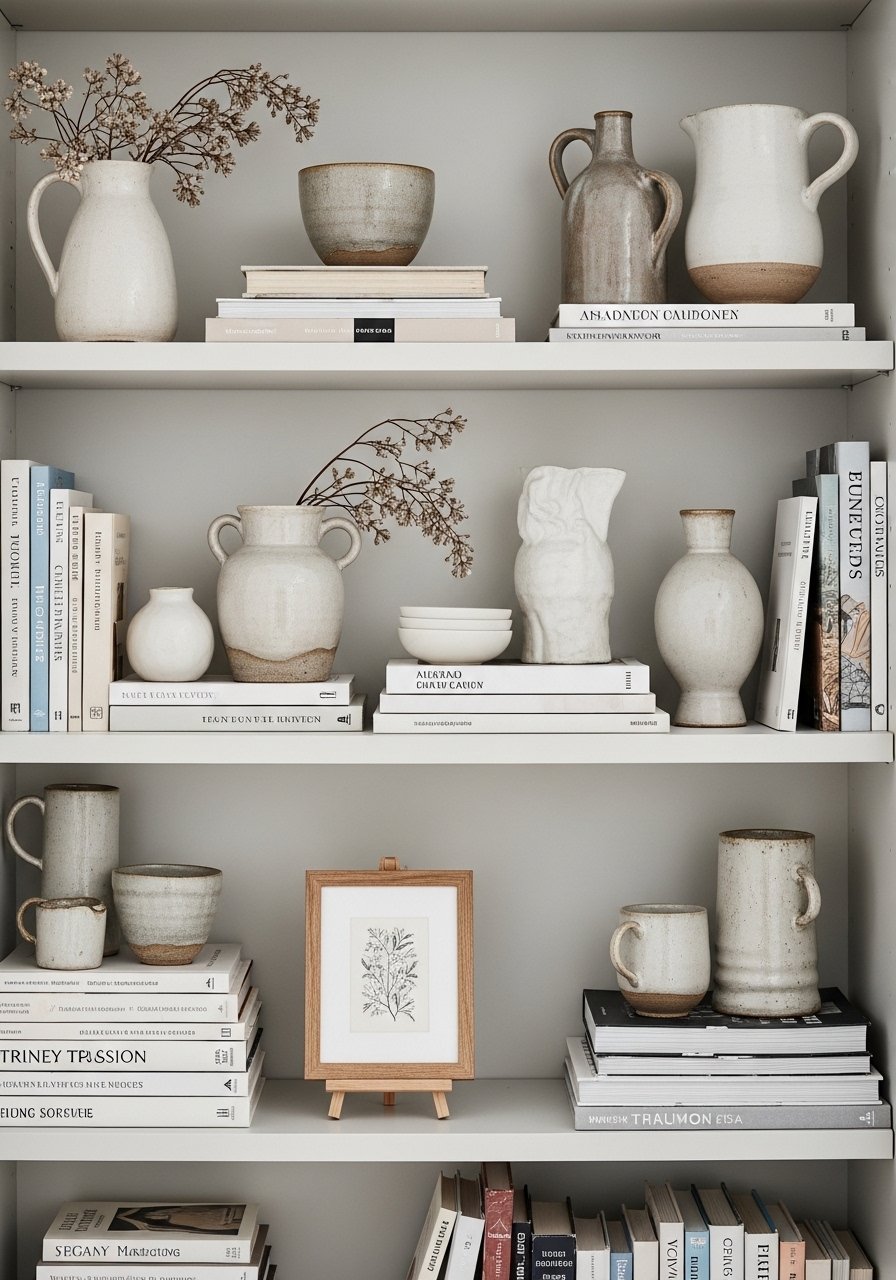
Styling is about balance: mix heights, textures, and negative space. Start with three groupings per shelf and use odd numbers of objects.
Quick arranging rules:
- Anchor each grouping with one taller piece (8–10 inches) and two shorter pieces.
- Layer a small artwork on a wooden easel behind a low vase to add depth.
- Keep color pops repeated—use terracotta in at least two places to tie the display.
Troubleshooting:
- If pieces wobble, add a tiny dot of hot glue under the base to secure them temporarily.
- If paint chips after handling, apply another coat of Mod Podge and allow 24 hours to cure.
Your shelf will look curated when materials feel related and spacing breathes. Save time by batch-making accents on a lazy weekend.
Once you try a few pieces, you’ll see how small edits change the mood of a whole room. Pin this guide for your next craft afternoon, save the project ideas, and share with a friend who loves to style shelves. Which mini project will you make first — painted vase, macramé coaster, or clay dish? Consider grabbing an acrylic paint set and a foam brush set to get started — they speed everything up and keep your work neat. Ready to make your shelves pin-worthy? Let's go!


