You love the idea of an aesthetic room decor DIY, but you don’t want complicated patterns or a full weekend commitment. You want quick, beginner-friendly projects that look straight off a Pinterest board. This guide shows simple, one-afternoon pieces that layer together into a dreamy, Pinterest-worthy haven.
The secret? A reliable hot glue gun speeds assembly and a versatile acrylic paint set gives you consistent color across shelves and jars. Try a hot glue gun for fast bonds and an acrylic craft paint set to pick your palette. Read on and you’ll finish three small projects with timing, measurements, and styling tips.
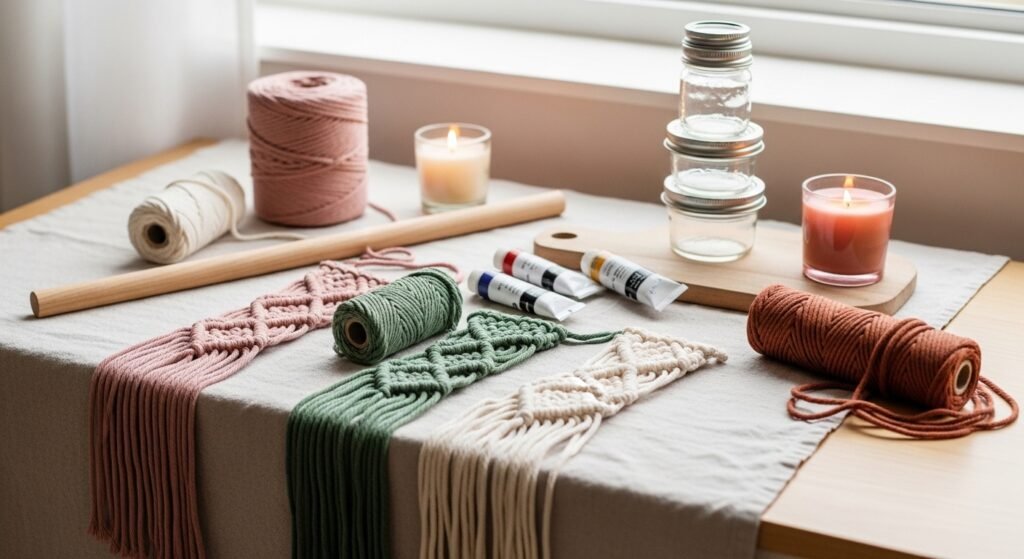
Gather and Prep Your Materials (beginner-friendly, budget tips)
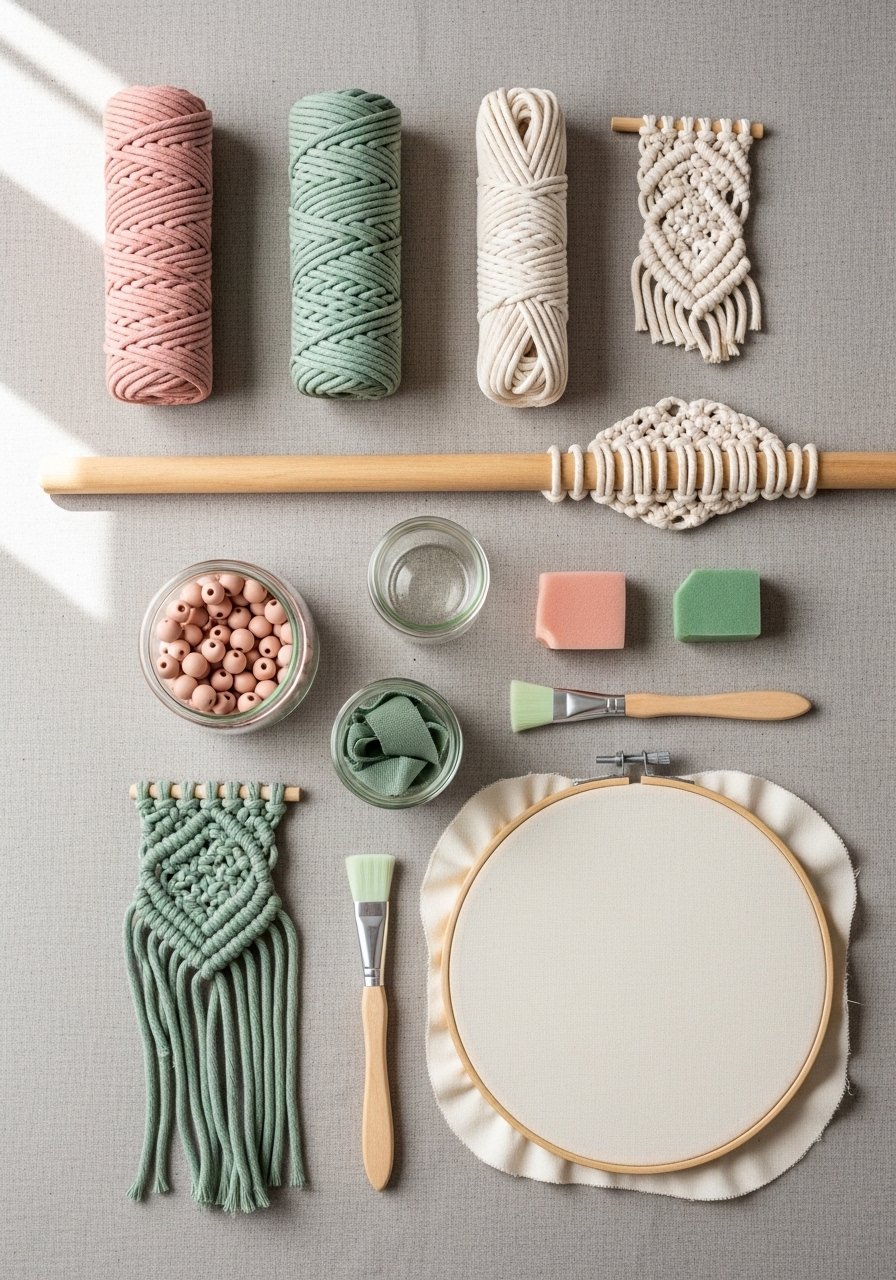
Start by collecting what you’ll actually use across projects so you can batch work. For a cohesive aesthetic room decor DIY look, choose one color palette and stick to it—pick two neutrals and one accent (blush + cream + sage works beautifully).
Practical prep tips:
- Cut macramé cord into eight lengths of 6 ft for a 12" dowel wall hanging. Keep ends tidy with a low-cost lighter or a quick dab of glue.
- Label jars and frames with painter’s tape before painting to protect areas—painter’s tape stays on cleanly and prevents bleed. Try painter’s tape.
- Use a self-healing cutting mat and a precision craft knife set when cutting paper or vinyl for crisp edges.
Time savings: pre-cut everything first (15–30 minutes) so assembly flows in one afternoon.
Core Techniques: easy macramé, painted frames, and upcycled vase (one-afternoon projects)
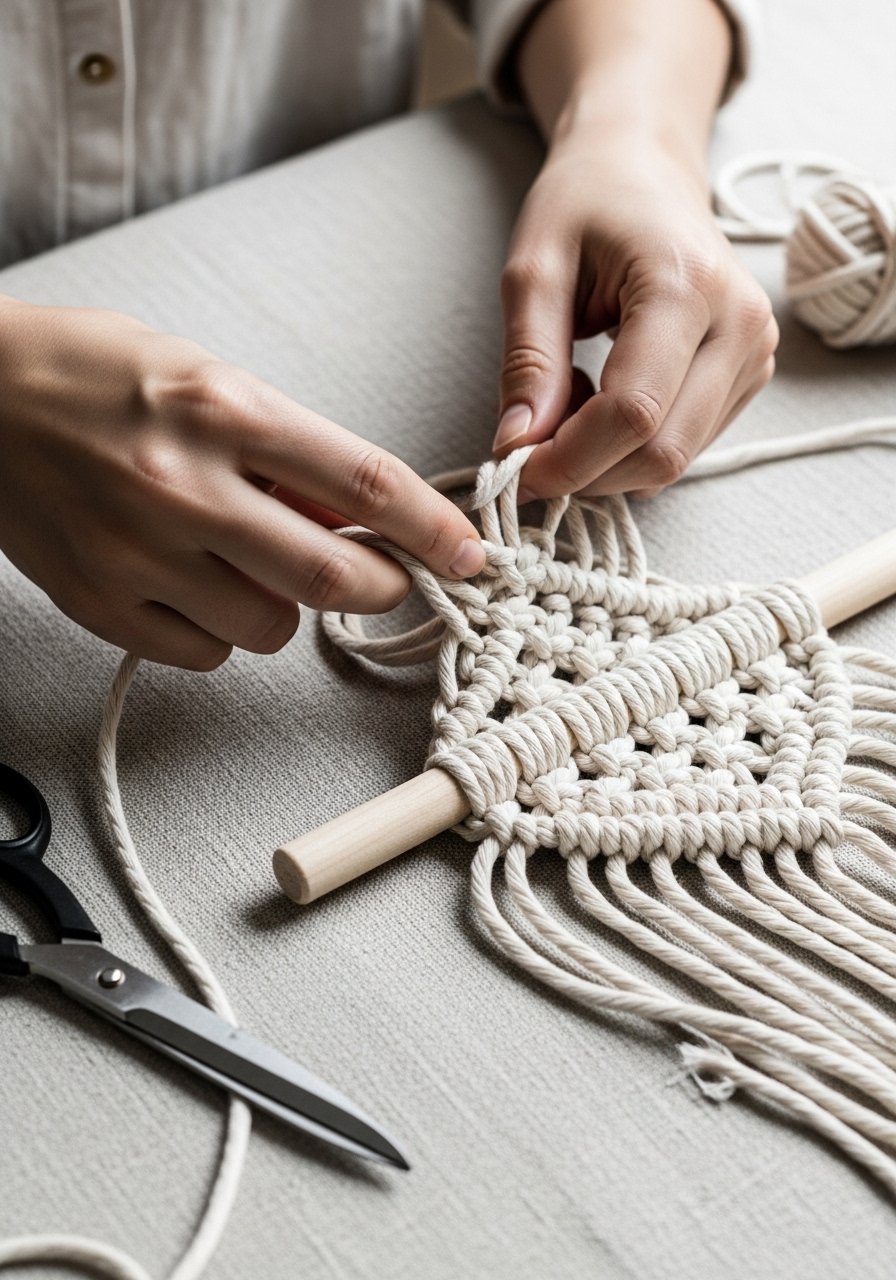
Technique 1 — Simple macramé wall hanging (one afternoon, beginner-friendly)
- Fold each 6 ft cord in half and attach to a 12" wooden dowel with a lark’s head knot.
- Make square knots across three rows; trim ends into a soft V.
- Use a 3mm macramé cord bundle and a wooden dowel rod for even tension.
- Hot glue quick-fixes at the back if a knot slips—hot glue sets in 30–60 seconds.
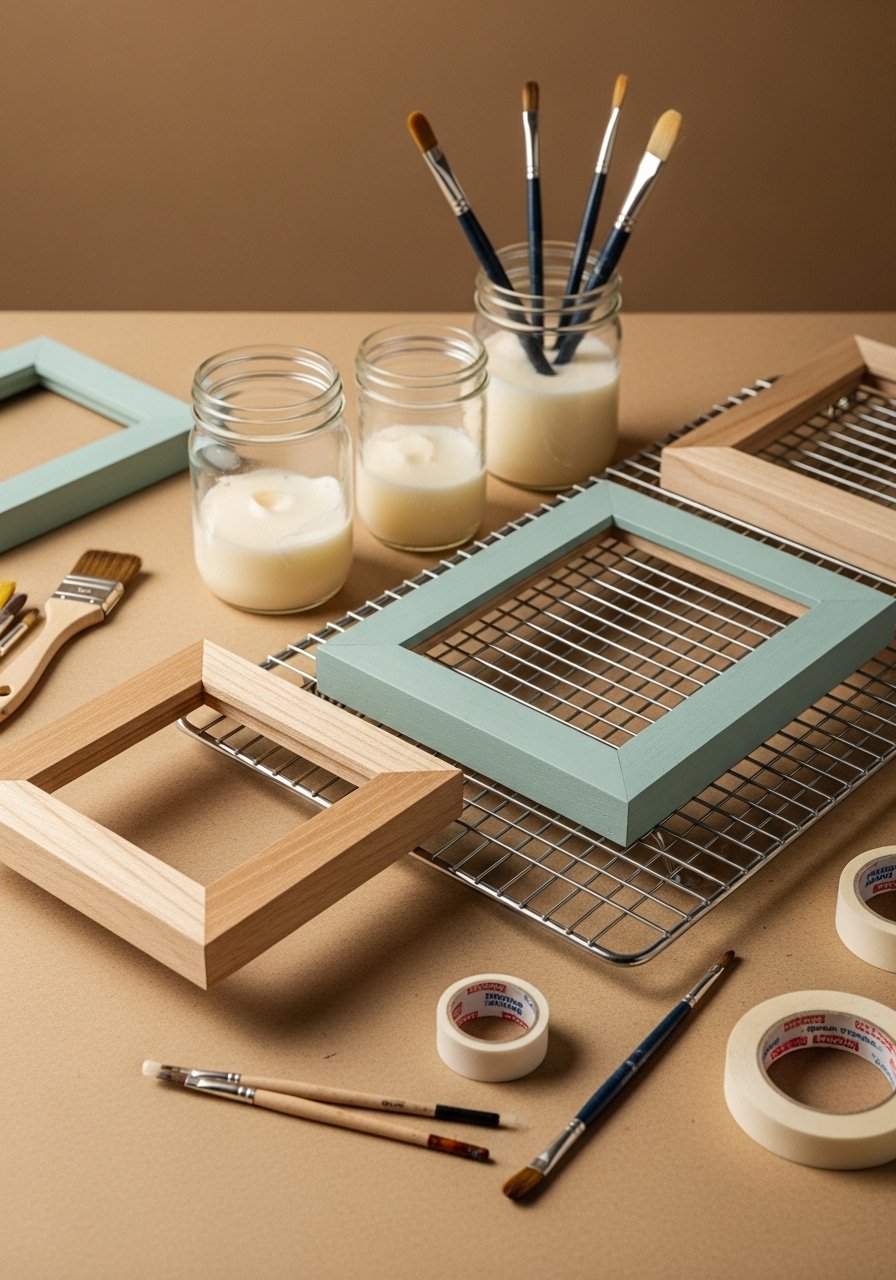
Technique 2 — Painted floating frames (pin-worthy gallery in under 90 minutes)
- Paint small wooden frames in two coats of acrylic, letting each coat dry 20–30 minutes to the touch. Full cure 24 hours.
- Use a foam brush set for smooth coverage and a brayer roller to press down mounted prints without bubbles.
- Mask off sections with painter’s tape for color-blocked looks.
Technique 3 — Upcycled jar vase (no-sew, budget)
- Sand jar rims lightly and paint outside in a semi-opaque wash. Seal with Mod Podge for durability.
- Use mason jars and Matte Mod Podge. Drying time between coats 15–20 minutes.
Getting the Finish Right (sealing, texture, and troubleshooting)
Finishing determines whether your pieces look handmade or home-store neat. Seal painted wood with two thin coats of Mod Podge, drying 15–20 minutes between coats. For glossy accents, add a third gloss coat.
Troubleshooting tips:
- Paint bleed? Press down tape edge firmly with a bone folder or a [metal ruler] and remove tape when paint is tacky.
- Bubbles in glued paper? Smooth with a brayer roller right after placement.
- Resin or heavy sealers: pop small bubbles with a craft heat gun for a glass-like finish. Consider a craft heat gun only if you’ve used resin before.
Batch work: do all painting, then all sealing, then all assembly to save cleanup time.
Displaying, gifting, and storing your aesthetic room decor DIY (pin-worthy setup)
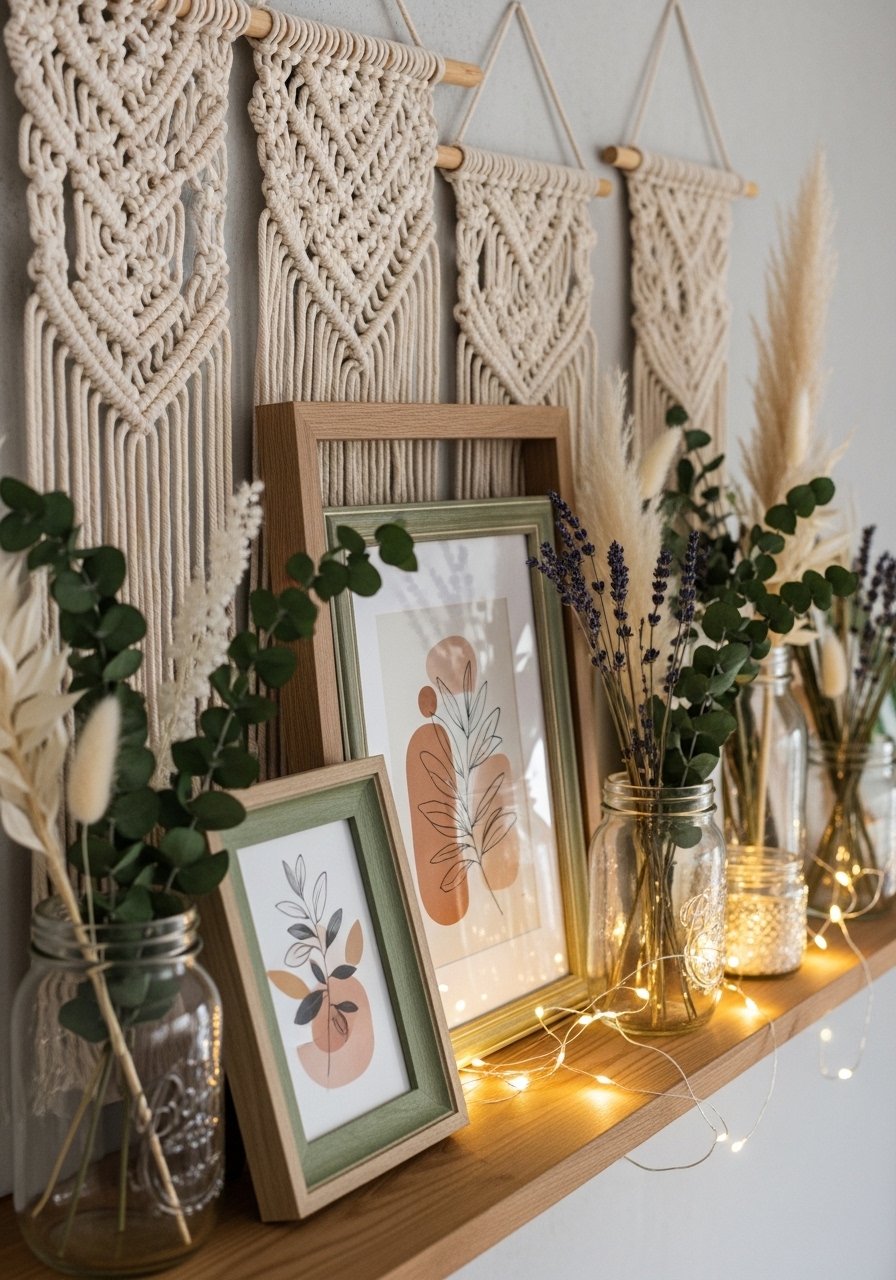
Arrange pieces in odd-number groupings (3 or 5) for a balanced look. Add a warm white fairy string lights strand behind frames for soft backlight. Use small wooden easels to prop art on shelves and clear zip pouches to store spare supplies between projects.
Gift-ready tip: nest finished items in a craft organizer tray with tissue and a handwritten note for a thoughtful, handmade present.
You’ve just built a cohesive, Pinterest-worthy collection using small, doable projects. Pin this guide for your next craft afternoon and share with a friend who loves making beautiful spaces. Which one-afternoon project will you try first—macramé, painted frames, or upcycled vases?


