You want a quick, budget-friendly way to give a plain vase rustic texture and farmhouse charm. Wrapping a vase with twine is a beginner-friendly craft you can finish in one afternoon, and it hides chips, mismatched vases, or thrift-store finds beautifully. This how-to shows you how to decorate a vase with twine so the finish looks neat, durable, and pin-worthy.
The secret tools that make this simple are a steady adhesive and high-quality jute. A reliable mini hot glue gun holds twine instantly, and smooth natural jute twine gives that authentic farmhouse texture. You’ll learn prep tricks, a clean wrapping method, pattern ideas, sealing tips, and display suggestions.
Expect to spend about 30–90 minutes depending on vase size. I’ll include exact measurements, drying times for finishes, and troubleshooting tips so your vase looks like a pro-made piece.
Gather and prep (easy, beginner-friendly)
Start by measuring and prepping so you don’t run out mid-wrap. For most 6–8 inch vases, plan on 50–100 feet of 2–3mm jute twine; taller or wider vases need more. Wrap a short length around the widest part of your vase to estimate circumference, then multiply by the number of rows you want.
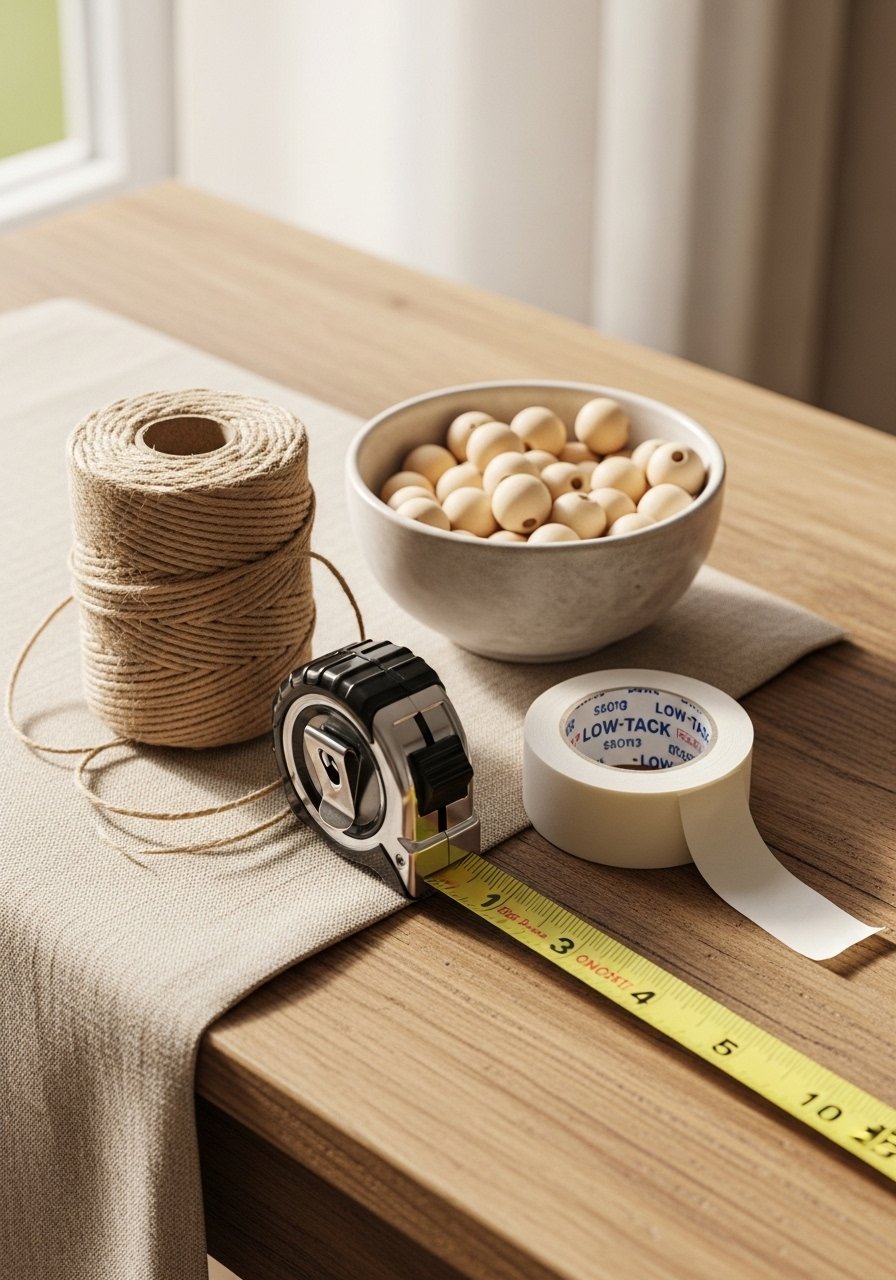
Helpful tools:
- Use a measuring tape to get the circumference and height quickly.
- Hold edges steady with low-tack painter's tape while you plan patterns or mark where a seam will sit.
Prep tip: Wipe the vase so the glue bonds to a clean surface. If the vase is slippery, rough it slightly with fine sandpaper for better grip.
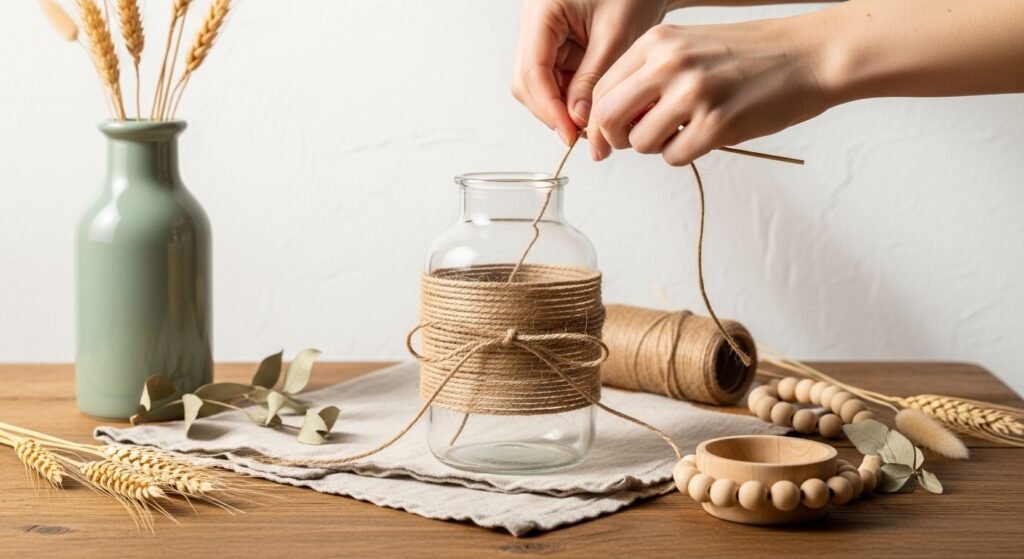
Wrap the vase neatly (core technique — one-afternoon project)

This step is where the vase takes shape.
- Heat your mini hot glue gun and load with a few hot glue sticks. Hot glue sets in seconds, so work in short sections.
- Start at the base: apply a 2–3 inch bead of glue, press the twine into it, and hold for 5–10 seconds. Continue wrapping tightly and in the same plane so rows sit flush.
- If you want a seam less obvious, overlap the start and end by 1–2 wraps and glue them together.
Quick technique tips:
- Work in 6–8 inch sections so glue doesn’t skin over.
- Keep tension even—too tight will bulge, too loose will gap.
- Trim excess twine and secure the end with a dab of glue; press a wooden bead over the tip for a finished look using a small dot of glue.
Timing: Wrapping a standard 8-inch vase takes about 30–60 minutes depending on complexity.
Add texture and patterns (budget, upcycled styling ideas)
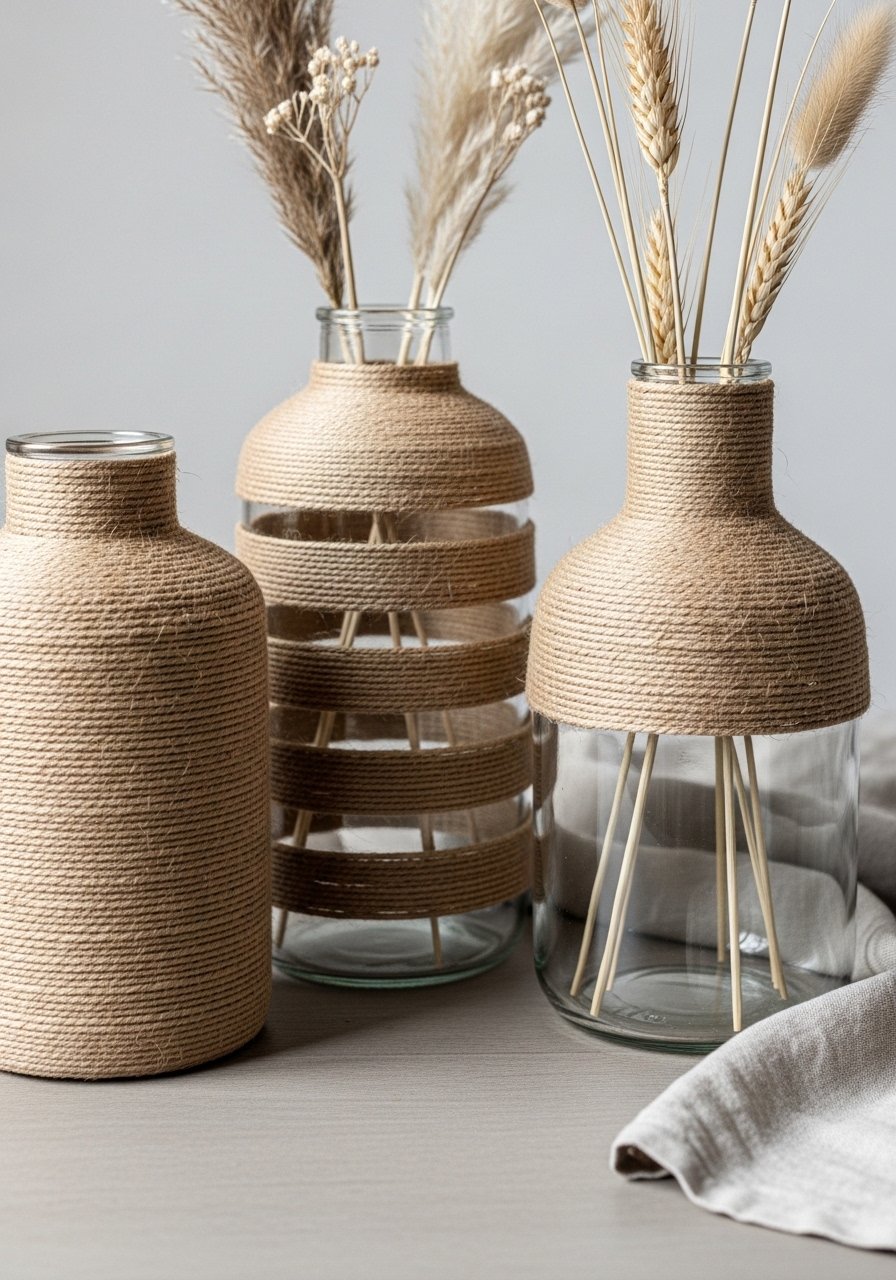
Once wrapped, you can create farmhouse-friendly patterns quickly:
- Use a strip of low-tack painter's tape as a guide for straight stripes, then glue twine in wide bands.
- For chevron or diagonal texture, angle the twine and glue at a consistent slope; mark start/end points with your measuring tape to keep rows even.
- Add decorative accents like a ring of wooden beads near the neck for instant cottagecore charm.
If glue blobs bother you, press coils with a small dowel or roll a brayer along the twine to flatten each row before the glue fully sets.
Seal and finish for durability (getting the farmhouse look right)
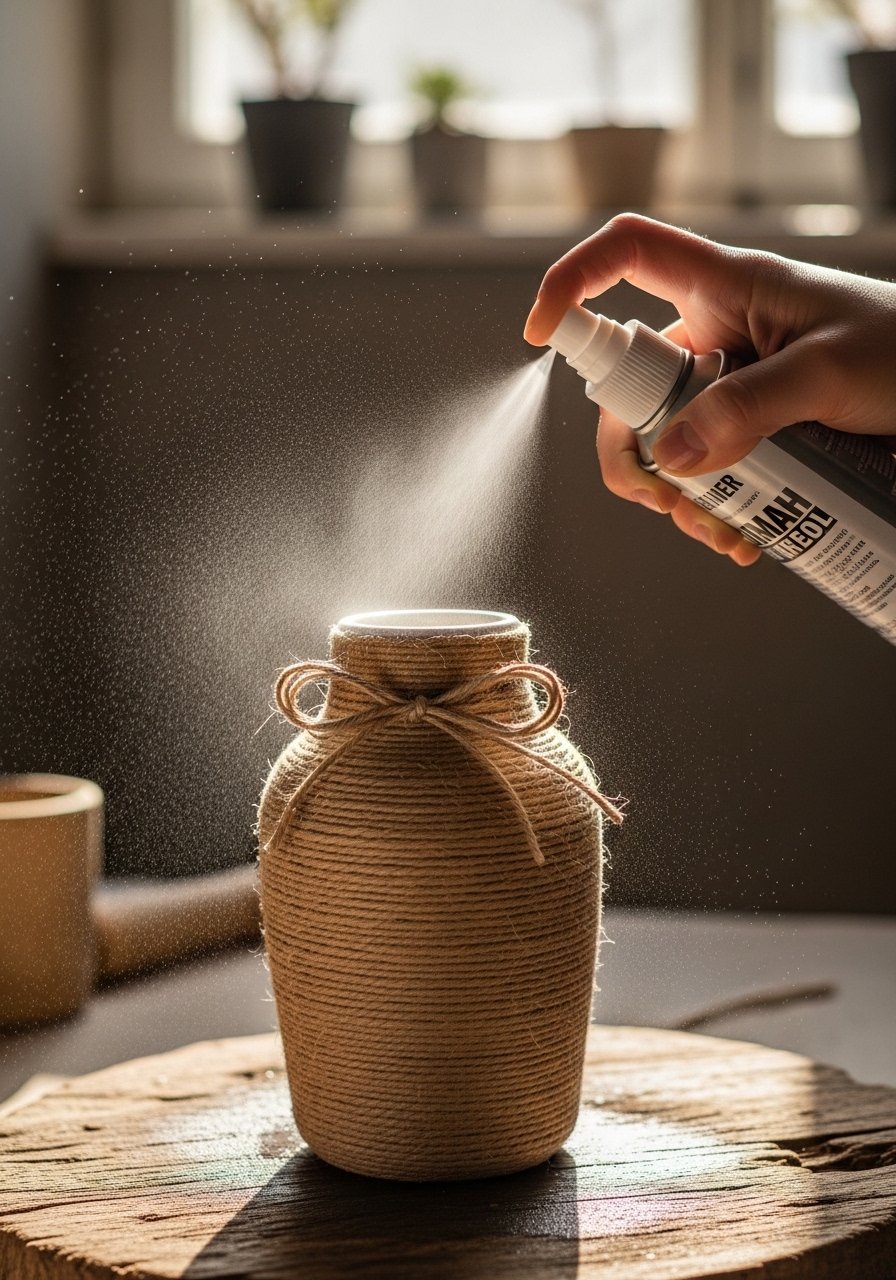
Sealing keeps dust out and makes the vase easier to wipe:
- Brush a thin coat of Mod Podge matte over the twine with a foam brush set. Mod Podge is tacky at first, dries to touch in 15–20 minutes, and cures in 24 hours.
- For faster evaporation or an outdoor-safe finish, use a light mist of clear acrylic sealer spray. Let each coat dry 15–30 minutes between layers and allow 24 hours before heavy use.
Storage tip: Keep leftover twine in stackable craft organizer trays so you can reuse it for matching projects.
Display, gift, and short troubleshooting
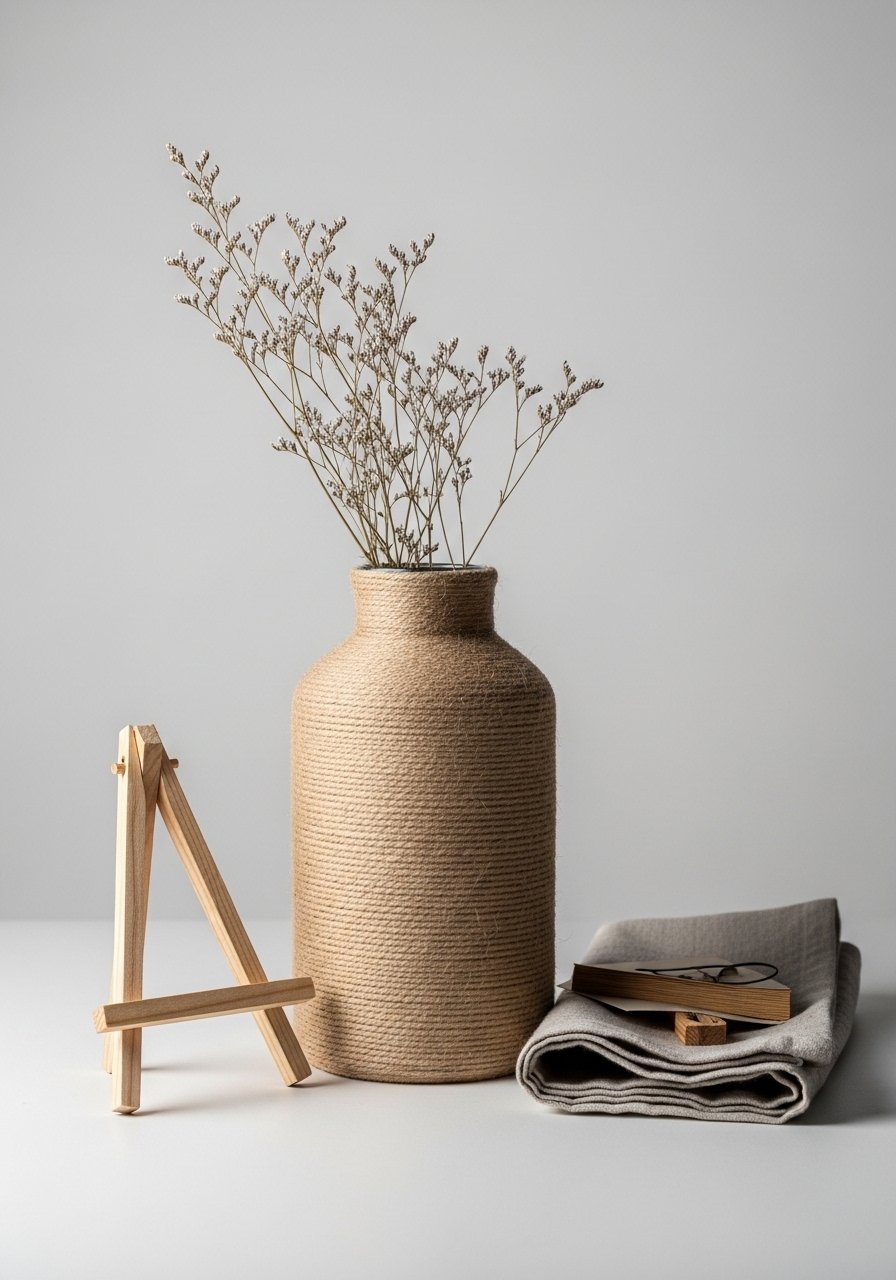
Show it off or wrap it for gifting. Use a small wooden easel to display a set of matching vases, or pack flat in kraft tissue. Common hiccups:
- Gaps between rows: press tighter and add a thin line of glue under the next wrap.
- Glue strings: run a warm tool quickly over stray threads or use a craft heat gun sparingly to smooth edges.
If the twine feels loose after sealing, add a thin bead of glue under problem wraps and press for 10 seconds.
Once you’ve made one, matching a pair is fast—batch-create bases, then add patterns for variety.
A finished twine-wrapped vase brings warm texture and approachable farmhouse style to any shelf. Pin this guide for your next craft afternoon, and grab a mini hot glue gun if you don’t already own one — it’s the tool you’ll reach for again and again. Which pattern will you try first? Save this for later and share with a friend who loves upcycled crafts!


