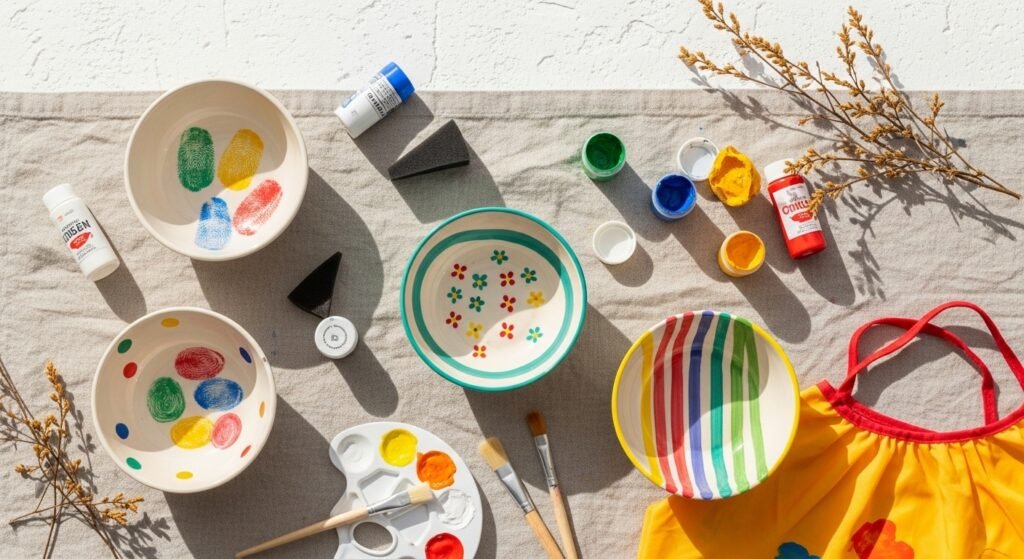
You know those rainy afternoons when the kids shout “I’m bored” and you want something colorful, tidy(ish), and genuinely fun? These 23 ceramic bowl painting ideas for kids are made for exactly that: quick prep, big smiles, and bowls you’ll be proud to gift or keep on the snack shelf. You’ll find simple fingerprint crafts, playful patterns, stencil tricks, and a few slightly grown-up looks (cottagecore, boho, Japandi accents) adapted for little hands.
Most projects use washable acrylics and child-friendly tools. I start with a forgiving kids’ acrylic set like this Acrylic craft paint set 24 colors and a pack of reliable Fine-tip paint pens for details. Throughout the list you'll see quick tips for drying times, sealing for hand-wash use, and troubleshooting common hiccups like brush drips or sticky sealers. Grab little aprons, set up a wipe station, and let’s make some bright, tactile bowls that are perfect for small artists and big smiles.
- Rainbow Fingerprint Treasure Bowl

This one’s a classic: kids press painted fingertips into concentric rainbow rings for a textured, joyful surface. It’s quick, forgiving, and each bowl looks totally unique. Great for toddlers and preschoolers who love sensory play. Use washable acrylics so cleanup is easy and a foam brush helps smooth edges without smudging prints.
Materials
- 1 small unglazed ceramic bowl (4–6" diameter)
- 1 set of 24 acrylic craft paints (small pots)
- 6–8 cotton-tipped swabs or fingertip-ready paint pads
- 1 foam brush, 1/2" wide
- 1 disposable paint palette or paper plate
- 1 jar of water for rinsing
- 1 roll of paper towels
- 1 clear acrylic spray sealer (matte)
Instructions
- Wipe the bowl with a damp cloth to remove dust. Let dry.
- Squeeze small dollops of paint onto the palette. Work from lightest to darkest.
- Dip a fingertip or a cotton swab lightly in paint and press onto the bowl to make a dot. Start at the center and build outward in rings.
- Rinse fingers between colors to avoid muddying. Use the foam brush to smooth any accidental thick spots.
- Let dry 30–45 minutes between colors. Full cure 24 hours before handling heavily.
- Once fully dry, spray 2 light coats of clear acrylic sealer, 15 minutes apart. Let cure 24 hours (firm to the touch, no tackiness).
How to Display or Gift It
- Stack a set of three fingerprint bowls in a shallow basket lined with tissue paper.
- Tie with twine and tuck in a dried lavender sprig for a calm, cottagecore gift.
- Store finished bowls on a small wooden easel for a pretty snack corner display.
- Hand wash only; avoid dishwashers unless the paint brand specifies dishwasher-safe.
- Galaxy Splatter Snack Bowl
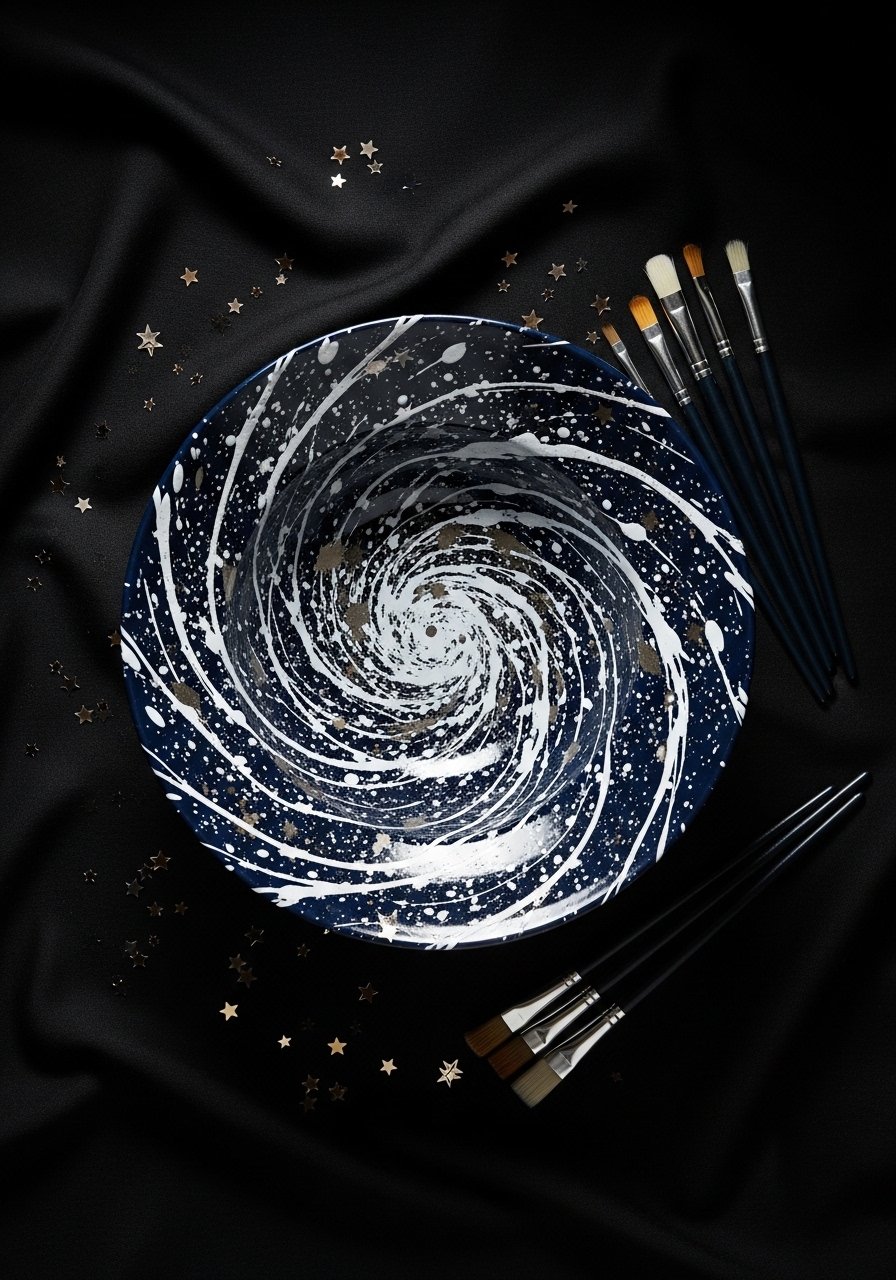
Splatter painting creates dramatic results with minimal control—perfect for kids who love motion. Use a darker base and flick lighter colors. This one feels modern and a little edgy, great for older kids or a rainy-day project with big energy. A cheap toothbrush or fan brush works brilliantly for splatters.
Materials
- 1 ceramic bowl (6" diameter)
- 1 black or navy acrylic base paint (2 oz)
- 1 set metallic acrylic paints (silver, gold) – 3 small pots
- 1 toothbrush or fan brush for splattering
- 1 foam brush for base coat
- 1 disposable cup for thinning paint
- 1 clear sealer spray (gloss)
Instructions
- Paint the bowl with the navy or black base using the foam brush. Apply 2 thin coats, letting each dry 20–30 minutes.
- Thin white acrylic slightly with water (1 part water to 4 parts paint) in a cup. Dip the toothbrush.
- Over a drop cloth, run your thumb across the toothbrush bristles to splatter white paint across the bowl. Practice on scrap paper first.
- Add metallic splatters with a smaller brush or flick from a paint pen for controlled dots.
- Let dry 1–2 hours until paint is fully set. Apply 1–2 light coats of gloss sealer.
- Cure 24 hours before use.
How to Display or Gift It
- Pair with a star-themed napkin and gift in a kraft box for a cozy present.
- Place on a black tray with fairy lights for a night-sky snack station.
- Store in a craft organizer between uses to avoid chipping. Try a craft storage organizer tray for dry paint pieces.
- Cottagecore Flower Posy Bowl — ceramic bowl painting ideas for kids

Soft florals, muted colors, and gentle outlines make this a perfect beginner-friendly project that nods to cottagecore. Little artists practice dotting and short brush strokes to create petals. A fine-tip paint pen helps with tiny centers and outlines.
Materials
- 1 shallow ceramic bowl (5–7" diameter)
- 1 pastel acrylic paint set (6 colors)
- 1 pack fine-tip paint pens (black and white)
- 2 small round detail brushes (size 0 and 2)
- 1 foam brush for base coat
- 1 disposable palette and water jar
- 1 matte sealer spray
Instructions
- Paint the bowl interior a soft base color using the foam brush, 2 thin coats, drying 30 minutes between.
- Load the round brush with a petal color and press short strokes around the center point to form petals. Repeat to create clusters.
- Use a different color for centers, applying small dots. Add highlights with the white paint pen.
- Outline petals lightly with the black fine-tip pen if desired for a folk-art look.
- Let dry 1 hour, then add 1 coat of matte sealer. Cure 24 hours.
- Check for tackiness—if still slightly sticky, let sit an extra 24 hours.
How to Display or Gift It
- Fill with dried potpourri and wrap in tissue paper for a sweet gift.
- Tuck a tiny posy or herb clipping inside for a matching look.
- Store nested in a stackable craft organizer before sealing if doing a batch.
- Boho Dot Mandala Bowl
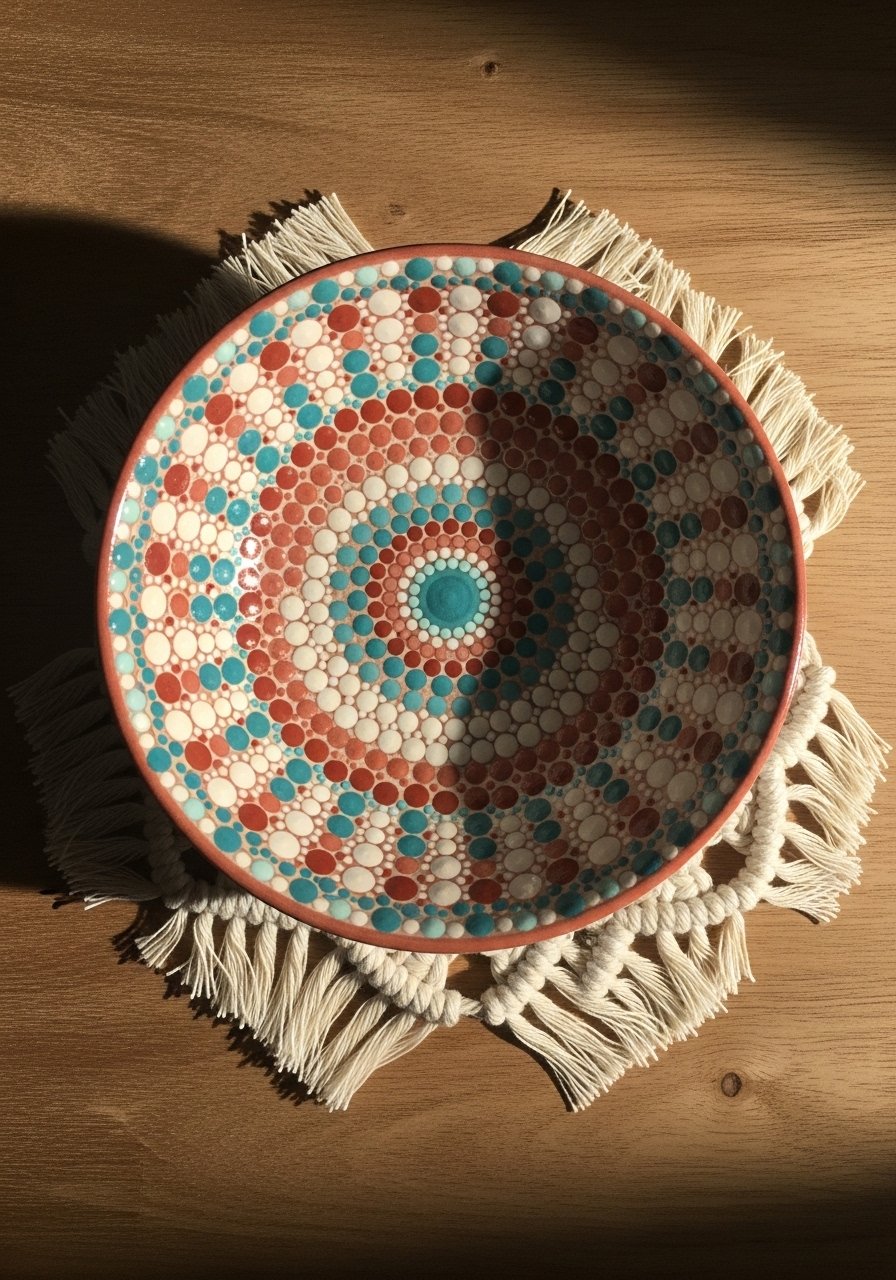
Dot painting creates meditative designs that older kids love. It’s great for fine motor skills and pattern practice. Use dotting tools or the blunt end of paintbrushes for uniform dots. This boho style looks lovely on a shelf.
Materials
- 1 ceramic bowl (5" diameter)
- 1 acrylic paint set with terracotta, teal, cream (3 colors)
- 1 dotting tool set or wooden dowel ends (3 sizes)
- 1 pencil for light center mark
- 1 foam brush for base color
- 1 gloss sealer spray
Instructions
- Paint a neutral base coat. Let dry 30–45 minutes.
- Lightly mark the center and draw faint pencil guide rings if helpful.
- Dip dotting tool into paint and apply dots along each guide ring, starting from the center outward. Vary sizes for interest.
- Allow each color to dry 20 minutes before adding adjacent dots to prevent smudging.
- Once complete, let dry 1–2 hours, then apply 2 light coats of gloss sealer.
- Cure 24 hours.
How to Display or Gift It
- Display on a small easel or plate stand for instant shelf art.
- Add a dried sprig and tuck into a kraft gift box. A mini wooden easel makes a lovely display prop.
- For gifting, wrap in tissue and include a handwritten note about the maker.
- Farmhouse Stripes Kids Bowl
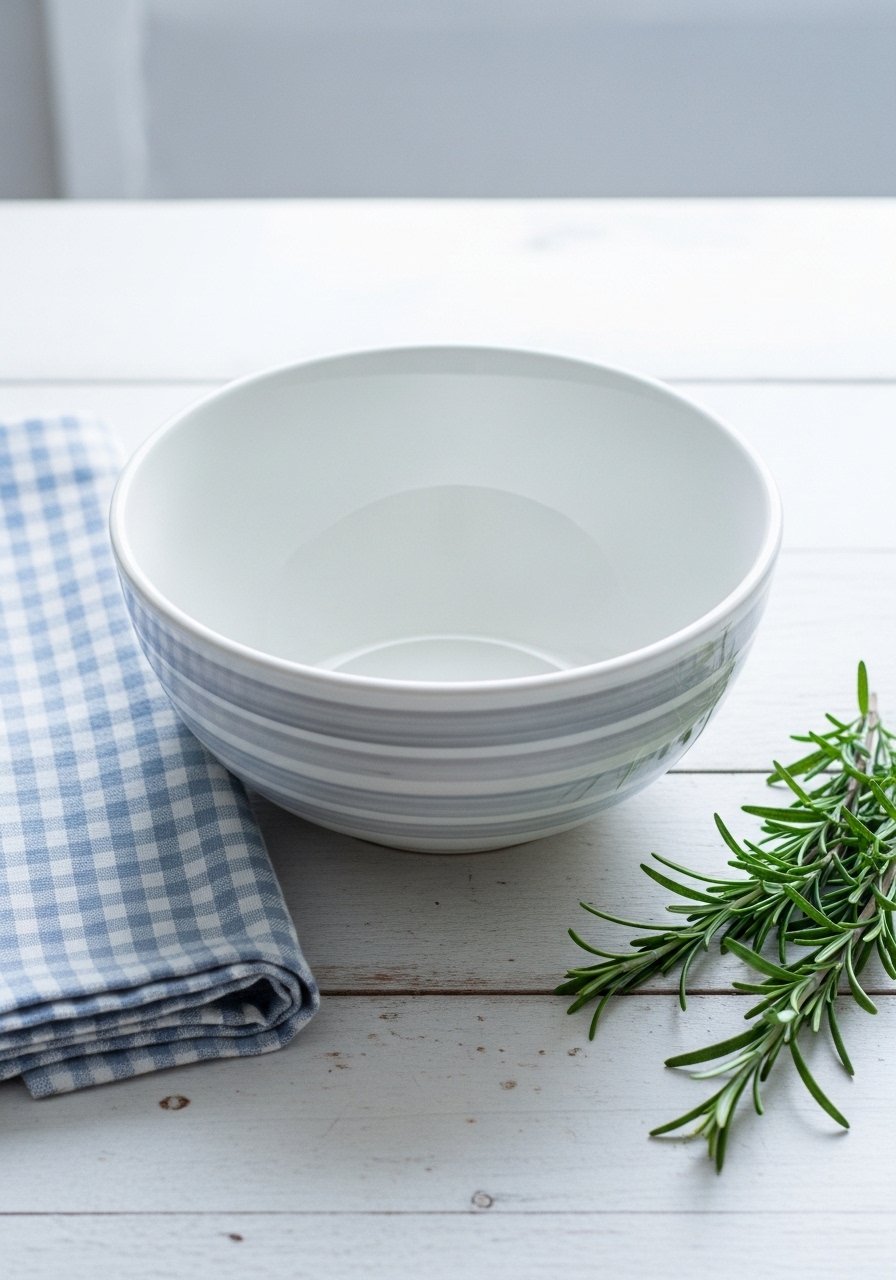
Stripes are simple and satisfying—perfect for kids who like order. Use painter’s tape for crisp lines or freehand for a rustic farmhouse vibe. This project teaches measuring and steady hand skills.
Materials
- 1 white ceramic bowl (6" diameter)
- 1 painter's tape, 3/4" width
- 1 acrylic paint (two colors; 1 oz each)
- 1 foam brush for base and stripe fill
- 1 ruler and pencil for marking
- 1 matte sealer
Instructions
- Wipe bowl and let dry. Use ruler to mark stripe positions lightly with pencil.
- Apply painter’s tape along marks. Press edges down firmly for clean lines.
- Paint stripes with foam brush in 2 thin coats, waiting 20–30 minutes between.
- Carefully remove tape after the final coat is tacky but not fully dry to avoid lifting (about 10–15 minutes).
- Let fully dry 1 hour, then apply 1 matte sealer coat. Cure 24 hours.
- Troubleshoot: if paint bleeds, sand lightly with fine-grit sandpaper after drying and retouch.
How to Display or Gift It
- Pair with milk-bottle-style mugs for a farmhouse breakfast set.
- Wrap in kraft paper and tie with twine. Add a pack of painter’s tape for a crafty gift set.
- Store flat in a padded box for transport.
- Whale Tail Ocean Bowl
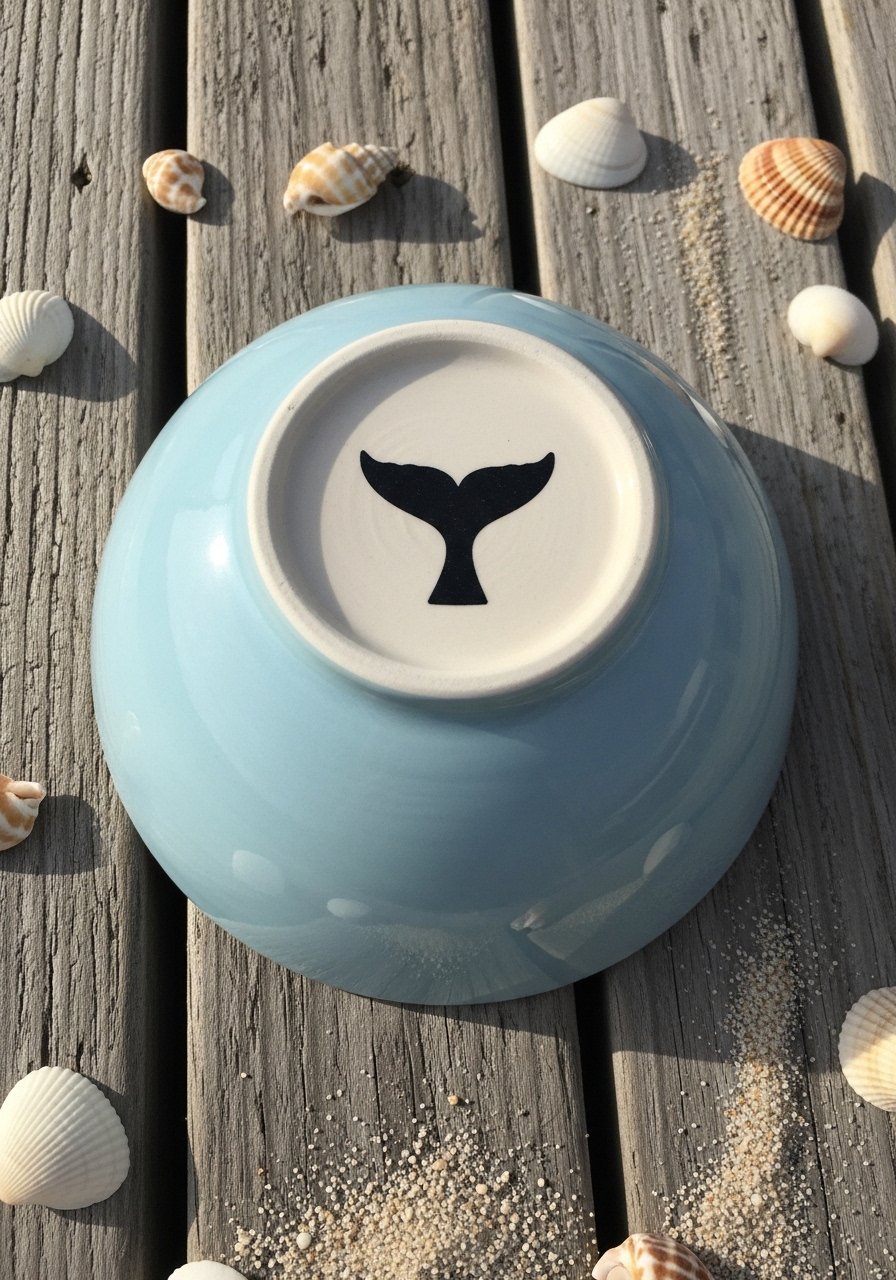
Kids adore animals, and a whale tail design is both cute and easy. Stencils help with shapes; older kids can freehand. Use white paint for contrast on a blue base.
Materials
- 1 ceramic bowl (5–6" diameter)
- 1 blue acrylic base paint (2 oz)
- 1 small animal stencil or printable whale tail template
- 1 fine-tip brush (size 0) and a flat foam brush
- 1 pencil to trace
- 1 gloss sealer spray
Instructions
- Paint the bowl a light ocean blue in 2 coats; dry 30 minutes.
- Place stencil centered; hold or tape lightly. Trace with pencil.
- Fill in the shape with white acrylic using the small brush. Let dry 20–30 minutes.
- Carefully remove stencil and touch up edges.
- Once fully dry 1 hour, seal with 1–2 coats gloss spray. Cure 24 hours.
- For sharper edges, use a fine-tip paint pen to outline after drying.
How to Display or Gift It
- Fill with seashells or use as a dipping bowl for summer snacks.
- Add a gift tag with the child’s name and a tiny shell glued on.
- For storage, stack with soft padding in a craft organizer box.
- Animal Face Soup Bowl
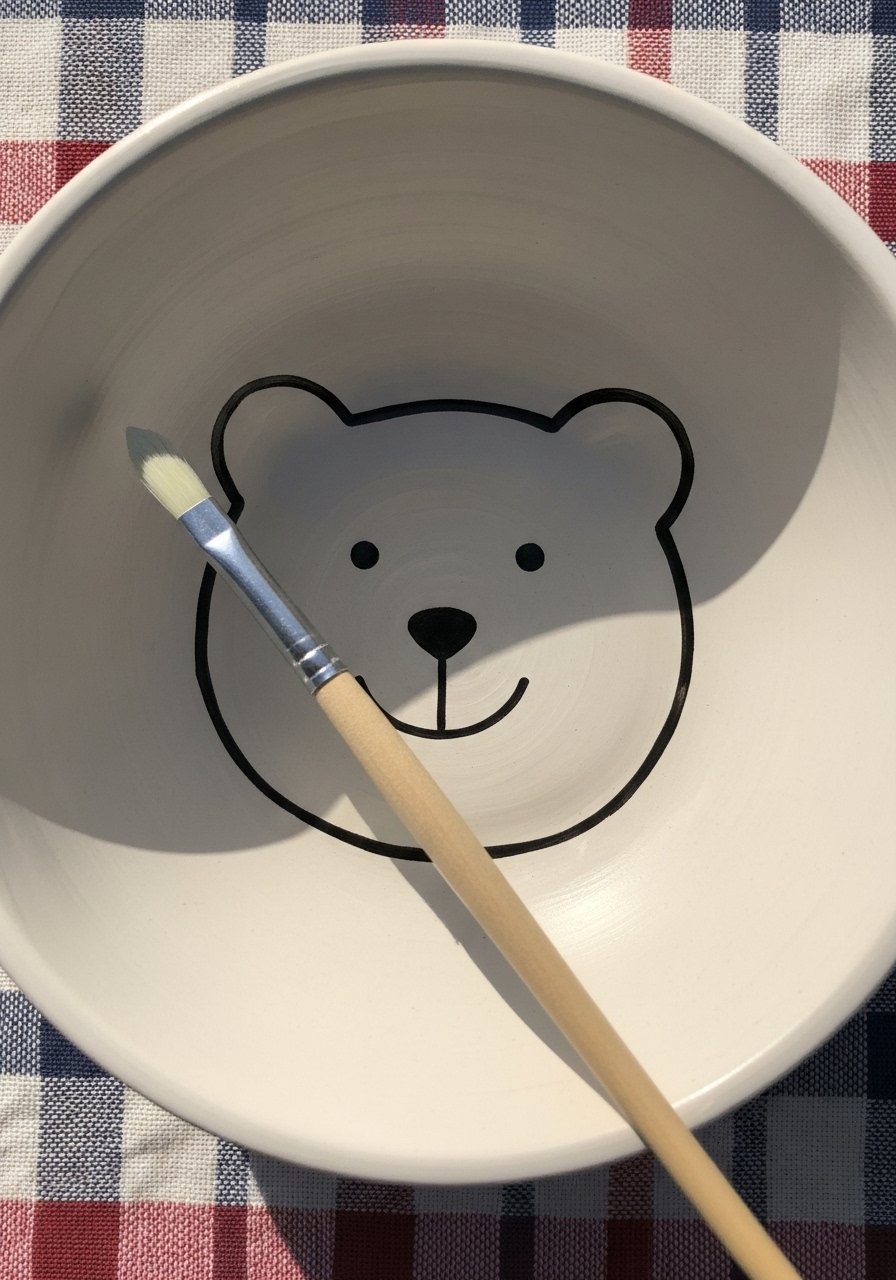
Turn bowls into charming characters—bears, cats, owls—by painting simple faces. This project encourages symmetry and tiny-detail work. Fine-tip pens work wonders for whiskers and eyes.
Materials
- 1 ceramic bowl (4–6" diameter)
- 1 acrylic paint set (tan, brown, pink, white)
- 1 fine-tip paint pen black
- 1 round detail brush (size 0)
- 1 foam brush for base coat
- 1 matte sealer spray
Instructions
- Base-coat the bowl if you want a colored background. Let dry 30 minutes.
- Lightly sketch the face in pencil centered on the bowl.
- Fill larger shapes (nose, ears) with a round brush. Add blush or cheek dots with a fingertip.
- Use the fine-tip pen for small details: eyes, mouth, whiskers. Let ink set 15 minutes.
- Dry fully 1 hour, then seal with 1–2 coats matte spray. Cure 24 hours.
- Troubleshoot: if pen smudges, let paint fully dry before pen work or use a paint pen instead.
How to Display or Gift It
- Perfect for gift sets: pair with a handmade spoon and tie with ribbon.
- Use a small kraft gift box and tissue for a delightful presentation.
- Label inside rim with the child’s name for keepsake value.
- Pastel Ombre Drip Bowl
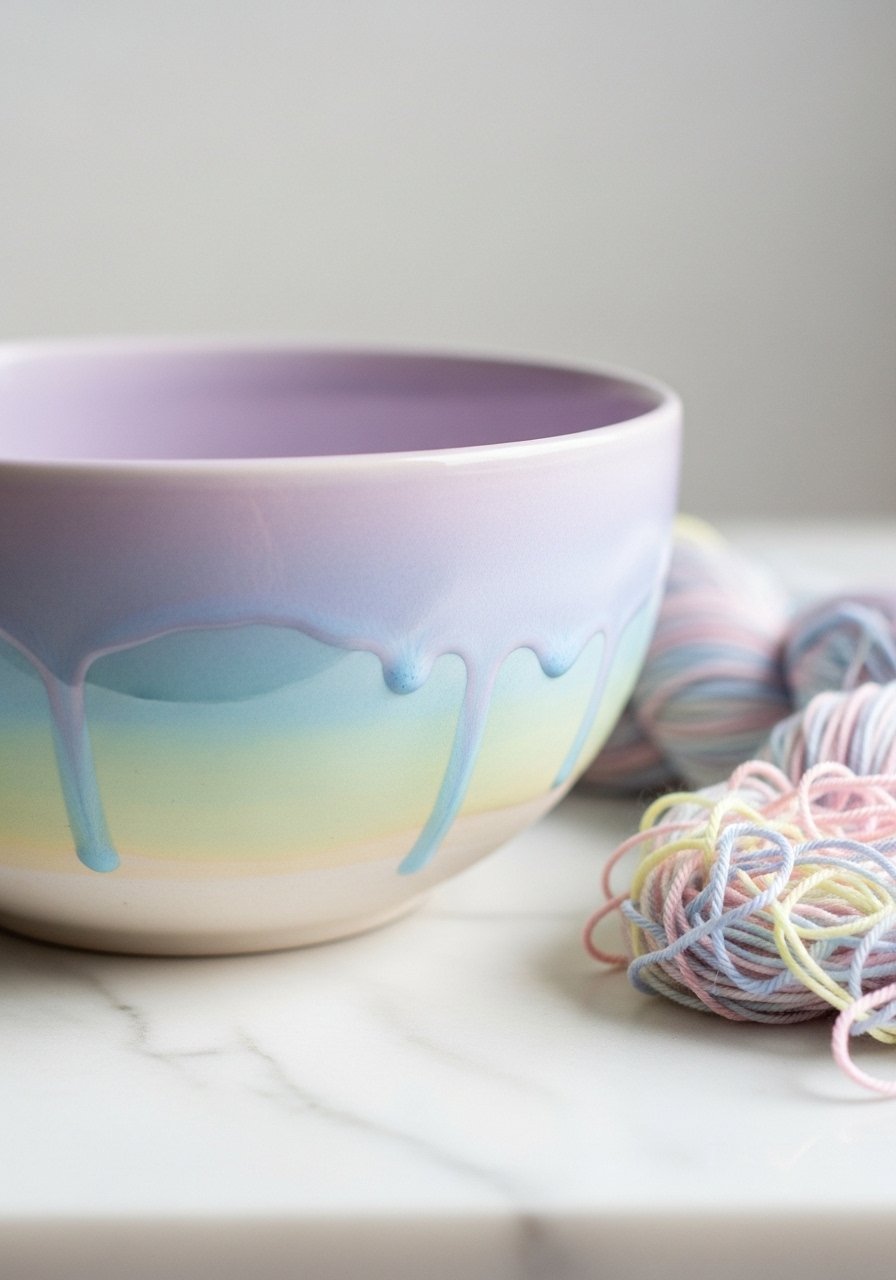
Ombre blending is soothing and looks sophisticated even when kids make it. Add a controlled drip for a playful twist. A small brayer roller helps smooth blends on ceramics.
Materials
- 1 ceramic bowl (6" diameter)
- 3 pastel acrylic shades (light, medium, dark)
- 1 brayer roller (small)
- 1 foam brush for base coat
- 1 disposable palette and water jar
- 1 gloss sealer spray
Instructions
- Paint the interior a base color. Let dry 30 minutes.
- Working quickly, apply the three shades in horizontal bands on the exterior. Use the brayer to blend where colors meet.
- Tilt the bowl slightly and add a heavier bit of paint to the top edge so it drips naturally downward.
- Let drips set 30–45 minutes. Adjust by adding more paint for longer drips.
- Once dry 2 hours, seal with gloss spray. Cure 24 hours.
- Troubleshoot: if drips are too heavy, blot with a paper towel to shorten before drying.
How to Display or Gift It
- Pair with pastel napkins and candies for a brunch gift.
- Stack with other pastel bowls for a soft, modern kitchen display.
- Store flat in a bubble-lined box for transport.
- Geometric Tape-Resist Bowl

Tape-resist gives bold, crisp shapes and teaches planning. This one leans Japandi/minimalist when using muted tones. Use low-tack painter’s tape to avoid chipping.
Materials
- 1 ceramic bowl (5–7" diameter)
- 1 painter’s tape roll (3/8" or 1/2" width)
- 2–3 acrylic paint colors (1 oz each)
- 1 precision craft knife and cutting mat
- 1 foam brush for filling
- 1 matte sealer spray
Instructions
- Clean bowl and mark design lines lightly with pencil. Apply painter’s tape along lines.
- Trim tape edges with craft knife for crisp shapes. Press edges firmly.
- Fill taped shapes with paint using foam brush in 2 thin coats, drying 20–30 minutes between coats.
- Remove tape while paint is still slightly tacky to avoid peeling.
- Let dry 1 hour, then seal with matte spray. Cure 24 hours.
- Fix tiny chips by touching with a small brush and matching paint.
How to Display or Gift It
- Display with other geometric pieces on a floating shelf.
- Pair with a self-healing cutting mat and craft knife if gifting to crafty kids.
- Wrap in tissue and tuck a pencil set alongside.
- Chalkboard Paint Doodle Bowl

Chalkboard bowls are endlessly editable: kids can draw seasonal doodles and erase to start again. This is ideal for classroom or party crafts. Use a chalk marker for clean lines.
Materials
- 1 ceramic bowl (5–6" diameter)
- 1 can chalkboard paint (8 oz)
- 1 foam brush for base coat
- 1 set of chalk sticks and 2 chalk markers (white and metallic)
- 1 fine grit sandpaper (220) to prep surface
- 1 matte sealer (optional for rim)
Instructions
- Sand the surface lightly and wipe clean.
- Apply 2 coats of chalkboard paint with foam brush, drying 1 hour between coats.
- Let cure 24–48 hours. Prime by rubbing a piece of chalk across the surface and erasing.
- Kids draw with chalk sticks or markers; erase with a damp cloth.
- If you want to protect the rim, add 1 matte sealer coat away from the chalk area.
- Troubleshoot: chalk marks that ghost can be erased with a damp microfiber cloth.
How to Display or Gift It
- Use at a party as a name-labeled snack bowl—write names directly on the interior.
- Gift with a pack of chalks wrapped together in kraft bags.
- Store bowls stacked with tissue between them.
- Stamped Leaf Nature Bowl
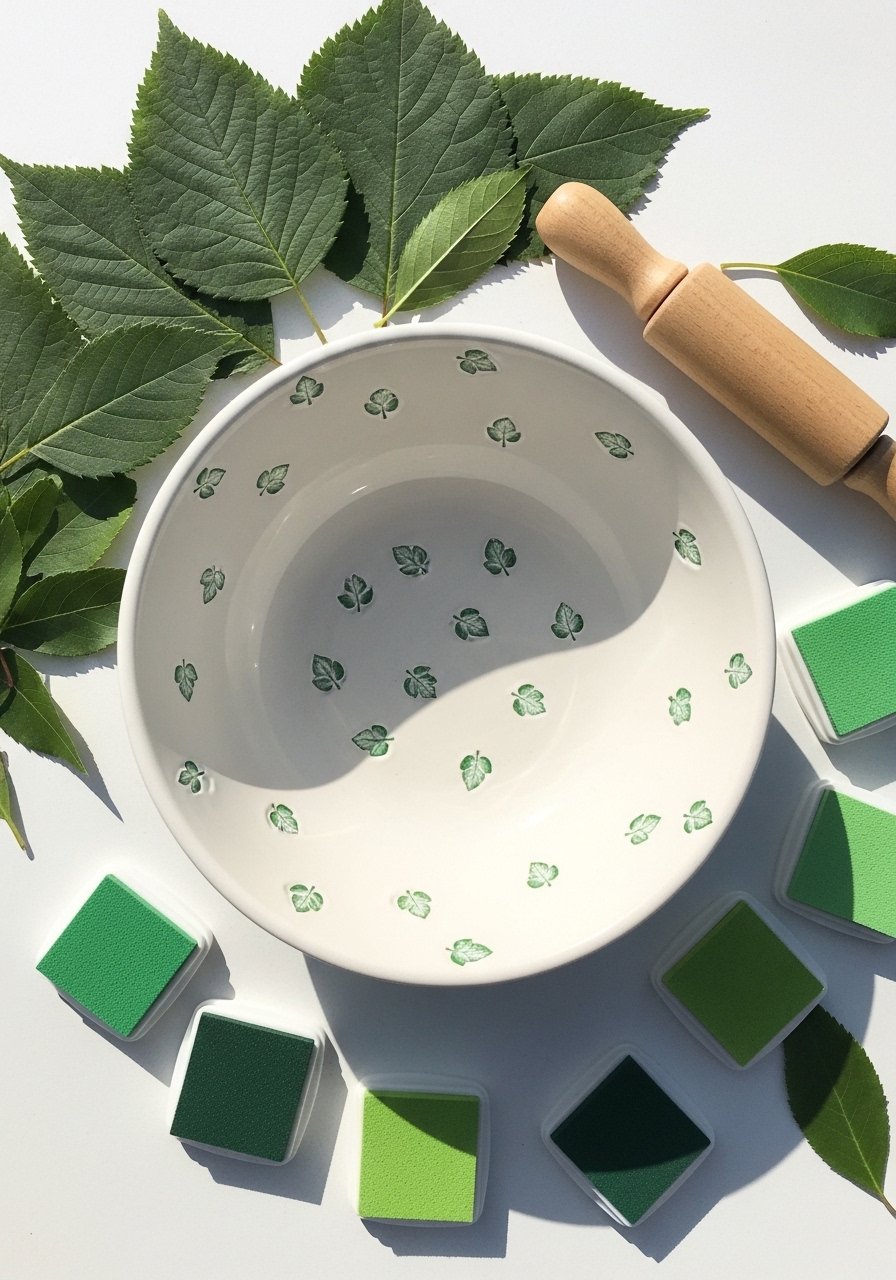
Stamping is fast and consistent—great for younger kids who want instant pattern success. Use foam leaf stamps or press real leaves for textured prints. This piece leans natural and handmade.
Materials
- 1 ceramic bowl (5–7" diameter)
- 1 set of foam leaf stamps or fresh leaves
- 1 acrylic ink pads or paint applied with a roller
- 1 brayer roller for even coverage
- 1 foam brush for base (optional)
- 1 matte sealer spray
Instructions
- If using a base color, paint and dry 30 minutes.
- Roll ink or paint onto stamps with the brayer. Press stamp firmly onto bowl.
- Repeat in a loose pattern. Allow prints to dry 20–30 minutes.
- If using real leaves, press them gently and dab paint with a sponge for a natural silhouette.
- Seal with 1 coat matte spray after 1 hour dry time. Cure 24 hours.
- Troubleshoot: if prints are faint, add a second light layer once first is dry.
How to Display or Gift It
- Pair with a small potted succulent for a nature-lover gift.
- Wrap in a kraft gift box with shredded paper and a sprig of eucalyptus.
- Store in a cool, dry place to protect stamped detail.
- Candy Marble Shaving Cream Bowl — ceramic bowl painting ideas for kids
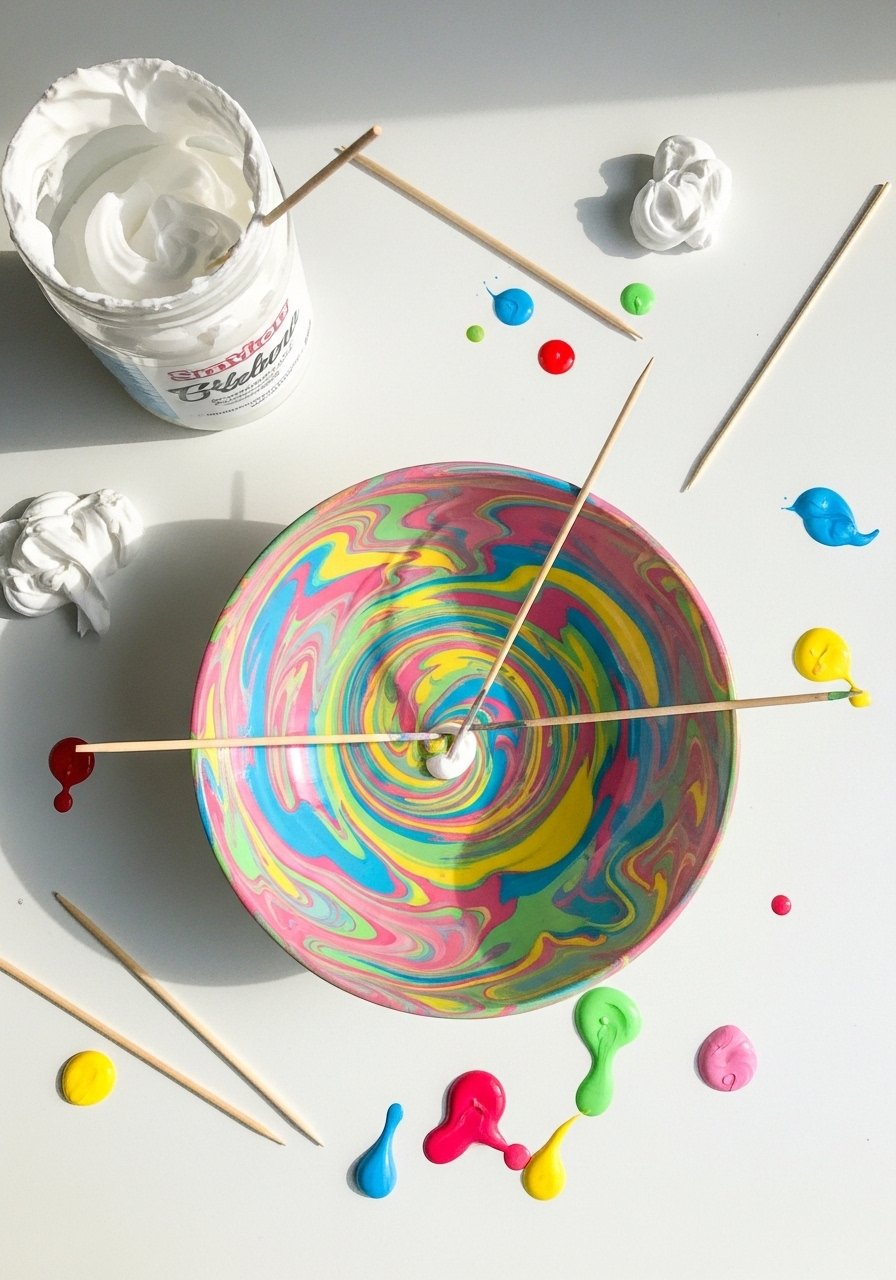
Shaving cream marbling gives swirling, candy-colored patterns kids adore. It’s messy but mesmerizing—and the results are always one-of-a-kind. Use food-safe bowls as these are decorative unless sealed and labeled for food.
Materials
- 1 ceramic bowl (6" diameter)
- 1 can shaving cream (regular, not gel — about 11 oz)
- 6–8 acrylic paint colors, thinned slightly (1 tsp each)
- 1 disposable tray to mix marbling
- 1 wooden skewer for swirling
- 1 rubber spatula to lift bowl
- 1 gloss sealer spray
Instructions
- Spray a 1/2" thick layer of shaving cream into tray. Smooth with spatula.
- Drop thinned paint onto the surface in dots. Use skewer to swirl into a marble pattern.
- Press the bowl gently into the marbled surface, roll slightly to cover. Lift and scrape off shaving cream with spatula.
- Rinse and repeat for outer areas if desired. Let dry 2–3 hours.
- Once fully dry, remove residual shaving cream residue with a damp cloth and let cure 24 hours.
- Seal with 1–2 coats gloss spray. Note: for food use, check paint and sealer safety.
How to Display or Gift It
- These make joyful candy dishes or art-display bowls.
- Wrap in a cellophane bag and tie with colorful ribbon for a playful gift.
- Store nested with paper liners to protect marbling.
- Polka Dot Confetti Bowl

Polka dots are fast and fun. Use foam daubers for consistent circles. This project is great for party decorations and birthday gifts.
Materials
- 1 ceramic bowl (5–6" diameter)
- 1 pack foam daubers (various sizes)
- 6 acrylic paint colors (small pots)
- 1 foam brush for base (optional)
- 1 paper plate palette and water jar
- 1 matte or gloss sealer
Instructions
- Paint base color if desired and let dry 30 minutes.
- Dip dauber into paint and press firmly to create dots. Clean or switch daubers between colors.
- Layer dots for a confetti effect, waiting 15–20 minutes between heavy layers.
- Once dry 1 hour, seal with sealer. Cure 24 hours.
- Troubleshoot: if dots look uneven, add a second dot of same color on top once dry.
How to Display or Gift It
- Fill with wrapped candies for a birthday table.
- Place on a small wooden easel for party décor.
- Store stacked with tissue between.
- Custom Name Kid's Lunch Bowl (Cricut Vinyl)
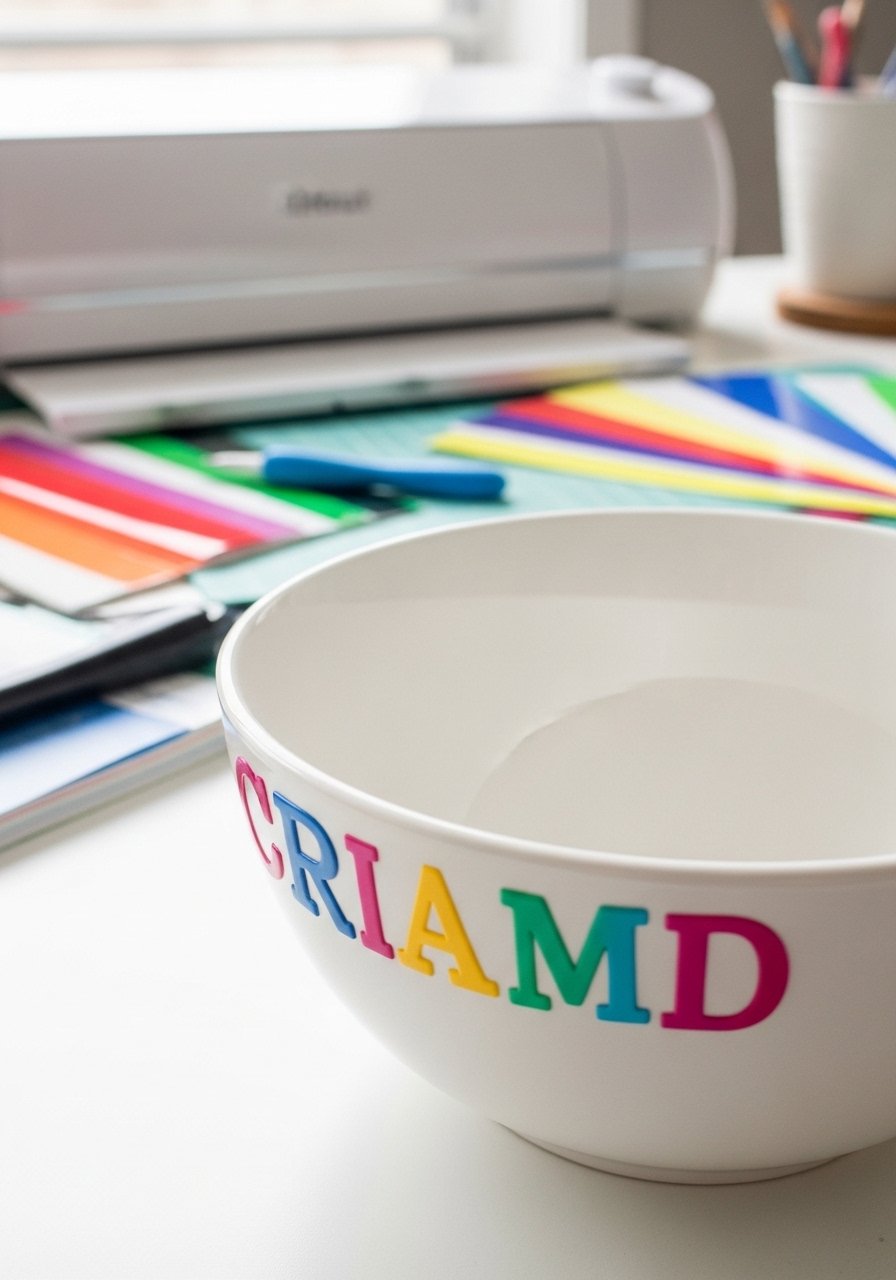
Personalized bowls are perfect for school lunches or gifts. Use a cutting machine like a Cricut to cut waterproof vinyl names, then paint around them. Adults should apply vinyl—kids love picking fonts and colors.
Materials
- 1 ceramic bowl (5–6" diameter)
- 1 roll adhesive vinyl (outdoor type)
- 1 Cricut Joy or Cricut Explore (or pre-cut vinyl)
- 1 weeding tool and transfer tape
- 1 acrylic paints for background (if painting around vinyl)
- 1 clear outdoor vinyl sealer (if needed)
Instructions
- Design the name in Cricut Design Space and cut from outdoor adhesive vinyl. Weed and transfer to bowl rim carefully.
- Paint around the vinyl if you want a painted background; let dry 30–45 minutes.
- Press vinyl edges firmly; use transfer tape to smooth.
- Optional: apply a clear vinyl-safe sealer if extra protection is desired. Cure times depend on sealer label.
- Troubleshoot: if vinyl lifts, reheat gently with a hair dryer and press down.
- Allow 24 hours before light use.
How to Display or Gift It
- Pack with a matching lunchbox or spoon for a personalized set.
- Include a Cricut Joy cutting machine recommendation if gifting to a crafty family.
- Hand wash only to extend vinyl life.
- Watercolor Bloom Bowl (Diluted Acrylic Technique)
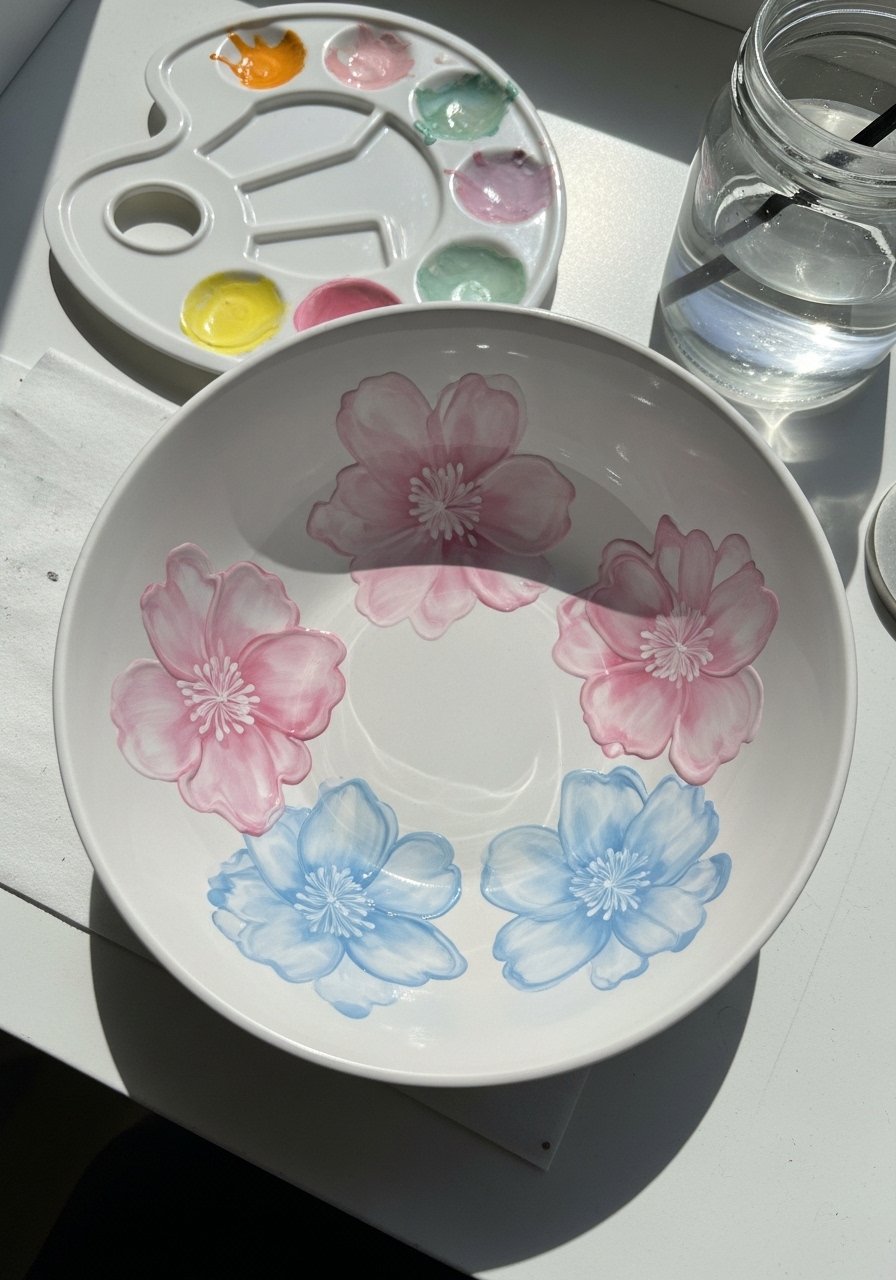
Diluted acrylics mimic watercolor effects without special papers. This technique gives airy florals and subtle washes perfect for older kids learning brush control.
Materials
- 1 ceramic bowl (6" diameter)
- 1 acrylic paint set (thinned with water)
- 1 round soft brush (size 6) and size 2 detail brush
- 1 disposable palette and water jar
- 1 matte sealer
Instructions
- Thin paint with water until translucent (about 1 part paint:3 parts water).
- Load brush and touch down for soft petal shapes. Layer while slightly wet for blends.
- Add small details with the size 2 brush once base layer is dry (20–30 minutes).
- Repeat until satisfied, letting layers dry 30 minutes between heavier passes.
- Seal with matte spray after 1–2 hours of drying. Cure 24 hours.
- Troubleshoot: if paint pools, blot with a paper towel immediately.
How to Display or Gift It
- Match with soft linen napkins and give as a brunch gift.
- For storage, stack with cardboard separators in a craft organizer box.
- Sunburst Stripe Breakfast Bowl
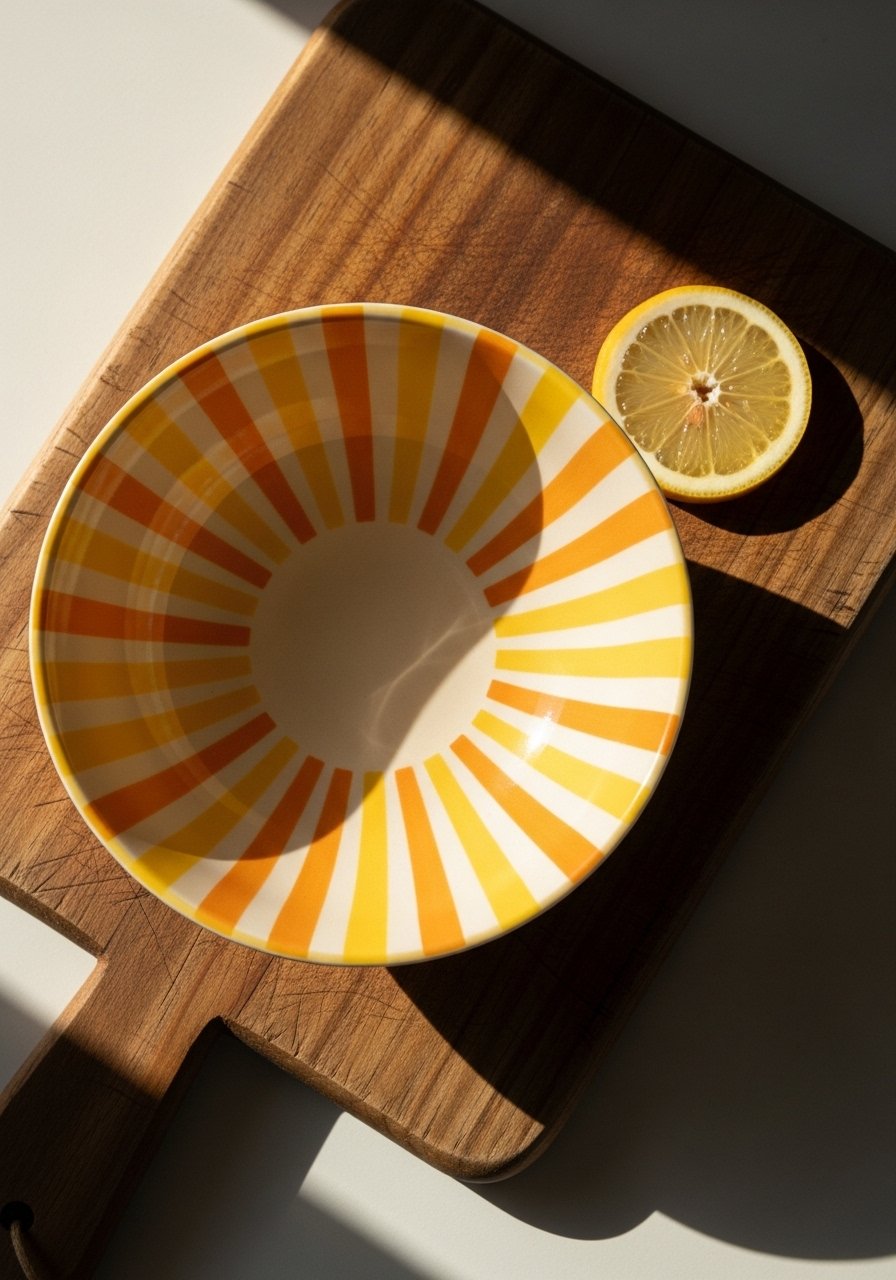
Sunburst patterns are cheerful and teach kids to work from a center point outward. Use a compass or round sticker to mark the center, then paint rays with a flat brush.
Materials
- 1 ceramic bowl (6" diameter)
- 3 sunny acrylic paints (yellow, orange, coral)
- 1 flat brush (1/2") and a detail brush
- 1 pencil and compass or round sticker for center guide
- 1 gloss sealer spray
Instructions
- Mark the center and sketch faint rays with pencil.
- Fill each ray with paint, alternating colors. Use steady strokes from center outward.
- Let each color dry 15–20 minutes before adjacent fills.
- Touch up edges with a small brush. Dry 1 hour.
- Seal with gloss spray. Cure 24 hours.
- Troubleshoot: for uneven edges, use a fine liner pen to tidy lines after sealing.
How to Display or Gift It
- Pair with breakfast-themed treats and a recipe card tied on top.
- Store in a kitchen drawer or display on a shelf.
- Glow-in-the-Dark Space Bowl

Kids love glow paint for bedtime snacks or toy bowls. Use glow-in-the-dark acrylics over a dark base. Charging under light is required before glowing.
Materials
- 1 ceramic bowl (5–6" diameter)
- 1 dark acrylic base paint (navy)
- 1 glow-in-the-dark acrylic paint (1 oz)
- 1 small round detail brush and foam brush for base
- 1 gloss sealer spray
Instructions
- Paint a dark base in 2 coats, drying 30 minutes between.
- Paint stars and planet shapes with glow paint using a detail brush. Apply 2 coats of glow paint, drying 20 minutes between.
- Charge under a bright lamp for 5–10 minutes to check glow.
- Seal with 1 coat gloss spray once fully dry. Cure 24 hours.
- Troubleshoot: dim glow? Add a second glow paint coat or charge longer under direct light.
How to Display or Gift It
- Great for sleepover gifts—include a small LED clip light for charging.
- Keep as a night-friendly snack bowl; hand wash only.
- Under-the-Sea Sponge Print Bowl

Sponge stamping creates lovely organic textures. Cut sponges into shapes to stamp coral and sea life patterns—fun for sensory play and group projects.
Materials
- 1 ceramic bowl (6" diameter)
- 3 acrylic colors (aqua, coral, sand)
- 1 pack of kitchen sponges and scissors to cut shapes
- 1 foam brush for base coat
- 1 disposable palette and water jar
- 1 matte sealer spray
Instructions
- Paint the base color and dry 30 minutes.
- Cut sponge into small shapes. Dip and press into paint, blotting excess first.
- Stamp shapes around the bowl, layering colors. Wait 15–20 minutes between layers.
- Let dry 1 hour, then seal with matte spray. Cure 24 hours.
- Troubleshoot: if sponge leaves uneven edges, press lighter or use smaller pieces.
How to Display or Gift It
- Fill with small sea-themed toys or candies.
- Pair with shell soaps and gift in a coastal-themed box.
- Store nested with paper separators.
- Holiday Ornament Mini Gift Bowl
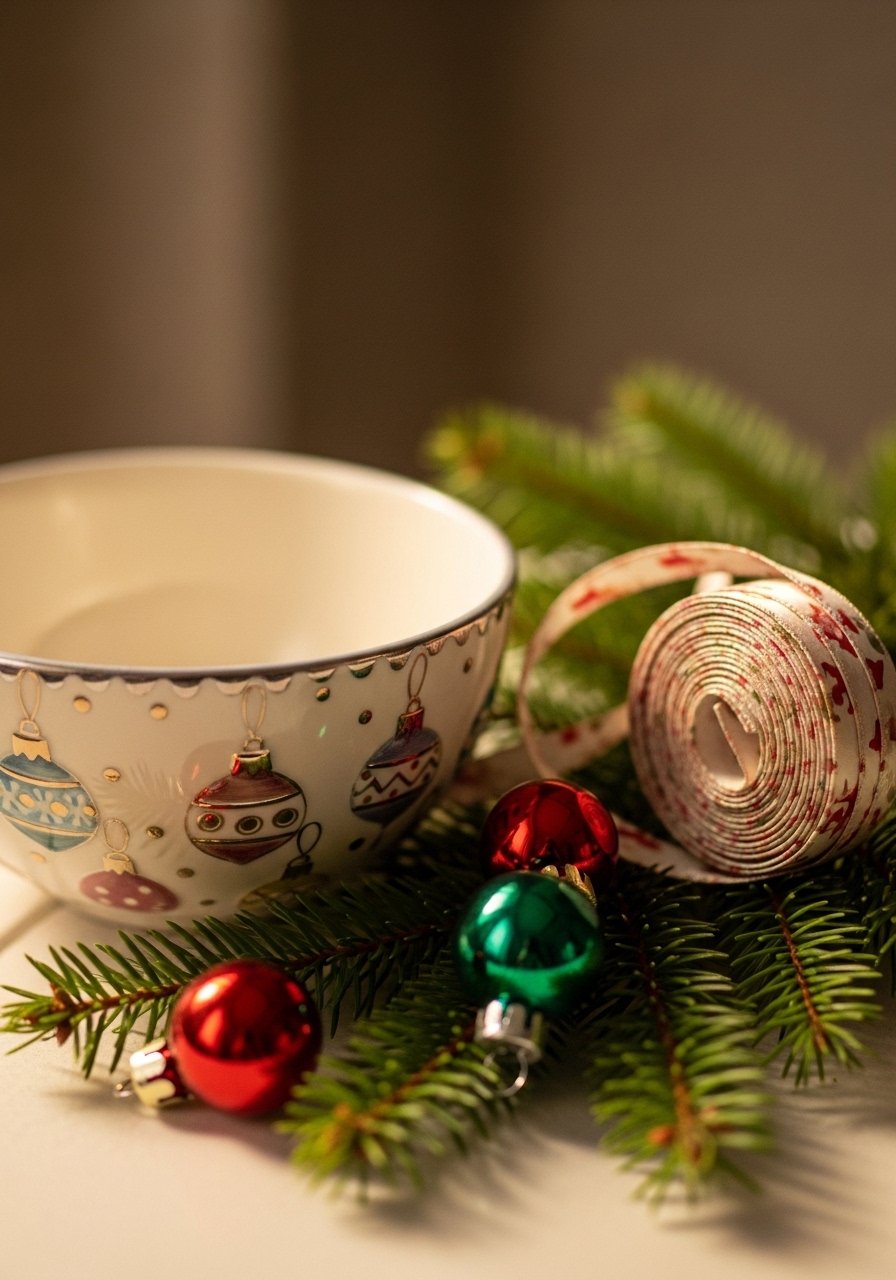
Create small seasonal bowls as gifts—ornaments, snowflakes, candy cane stripes. These are compact and quick, ideal for classroom exchanges.
Materials
- 1 small ceramic bowl (4" diameter)
- 1 holiday acrylic color pack (red, green, gold)
- 1 metallic paint pen (gold)
- 1 fine-round brush (size 0) and a foam brush
- 1 gloss sealer spray
Instructions
- Paint a background if desired and dry 30 minutes.
- Use small brushes to paint ornaments or snowflakes. Add metallic highlights with paint pen.
- Let dry 1 hour, then add 1 coat gloss sealer. Cure 24 hours.
- Troubleshoot: metallic pens can skip—prime with a thin coat of paint where you’ll write.
- Allow extra curing time for metallic sections to avoid smudging.
How to Display or Gift It
- Fill with holiday candy and tuck into a kraft gift box.
- Add a ribbon and gift tag for a ready-to-give present.
- For bulk making, store in stackable trays between sealing.
- Textured Imprint Bowl (Air-Dry Clay)

Add tactile texture by pressing air-dry clay decorations onto the outside of the bowl. This is a mixed-media approach—perfect for older kids under supervision.
Materials
- 1 ceramic bowl (6" diameter)
- 1 pack air-dry clay (8 oz)
- 1 small rolling pin and texture stamps or lace
- 1 craft knife for cutting clay
- 1 PVA glue (non-toxic) and foam brush to attach
- 1 acrylic paint for clay accents and matte sealer
Instructions
- Roll out clay to 1/8" thickness and cut strips or shapes. Impress textures with stamps.
- Let clay pieces dry per package instructions (24–48 hours).
- Glue dry clay pieces to the bowl exterior with PVA glue. Press and let set 1 hour.
- Paint clay accents and let dry 1–2 hours. Seal clay with matte sealer if desired.
- Troubleshoot: if clay cracks, moisten lightly and smooth before drying next time.
- Not dishwasher-safe; hand wash carefully.
How to Display or Gift It
- Display on a shelf where texture can be felt.
- Wrap in tissue and tuck in a small care note about hand washing.
- Store pieces flat in a craft storage drawer while curing.
- Simple Sticker Resist — ceramic bowl painting ideas for kids

Sticker-resist is perfect for tiny hands—stick shapes down, paint over, peel to reveal clean silhouettes. It’s quick and ideal for groups.
Materials
- 1 ceramic bowl (6" diameter)
- 1 sheet of removable stickers (stars, hearts)
- 1 acrylic paint for background (2 oz)
- 1 foam brush and a detail brush for touchups
- 1 clear sealer spray
Instructions
- Place stickers on clean, dry bowl where you want the resist shapes.
- Paint over the stickers with 2 coats of color, drying 20–30 minutes between.
- When paint is tacky but not fully dry (10–15 minutes), peel stickers to reveal resist.
- Touch up edges with a small brush if needed. Let dry 1 hour.
- Seal with 1 coat clear spray. Cure 24 hours.
- Troubleshoot: if paint lifts with sticker removal, press stickers down better next time or remove slightly earlier.
How to Display or Gift It
- Make matching sticker-resist sets for birthday party favors.
- Wrap with a pack of extra stickers for creative play.
- Store with stickers and paints in a craft organizer.
- Animal Pawprint Memory Bowl

Capture a pet’s pawprint (made safe with non-toxic pet ink or by tracing) or have kids paint their own small pawprints. This creates a sweet memory bowl.
Materials
- 1 ceramic bowl (5–6" diameter)
- 1 non-toxic pet ink pad OR washable acrylic safe for pets (check label)
- 1 baby wipe and water jar for cleanup
- 1 fine brush for accents and name writing
- 1 matte sealer suitable for hand wash (check label)
Instructions
- If using pet ink, press pet’s paw gently onto the ink pad then onto paper first to test. Adults should supervise.
- For painted pawprints, place child’s or pet’s paw into a thin layer of non-toxic paint and press lightly into the bowl interior.
- Add date and name with a fine brush. Let dry 1–2 hours.
- Seal with a matte sealer per label instructions. Cure 24 hours.
- Troubleshoot: if print smudges, start over on a new bowl—practice on paper first.
How to Display or Gift It
- This makes a sentimental gift for pet parents; include a small photo attached to the box.
- Store as a keepsake on a shelf or in a memory box.
- Happy Faces Smile Bowl — ceramic bowl painting ideas for kids
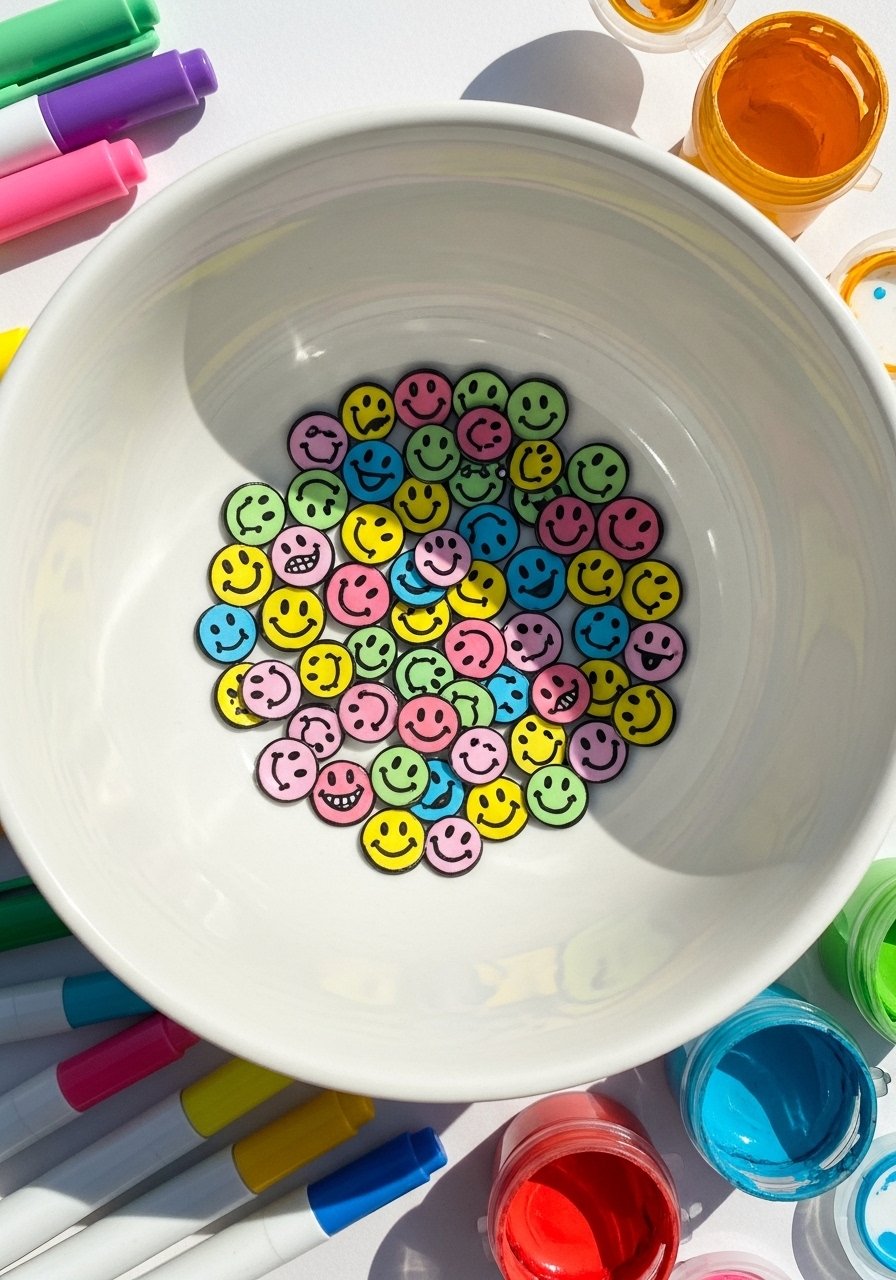
Smiley faces are joyful and easy, perfect for preschoolers practicing simple shapes. It’s a mood-boosting, tactile craft that turns ordinary bowls into friendly helpers for snack time.
Materials
- 1 ceramic bowl (5–6" diameter)
- 1 pack of paint pens in assorted colors (fine tip)
- 1 acrylic white base paint (optional)
- 1 foam brush for base coat
- 1 matte sealer spray
Instructions
- Paint a white or pastel base if desired and dry 30 minutes.
- Use paint pens to draw simple circles and add dots and curved lines for smiles. Vary sizes for interest.
- Let the ink set 15–20 minutes between layers.
- Dry fully 1 hour, then seal with a matte spray. Cure 24 hours.
- Troubleshoot: if lines smudge, allow more drying time or use a paint pen with faster-drying ink.
How to Display or Gift It
- Great for classroom teacher gifts—pair with a handwritten note from the child.
- Wrap in cellophane with a small wooden spoon and tie with ribbon.
- Store flat with separators in a craft drawer organizer.
Thanks for sticking with all 23 of these fun, colorful ideas. You’ve got quick fingerprint bowls for little hands, learning-friendly stencil projects, and a few slightly advanced techniques for older kids eager to try more detailed work. Pin this list to save the ideas, try a few favorites on a rainy afternoon, and share your kid-made bowls with friends and family—handmade gifts have a way of being kept forever.
If you try several techniques, a multi-pack of foam brushes and a good clear sealer are helpful across almost every project. I personally reach for a reliable foam brush set and a clear acrylic spray sealer to finish things off — they make cleanup and sealing much easier. Which project will you try first? Share a photo or pin this for later and pass the list to someone who likes to craft with kids.





