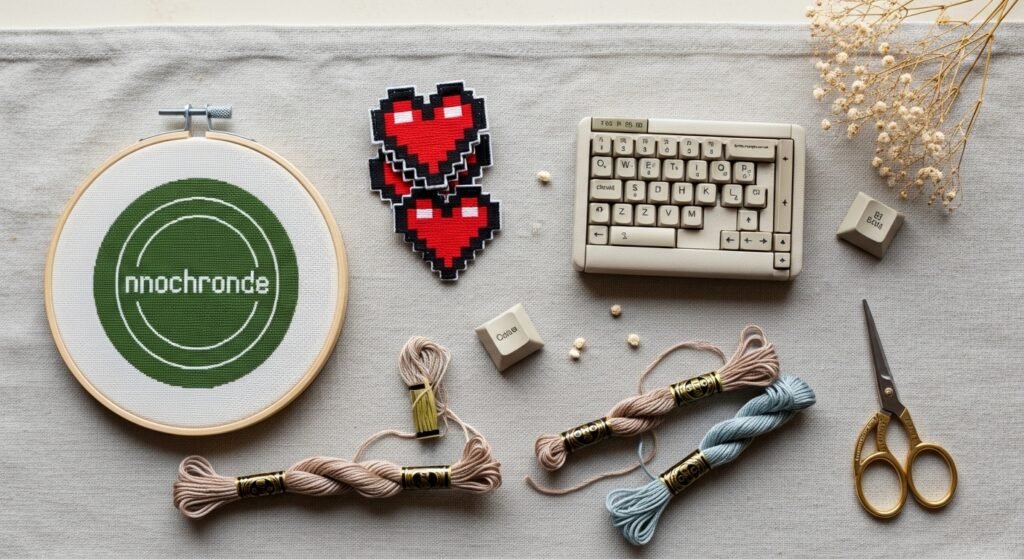
Step back into early digital days with handcrafted flair: these 22 Viral Vintage Computer Embroidery Designs bring pixel-perfect nostalgia into elegant, detailed stitchwork. Whether you're chasing cottagecore meets tech or a Japandi-tinged neutral piece for a modern shelf, you'll find designs that read both retro and refined. These projects mix classic embroidery techniques—satin stitch, backstitch, French knots—with modern tools like small cutting machines and precision craft knives to speed up prep.
If you prefer to cut stabilizer or applique shapes in a heartbeat, I run simple shapes through my Cricut Explore cutting machine for uniform results. For thread control, I reach for DMC stranded cotton (use two strands for fine details). Throughout the list you'll find varied hoop sizes, fabric types, and finishing ideas that suit beginners and stitch pros alike. Ready your 6" hoop and a hot glue gun, and let’s stitch some pixel poetry.
1. Floppy Disk Mini Hoop — Tiny Retro Badge
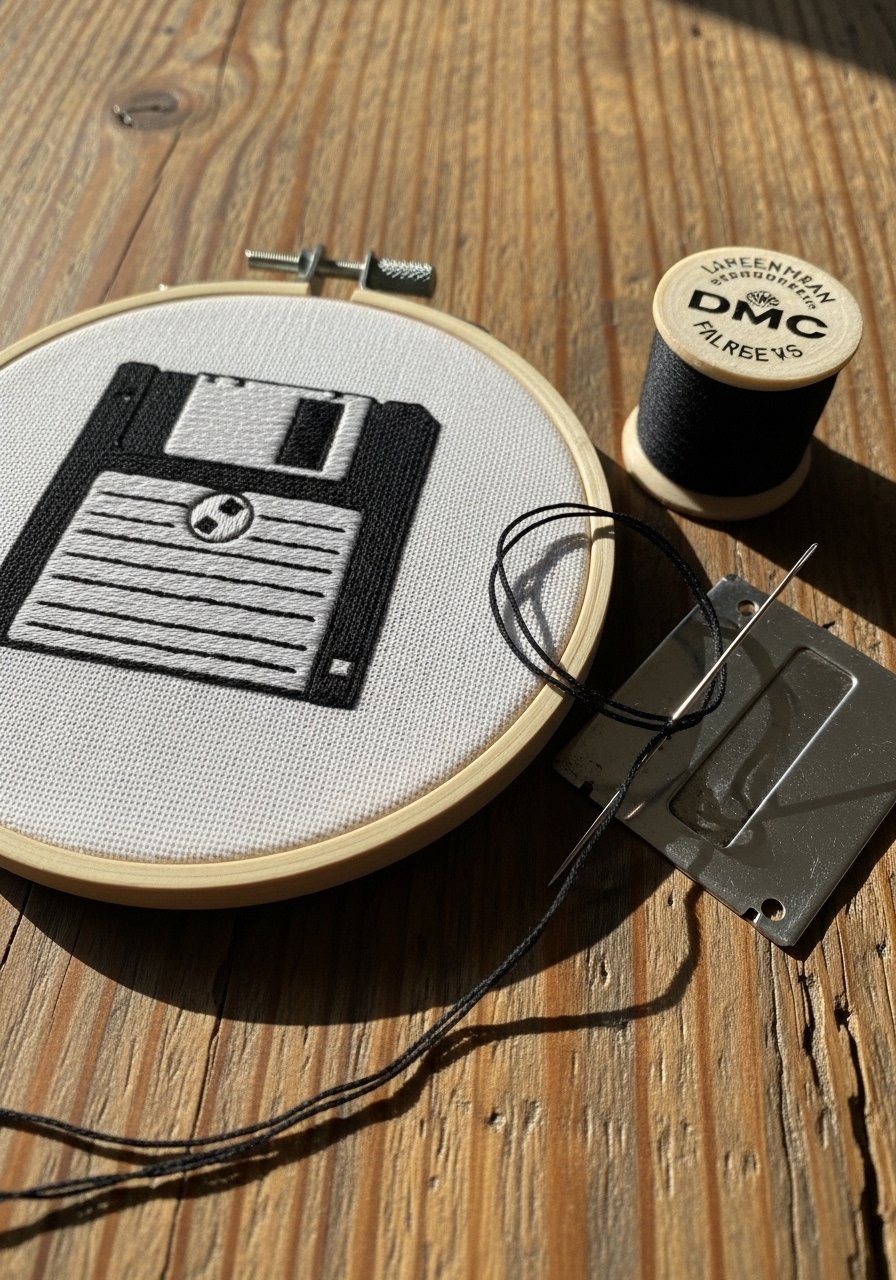
This petite floppy disk design is a quick-win project that reads both retro and minimalist. The small size makes the satin stitches crisp and the color blocking pops against natural linen. Perfect for beginners, it feels smooth in the hand and looks great pinned on a tote or framed on a mini easel.
Materials
- 4" wooden embroidery hoop
- 4" square of 100% linen, prewashed (10 cm / 4")
- DMC stranded cotton floss: Black (310) 2m, Turquoise (3846) 1m, Grey (415) 1m
- Embroidery needle size 7
- Tear-away stabilizer (5" square)
- Water-soluble fabric pen
- Small sharp scissors (detail)
- Small piece of fusible interfacing, 3" square
Instructions
- Iron the linen and fuse the interfacing to the back center, following product instructions. Let cool 5 minutes.
- Hoop linen taut in the 4" hoop with stabilizer behind for added body.
- Trace the floppy disk template (3.25" square with 0.25" notch) with a water-soluble pen.
- Use satin stitch with two strands for the disk body (approx. 100–120 short satin stitches) and backstitch for the outline. Work top flap in grey using long satin stitches.
- Seed stitch the small metal shutter using one strand for texture.
- Rinse gently to remove marks after stitching and air dry flat (30–60 minutes). Press from the back through a cloth.
How to Display or Gift It
- Trim fabric leaving 0.25" margin and glue to the inner hoop with a low-temp hot glue gun for a clean finish.
- Display on a tiny wooden easel or pin to a canvas tote.
- Batch-make 3–6 for a themed gift set and store flat in a stackable craft organizer.
2. Monochrome Terminal Hoop — Green Text on Black
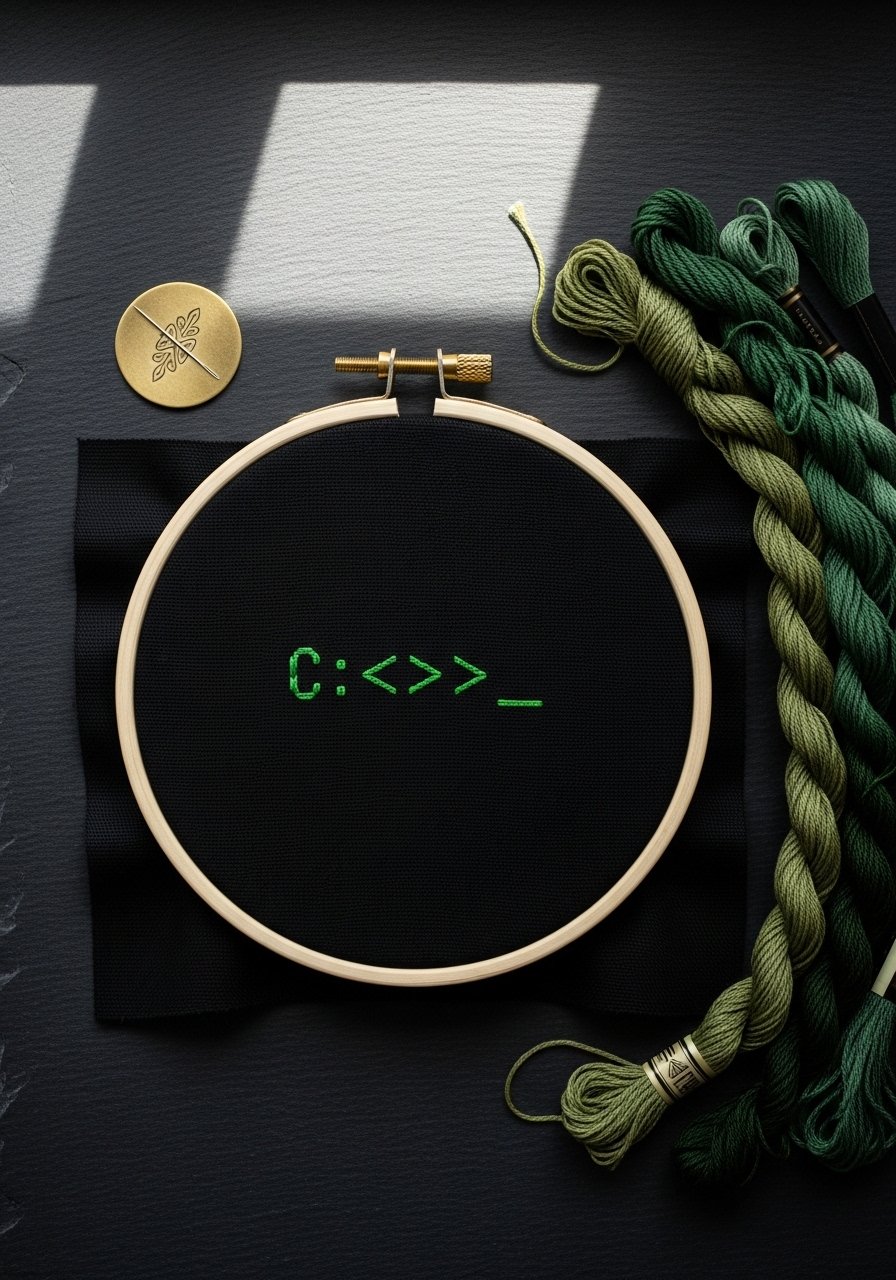
This moody, high-contrast piece channels old monochrome terminals. The tiny backstitch text looks crisp against the black ground. Stitch density gives a slightly raised texture that feels weighty in your hands.
Materials
- 6" hoop
- 6" square black cotton-linen blend fabric
- DMC stranded cotton floss in Terminal Green (approx look like 702) — 3m
- Embroidery needle size 7
- White chalk marking pencil
- Tear-away stabilizer 8" square
- Embroidery hoop cushion (optional)
- Needle minder magnet
Instructions
- Prewash and press fabric. Transfer the chosen short phrase (max 20 characters) with white chalk, then change to a water-erasable pen for final lines.
- Hoop with stabilizer and place cushion if you want extra tension.
- Use backstitch with two strands for letters, keeping stitches 1.5–2 mm long.
- For a pixelated look, create tiny cross-stitches at corners.
- Trim excess stabilizer after stitching. Spot clean if needed and let air dry 20–30 minutes.
- Press lightly from the back.
How to Display or Gift It
- Frame in a shadowbox for shelf display.
- Pair with a polished brass mini easel or a magnetic frame.
- Wrap in kraft paper with a small dried sprig for gifting.
3. Pixel Heart Floppy Patch — Little Love, Big Pixels

Pixel hearts are a modern classic that fit any aesthetic from boho to farmhouse. This patch uses cross-stitch blocks for that iconic 8-bit look. Because it's small it’s great for kids and charm-makers.
Materials
- Felt backing circles 2" (set of 6)
- 2.5" square Aida fabric (14-count)
- DMC floss red (321) and black (310) — 1.5m each
- Embroidery needle blunt tip (for Aida)
- Heat-seal adhesive sheets, 2" circles
- Fabric glue (E6000 optional)
- Fine-tip scissors
Instructions
- Center heart on Aida and stitch using small cross-stitches, 2 strands for thickness.
- Trim fabric leaving 0.25" seam allowance.
- Iron-on adhesive to felt backing per instructions, then glue or machine stitch perimeter.
- If using heat-seal, press for 8–10 seconds on medium heat.
- Let adhesive cool fully (5 minutes) before handling.
How to Display or Gift It
- Stick on denim jackets or tote bags.
- Place a set in a small kraft gift box with tissue.
- Store in a divided craft box to keep shapes crisp.
4. Vintage Keyboard Key Necklace — Tiny Type
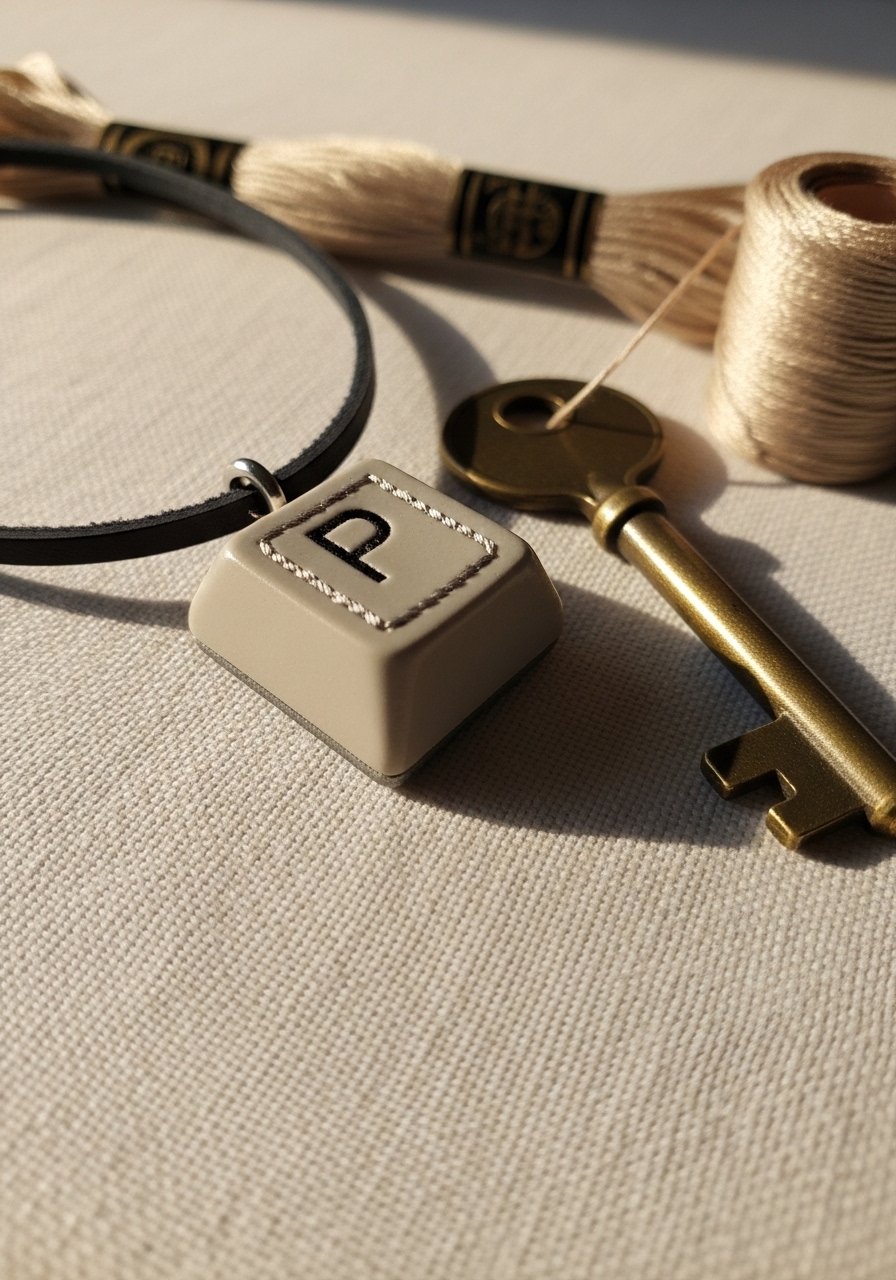
This mini pendant recreates a single keyboard key with satin and backstitch for sharp edges. It’s tactile—smooth satin stitches and crisp borders make it feel polished.
Materials
- 1.5" circular wooden cabochon blanks (set of 6)
- 2" cotton fabric circles
- DMC floss black and off-white — 1.5m each
- Small embroidery hoop (2")
- Hot glue sticks (for cabochon)
- Leather cord 18" per necklace
- Fine-tip permanent fabric pen for tiny label
- Embroidery needle size 8
Instructions
- Hoop fabric and center the key design. Stitch with satin and backstitch using two strands.
- Trim fabric leaving 0.25" and hot-glue to cabochon blank. Smooth edges.
- Allow glue to cure 30 minutes.
- Thread leather cord and knot securely.
How to Display or Gift It
- Present on a kraft card with a small typed label.
- Store in jewelry organizer for safe keeping.
- Make matching key-ring friends by gluing to metal split rings.
5. Pixel Mouse — Retro Cursor Ornament

A playful little ornament, the pixel mouse uses square satin stitches to mimic cross-stitch pixels. It’s light enough for a mobile or holiday tree.
Materials
- 3" cotton canvas square
- Embroidery hoop 4"
- DMC floss white and black, 2m each
- Fiberfill stuffing (small pinch)
- Sewing thread to match
- Small eyelet for hanging
- Tapestry needle for stuffing closure
Instructions
- Hoop canvas and stitch the 16×16 pixel design using satin stitches as 1-pixel blocks.
- Leave a 1" seam, trim and turn right-side-out.
- Stuff lightly with fiberfill and slip-stitch the opening closed.
- Add eyelet and hang cord. Let seam set 10 minutes before handling.
How to Display or Gift It
- Hang on a minimalist tree or in a nursery.
- Bundle multiple ornaments in a clear gift box with shredded kraft.
- Store in a labeled ornament box between seasons.
6. Green Circuit Garland — Subtle Tech Linen Banner
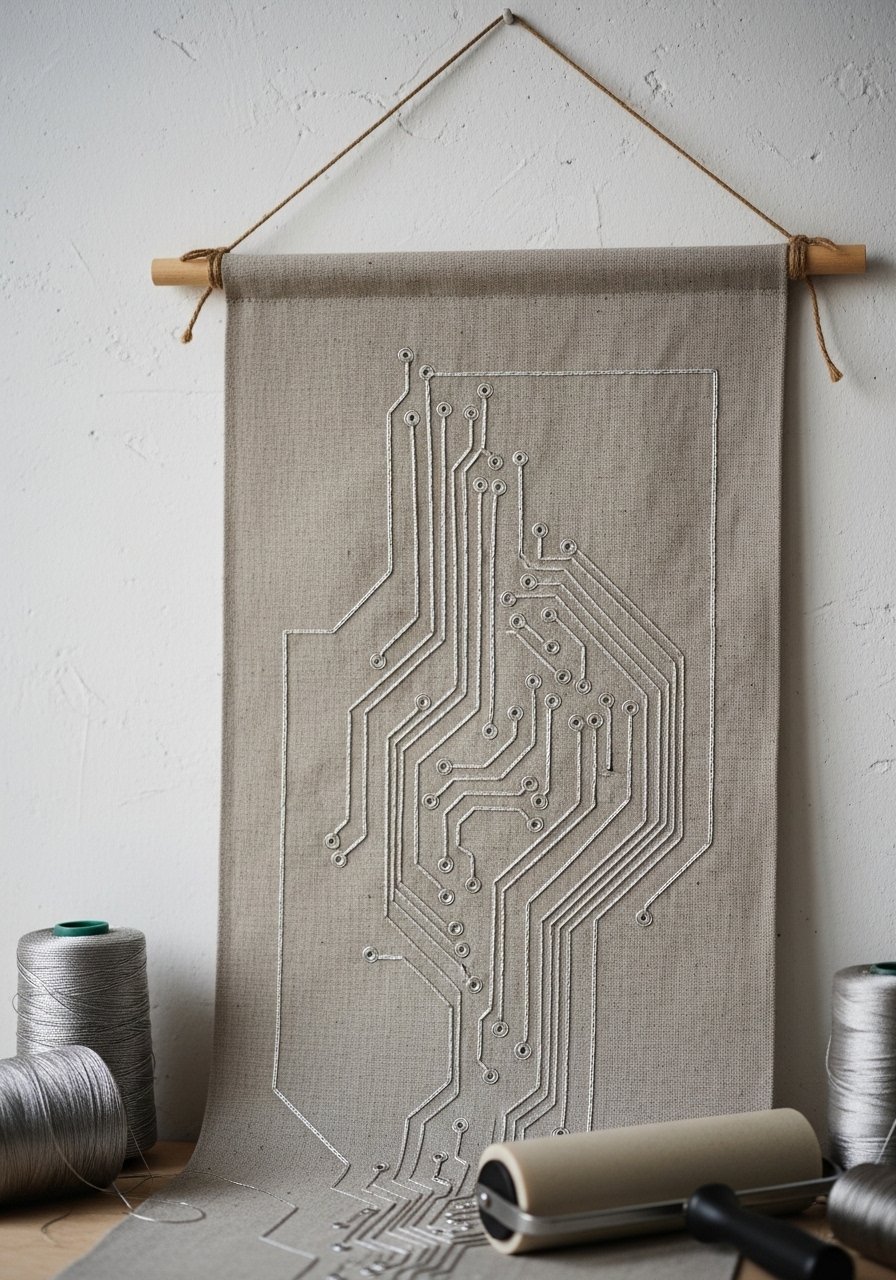
This banner uses chain and backstitch to suggest circuit paths with a gentle, organic flow—great for Japandi or modern farmhouse corners.
Materials
- 12" x 36" natural linen banner
- Metallic embroidery thread (silver) — 5m
- DMC stranded cotton dark teal — 3m
- Embroidery needles size 7
- Wooden dowel 14"
- Sewing machine (optional) for hemming
- Painter’s tape to hold dowel temporarily
Instructions
- Hem top edge and slip in dowel pocket. Press well.
- Sketch circuit lines lightly with pencil; plan node points.
- Use chain stitch for main traces and backstitch for thin lines with two strands.
- Add tiny French knots for solder nodes (use one strand).
- Press lightly from the back when finished.
How to Display or Gift It
- Hang over a small console in a neutral living room.
- Roll carefully and store in a mailing tube for gifting.
- Pair with a small wooden dowel display stand for markets.
7. Vintage Computer Embroidery Designs: Green Screen Portraits
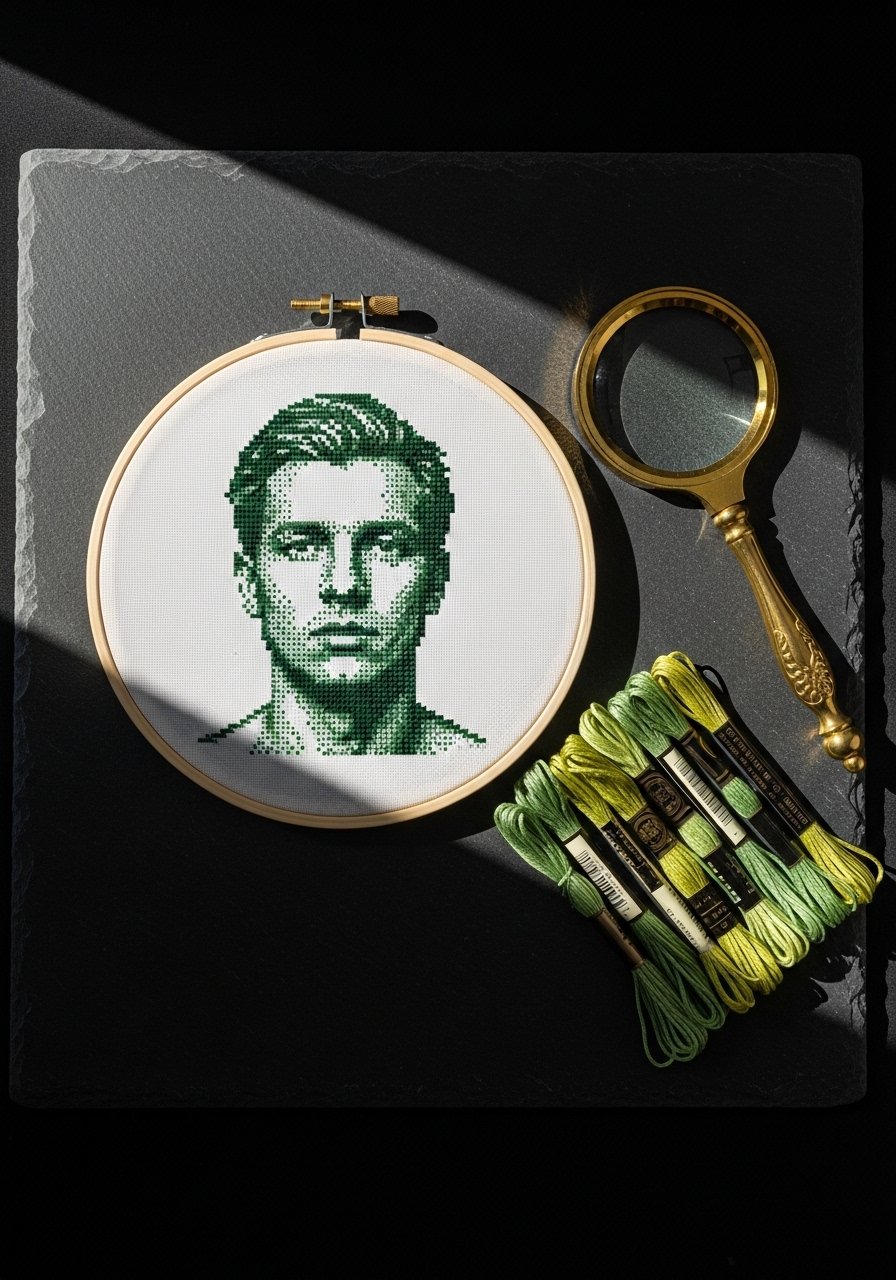
A study in restraint—green-on-black portraits mimic CRT screens. This project uses tiny cross-stitches to render simple portraits or icons. It’s a chic, subtle nod to vintage computing.
Materials
- 8" hoop
- Black 100% cotton 12" square
- DMC floss in chartreuse/terminal green — 6m
- 14-count Aida for transfer, 8" square
- Embroidery needle size 7
- Printed pixel portrait template (8" grid)
- Tape
Instructions
- Transfer pixel grid using a temporary transfer method or stitch from a printed template.
- Use cross-stitch blocks, 2 strands for full coverage.
- Stitch in small sections to avoid puckering.
- Rinse any transfer marks and air dry 30–60 minutes.
- Press from the back through a damp cloth.
How to Display or Gift It
- Frame in a deep matte frame for gallery appeal.
- Gift as a custom portrait for a tech-lover.
- Store flat in acid-free tissue if not displayed.
8. Floppy Case Wallet — Practical Retro Pouch
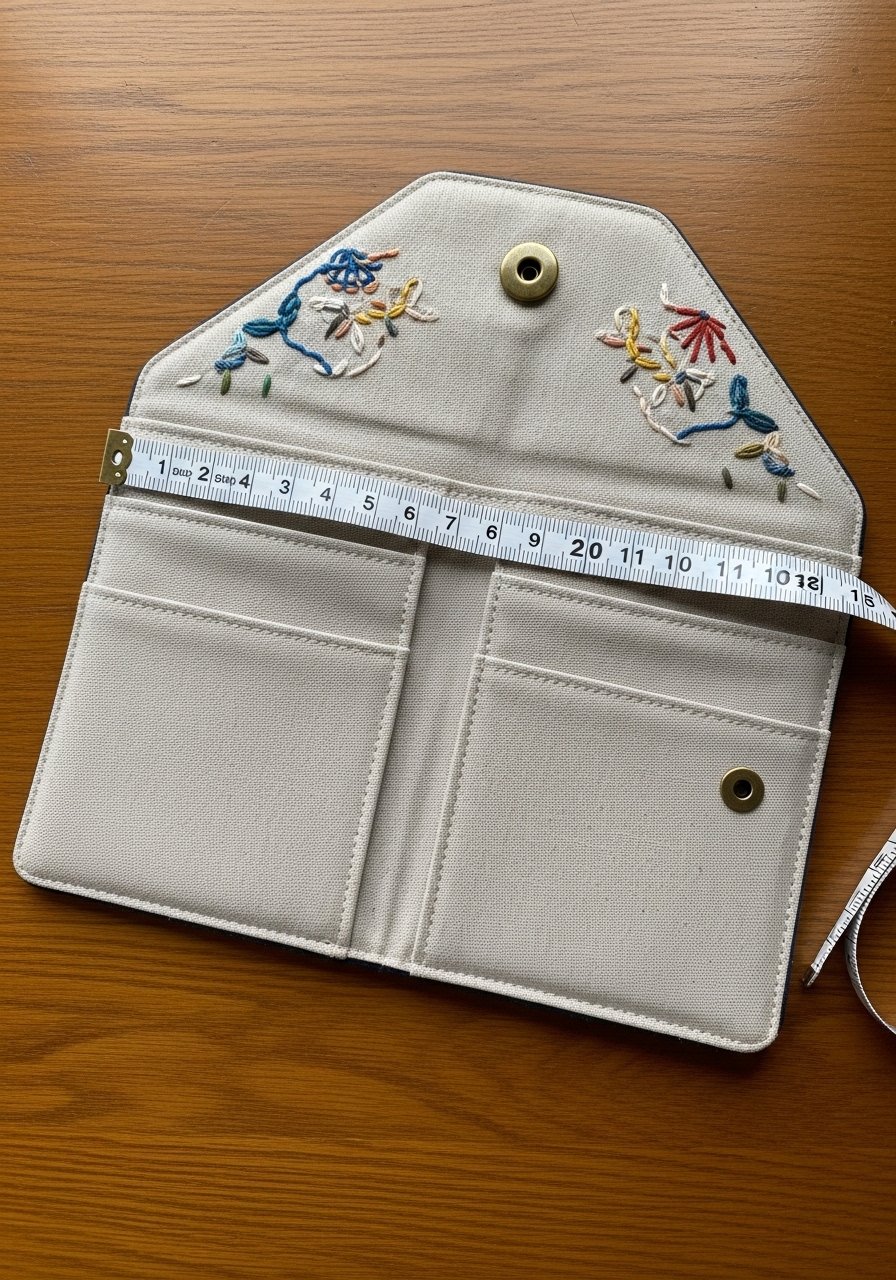
A functional pouch that looks like a floppy disk—use applique and blanket stitch for the edges. Pockets hold cards, earbuds or a small notepad.
Materials
- 6" x 8" linen outer, prewashed
- 6" x 8" cotton lining
- Fusible interfacing medium weight, 6" x 8"
- DMC floss black and grey, 3m each
- Brass snap set
- Sewing thread to match
- Rotary cutter and ruler
Instructions
- Fuse interfacing to outer fabric per instructions and press.
- Applique the flap shape with satin stitch and backstitch details using two strands.
- Sew lining and outer pieces right sides together leaving a 2" gap for turning.
- Turn right-side-out and topstitch close, installing snap per manufacturer’s directions.
- Press and let set 10 minutes.
How to Display or Gift It
- Slip into a kraft gift box and add a small typed card.
- Store flat in a drawer organizer for daily use.
- Make matching sets by varying color palettes (cottagecore pastels or japandi neutrals).
9. Cassette Tape Bookmark — Nostalgic Page Marker
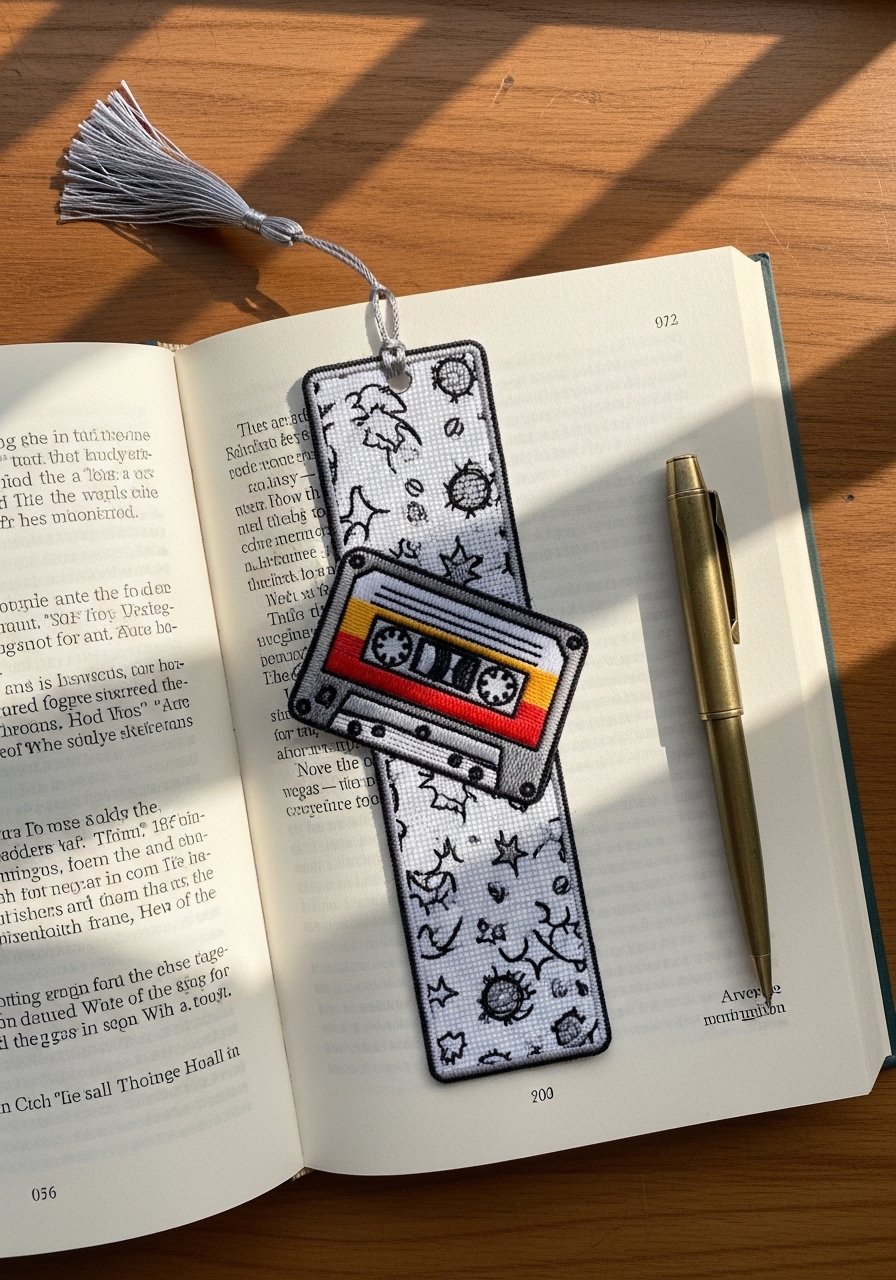
This bookmark blends retro music vibes with stitched detail. Use satin stitch inside reels for shine and a narrow felt backing for stability.
Materials
- 2.5" x 7" linen strip
- Felt backing 2.5" x 7"
- Glue stick or fabric glue
- DMC floss black, white, teal — 2m each
- 3mm ribbon for tassel
- Embroidery needle size 7
Instructions
- Hoop narrow strip or stitch freehand. Outline cassette with backstitch.
- Fill reels with long satin stitches for a reflective look.
- Glue felt backing and allow glue to set 20 minutes.
- Add ribbon tassel knotted at the top.
How to Display or Gift It
- Include with a paperback for a bookish gift.
- Store flat in a slim bookmark box.
- Make themed sets (music genres) and tie with twine.
10. Pixel Flora — Tetris Flower Hoop
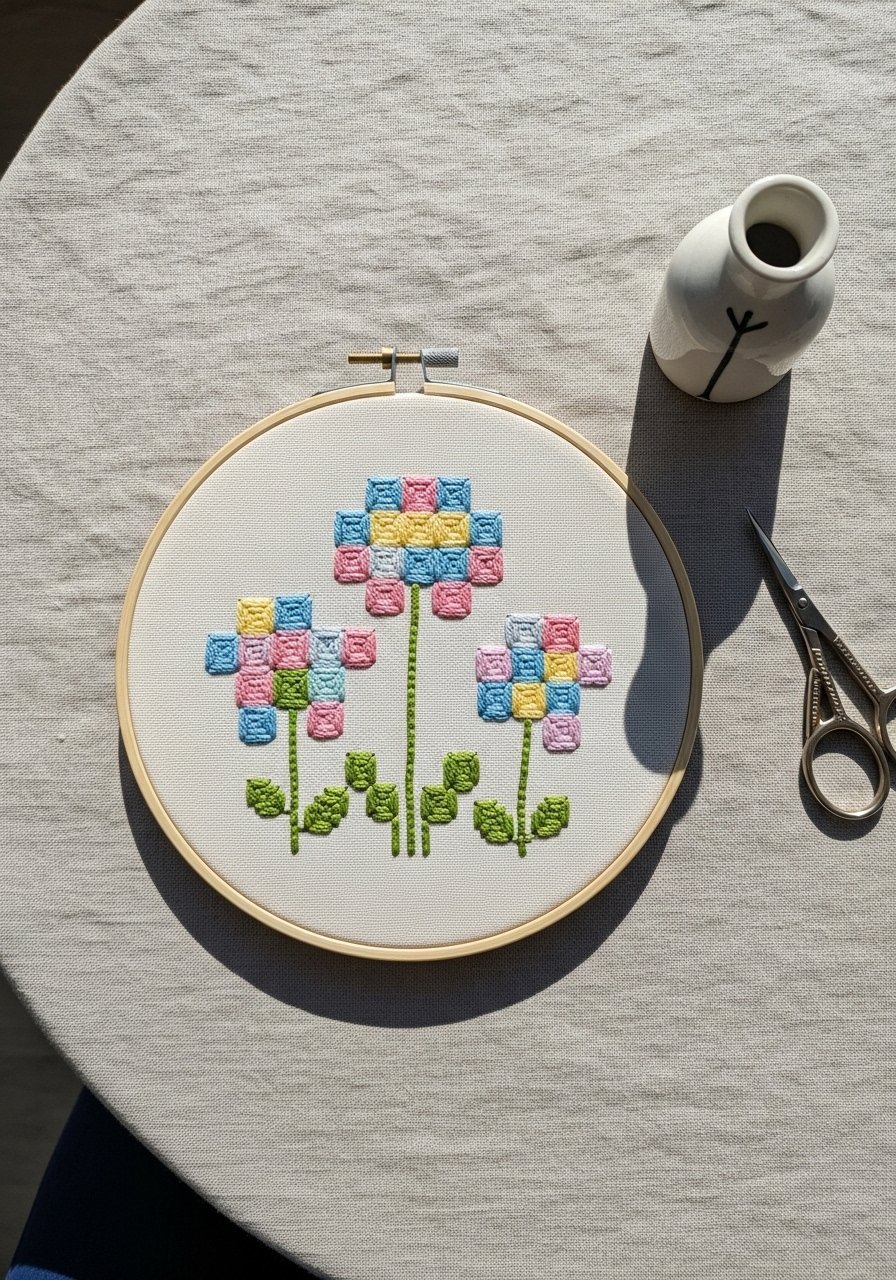
Pixel Flora feels like gardener meets gamer—soft pastels give a cottagecore vibe while the geometric shapes read modern.
Materials
- 5" hoop
- 7" square 100% cotton
- DMC floss pastel palette (peach, dusty blue, sage) — 3m each
- Embroidery needle size 7
- Printed 10×10 pixel flower chart
- Tear-away stabilizer
Instructions
- Transfer chart and hoop fabric tightly.
- Use small satin blocks or petit cross-stitch, 2 strands.
- Stagger color placements for a bouquet effect.
- Trim and glue fabric to hoop back; allow glue to set 15 minutes.
How to Display or Gift It
- Group three sizes on a wall for a pixel gallery.
- Tuck into a shadowbox for a giftable keepsake.
- Keep in a shallow craft drawer to prevent dust.
11. DOS Prompt Quote Stitch — Minimalist Tech Typography
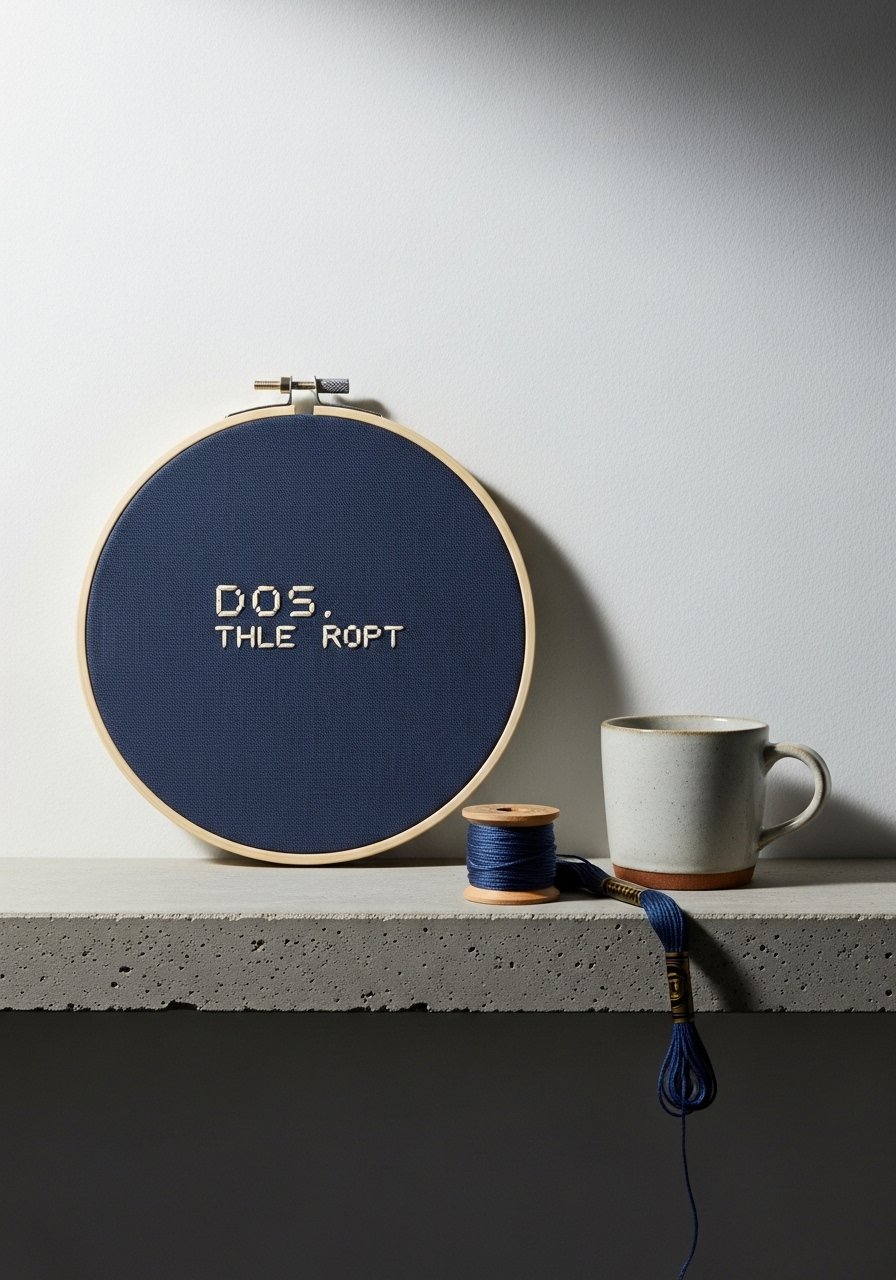
This piece uses clean typographic backstitch for a soft, modern statement. Great for desktops or office nooks.
Materials
- 6" hoop
- Navy cotton-linen blend, 8" square
- DMC cream floss — 4m
- Embroidery needle size 7
- Transfer paper for text
- Small wooden easel for display
Instructions
- Transfer short DOS prompt (max 30 characters) with transfer paper.
- Backstitch with two strands, keeping tension consistent.
- Trim and finish hoop back neatly; press lightly.
How to Display or Gift It
- Perch on a small easel near a desk lamp.
- Mount in a black circular frame for an office-ready look.
- Wrap in tissue and place in kraft box.
12. Vintage Computer Embroidery Designs: Motherboard Traces
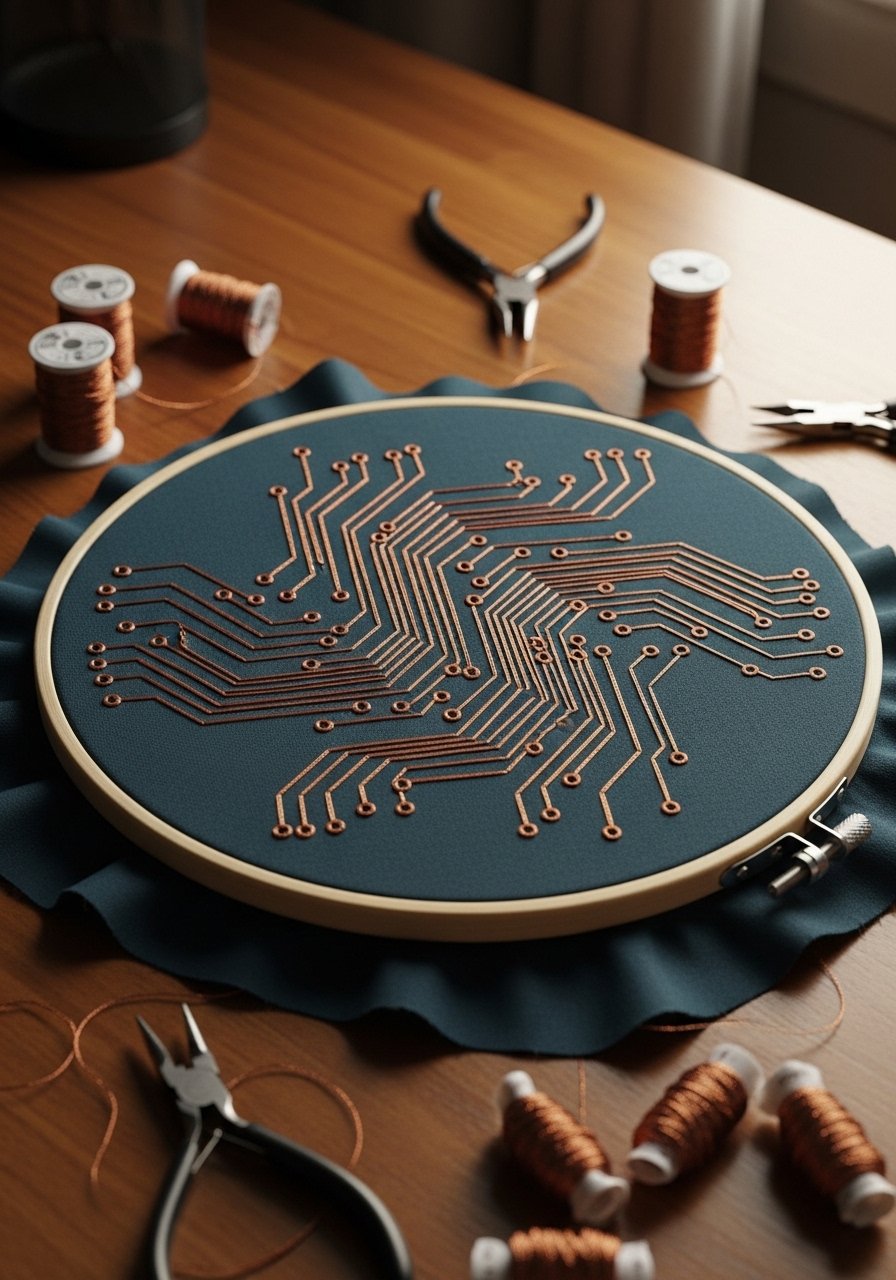
Schematic-inspired, this design abstracts a motherboard into flowing metallic traces. The metallic thread catches light and gives an industrial-chic finish.
Materials
- 8" hoop
- 8" square dark teal cotton
- Metallic thread spool (copper look) — 8m
- DMC stranded cotton dark grey — 3m
- Embroidery needle #10 with larger eye (for metallic)
- Thread conditioner (beeswax or Thread Heaven)
Instructions
- Sketch trace lines and mark node locations.
- Use couching stitch to secure metallic thread, couching with thin cotton thread using one strand.
- Add backstitch in grey to suggest components.
- Use small French knots to anchor nodes.
- Secure ends by weaving them to the back; press with low heat using a pressing cloth.
How to Display or Gift It
- Frame with a slim black frame for contrast.
- Gift as a modern piece for a tech desk.
- Store flat between foam boards to protect metallic threads.
13. Pixel Portraits on Linen Postcards
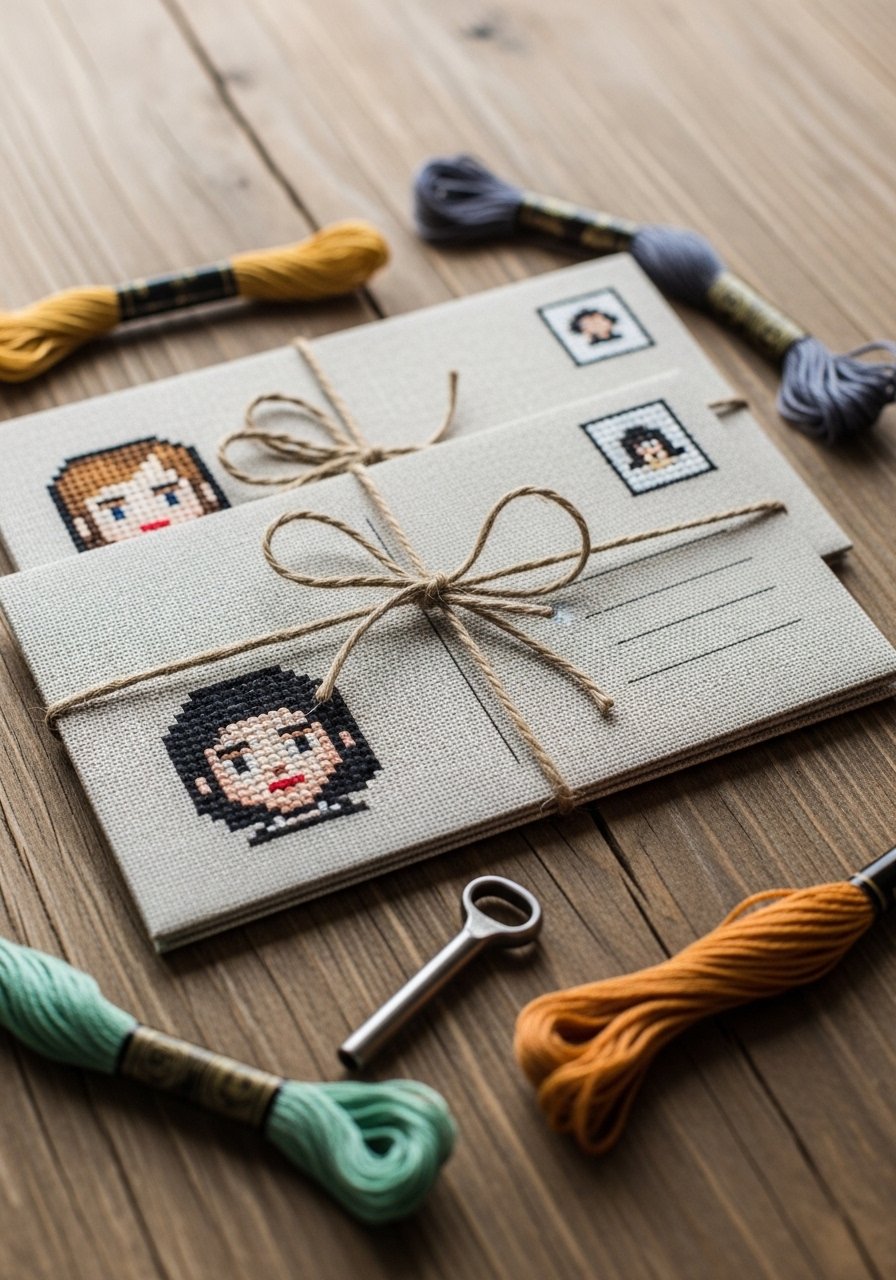
These stitched postcards are perfect for sending a handmade hello. Use 4" x 6" linen cards and stitch small pixel faces.
Materials
- 4" x 6" pre-cut linen postcards (pack of 10)
- DMC floss assorted flesh tones — 3m each
- Embroidery needle size 7
- Pencil for light sketching
- Archival postal glue (for extra security)
Instructions
- Trace a small 20×20 pixel face template lightly.
- Stitch in cross-blocks, 2 strands.
- Stabilize with a lightweight iron-on backing to survive mail.
- Let glue/stitching set 10 minutes before handling.
How to Display or Gift It
- Mail as an artful postcard or frame as mini art.
- Store in a postcard organizer to keep them flat.
- Batch-make sets for stationery gifts.
14. Cursor Arrow Brooch — Tiny Point, Big Attitude

A playful, wearable pixel cursor using felt applique and bead accents. The clean edges feel modern.
Materials
- Felt sheets (black and white) 3.5" square
- Seed beads for highlight (10–20)
- Sewing thread black
- Small brooch pin backs
- Fabric glue
- Sharp embroidery scissors
Instructions
- Cut felt pixels with sharp scissors or a precision craft knife.
- Glue layers and blanket-stitch edges with two strands of thread.
- Sew on bead details and attach pin back with small stitches.
- Let adhesive cure 30 minutes.
How to Display or Gift It
- Pin onto a denim jacket or hat.
- Gift in a small jewelry box with tissue paper.
- Store in a divided jewelry organizer.
15. ASCII Floral Sampler — Typography Meets Garden
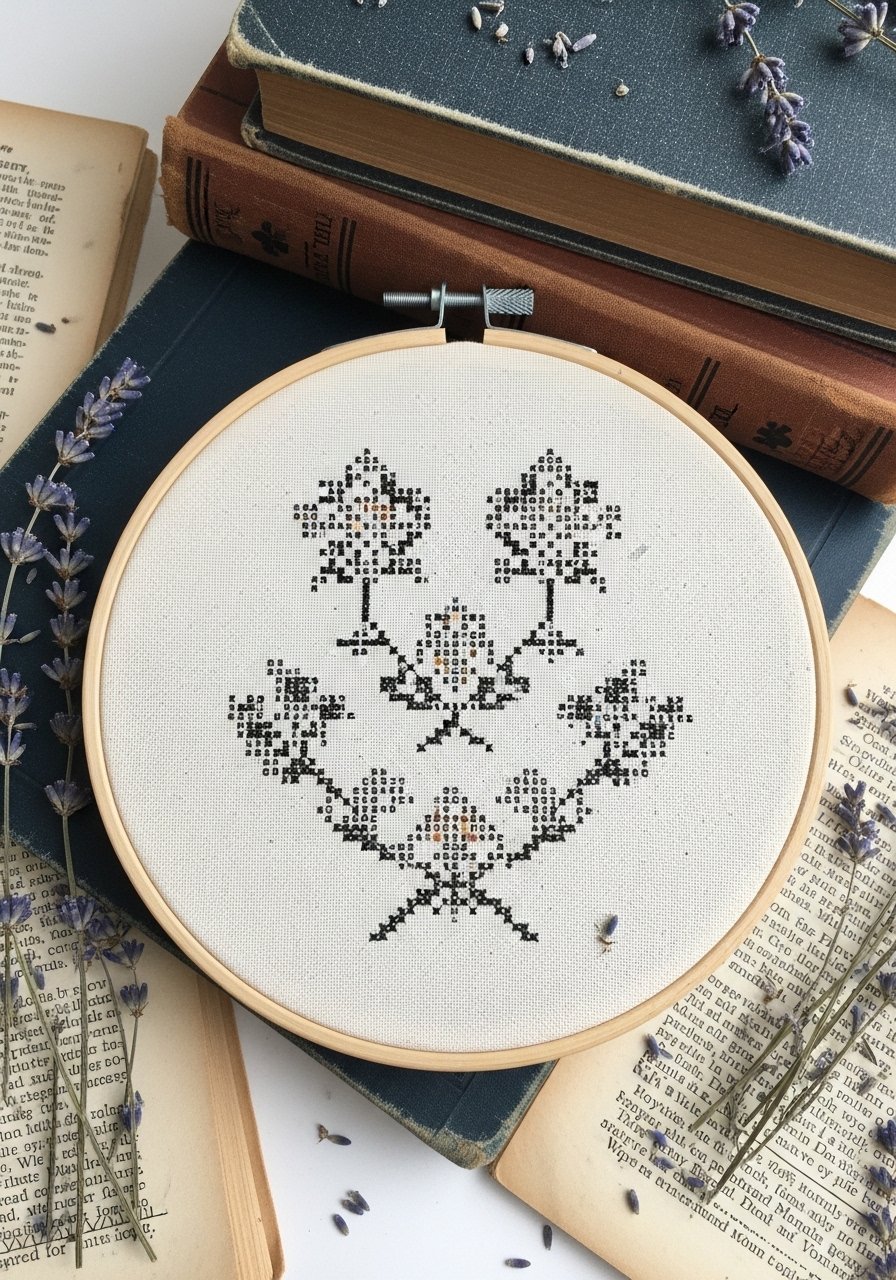
This sampler uses tiny stitches to suggest ASCII characters folding into floral shapes—a clever cross between text art and embroidery.
Materials
- 7" hoop
- Cream linen 10" square
- DMC floss muted palette — 4m each
- Embroidery needle size 7
- Printed ASCII-to-stitch map
- Small ruler for alignment
Instructions
- Plan layout on paper, mapping ASCII characters to stitch symbols.
- Work small sections at a time in backstitch and French knots.
- Keep stitches small (1–2 mm) for fine detail.
- Finish and press lightly from the back.
How to Display or Gift It
- Frame under glass to protect fine detail.
- Pair with a small note explaining the ASCII motif.
- Store in a shallow archival box.
16. Punch Card Wall Panel — Graphic Neutral Art

This large-scale panel produces a graphic, calming piece for a hallway or office, perfect for Japandi or modern farmhouse interiors.
Materials
- 12" x 16" cotton canvas panel
- DMC floss ecru and soft grey — 6m each
- Wooden stretcher frame 14" x 18"
- Staple gun
- Painter's tape for layout
- Embroidery needle size 7
Instructions
- Mark grid with light pencil and secure fabric to stretcher frame.
- Use satin and French knot clusters to represent holes and numbers.
- Work in rows to keep tension consistent.
- Once complete, secure fabric to the back with staples and trim excess.
How to Display or Gift It
- Hang above a console for subtle interest.
- Gift to a friend who loves graphic vintage pieces.
- Store flat between foam boards if not displayed.
17. Retro Monitor Cross-Stitch Pillow
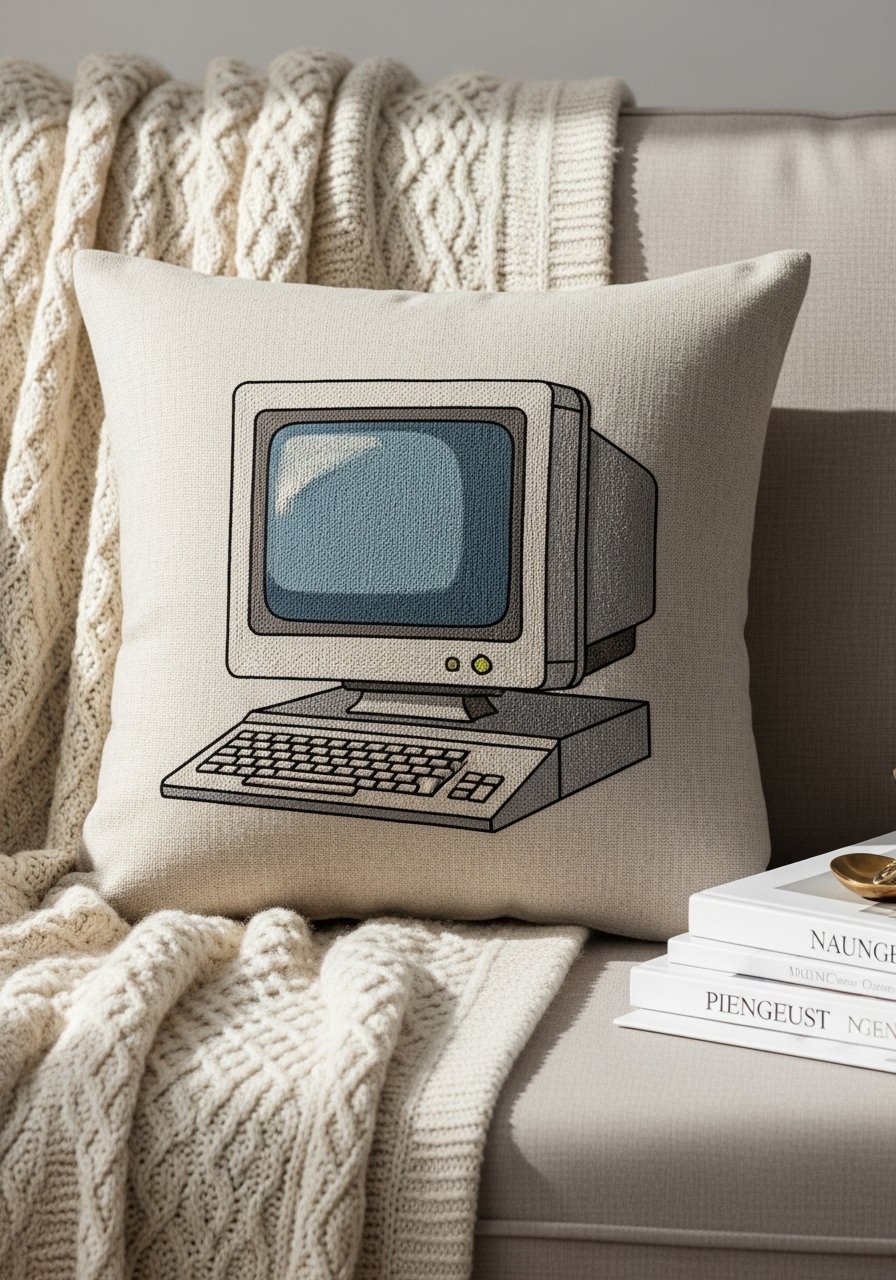
This plush pillow turns pixel art into a comfy accent. Use cross-stitch blocks on evenweave to create a structured pixel look.
Materials
- Pillow cover 12" x 12" linen
- Evenweave fabric insert 12"
- DMC floss palette (muted neutrals + vintage green) — 8m total
- Tapestry needle
- Sewing machine for finishing (optional)
- Polyfill insert or down alternative
Instructions
- Hoop the pillow front or stitch on an evenweave patch and attach later.
- Use counted cross-stitch blocks with 2 strands for body.
- Once stitched, assemble pillow cover and insert using a 1/4" seam allowance.
- Press seams and let the pillow fluff settle for 24 hours.
How to Display or Gift It
- Place on a reading chair or bench.
- Wrap in tissue and tuck a care card inside for gifting.
- Store in a breathable pillow bag when not in use.
18. Pixel Speech Bubble Hoop — Say It in 8-Bit
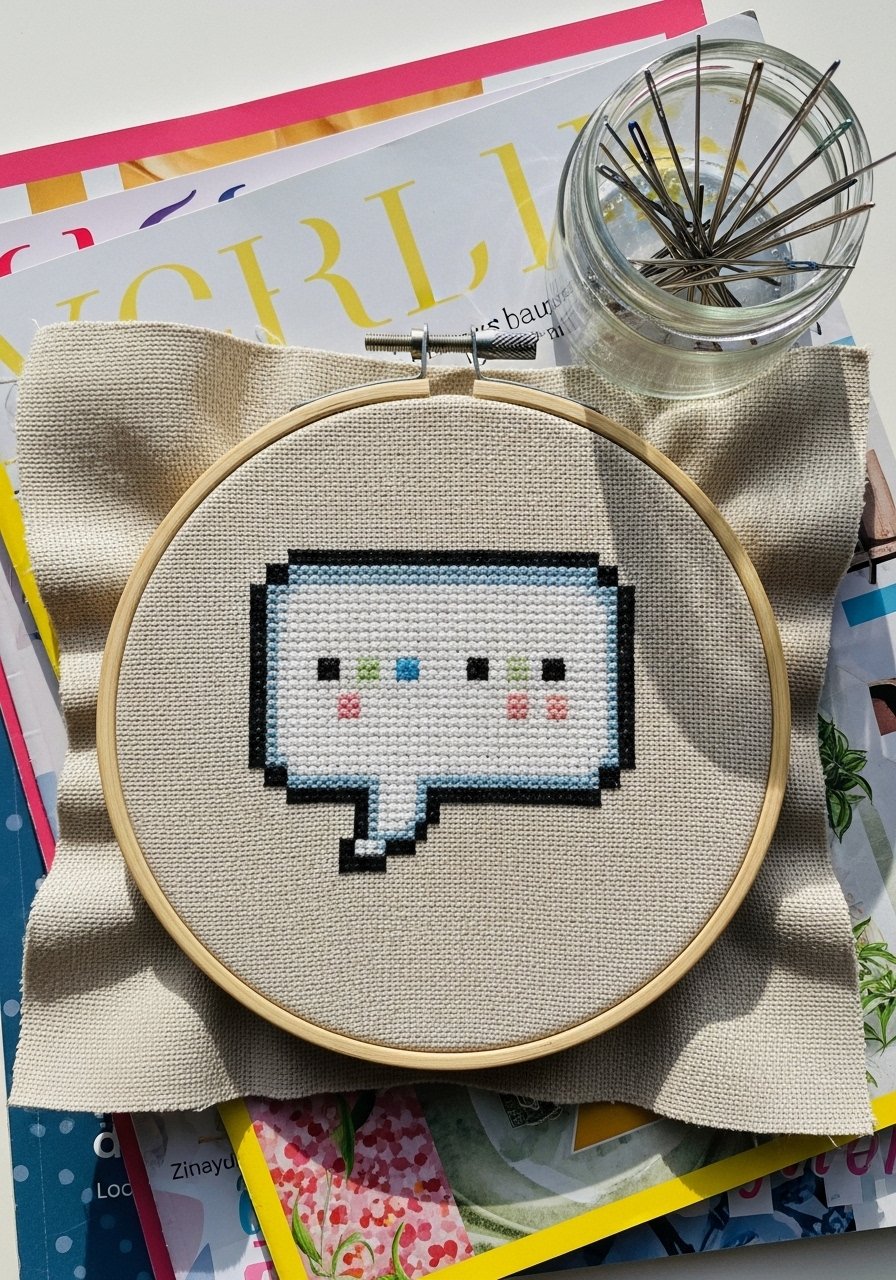
A cheerful motif for quick gifting. Customize with short words like "hi" or "xo" for maximum charm.
Materials
- 4" hoop
- Oatmeal linen 6" square
- DMC pastel floss set — 2m per color
- Embroidery needle size 8
- Small iron-on backing
Instructions
- Trace bubble and add text.
- Use satin stitch blocks for the bubble and backstitch for letters with two strands.
- Finish edges and glue to hoop back.
How to Display or Gift It
- Bundle with a matching postcard.
- Pin to a fabric noticeboard.
- Store flat in a hoop rack.
19. Retro Software Box Mini Quilt — Patchwork Pixel

Combine applique and embroidery to create a mini quilt that feels like a vintage software cover. Quilting stitches add texture.
Materials
- 12" x 12" cotton backing
- Assorted quilting cotton scraps (6" squares)
- Batting 12" x 12"
- DMC floss assorted — 6m
- Sewing machine and quilting needle
- Rotary cutter and ruler
- Binding fabric 1/4 yard
Instructions
- Design box art layout and cut patchwork squares.
- Sew pieces together, press seams.
- Add embroidered logo/details with backstitch and satin stitch (two strands).
- Quilt through three layers in simple straight lines.
- Bind edges and press.
How to Display or Gift It
- Hang on a wooden mini quilt hanger.
- Gift with a small artist statement tag.
- Store in a quilt sleeve for preservation.
20. 8-Bit Animal Series — Whimsical Wall Row

Cute and graphic, these animals are child-friendly and make a playful gallery row. Use consistent color story for cohesion.
Materials
- Three 5" hoops
- 5" squares of 14-count Aida
- DMC floss trio per animal — 3m each
- Embroidery needles
- Small hanging loops (twine)
- Fine-tip marker for minor edits
Instructions
- Count and center each animal on Aida. Stitch using cross-blocks with two strands.
- Keep palette consistent for visual unity.
- Finish hoop backs cleanly and add twine loops for hanging.
How to Display or Gift It
- Hang in a nursery or above a desk.
- Gift as a trio for baby showers.
- Store in a hoop wall rack in between seasons.
21. Retro Modem Waves — Soundwave Hoop

This abstract piece suggests dial-up waves in a calm, modern palette. Long running stitches create fluid motion across the hoop.
Materials
- 6" hoop
- 7" square cotton-linen blend
- DMC floss blues and greys — 5m total
- Embroidery needle size 7
- Pattern printed for wave flow
- Thread conditioner
Instructions
- Draw wave lines across fabric lightly.
- Use long running stitches and stem stitch alternately with two strands.
- Make sure stitches are consistent length (6–10 mm) for rhythm.
- Finish and press from the back.
How to Display or Gift It
- Lean on a shelf with books.
- Gift to a musician or vintage tech lover.
- Store flat in a shallow craft drawer.
22. Motherboard Jewelry Dish — Circuit Glaze
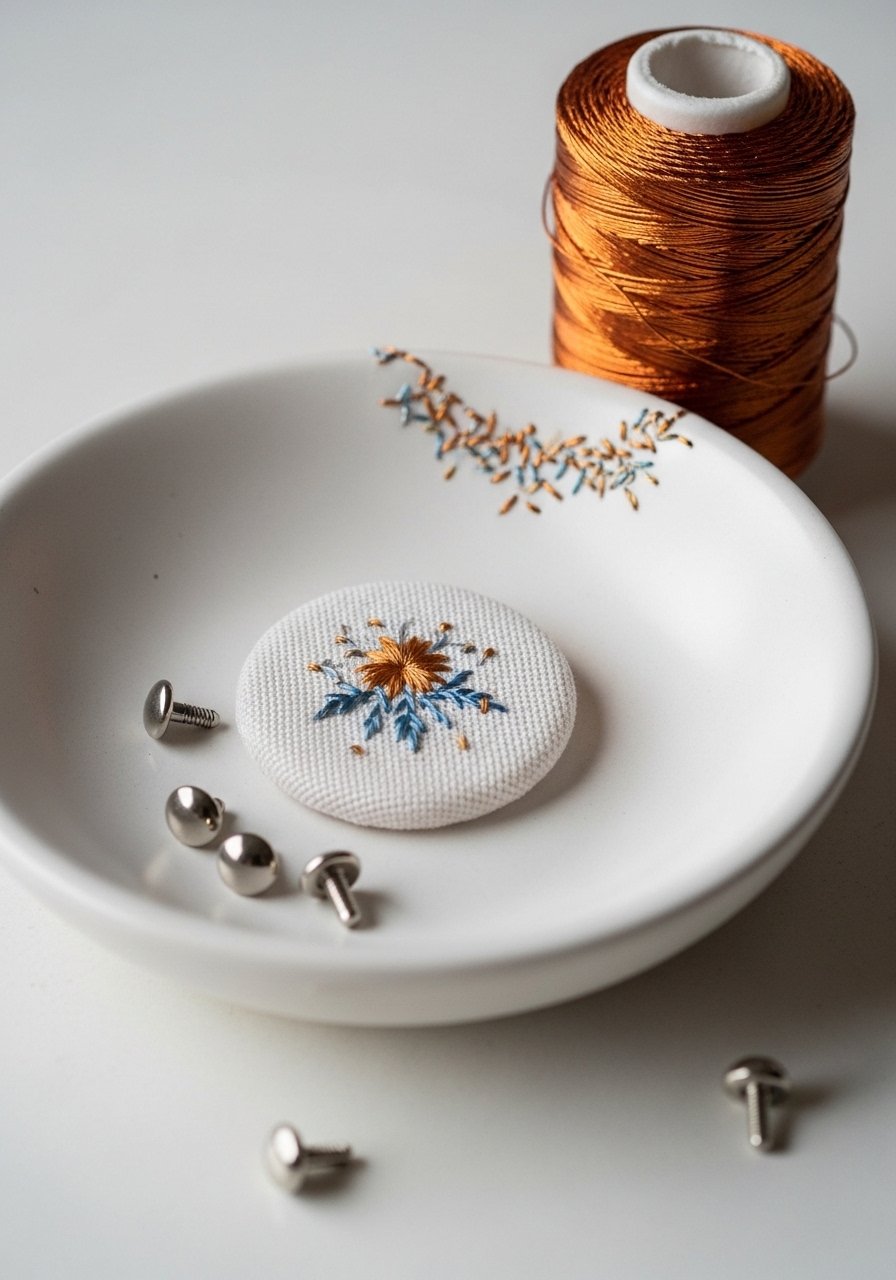
Combine embroidery with a ceramic jewelry dish for a functional keepsake. Use tiny couching stitches to simulate traces that complement the dish’s glaze.
Materials
- 3" linen circle base
- Small ceramic jewelry dish
- Metallic thread copper — 2m
- Glue suitable for fabric-to-ceramic contact
- Clear-drying craft sealer (optional)
- Embroidery needle #10
Instructions
- Stitch tiny metallic traces on the linen circle using couching with one strand for the couching thread and two strands for the couched thread.
- Let stitches rest 10 minutes then test fit in the dish.
- Glue fabric base into the dish center and allow adhesive to cure 24 hours.
- If sealing edges, apply a thin coat of clear craft sealer and let cure 48 hours before use.
How to Display or Gift It
- Fill with studs or tiny pins on a dresser.
- Wrap in tissue and place in a small gift box.
- Store in a jewelry organizer tray to protect the fabric base.
Take a breath—you’ve just toured pixel hearts, green-screen portraits, and schematic motherboard art, all stitched into home-ready pieces. These vintage computer embroidery designs span quick weekend pins through larger wall panels so you can pick projects that match your time and skill. If you plan to batch-make patches or postcards, consider a self-healing cutting mat and a precision craft knife to speed prep and keep edges tidy. Save this for later—and tell me, which retro motif are you stitching first? Trust me, picking up a quality hot glue gun with temperature control changed how every single one of these projects turned out — no more stringy mess, no more burns.





