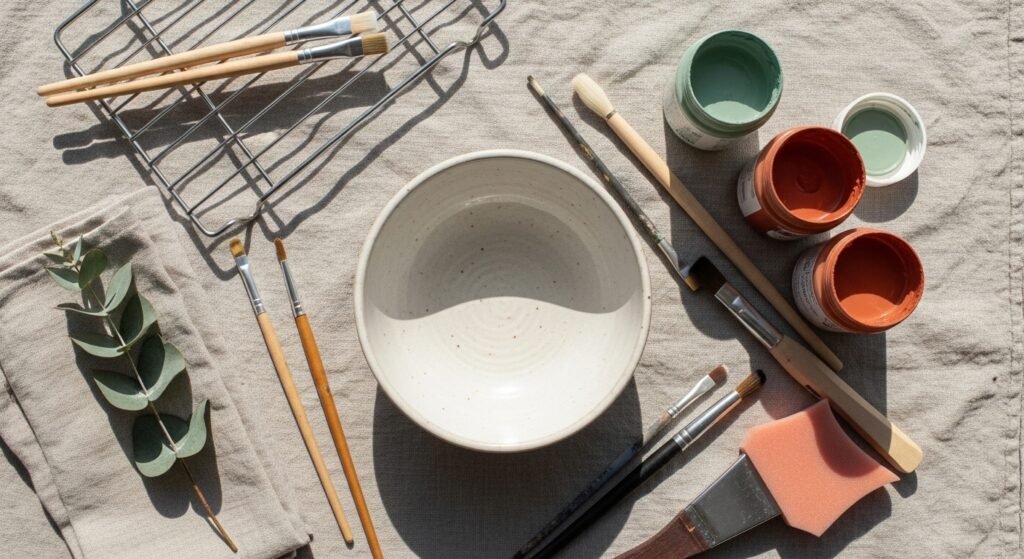
Painting a ceramic bowl can feel intimidating—uneven brushstrokes, drips, or a dull finish ruin the look. If you want to paint a ceramic bowl from scratch and get a perfectly smooth, professional, long-lasting finish, you can. This guide shows how to paint a ceramic bowl step-by-step so your piece looks like it came from a studio, not a rushed afternoon craft session. You’ll learn how to prep, paint, cure, and seal, and which tools make the job easier.
The secret is in the prep and the right paints. I recommend starting with a quality ceramic paint set and using a small detail brush set for sharp lines. These two swaps alone dramatically reduce streaks and give crisp edges.
Expect about 1–3 hours of active work plus curing/drying time. Follow manufacturer oven-bake instructions if you want a more durable finish, and always check whether the paint is labeled food-safe before serving from your bowl.
Prepare and prime the bowl before painting
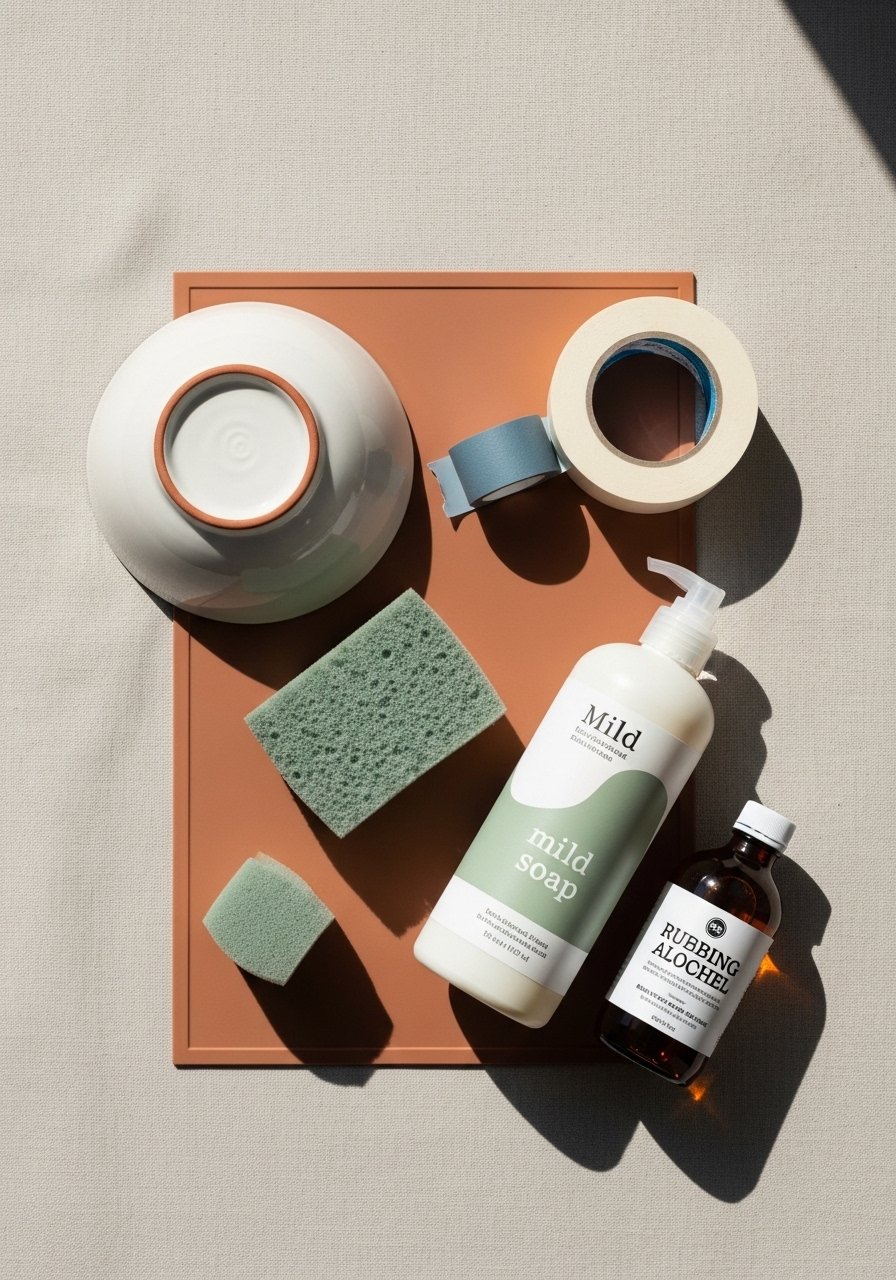
Clean, sand, and tape for a smooth start. Wash the bowl with warm soapy water and dry thoroughly. Lightly sand the surface with a fine sandpaper (220 grit) where you'll paint—this helps paint adhere.
- Wipe with rubbing alcohol to remove dust and oils.
- Mask areas you want unpainted using low-tack painter's tape.
- Protect your table with a silicone craft mat so paint wipes off easily.
Tip: Let the bowl sit 10–15 minutes after wiping so any residual solvent evaporates before you start painting.
Paint like a pro: base coats and details

Start with thin, even base coats to avoid drips and brush marks. Use a foam brush for the first coat, then switch to a fine detail brush set or paint pens for patterns.
- Apply one thin base coat with a foam brush and let dry 30–60 minutes.
- Lightly sand between coats if you feel texture; wipe off dust.
- Apply a second coat for full opacity. Wait another 30–60 minutes.
Pro tips:
- Work in thin layers—opaque coverage in two thin coats looks smoother than one thick coat.
- Use a small round detail brush for tight curves and inside edges.
- If you want crisp geometric edges, use the painter’s tape and press down firmly to stop bleeding.
Cure and seal for long-lasting durability

Many ceramic paints require an oven cure to harden. Read the paint label—typical oven-bake times run around 35–60 minutes at about 300°F (150°C) but follow the manufacturer. If your paint can't be oven-cured, use a water-resistant sealer.
- For display-only bowls, cure per paint instructions or use an epoxy/resin sealer for a glass-like finish with a resin kit.
- For a dishwasher-safe or food-contact surface, only use paints or glazes labeled food-safe and follow their cure directions.
- Use a small heat gun to pop tiny bubbles in resin or speed surface drying—keep it moving to avoid overheating.
Allow the bowl to cool fully on a wire drying rack to prevent pooling on the bottom.
Care, display, and gift-ready finishing

Once sealed and cured, decide how you'll use the bowl. For serving, hand-wash only unless the paint specifically says dishwasher-safe.
- Store painted bowls in stackable craft organizer trays while they cure fully to avoid dust.
- Wrap as a gift in kraft tissue and use a small wooden easel to photograph your finished piece for Pinterest.
- Batch-paint several bowls at once to save time—prep and base coat one day, detail and cure the next.
Common mistakes to avoid:
- Don’t skip sanding—you'll get more flaking later.
- Avoid thick paint layers; they sag and take longer to cure.
- Never assume an acrylic craft paint is food-safe unless clearly labeled.
You can paint a ceramic bowl in an afternoon and finish it over the next day for a durable, smooth result. Want more variations—matte vs. gloss, negative-space patterns, or speckle finishes? Try different sealer types or switch to paint pens for hand-lettered details.
Finished and proud? Pin this guide for your next craft afternoon and share it with a friend who loves handmade gifts. Which color combo will you try first?





