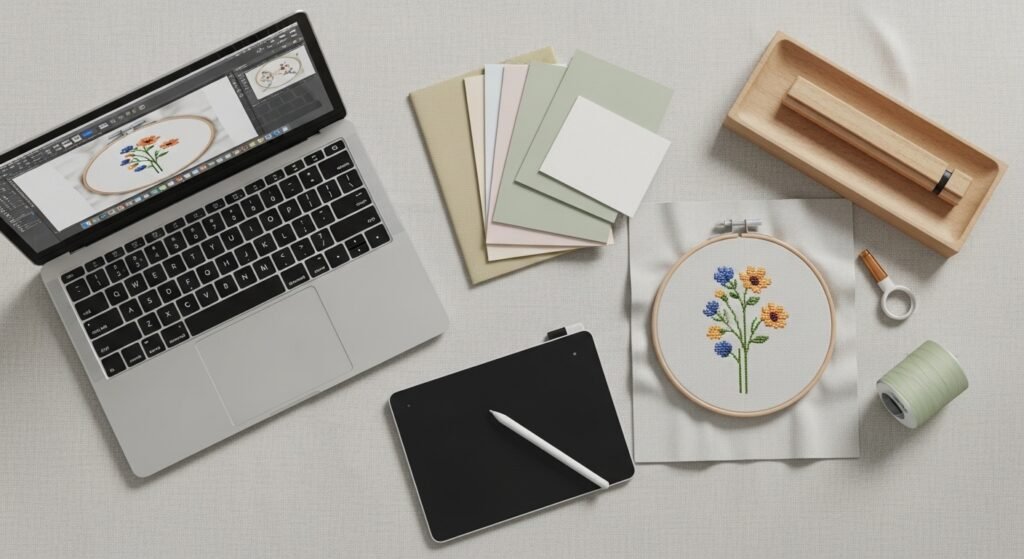
You love the look of machine embroidery, but your stitched edges are fuzzy, or designs don’t line up when you sew. When you learn how to digitize embroidery designs on a computer, you control stitch types, underlay, and pull compensation so your finished work looks crisp and professional. Digitize embroidery designs on a computer and you’ll go from blurry satin to clean, confident stitches.
The secret is good software and a steady way to trace and test. I use a dedicated embroidery digitizing software and a graphics tablet to get smooth curves and accurate node placement. Those two tools cut my design time in half and make test stitches predictable.
Read on to learn a beginner-friendly, one-afternoon workflow to set up files, stitch smart, and run test stitch-outs so your designs come out crisp every time.
Set up a clean workspace and files
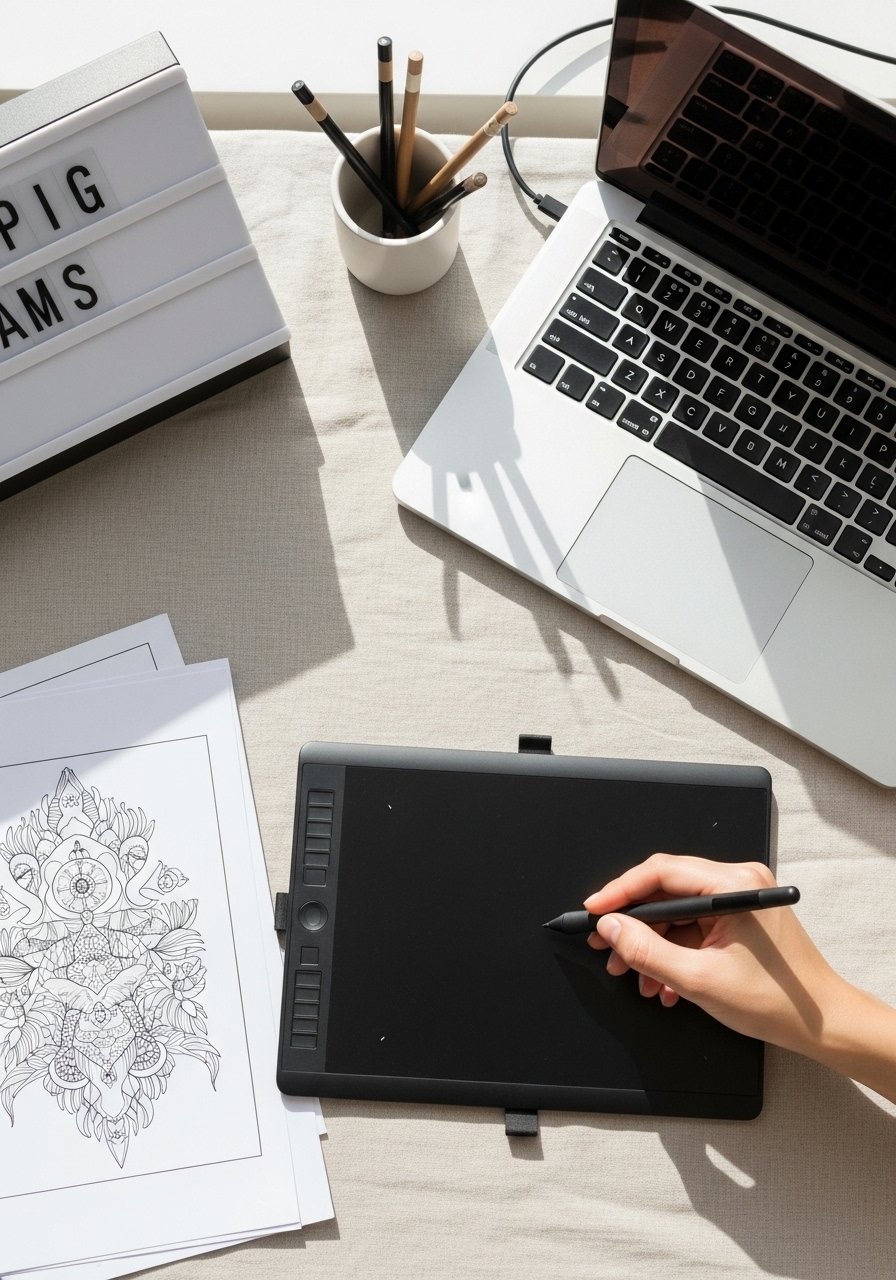
Start with clean artwork and consistent file naming. Scan or photograph artwork at 300–600 DPI for crisp vector tracing. Save a backup copy before you touch the file.
Tips:
- Use a LED light box to trace on-screen sketches for smoother paths.
- Store your working files on a USB flash drive for easy transfer to your embroidery machine.
- Keep an extra hoop and sample fabric ready so you can test stitch adjustments quickly with an embroidery hoops set.
Quick prep: create one layer for outlines, one for fills, and one for trims. This saves time when you assign stitch types.
Trace artwork and assign stitch types
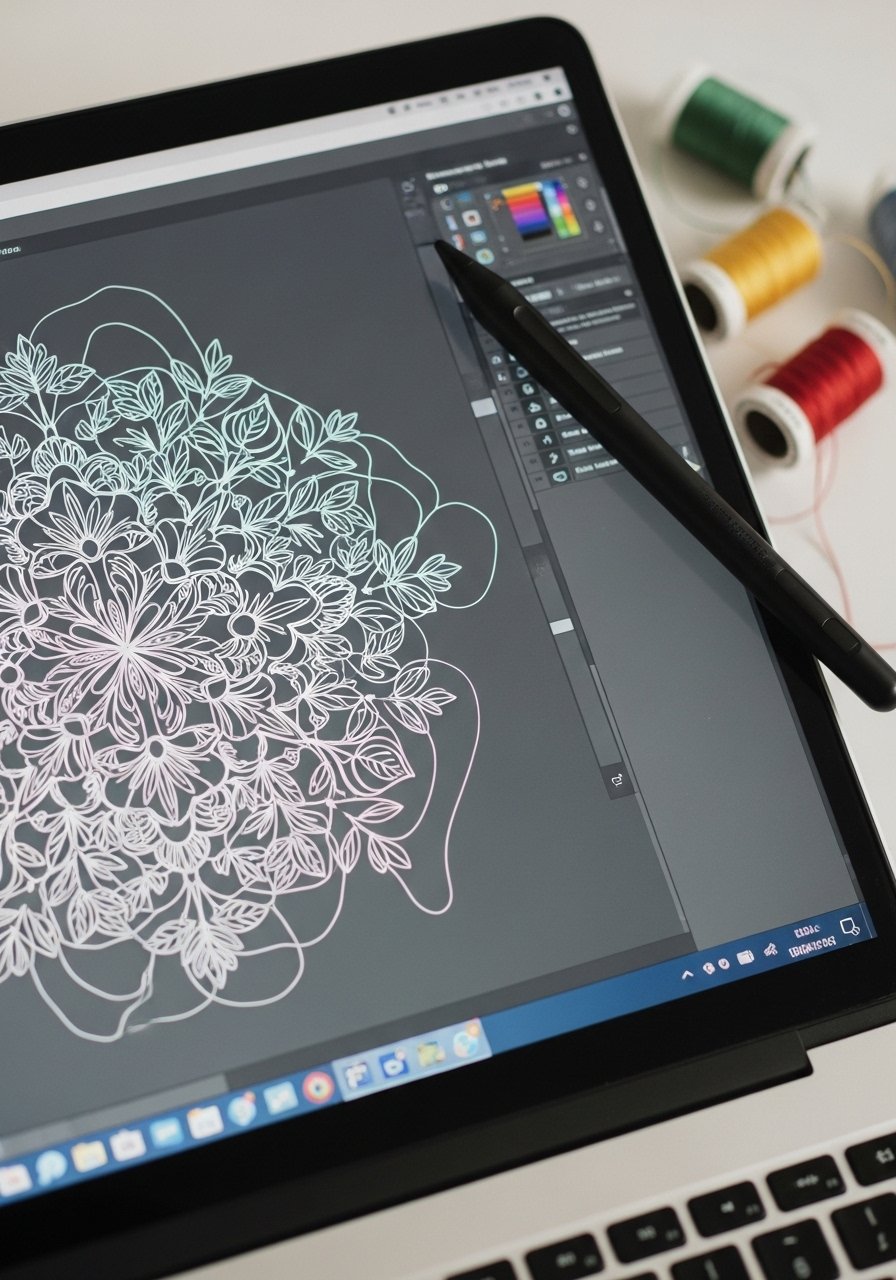
This is the core step when you digitize embroidery designs on a computer. Use Bézier or node tools in your software to smooth lines first, then choose stitch types.
Step-by-step:
- Trace the outer contour with a single closed path.
- Add internal paths for fills and details.
- Assign stitch types: satin for narrow borders, tatami (fill) for larger areas, and run stitch for fine details.
Helpful checks:
- Keep satin columns under 8–12 mm wide for consistent density.
- Use a soft underlay under fills to stabilize fabric and reduce puckering.
- A graphics tablet makes node placement fast and natural.
Common problem: satin warping on stretchy fabric — add a denser underlay and lower stitch density.
Digitize, add underlay, and set compensation
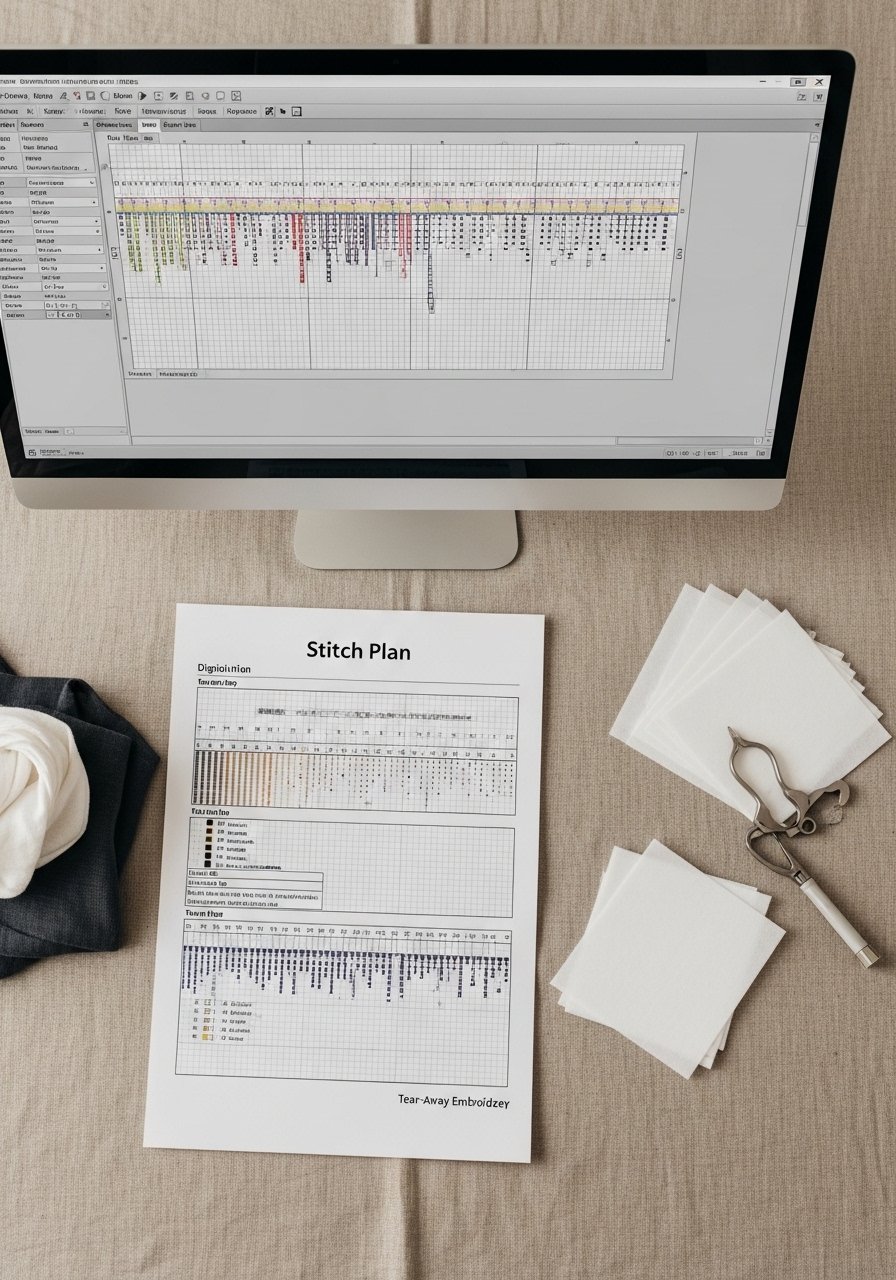
Stitch order and underlay decide how crisp the final piece looks. When you digitize embroidery designs on a computer, plan trims and tack-downs to avoid long jump stitches.
Practical steps:
- Add a floating or edge-run underlay for satin borders.
- Set pull compensation slightly higher for dense fills on heavier fabrics.
- Sequence: inner fills first, then outlines, then trims.
Products that help:
- Use tear-away stabilizer for woven fabrics and a water-soluble stabilizer for delicate motifs.
- Keep a pair of embroidery thread snips close by for clean trims during test runs.
Benchmark: a small 3" motif should digitize and test in about 30–60 minutes once you’re comfortable.
Test stitch-outs and finalize files
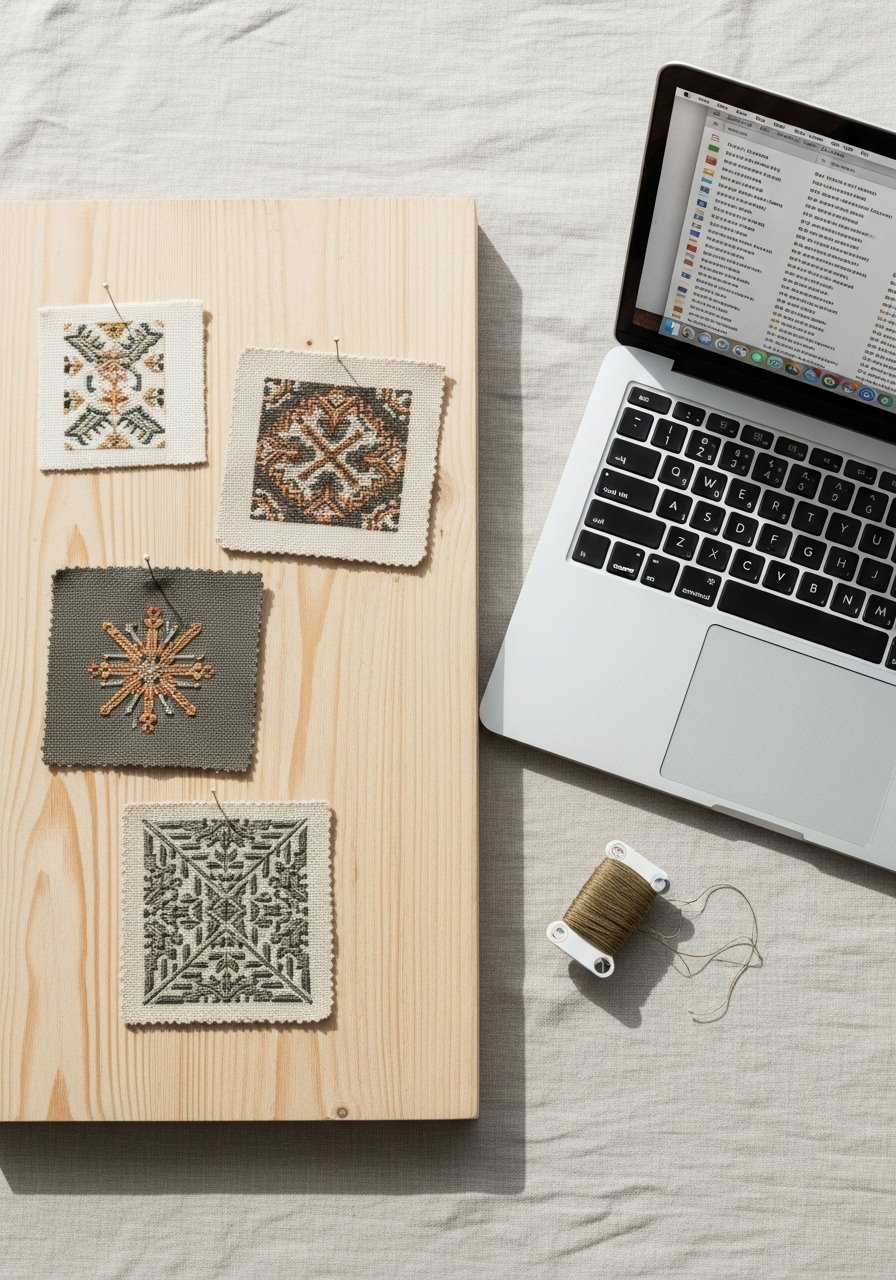
Testing is non-negotiable. Export a DST or your machine’s preferred format and stitch a test on the same fabric and stabilizer you’ll use.
Do this:
- Stitch at real-size, not scaled. Scaling changes density and look.
- Adjust density by 5–15% after each test until edges are smooth.
- Keep detailed notes tied to the filename for which stabilizer, needle, and thread were used.
Extras that speed finalizing:
- A small embroidery needles pack for different fabrics.
- A set of stabilizer scissors for clean removal without shredding.
Pin-worthy tip: save a “test stitch library” of images and brief notes so you can reuse proven settings.
Once you’ve dialed in density, underlay, and sequence, export final files and label them clearly. Your stitched pieces will show sharp edges, clean fills, and balanced pull — exactly what you wanted when you decided to digitize embroidery designs on a computer.
You’ve got the workflow to turn sketches into crisp machine embroidery. Save this guide and pin it for your next craft afternoon. If you can, grab a good embroidery digitizing software and a graphics tablet — they’re the tools that make the process fast and repeatable. Which design will you digitize first?





