You love the look of a one-of-a-kind vase, but the high-end ones break the bank or don’t match your color story. When you decorate a vase with paint, you get a vibrant, unique, and completely personalized finish in a single afternoon—no special skills required. You’ll fix uneven gloss, add color blocking, or create delicate patterns that look custom-made.
The secret tools are simple: a good acrylic craft paint set for consistent coverage and a roll of low-tack painters tape for crisp edges. They cut your mistakes and speed up the whole process.
Keep 1–2 hours of active work and expect full curing in 24–72 hours. Below you’ll learn prep, three painting techniques, finishing tips, and display ideas that make your painted vase pin-worthy.
Gather and prep your vase (easy, beginner-friendly)

Start by cleaning the surface so paint adheres. Wipe glass or ceramic with rubbing alcohol and a lint-free cloth—this removes oils and dust. Lightly scuff glossy surfaces with fine-grit sandpaper (220–400) for better grip; sand in one direction and wipe off dust.
Tips:
- Use isopropyl alcohol and paper towels for a streak-free clean.
- Protect your table with a silicone craft mat.
- Mask areas with low-tack painters tape for clean lines.
Plan for 10–20 minutes for cleaning and prep; sanding adds another 5–10 minutes.
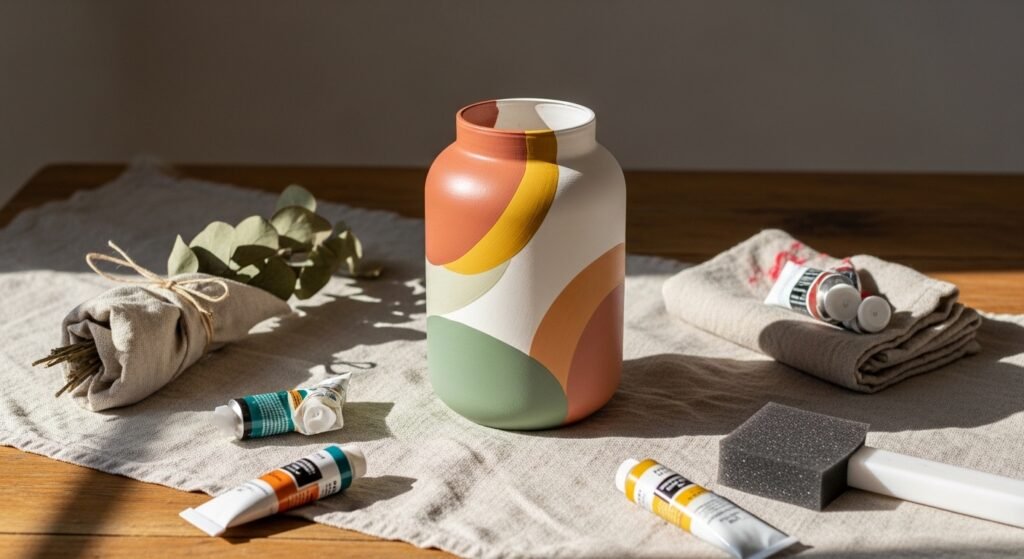
Paint base coats and color blocking (one-afternoon technique)

Blocky color or a soft matte base is the foundation. For glass or glossy ceramic, use a glass paint set or a reliable acrylic craft paint set that lists multi-surface use.
How to:
- Apply thin, even coats with a foam brush set. Thin coats dry faster and avoid drips.
- Let coats dry 15–30 minutes between layers; add a second coat after 30–60 minutes for full opacity.
- If working on glass, follow the paint’s bake-to-cure instructions when provided to improve durability.
Pro tips:
- Use a detail paint brush set for crisp cut-ins near tape.
- Transfer painted pieces to a wire rack to avoid pooling and sticking.
Add patterns, details, and personalization (beginner-friendly, upcycled)
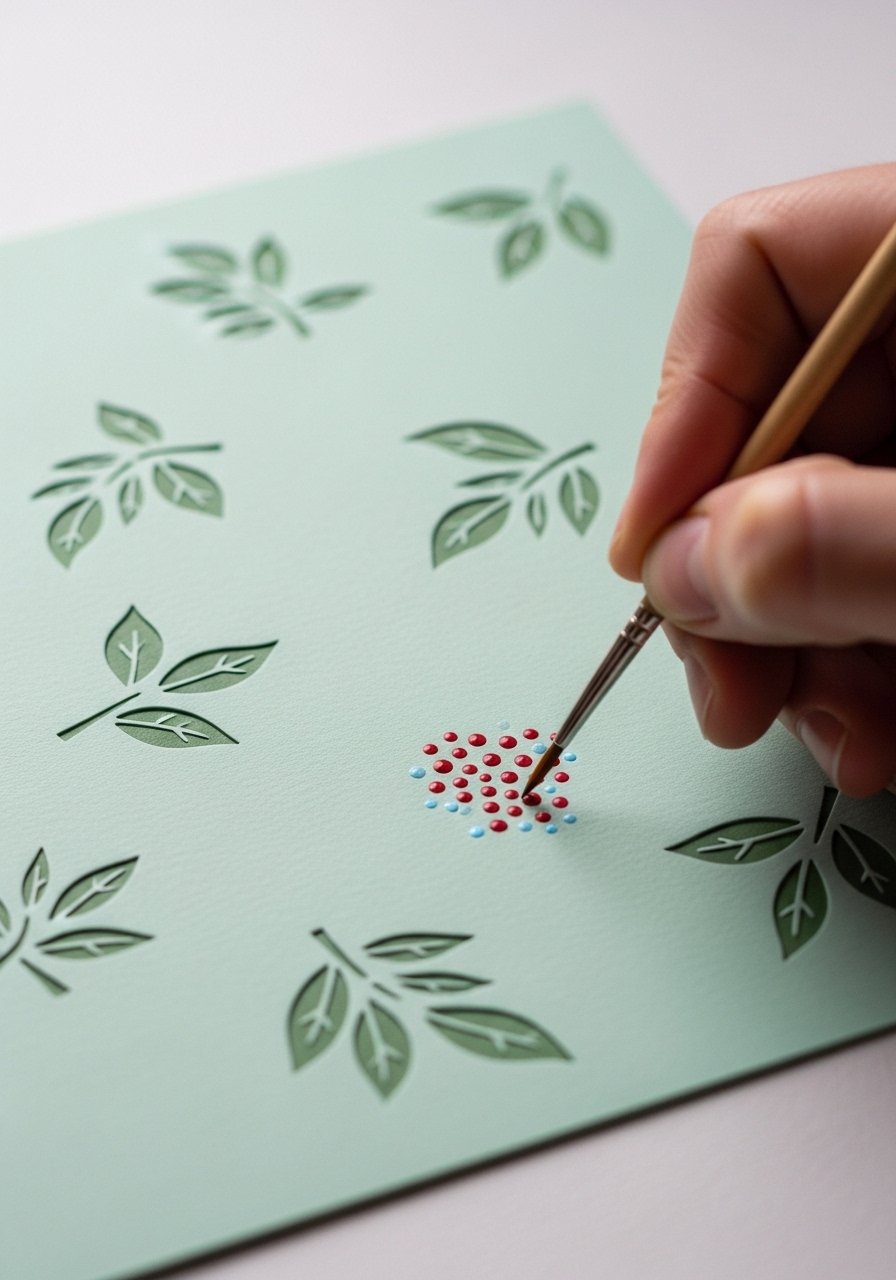
Once the base is dry, personalize with stencils, freehand stripes, or hand-drawn florals. Stencils make it beginner-friendly; paint pens are perfect for fine details.
Options:
- Use a vinyl stencil set and a small foam pouncer for even coverage.
- Draw or letter with acrylic paint pens for signatures or tiny motifs.
- For micro details, reach for a detail paint brush set.
Tricks:
- Dab paint off on a scrap before stenciling to prevent bleeding.
- For layered looks, wait 30–60 minutes between layers or cure per product directions.
Seal, dry times, and display (budget-friendly finishing tips)
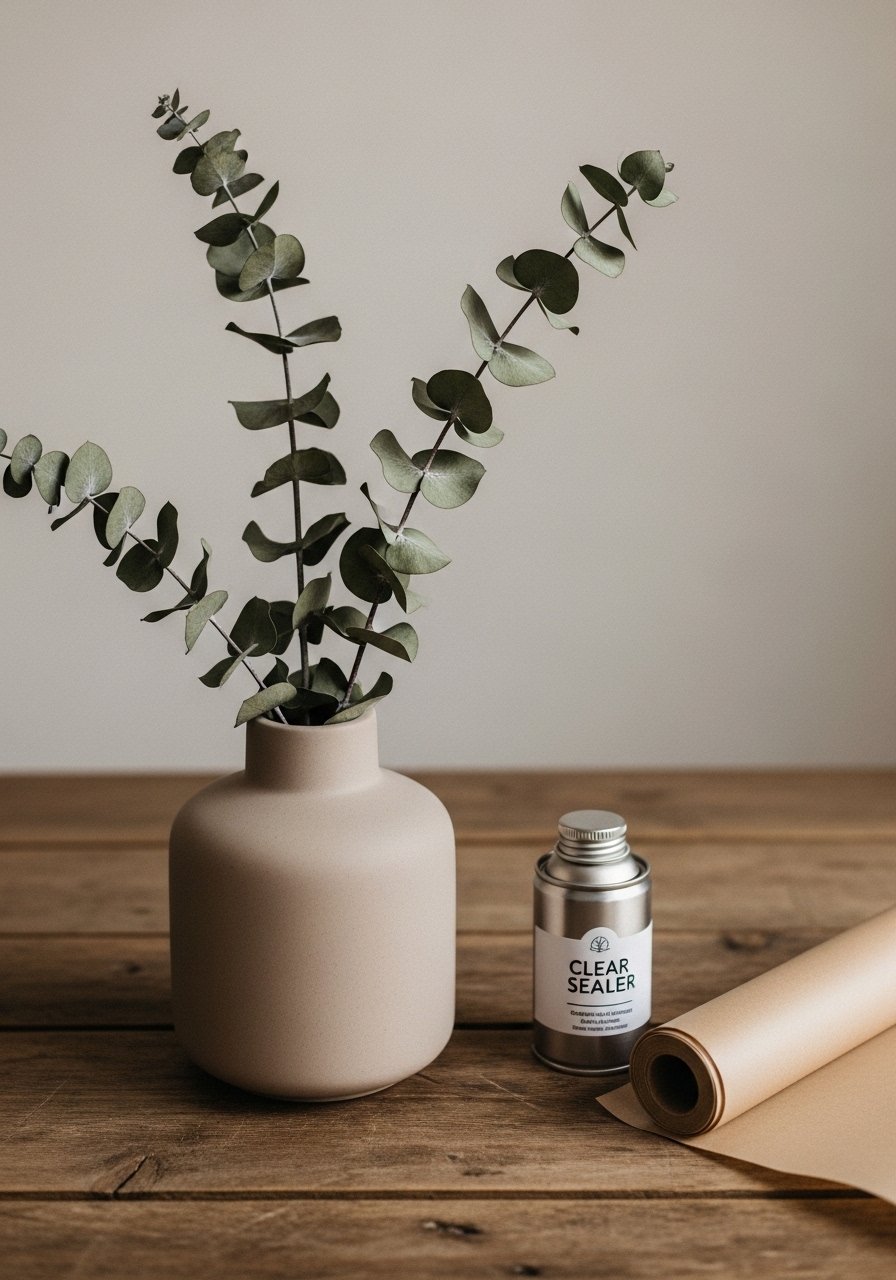
Sealing protects paint from water marks and touch. Light-use decorative vases do well with Mod Podge Outdoor or a clear acrylic sealer spray.
Guidelines:
- Apply thin sealer coats; spray touch-dry in 10–20 minutes, full cure 24–48 hours.
- For faster drying between layers, a craft heat gun on low helps—keep it moving to avoid overheating paint.
- If the vase will hold water, place a sealed glass insert or use a watertight liner instead of painting the inside.
Display and gifting:
- Set vases on felt pads or a small wooden easel for photos.
- Wrap for gifting in kraft paper and tuck in tissue to protect the finish.
You’ve just learned how to decorate a vase with paint, from prep through sealing, in a way that’s approachable and pin-worthy. Save or pin this guide, grab your favorite acrylic craft paint set, and try a color-blocked vase this weekend. Which color combo will you try first?


