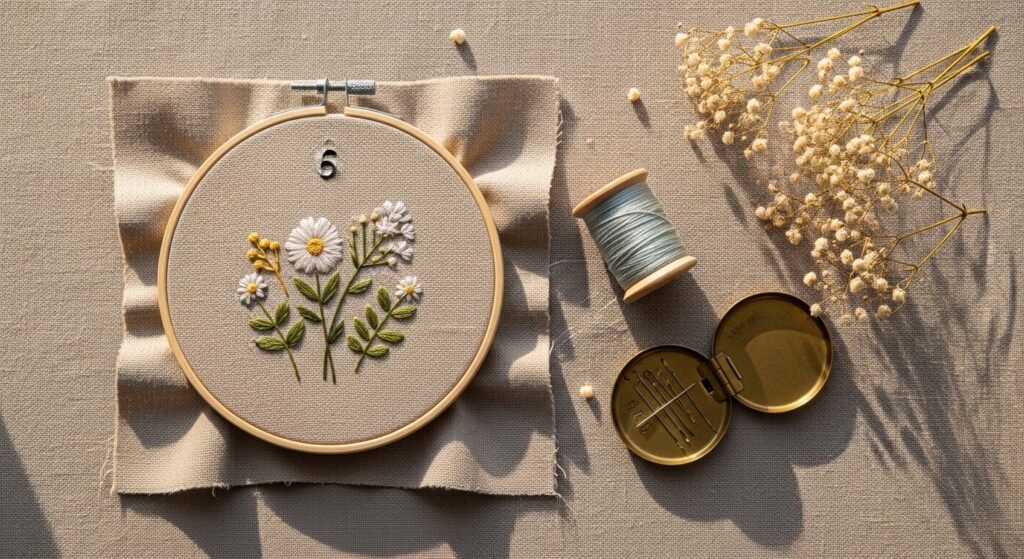
If you’ve ever been curious about adding stitched charm to everyday items, computer embroidery is a friendly, modern way to get precise, repeatable results without deep hand-embroidery experience. These 23 computer embroidery designs for beginners are all simple, clean, and intentionally achievable on a home machine. You’ll find small projects that finish in under an hour and gift-ready pieces that take an afternoon.
You’ll see designs that lean cottagecore florals, pared-back Japandi motifs, and playful boho icons—styles people are actually stitching right now. Each project gives a short materials list, step-by-step instructions with real measurements, and a practical tip for common pitfalls like hoop shifting or stitch density. I start many of these by stabilizing my fabric with a quality tear-away stabilizer—grab a tear-away stabilizer roll so you’re ready to hoop cleanly. Keep a 6-inch wooden embroidery hoop set nearby; it makes lining up designs fast.
Ready to stitch? These projects use everyday supplies and simple machine settings so you can finish something beautiful by tonight.
- Simple Floral Hoop — beginner-friendly motif
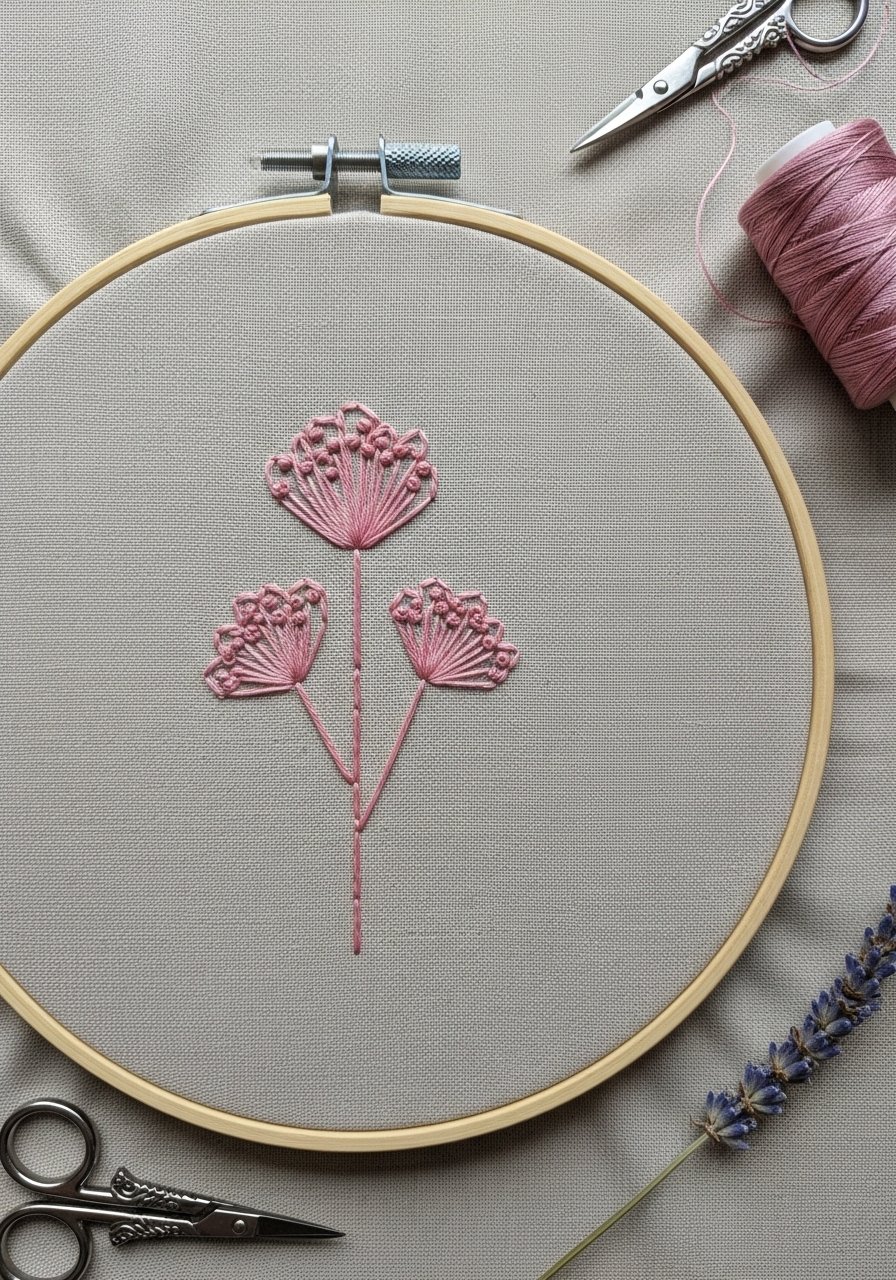
This small hoop piece uses a single-color line-and-fill design that reads modern and fresh. It’s the perfect desk or shelf accent and works well as a starter file for learning stabilizer and tension. Beginners love the forgiving design—tiny satin stitches hide small positioning slips, and the linen has a soft, natural texture.
Materials
- 1 6" wooden embroidery hoop
- 1 piece of light linen, 8" x 8"
- 1 sheet tear-away stabilizer, 6" x 6"
- 1 spool polyester embroidery thread (#40 weight), 100 m
- 1 machine embroidery needle, 75/11
- 1 small pair of embroidery snips
- 1 temporary spray adhesive, light mist
Instructions
- Print or transfer a simple single-stem floral PES/DST design resized to 4.5" width.
- Cut linen to 8" square and attach a 6" x 6" tear-away stabilizer to the back with light temporary spray.
- Hoop fabric and stabilizer together, centering the design area. Tighten until the fabric is drum-tight.
- Load design into your machine, set stabilization type to “light” and lower stitch density by 5–10% if your software allows.
- Thread the machine with polyester thread. Use a fresh 75/11 needle.
- Start the machine. Pause after the first color to check for puckering—re-hoop if needed.
- When stitching finishes, remove hoop and gently tear away stabilizer from the back.
- Trim jump threads, press face-down on a towel with a warm iron (no steam) for 10 seconds.
How to Display or Gift It
- Finish edges by trimming the excess fabric to 1/2" and glue to the hoop back with craft glue for a clean look.
- Display on a tiny wooden easel on a shelf or group three different-sized hoops for a cottagecore vignette.
- Wrap in kraft tissue and tuck a dried lavender sprig for a sweet handmade gift.
- Monogram Tea Towel — crisp farmhouse style
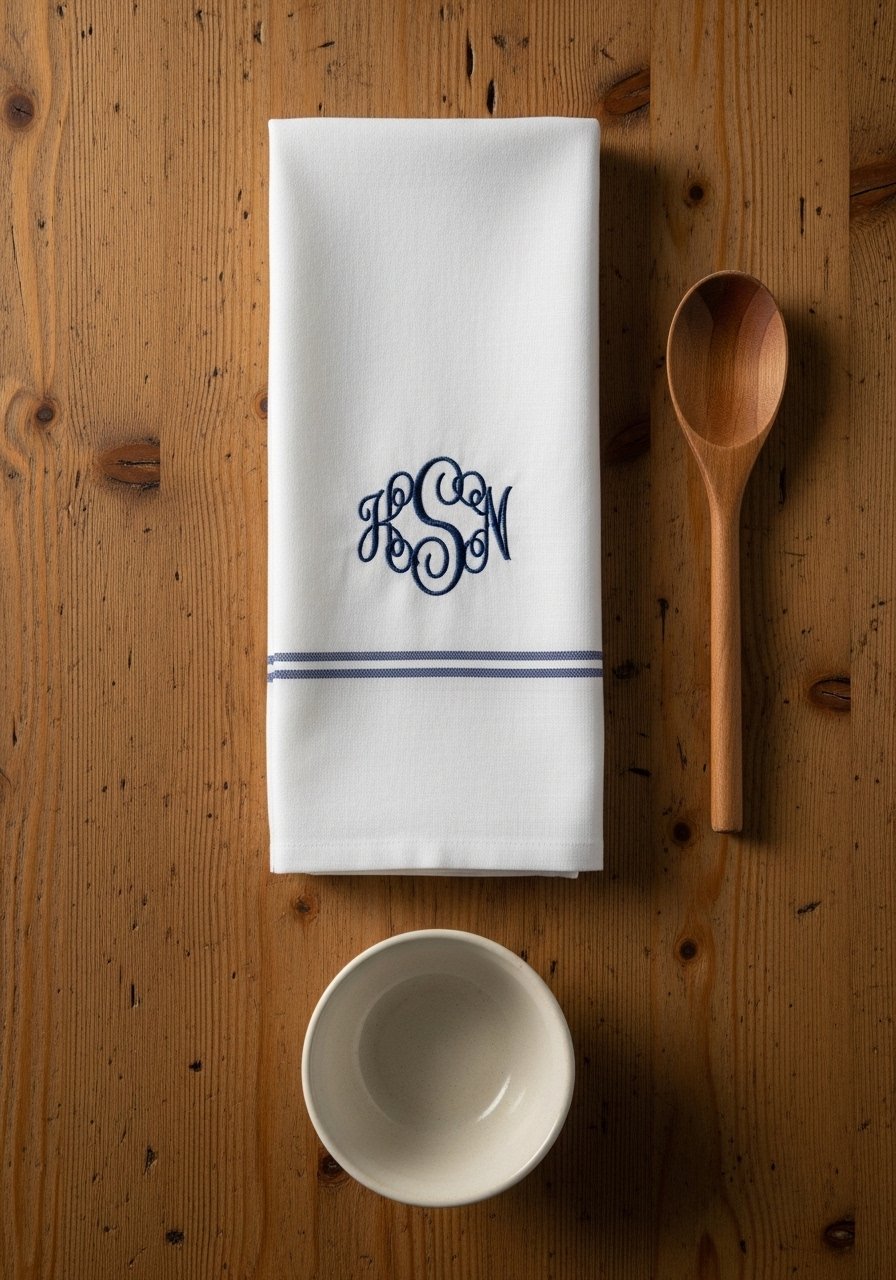
A single-letter monogram looks elegant on linen tea towels. The design is a simple satin-stitch monogram with a small outline—great for practicing underlay settings and stitch length. Housewarmings and bridesmaids love these.
Materials
- 1 linen tea towel, 18" x 28"
- 1 cut-away stabilizer sheet, 8" x 8"
- 1 polyester embroidery thread set (navy), 100 m
- 1 embroidery hoop big enough for design, 7"
- 1 water-soluble topping sheet, approx 6" x 6"
- 1 marking pen (disappearing ink)
Instructions
- Choose a script monogram file at 2.5–3.5" height.
- Mark towel center with pen and place cut-away stabilizer behind towel section.
- Hoop towel with stabilizer; apply water-soluble topping over the stitching area.
- Use a fresh 90/14 needle for linen and set thread tension to standard.
- Stitch monogram, then remove topping by rinsing or by tearing away gently.
- Trim excess stabilizer close to the design; leave 1/8" to avoid show-through.
- Press towel flat with iron on medium heat for 15 seconds.
How to Display or Gift It
- Fold and tie with twine and a small wooden spoon for a kitchen gift.
- Pair with matching napkins for a farmhouse table setting.
- Store finished towels flat in a fabric organizer to avoid creasing.
- Baby Onesie Name Patch — soft personalized keepsake
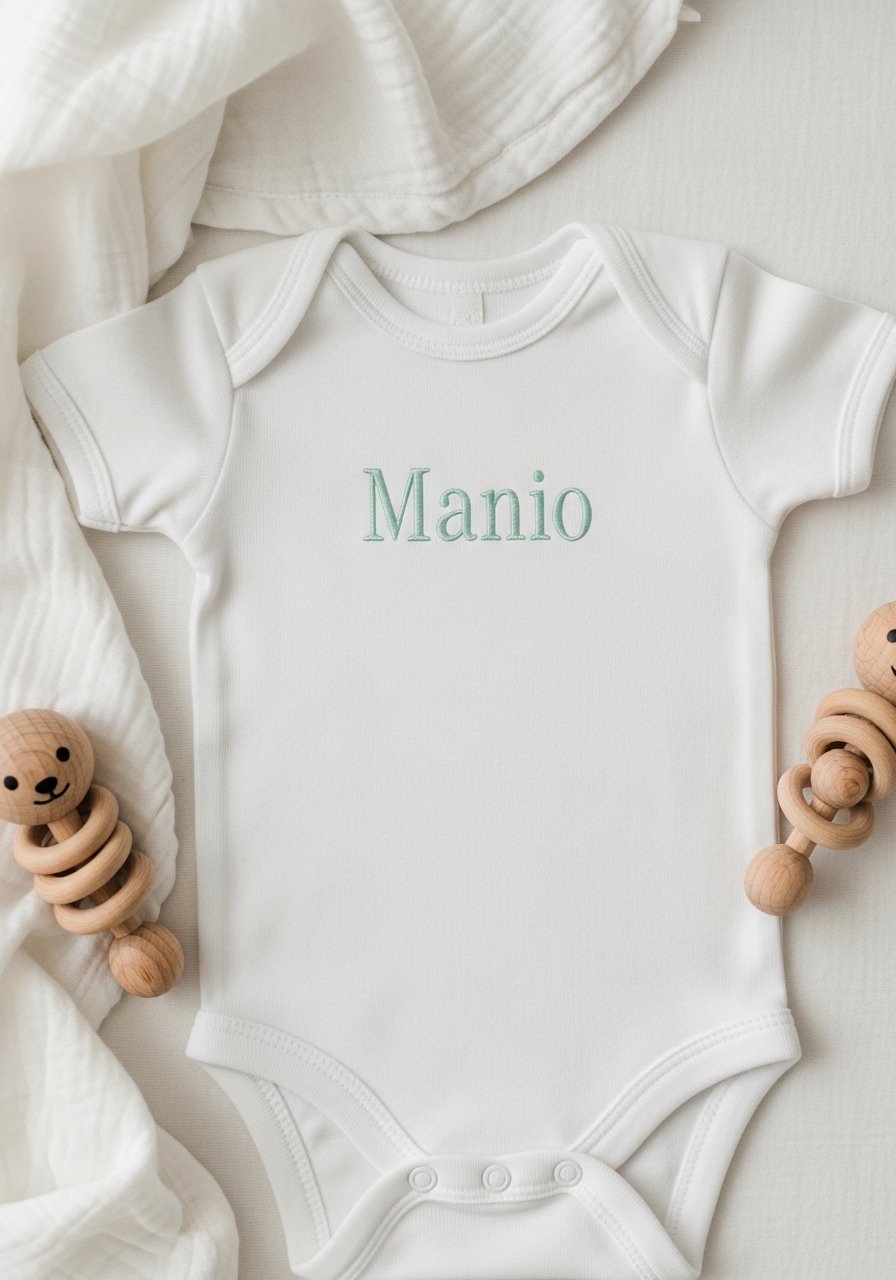
A name patch on a onesie uses low-density lettering and a soft topper so stitches feel gentle against baby skin. This small project teaches you to digitize simple lettering or use a built-in font and how to use water-soluble topping for soft finishes.
Materials
- 1 plain cotton onesie (size 0–3 months)
- 1 cut-away stabilizer small piece, 6" x 6"
- 1 water-soluble topping, 6" x 6"
- 1 rayon embroidery thread (soft pastels), 50 m
- 1 embroidery needle, 75/11
- 1 hoop (4"–5")
Instructions
- Select a rounded font at 1.25" height for each name letter.
- Hoop the onesie with stabilizer, centering the chest area.
- Place water-soluble topping over stitching path.
- Stitch at normal speed; pause to trim long jump threads.
- After stitching, remove topping by rinsing with warm water and let air-dry 30 minutes.
- Remove remaining stabilizer trimming close to stitches.
How to Display or Gift It
- Package with tissue paper in a small gift box and include a care note.
- Wash inside out on a gentle cycle before gifting to test durability.
- Store future onesies flat in a baby drawer organizer.
- Minimalist Denim Jacket Patch — modern boho accent
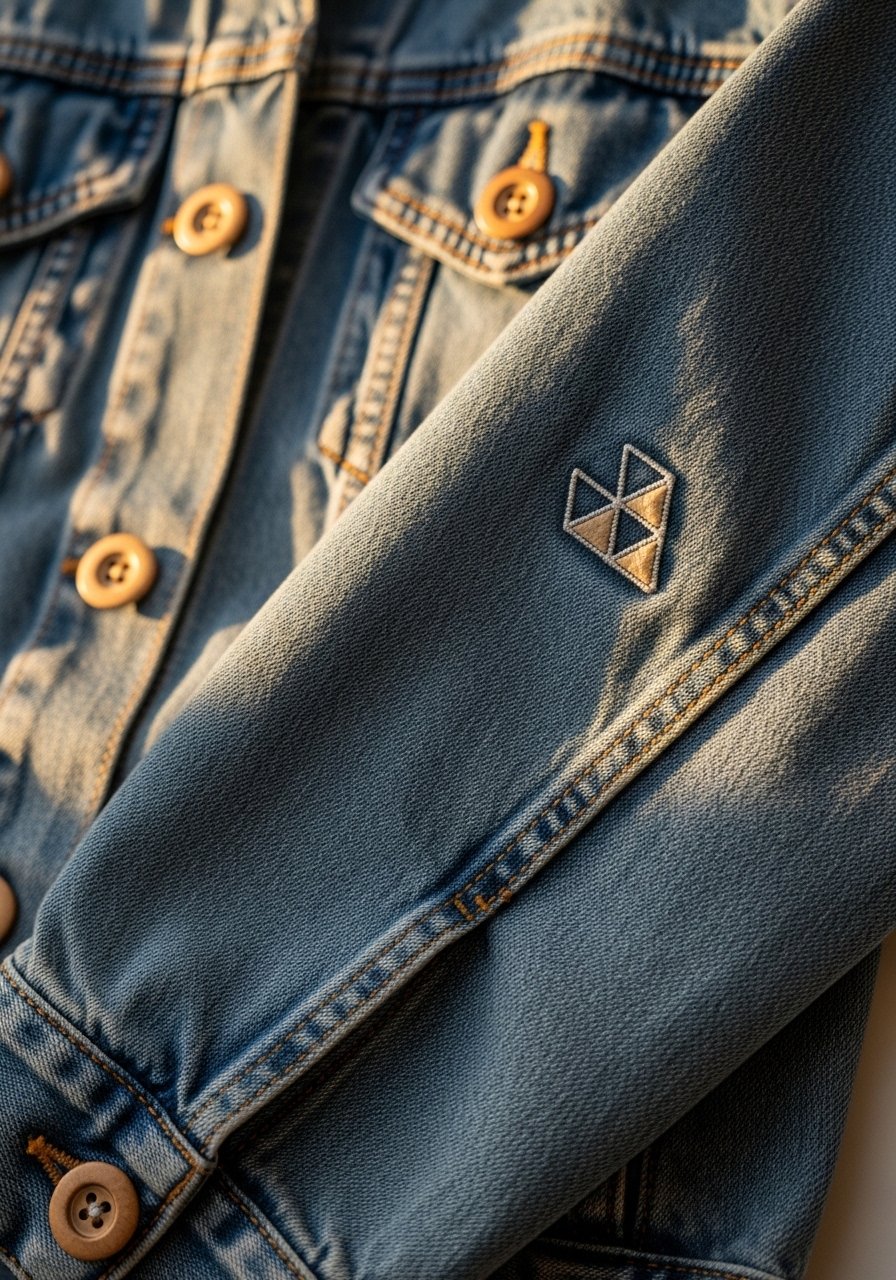
Embroider a patch, then attach it to denim for a customizable jacket accent. This project teaches stabilizer layering (cut-away + tear-away) and using a dense stitch to secure on heavy fabric.
Materials
- 1 denim jacket patch blank (3" x 3")
- 1 cut-away stabilizer, 4" x 4"
- 1 polyester thread set (earth tones), 100 m
- 1 heavy-duty machine needle, 90/14
- 1 heat-activated hem tape, 1/4" x 12"
- 1 embroidery hoop or magnetic hoop suitable for denim
Instructions
- Load a simple geometric cluster resized to 2.5".
- Hooped patch fabric with cut-away stabilizer and secure extra with a spray adhesive if needed.
- Use a 90/14 needle and slower stitch speed for heavy fabric.
- Stitch the design. Trim stabilizer close after removal.
- Attach patch to jacket with heat-activated hem tape: press 320°F for 12–15 seconds.
- Topstitch around patch with a short running stitch for extra security if desired.
How to Display or Gift It
- Attach to a jacket cuff or chest pocket for a handcrafted look.
- Give as a set of three patches in a kraft envelope.
- Store patches flat in a craft organizer until appliqué.
- Cottagecore Floral Napkins — set of four
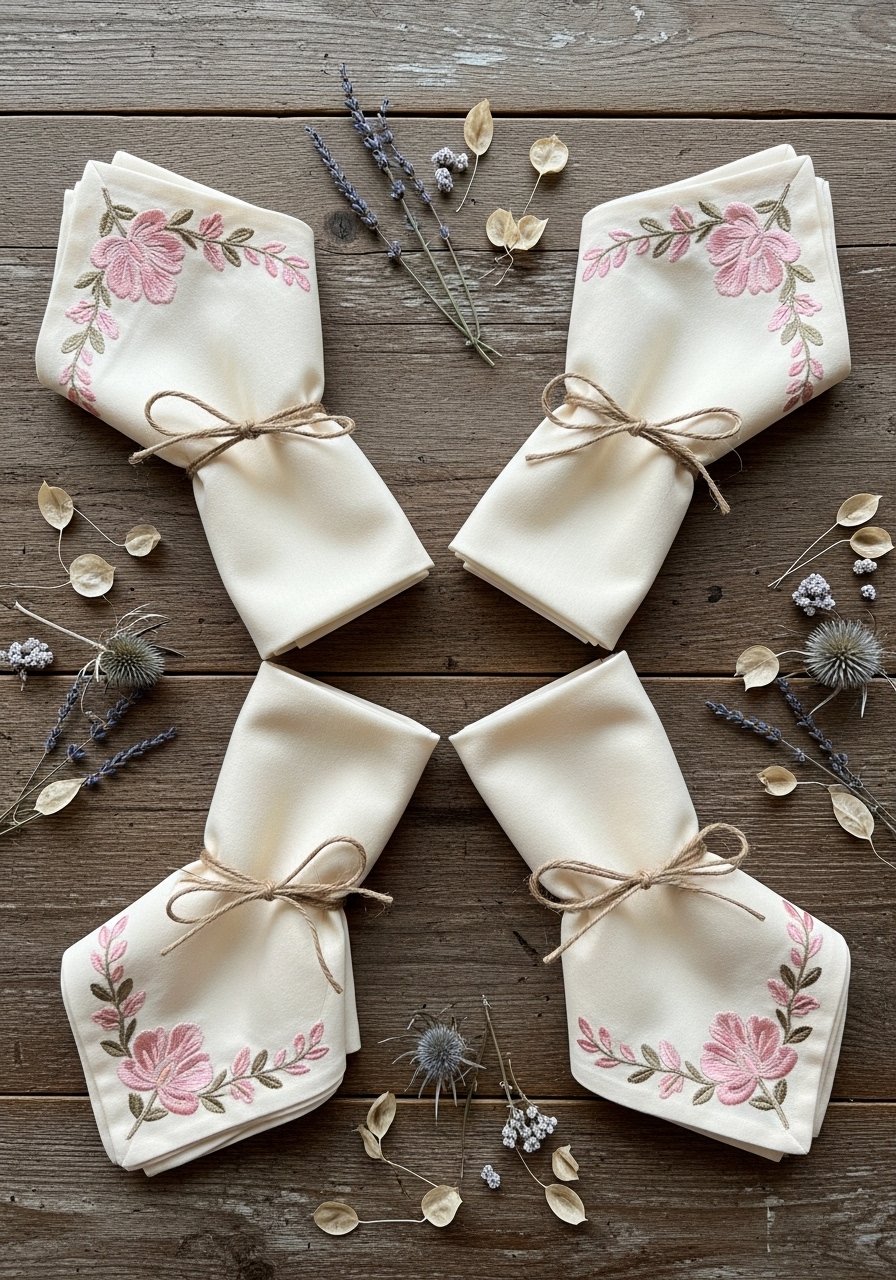
A small corner motif on napkins is a fast way to add a handmade touch to a table. This set uses a lightweight motif repeated on each corner—good practice for hoop alignment and consistent placement.
Materials
- 4 cotton napkins, 18" x 18"
- 4 pieces tear-away stabilizer, 6" x 6"
- 1 spool rayon thread (blush), 200 m
- 1 embroidery needle, 75/11
- 1 marking ruler for placement (6"**
- 1 spray adhesive (light)
Instructions
- Choose a motif sized 1.25" x 1.25" and mark napkin corners 1" from edges.
- Hoop each corner with tear-away stabilizer and apply spray adhesive.
- Stitch the motif on each napkin; rotate hoop orientation carefully for alignment.
- Remove and tear stabilizer away from the back; press each napkin flat for 10 seconds.
- Repeat for all four napkins, checking thread tension between napkins.
How to Display or Gift It
- Stack and tie with jute and a small dried sprig.
- Mix with plain napkins for a subtle table cluster.
- Store flat in a fabric drawer or fold with acid-free tissue.
- Simple Heart Coasters — quick hostess gifts
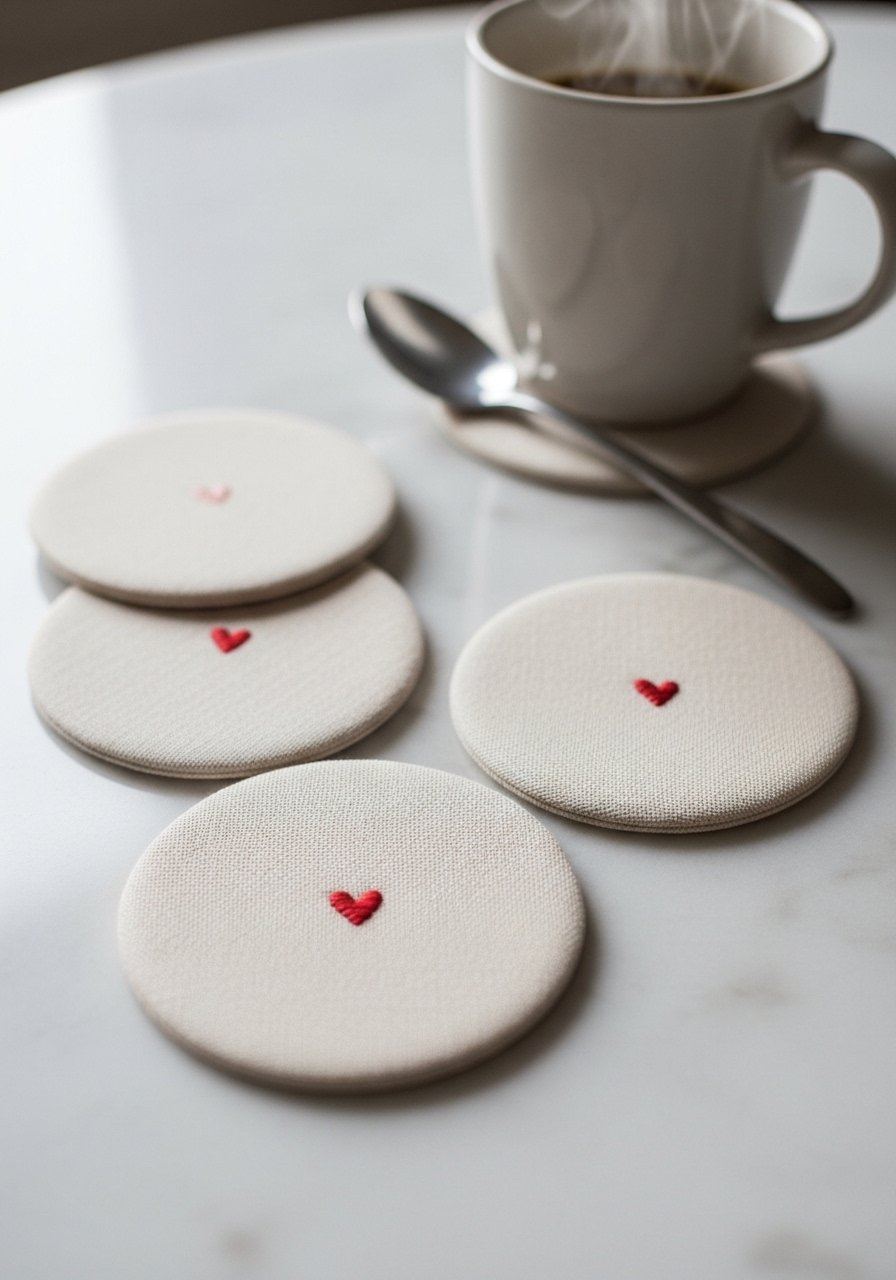
These round coasters use a small heart motif at the center of a circular fabric top. They’re quick, practical, and teach you to use stabilizer plus a foam batting insert for absorbency.
Materials
- 4 cotton fabric circles, 4" diameter
- 4 foam batting circles, 4" diameter
- 4 tear-away stabilizer circles, 5" diameter
- 1 polyester thread (red), 50 m
- 1 embroidery needle, 75/11
- 1 fabric glue pen
Instructions
- Hoop fabric with tear-away stabilizer and center heart design at 1" diameter.
- Stitch heart motif, then remove hoop.
- Glue foam batting to fabric back with a fabric glue pen.
- Topstitch around the edge with a 1/8" seam allowance to secure batting.
- Trim and press for a finished edge.
How to Display or Gift It
- Wrap as a set with twine and a small gift tag.
- Store coasters stacked in a small wooden box on coffee table.
- Make seasonal color sets for hostess gifts.
- Minimal Line Art Tote Bag — Japandi simplicity
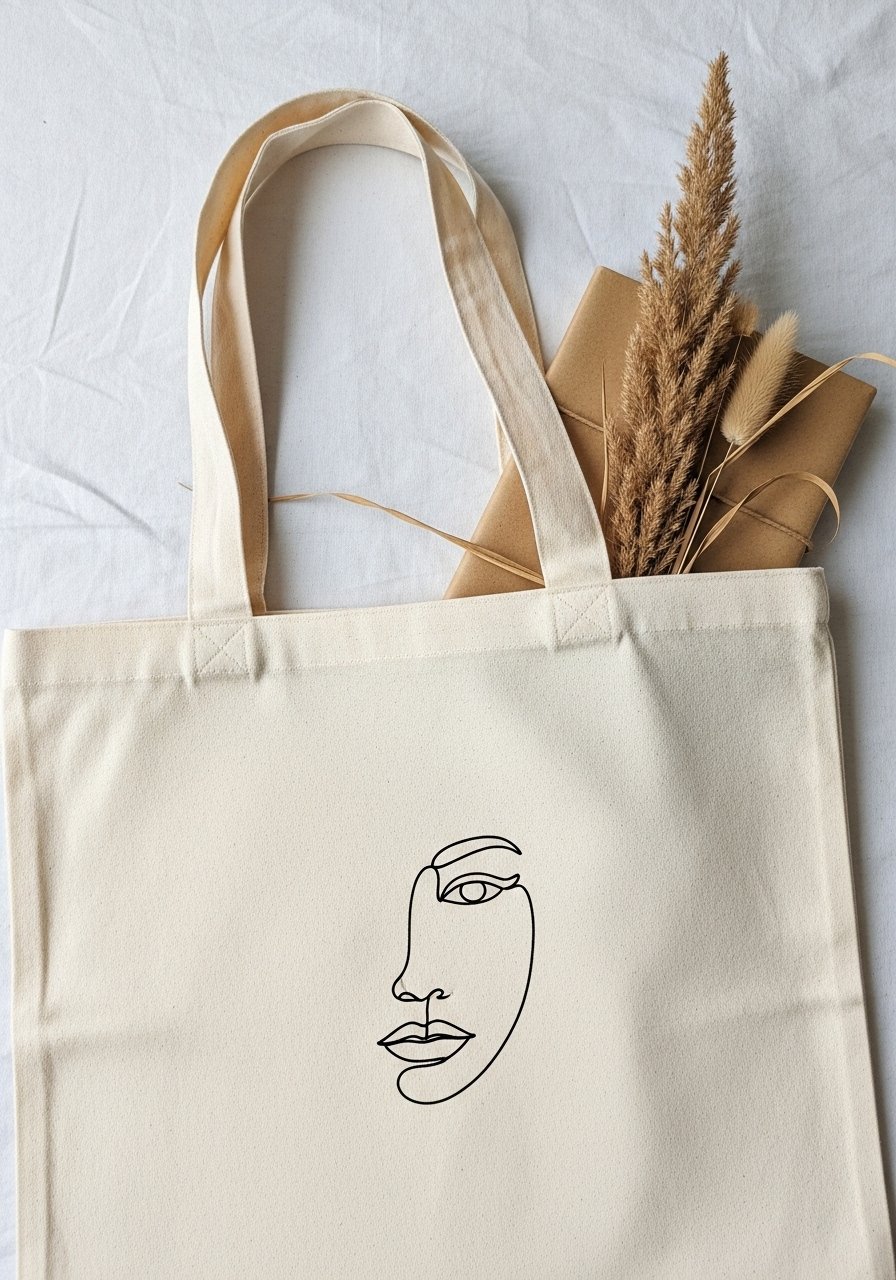
A single-line face or abstract line motif is on-trend with Japandi and minimal aesthetics. The large surface of a tote helps you practice centering and hooping larger areas.
Materials
- 1 canvas tote bag, 14" x 14"
- 1 tear-away stabilizer sheet, 10" x 10"
- 1 polyester thread (black), 150 m
- 1 magnetic hoop (if available) or standard 8" hoop
- 1 washable marking pen
Instructions
- Place the design centered at 6" width on the tote surface and mark center with a washable pen.
- Hoop tote with stabilizer; use a magnetic hoop for curved seams if you have one.
- Stitch slowly; pause to reposition and check for puckers.
- Remove stabilizer and press gently from the back for 12 seconds.
How to Display or Gift It
- Fold and pair with a paper-wrapped notebook.
- Use as a lightweight market bag or book-bag.
- Store in a breathable fabric bag to prevent mildew.
- Beginner-Friendly Bookmark Trio — small stitches, big charm
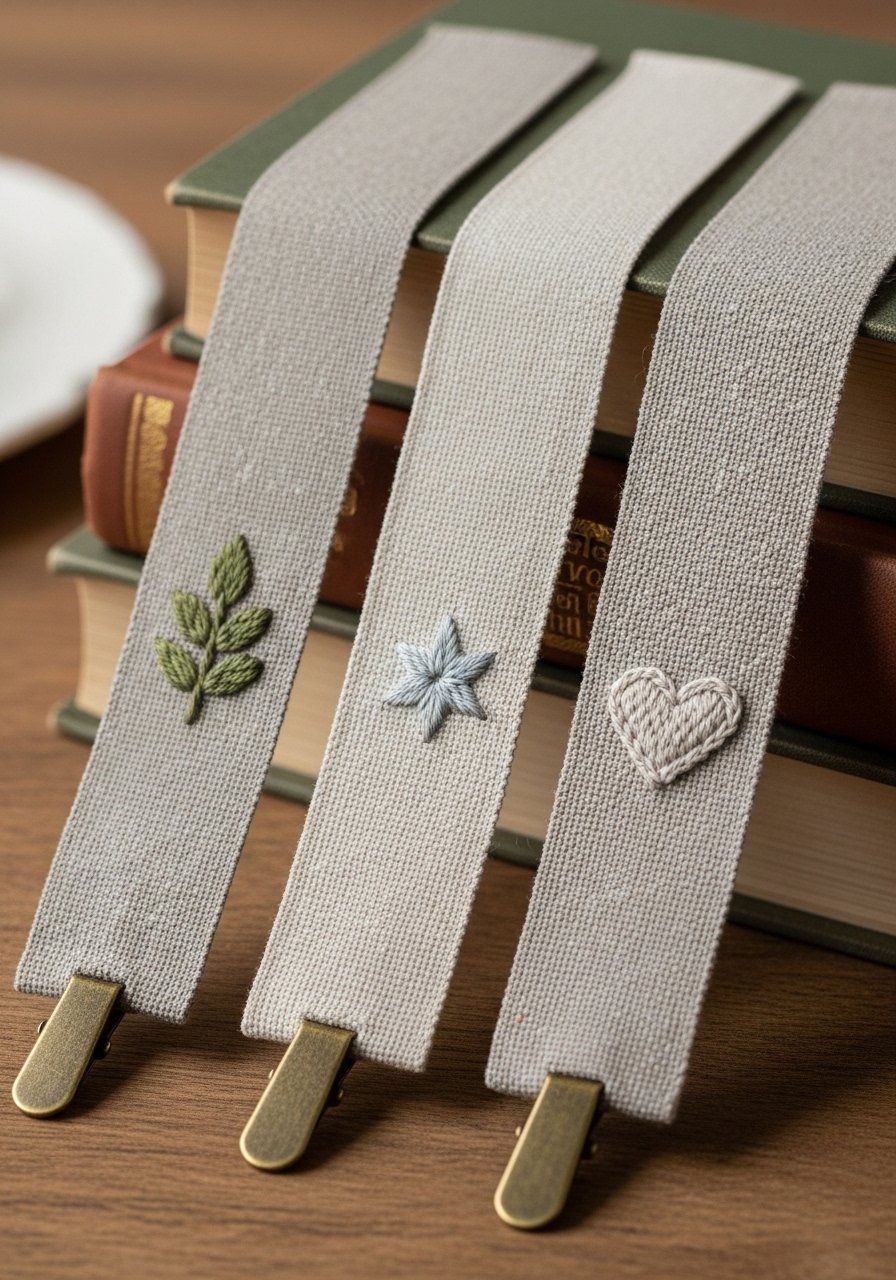
Bookmarks are tiny, fast, and forgiving—perfect for practicing small fills and outline stitches. They also make lovely gift add-ons.
Materials
- 3 linen strips, 2" x 8"
- 3 tear-away stabilizer strips, 3" x 9"
- 1 set polyester thread (mixed colors), 50 m each
- 1 small rotary cutter or scissors
- 1 fray check liquid
Instructions
- Hoop a linen strip with stabilizer and place motif centered.
- Stitch one motif per strip; remove stabilizer.
- Trim edges leaving 1/4" seam and apply fray check along raw edges.
- Press flat for 5–10 seconds.
How to Display or Gift It
- Tie a set of three bookmarks with ribbon to a new paperback.
- Store in a slim craft organizer or small envelope for gifting.
- Modern Hoop Wall Art — neutral boho motif
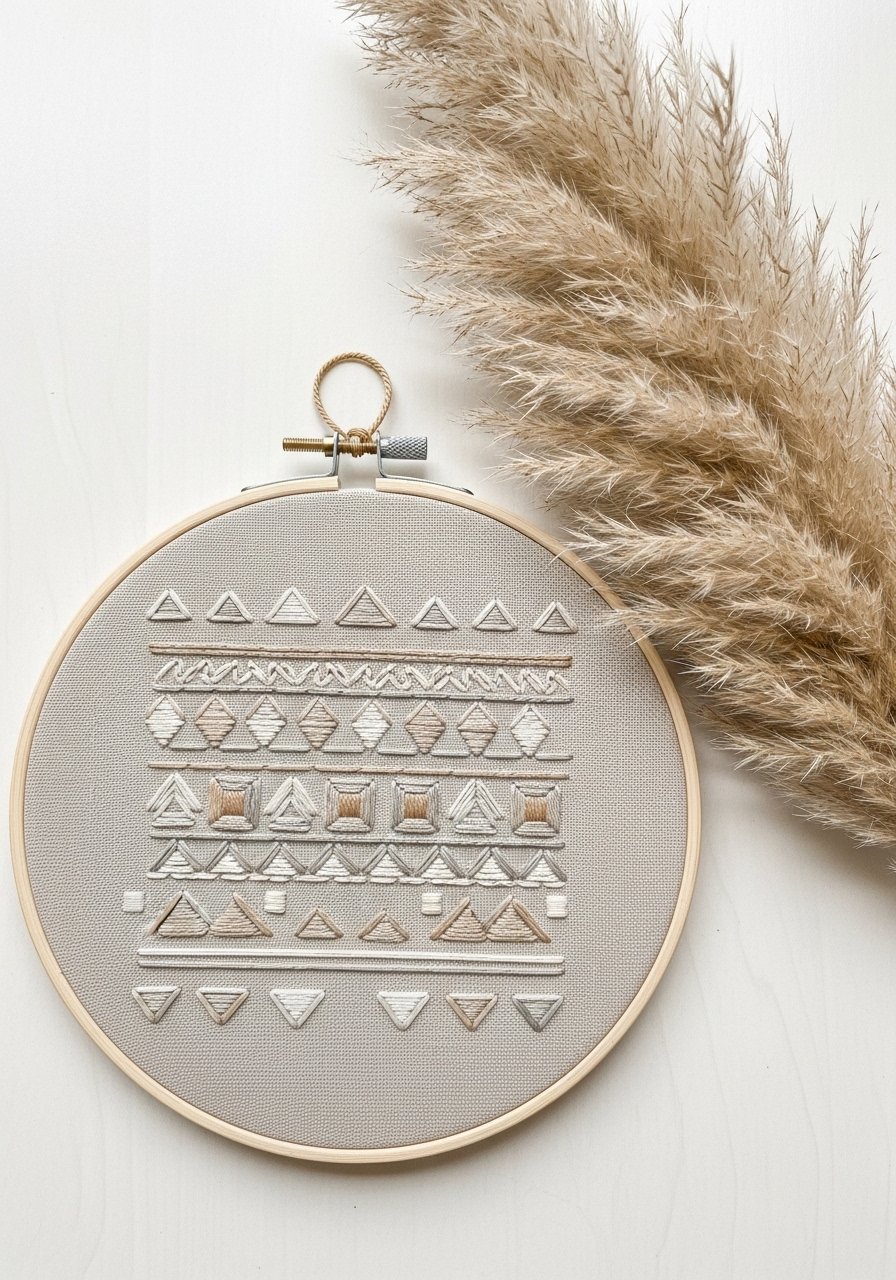
This is a slightly larger hoop art with a clean geometric fill. It’s a chance to practice repeating patterns and setting appropriate stitch density for fills.
Materials
- 1 9" wooden embroidery hoop
- 1 piece oatmeal linen, 12" x 12"
- 1 cut-away stabilizer, 10" x 10"
- 1 polyester thread (taupe), 150 m
- 1 embroidery needle, 80/12
- 1 small wooden dowel and ribbon to hang
Instructions
- Resize design to 6.5" and center on fabric.
- Hoop fabric and cut-away stabilizer together tautly.
- Stitch at normal speed, check tension halfway through.
- Remove excess stabilizer close to stitches.
- Wrap fabric to back of hoop, glue with a thin line of craft glue, trim excess.
How to Display or Gift It
- Hang on a gallery wall with other neutral textiles.
- Gift wrapped inside a flat kraft box and tissue.
- Store framed or in a fabric portfolio.
- Simple Zipper Pouch with Embroidered Panel — practical pouch
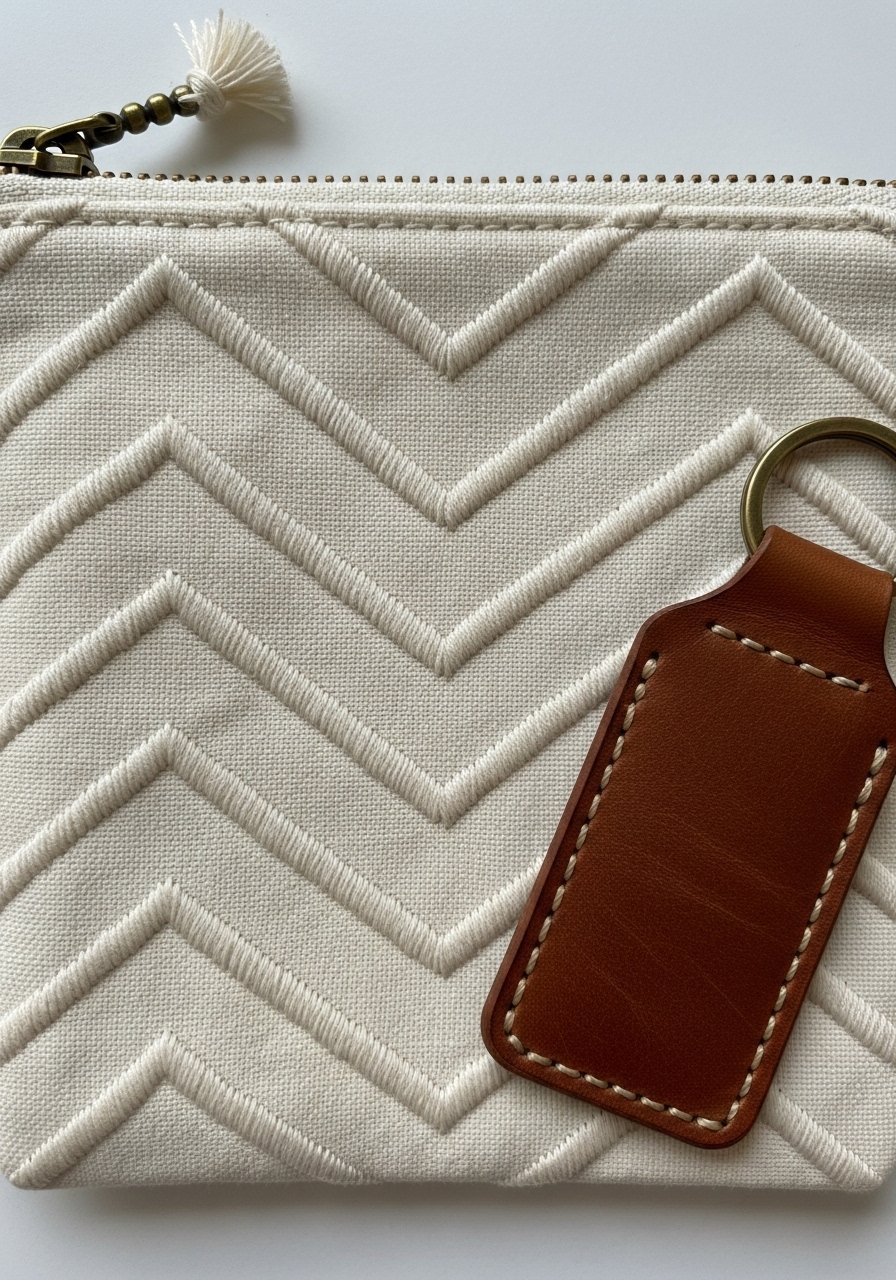
This pouch combines machine embroidery with basic sewing. The embroidered panel is applied before pouch assembly, giving precise placement.
Materials
- 1 cotton fabric panel, 8" x 6"
- 2 lining fabric pieces, 8" x 6"
- 1 spool polyester thread (contrast), 100 m
- 1 7" nylon zipper
- 1 tear-away stabilizer, 8" x 6"
- 1 sewing machine and basic zipper foot
Instructions
- Hoop the front panel with stabilizer and stitch a chevron motif sized 5.5" x 3.5".
- Remove stabilizer and press panel.
- Place panel right sides together with lining, sew zipper in using zipper foot.
- Topstitch edges, then assemble pouch by sewing side seams with 1/4" seam allowance.
- Turn right side out and press. Trim threads.
How to Display or Gift It
- Fill with sweet treats or small craft supplies and tie with baker’s twine.
- Store pouches in a fabric organizer or basket on a dresser.
- Felt Ornament with Computer Stitched Detail — holiday-ready
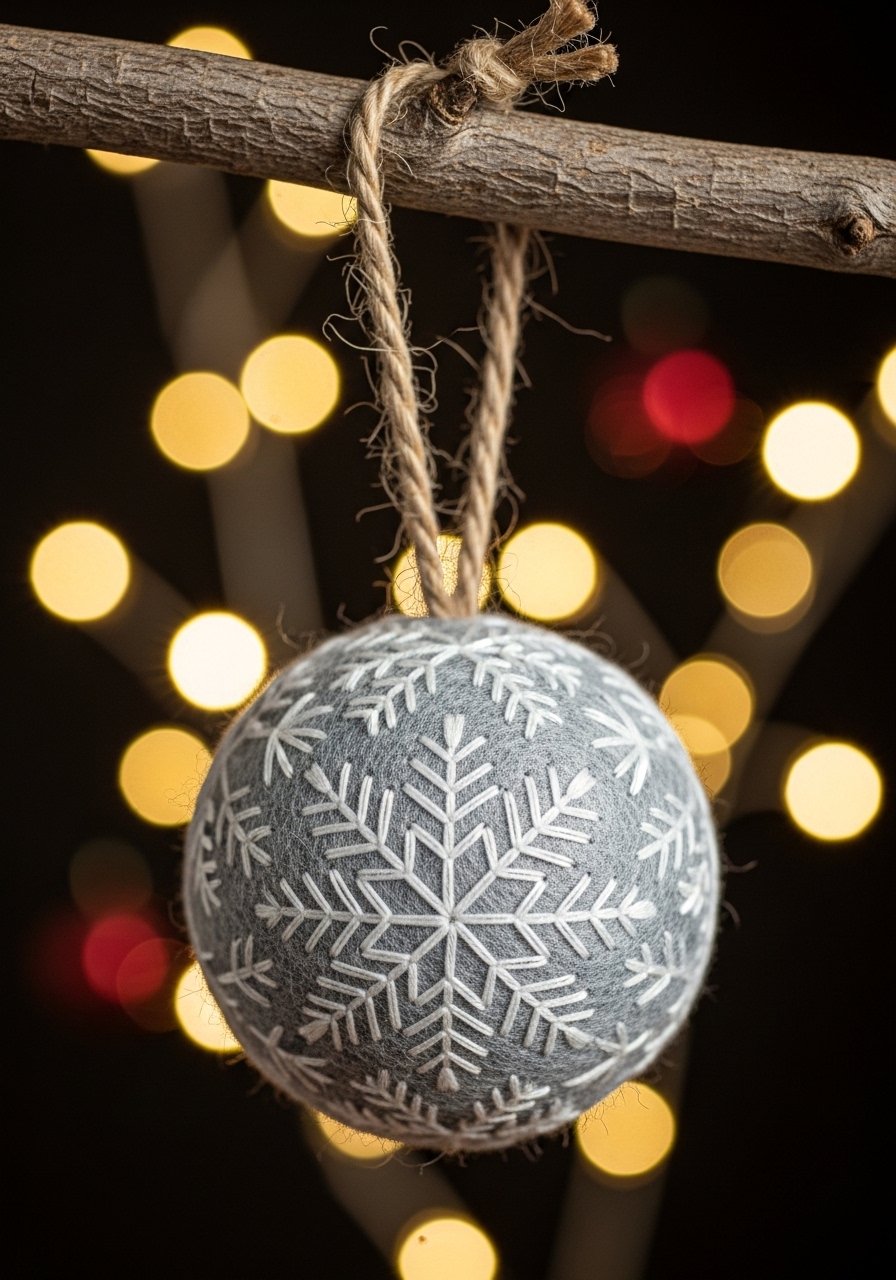
Felt is forgiving and adhesive-friendly, making it great for beginners. The embroidered detail on felt adds crisp contrast.
Materials
- 2 felt circles, 3" diameter
- 1 tear-away or cut-away stabilizer, 4" circle
- 1 rayon thread (white/silver), 30 m
- 1 embroidery needle, 75/11
- 1 fabric glue and jute ribbon for hanging
Instructions
- Hoop felt with stabilizer and stitch a small snowflake motif centered.
- Remove stabilizer; glue a second felt circle to the back, sandwiching a small ribbon loop.
- Press gently and allow glue to set 30 minutes.
- Trim any stray fibers and thread a ribbon loop.
How to Display or Gift It
- Hang on a tree or present as a small hostess gift.
- Store in a compartmentalized ornament box between uses.
- Embroidered Linen Pouch for Jewelry — delicate finish
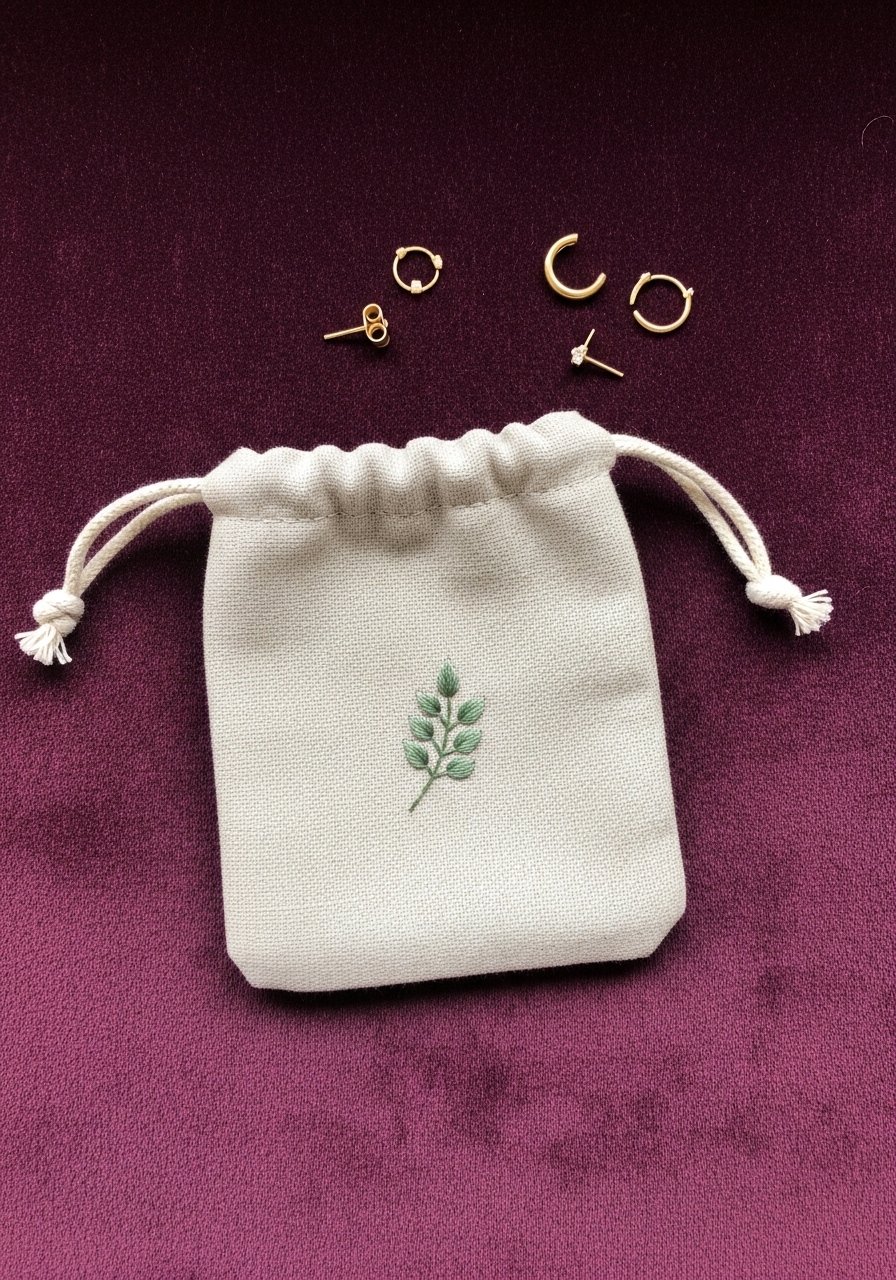
A linen pouch with a small embroidered sprig is elegant for gifting jewelry. Use lightweight stabilizer and low-density stitch fills to keep fabric soft.
Materials
- 1 linen rectangle, 6" x 8"
- 1 tear-away stabilizer, 7" x 9"
- 1 rayon thread (sage), 30 m
- 1 drawstring cord, 12"
- 1 small eyelet kit (optional)
Instructions
- Hoop linen with stabilizer and stitch a sprig motif centered.
- Remove stabilizer and fold fabric into pouch with a 1/2" seam.
- Sew sides, hem top and add eyelets for cord, or sew a fabric channel.
- Thread drawstring and knot ends.
How to Display or Gift It
- Use to present a pair of earrings or a necklace.
- Store pouches stacked in a small jewelry tray.
- Computer Embroidery Designs for Beginners: Simple Sunburst Patch
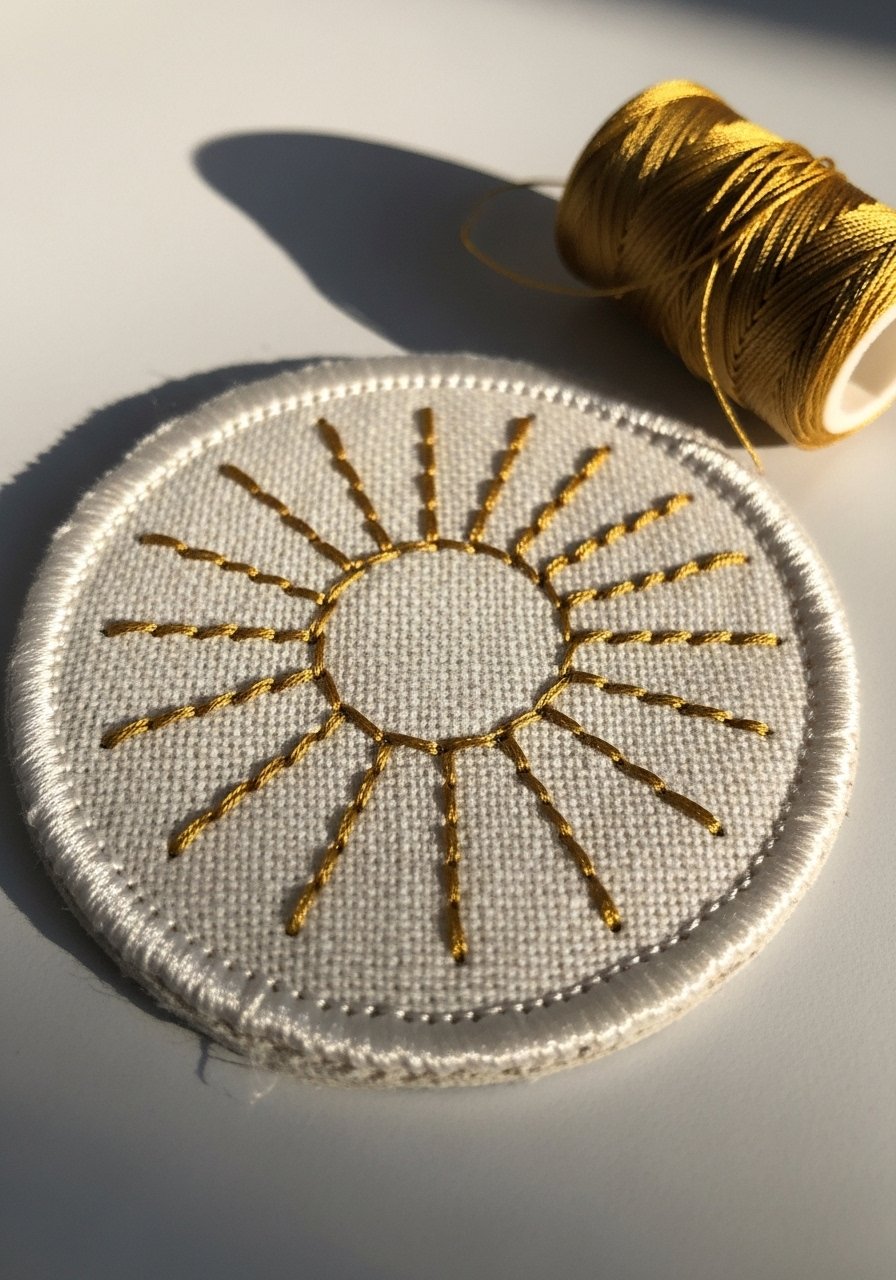
This compact sunburst patch is a textbook beginner file—radial satin stitches and low-density fill. It’s a great exercise for balancing underlay and satin width.
Materials
- 1 cotton patch blank, 2" diameter
- 1 cut-away stabilizer piece, 3" diameter
- 1 polyester thread (gold), 30 m
- 1 embroidery needle, 75/11
- 1 small button or snap if attaching to clothing
Instructions
- Hoop fabric and stabilizer tight, center sunburst design at 1.75".
- Stitch at reduced speed to maintain satin integrity.
- Trim stabilizer closely after stitching.
- Attach to garment with a hand whip stitch or add a snap.
How to Display or Gift It
- Give as a set of patches in a small kraft envelope.
- Sew onto a bag or hat and display on a peg.
- Personalized Denim Pocket — name or icon
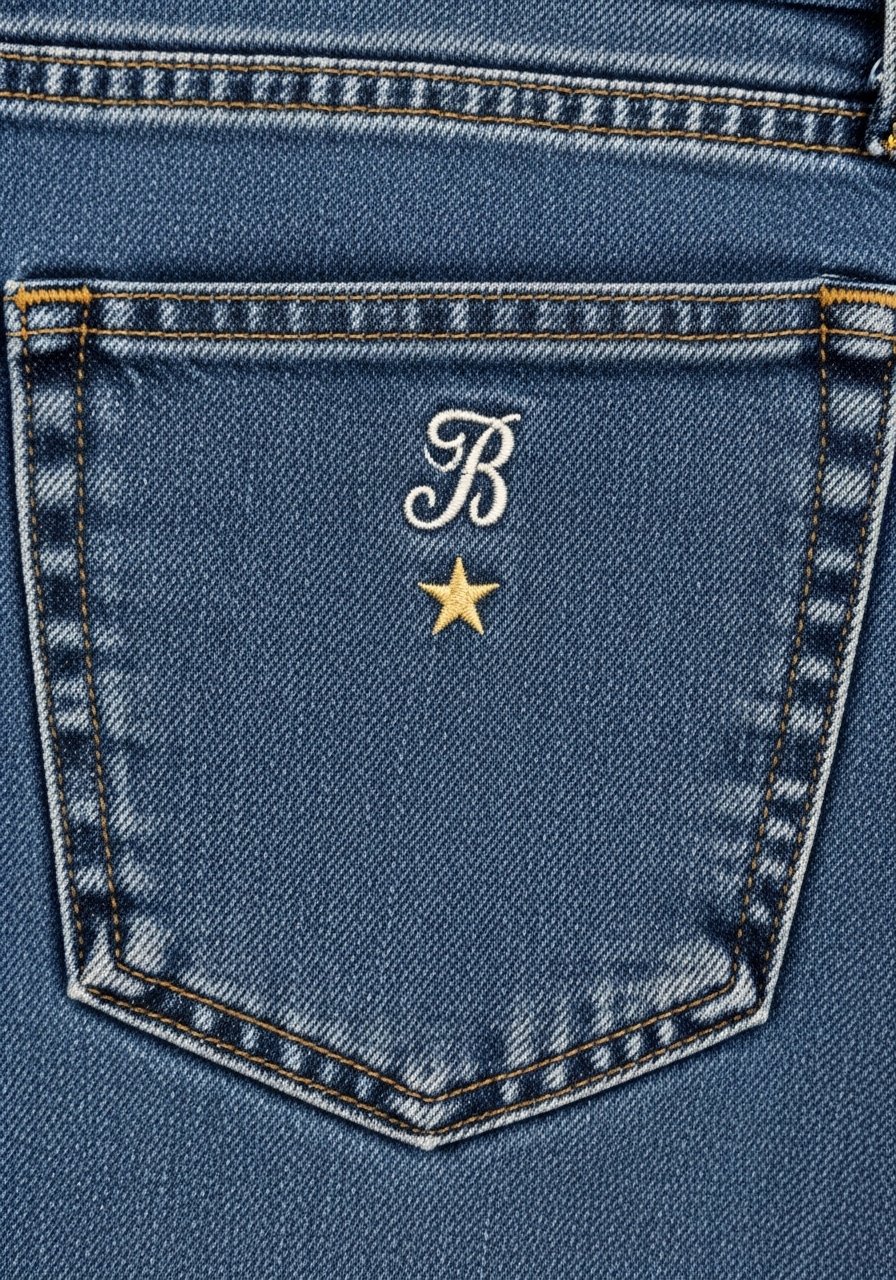
Working on a pocket requires precise hooping and choice of stabilizer. Use a small design sized to the pocket area.
Materials
- 1 pair jeans (or denim panel)
- 1 tear-away stabilizer strip, 4" x 6"
- 1 polyester thread (contrasting), 60 m
- 1 heavy-duty needle, 90/14
- 1 small embroidery hoop suitable for pocket
Instructions
- Choose initial at 1" height and center on pocket about 0.75" from top seam.
- Hoop pocket with stabilizer and stitch slowly.
- Trim jump stitches and remove stabilizer.
- Press with a cloth for 10 seconds to set stitches.
How to Display or Gift It
- Gift altered denim as a bespoke piece.
- Store jeans folded with acid-free tissue to preserve embroidery.
- Plant Pot Cozy with Embroidered Name — cottagecore plant tag
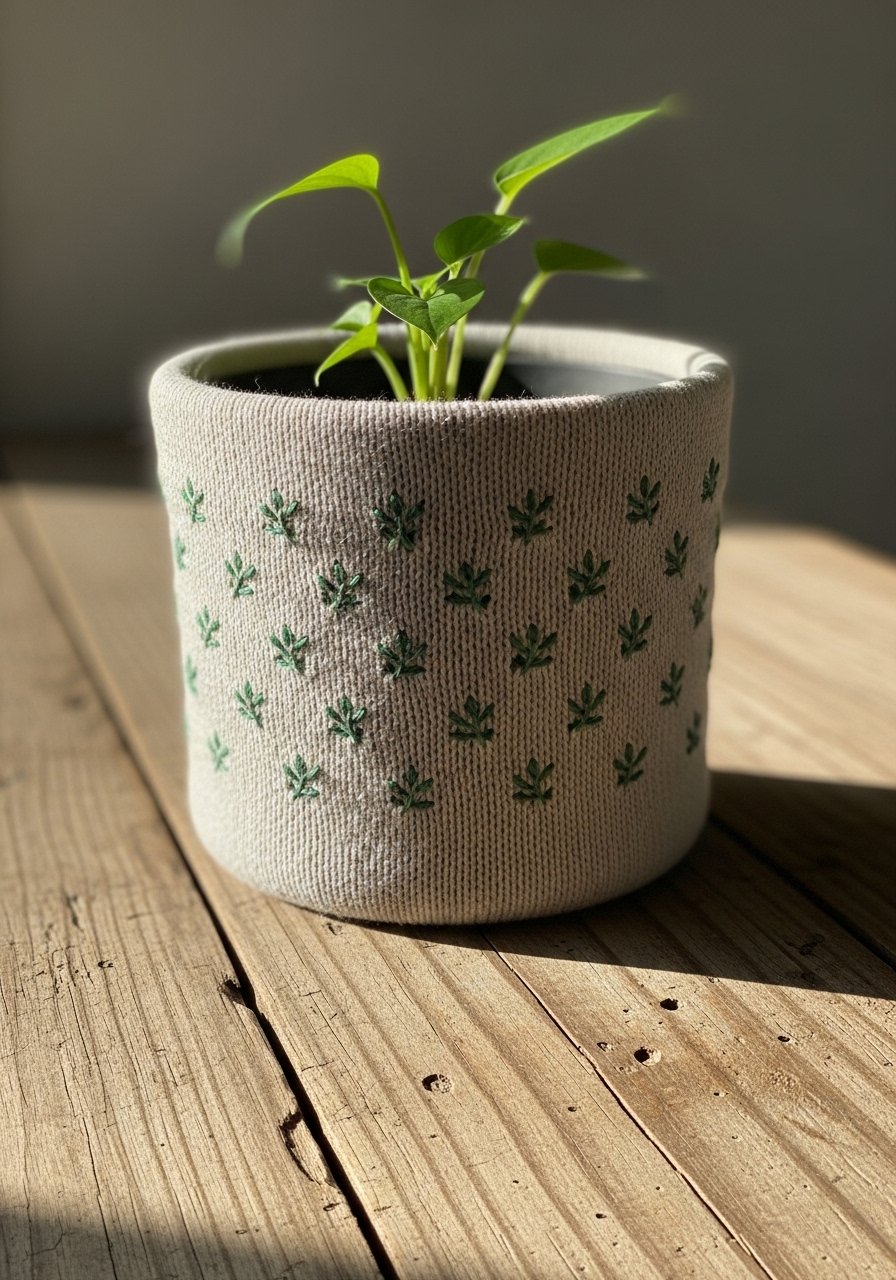
Soft pot cozies with a stitched name add charm to indoor plants and are forgiving since the surface texture is slightly forgiving.
Materials
- 1 knitted pot cozy or fabric tub, fits 4" pot
- 1 tear-away stabilizer, 5" x 5"
- 1 rayon thread (forest green), 50 m
- 1 embroidery needle, 80/12
- 1 small plant nursery pot and plant
Instructions
- Hoop cozy with stabilizer placed behind stitching area.
- Stitch small leaf pattern and name (1–2" width).
- Remove stabilizer and slide cozy onto pot.
How to Display or Gift It
- Pair with a small plant and handwritten care card.
- Store extra cozies flat to avoid stretching.
- Linen Pillow Accent with Minimal Motif — soft home piece
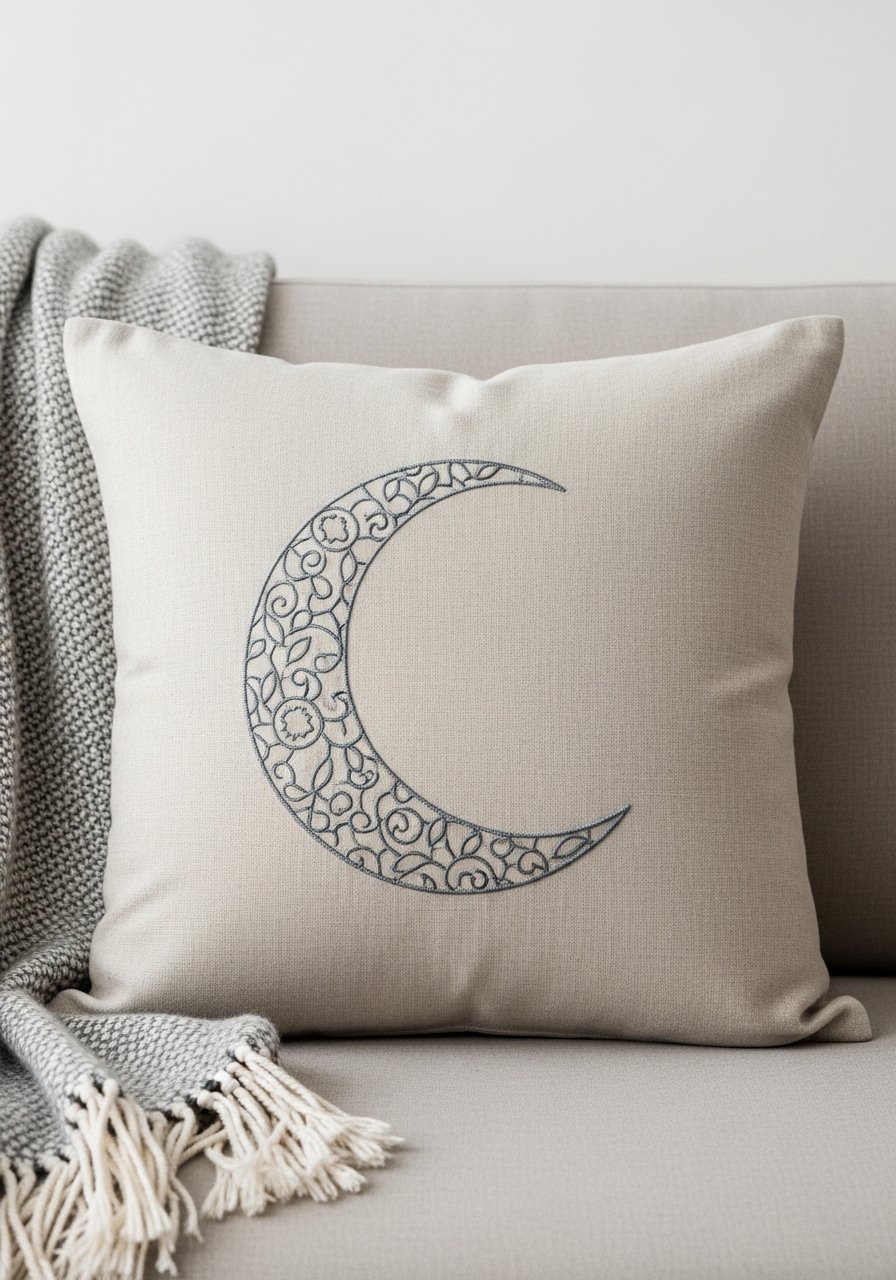
A small motif on a pillow insert is a comfortable way to practice larger pattern placement and stitch density for fills on natural fabrics.
Materials
- 1 linen pillow cover, 12" x 12"
- 1 cut-away stabilizer, 10" x 10"
- 1 polyester thread (slate gray), 150 m
- 1 machine embroidery needle, 80/12
- 1 pillow insert, 12" x 12"
Instructions
- Resize motif to 3" and center at pillow front.
- Hoop front panel with cut-away stabilizer behind.
- Stitch and remove stabilizer, trimming close.
- Insert pillow and fluff.
How to Display or Gift It
- Arrange on a couch with complementary textured throws.
- Gift as a housewarming accent in a kraft box.
- Simple Key Fob — durable small project
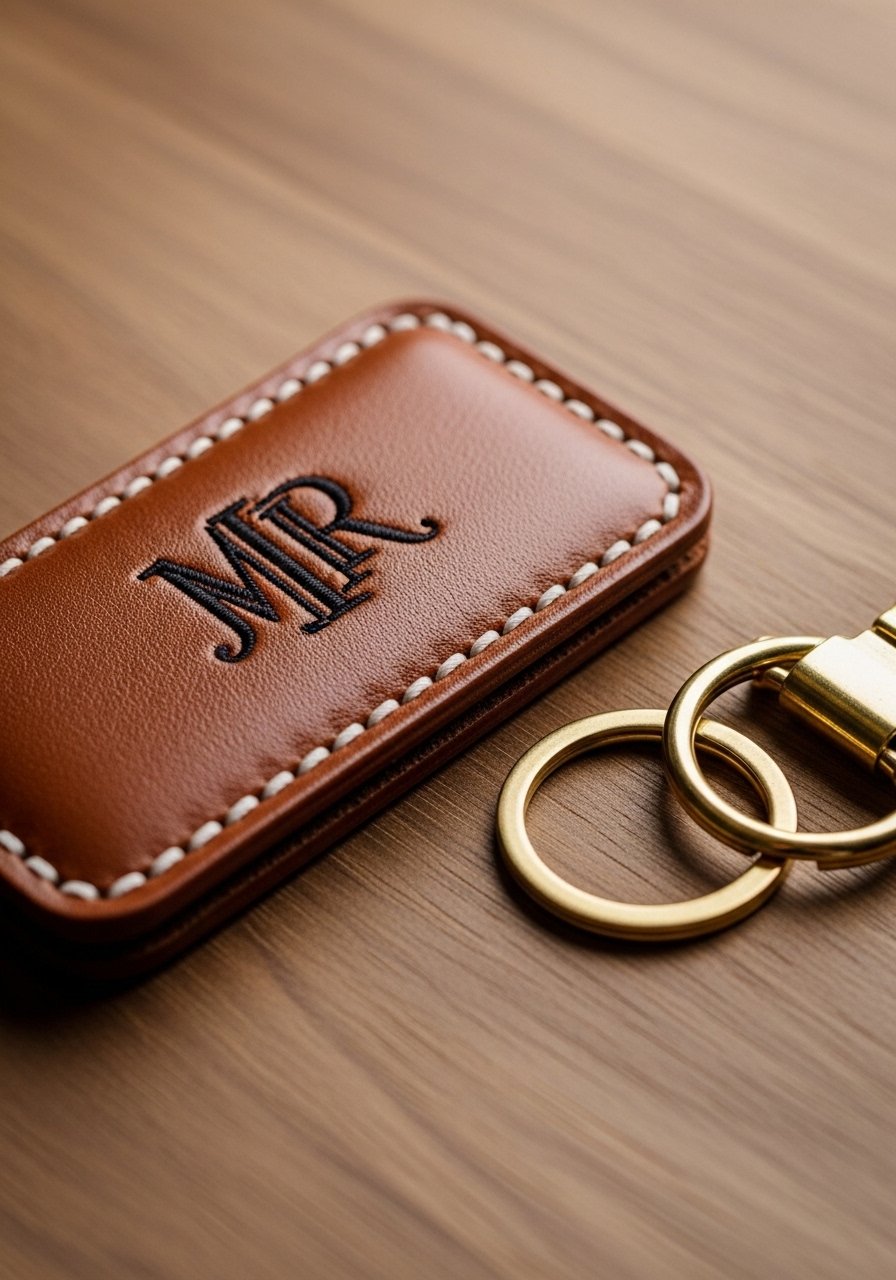
Key fobs teach you to work with denser fabrics (leatherette) and use heavy needles and bonding adhesives.
Materials
- 1 leatherette strip, 1" x 4"
- 1 cut-away stabilizer, 2.5" x 3.5"
- 1 polyester thread (contrast), 30 m
- 1 heavy-duty needle, 90/14
- 1 small keyring and rivet or snap
- 1 strong fabric glue
Instructions
- Hoop leatherette with cut-away stabilizer and stitch initials sized 0.75".
- Trim stabilizer and fold leatherette around keyring.
- Secure with rivet or snap following manufacturer directions.
- Press gently to set glue and let glue cure 24 hours.
How to Display or Gift It
- Present with a small leather tag or attach to a small gift bundle.
- Store finished key fobs in a small tray near your entryway.
- Simple Tea Cozy with Embroidered Motif — practical kitchen piece
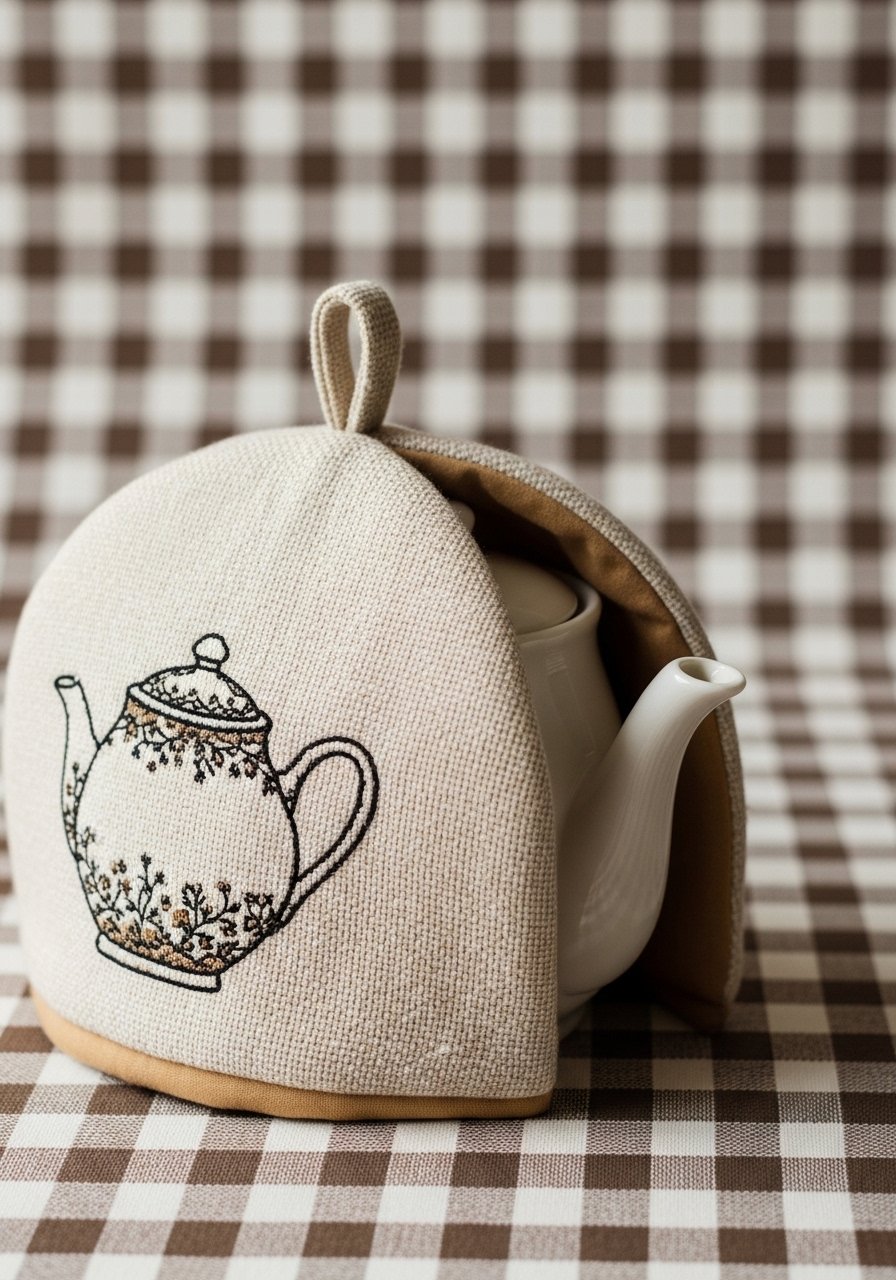
A tea cozy is larger but uses a single small motif repeated or centered. This project teaches layering and interfacing to keep warmth.
Materials
- 1 cotton outer fabric piece, 12" x 10"
- 1 quilt batting piece, 12" x 10"
- 1 inner lining fabric, 12" x 10"
- 1 tear-away stabilizer for stitched motif
- 1 polyester thread (contrasting), 100 m
- 1 basic sewing supplies
Instructions
- Hoop outer fabric with stabilizer and stitch teapot motif sized 3".
- Quilt outer, batting, and lining together if desired.
- Sew sides leaving a bottom opening for the teapot.
- Turn and press; topstitch edge for a neat finish.
How to Display or Gift It
- Pair with a sachet of tea and a wooden spoon in a gift basket.
- Store cozy folded in a kitchen drawer.
- Minimal Pocket Square with Monogram — menswear detail
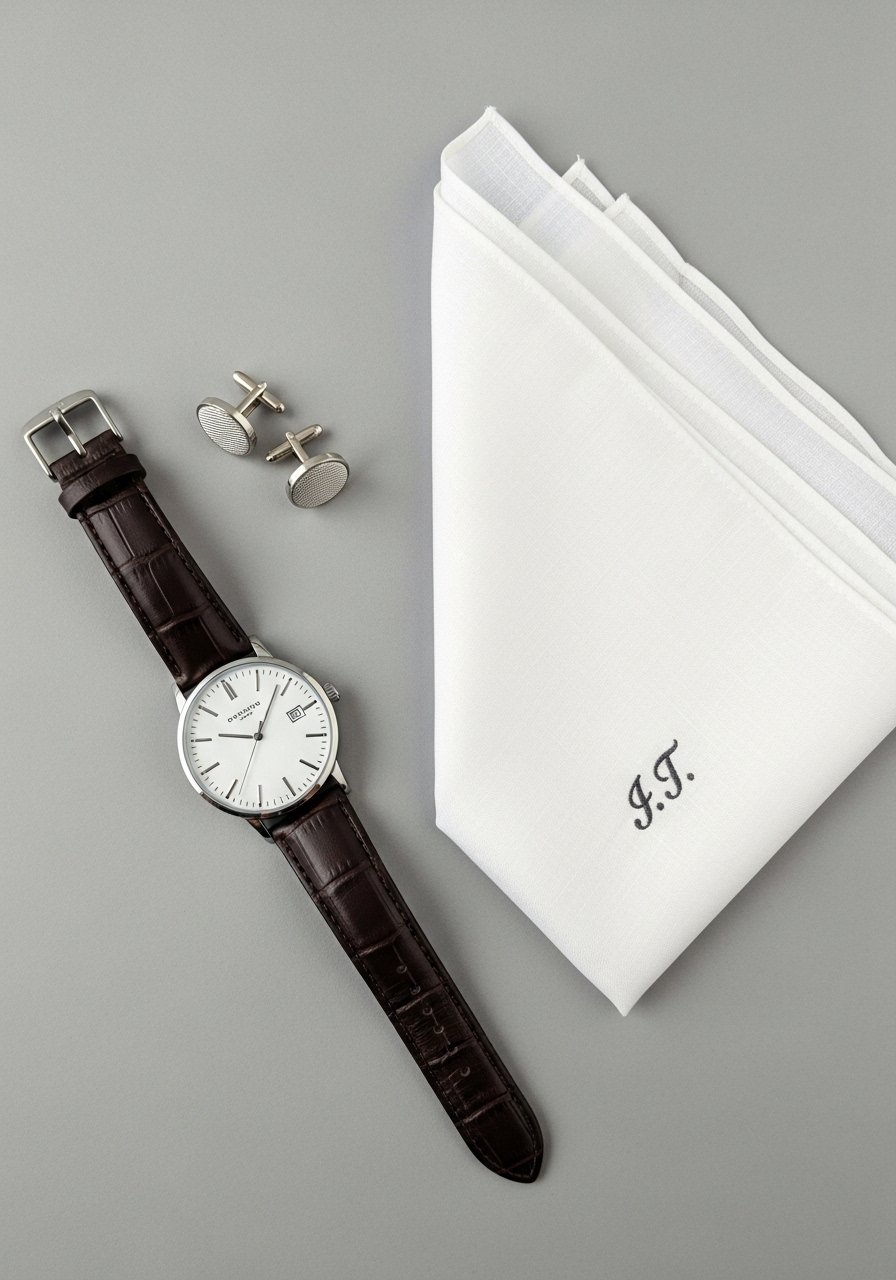
A pocket square monogram is a subtle, classy project. Use lightweight fabrics and fine thread for crisp stitching.
Materials
- 1 linen pocket square, 12" x 12"
- 1 lightweight cut-away stabilizer, 6" x 6"
- 1 rayon thread (navy), 30 m
- 1 embroidery needle, 70/10
- 1 small hem press kit (optional)
Instructions
- Hoop corner with stabilizer and stitch monogram 0.75" high.
- Trim stabilizer and press corner with a cool iron.
- Hem edges if needed and press.
How to Display or Gift It
- Present folded in a small gift box with a ribbon.
- Store in a drawer or small fabric pouch to avoid crushing.
- Computer Embroidery Designs for Beginners: Easy Name Tag Napkin Rings
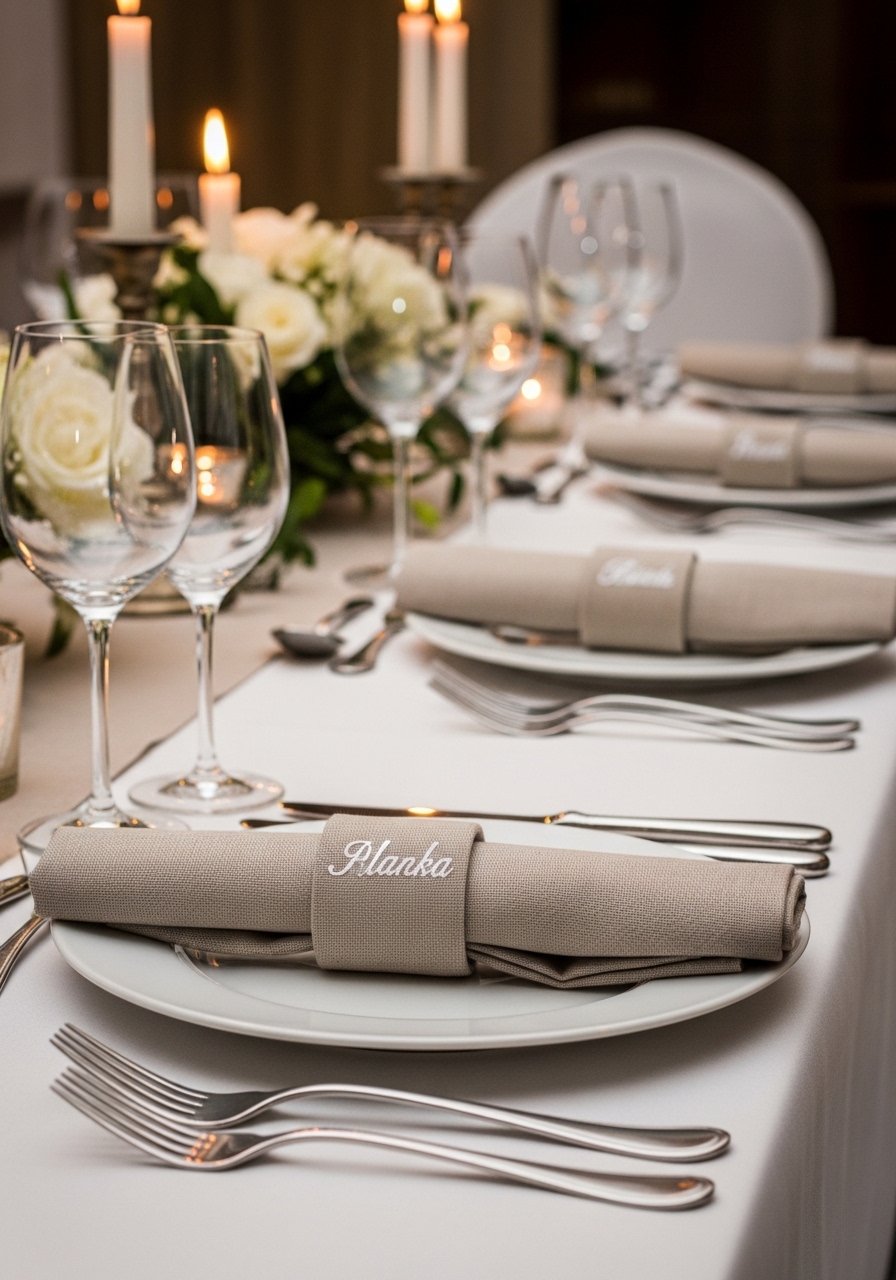
Small napkin rings with embroidered names make dinner feel personal. The strip shape is easy to hoop and stitch.
Materials
- 6 linen strips, 2" x 6"
- 6 tear-away stabilizer strips, 3" x 7"
- 1 rayon thread set (charcoal), 30 m per color
- 1 small press stud kit or glue line
- 1 marking pen for name placement
Instructions
- Hoop each strip with stabilizer and stitch name at 1" width.
- Remove stabilizer and fasten ends with press studs or glue into rings.
- Press lightly and store flat.
How to Display or Gift It
- Use as place settings for dinner parties.
- Pack as a thoughtful hostess gift in a small box.
- Eyeglass Case with Lined Embroidered Panel — protective and pretty
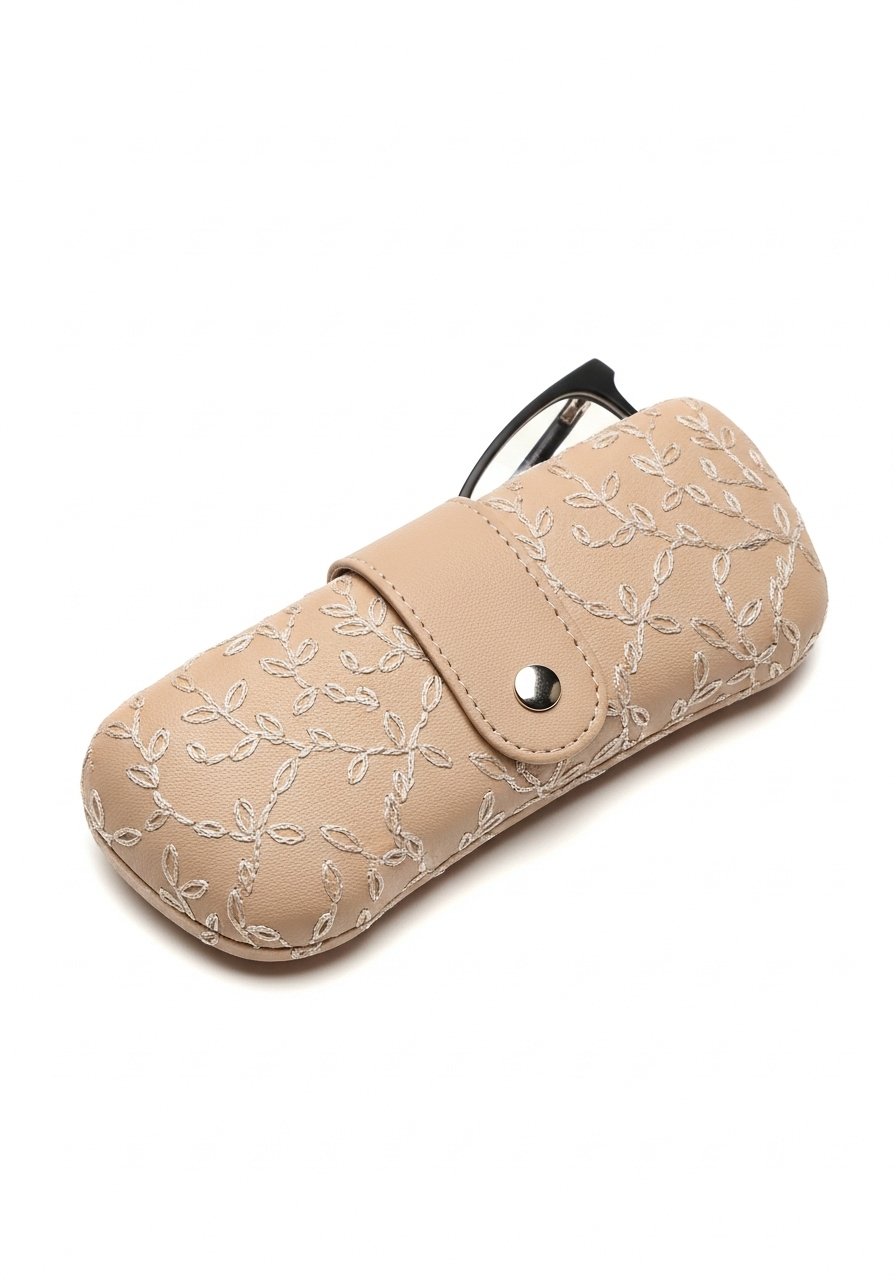
A lined eyeglass case is protective and portable. The embroidered panel is applied before assembly, and soft lining prevents scratching.
Materials
- 1 outer fabric panel, 8" x 6"
- 1 lining fabric panel, 8" x 6"
- 1 thin fleece batting, 8" x 6"
- 1 polyester thread (olive), 50 m
- 1 small magnetic snap
- 1 tear-away stabilizer
Instructions
- Hoop outer panel with stabilizer and stitch vine motif sized 5" x 3".
- Layer batting and lining, sew with 1/4" seam allowance.
- Attach magnetic snap following manufacturer instructions.
- Turn case right side out and press gently.
How to Display or Gift It
- Pair with a small lens cleaning cloth for gifting.
- Store in a sunglasses tray in a drawer.
- Felt Bookmark with Tassel and Stitched Motif — sweet little keepsake
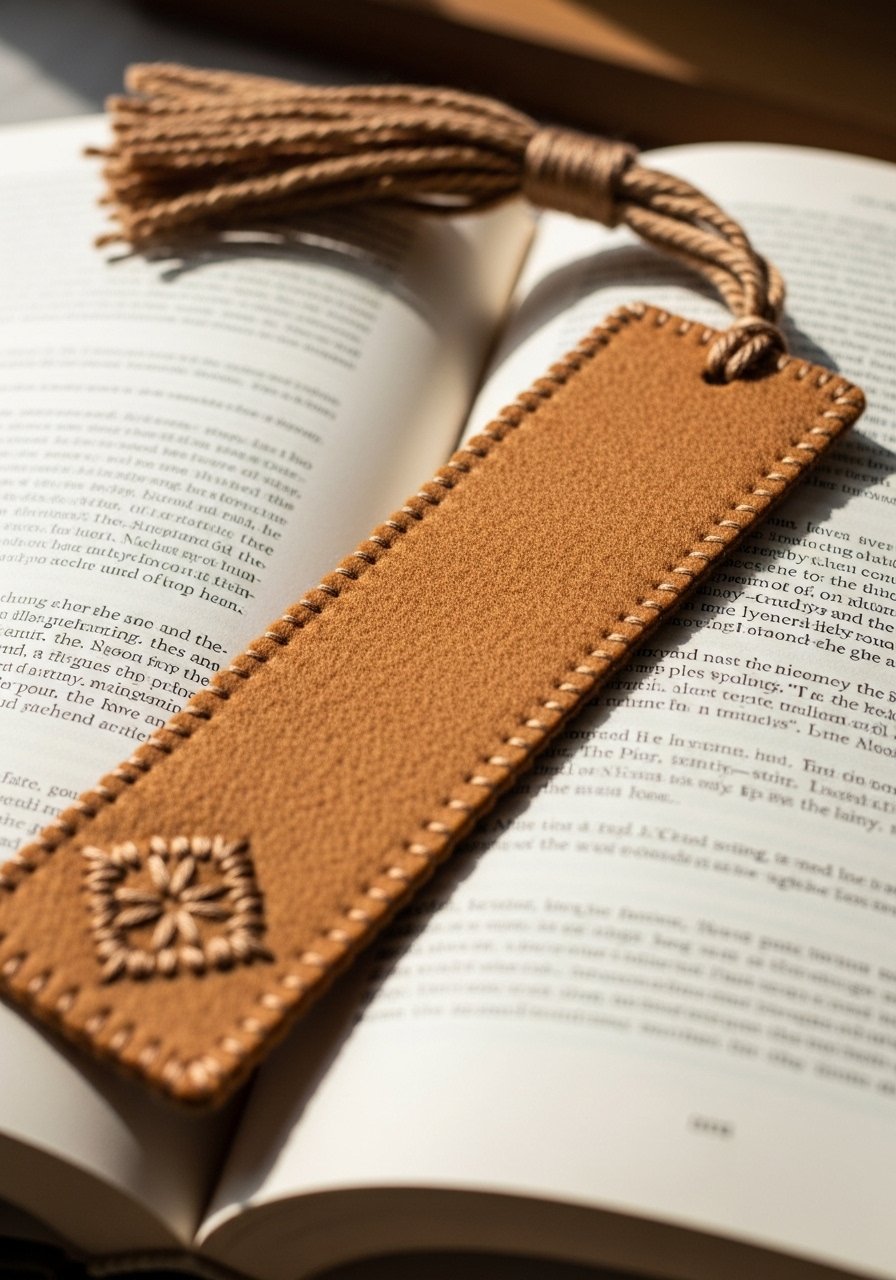
Combine hand-finishing with machine embroidery by stitching a motif onto felt, then finishing edges by hand. This hybrid technique is forgiving and tactile.
Materials
- 1 felt rectangle, 2.5" x 8"
- 1 tear-away stabilizer, 3" x 9"
- 1 rayon thread (contrast), 30 m
- 1 embroidery needle, 75/11
- 1 small skein for tassel, 8" length
Instructions
- Hoop felt with stabilizer and stitch a small motif centered near top.
- Remove stabilizer and stitch a simple blanket edge by hand.
- Attach tassel with a small knot and glue if desired.
- Trim edges and press lightly.
How to Display or Gift It
- Pair with a paperback and tie with ribbon.
- Store flat in a bookmarks envelope.
- Computer Embroidery Designs for Beginners: Simple Guest Book Panel

A fabric panel for a guest book cover or sign is a great finishing touch for events. Use clear, legible lettering and a low-density fill for smooth results.
Materials
- 1 cotton or linen panel, 8" x 10"
- 1 cut-away stabilizer, 9" x 11"
- 1 rayon thread (black), 100 m
- 1 embroidery hoop large enough for the panel
- 1 fabric glue or basting spray
Instructions
- Position design at 6" width centered on panel.
- Hoop with stabilizer and stitch slowly, checking for alignment.
- Remove cut-away stabilizer close to stitches.
- Mount panel on a clipboard or frame for a guest book sign.
How to Display or Gift It
- Use as a ceremony sign or wedding guest book cover.
- Store on a clipboard or in a flat portfolio until event day.
Give these projects a try—you’ll find there’s a satisfying sweet spot between quick wins and learning real machine techniques. If you’re equipping a simple starter kit, a good 6" hoop and a roll of quality tear-away stabilizer make more projects possible with less fuss—my go-to is a 6-inch embroidery hoop set. Trust me, a reliable low-tack spray adhesive and a fresh pack of embroidery needles will smooth over a lot of rookie hiccups.
Which of these projects are you saving to stitch first? Pin this list to your favorites folder and share it with a friend who loves handmade gifts—then swap finished photos.





