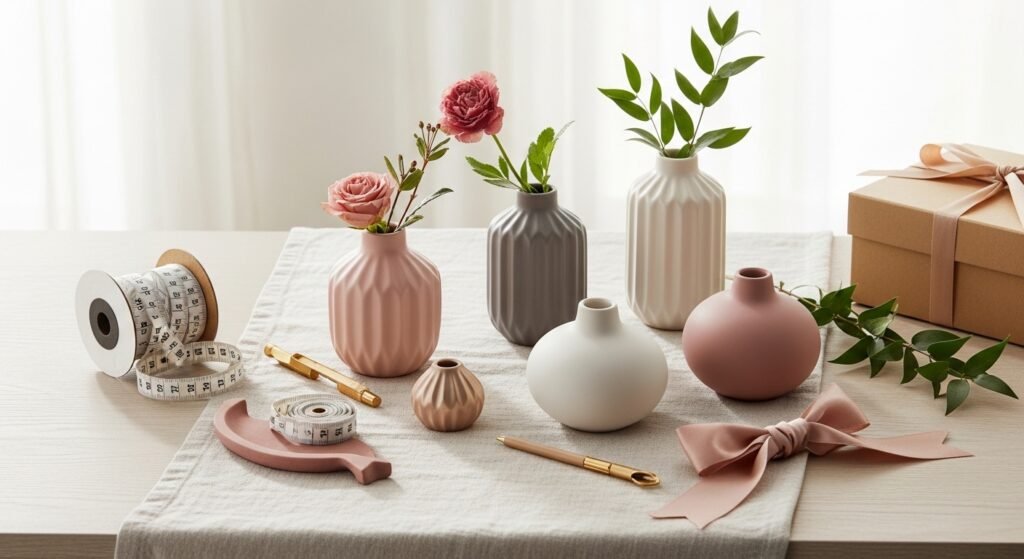
You love the look of a wrapped vase but hate fussy finishes. If you want to decorate a vase with ribbon so it reads polished, gift-worthy, and photo-ready, you can do it in one afternoon with beginner-friendly, no-sew steps. Decorating a vase with ribbon gives cheap or upcycled glass new presence for centerpieces, hostess gifts, or mantel styling.
The secret? A strip of wired ribbon shapes into neat loops and a dab of double-sided fabric tape holds seams invisibly. If you prefer glue, a compact mini hot glue gun makes quick, clean joins without bulk. Expect to spend 30–60 minutes per vase depending on bow complexity.
You’ll learn how to prep, attach ribbon cleanly, tie polished bows, and finish for gifting — plus quick fixes if ribbon frays or slouches.
Gathering and prepping your materials (easy, beginner-friendly)
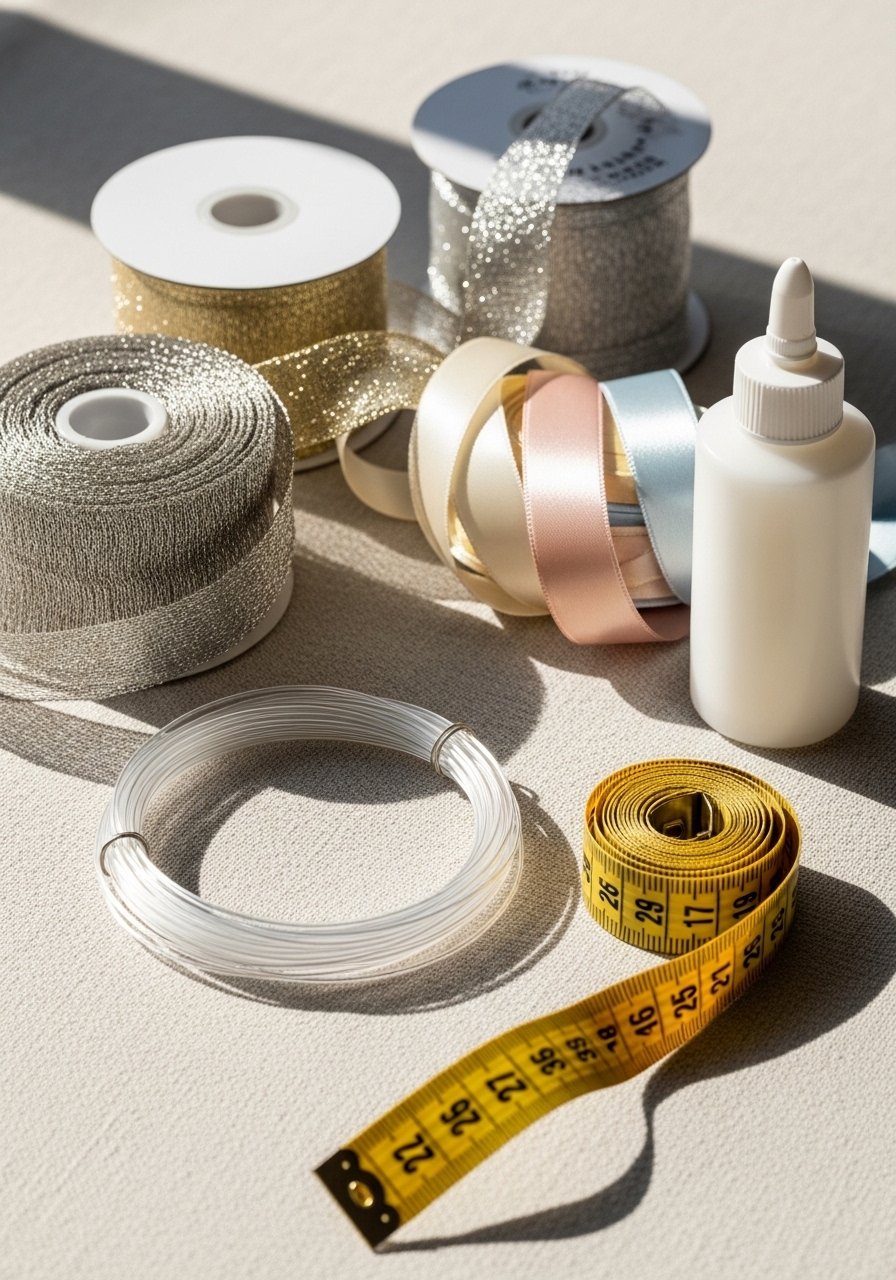
Start by choosing ribbon that complements the vase and flowers. Wired ribbon gives structured bows; satin dressier styles for sleek wraps. Buy a few widths — 3/8", 1", and 2" — to mix scales.
- Use wired ribbon for sculpted bows.
- Keep a spool of satin ribbon for simple wraps.
- Secure loops with clear floral wire.
- Measure vase circumference with a fabric measuring tape. Add 1–2 inches overlap.
Tip: Pre-cut ribbon on a self-protected surface. If you're upcycling a thrift vase, wipe it clean first so tape and glue adhere.
Wrap and secure ribbon to the vase (no-sew, one-afternoon)
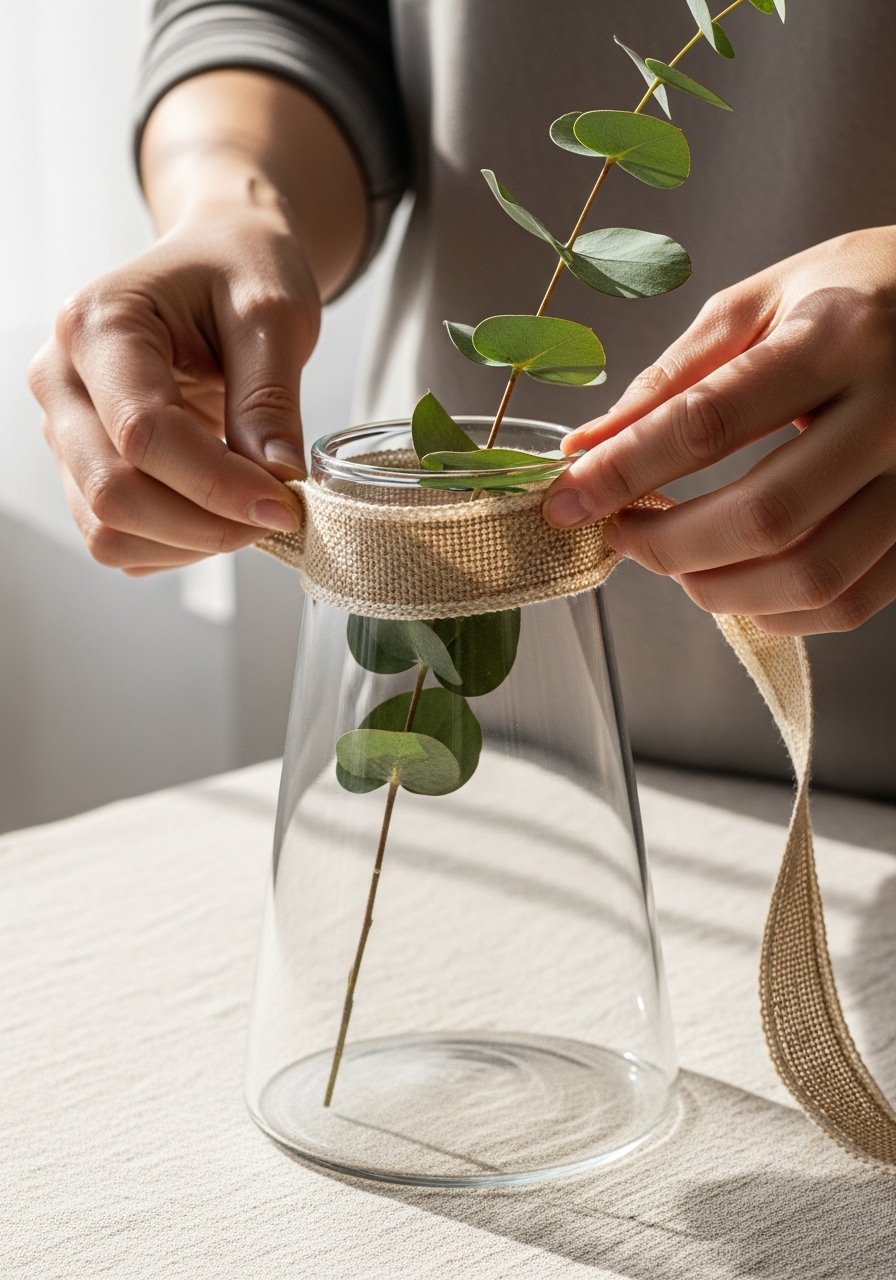
Measure the widest part of the vase, then cut ribbon to circumference plus 1–2 inches. Position the seam on the back where it won’t show.
- For a no-sew hold:
- Use double-sided fabric tape along the ribbon end and seam.
- Press firmly and smooth with fingers for 30 seconds.
- For a permanent bond:
- Apply a small dot of fabric glue at the seam, clamp briefly, then let cure 24 hours for full strength.
Quick tricks:
- Use a second narrow ribbon layered over a wider ribbon to hide the seam.
- If the vase has texture, press ribbon onto the profile and secure at two points to prevent sliding.
Make polished bows and accent knots (easy bow techniques)
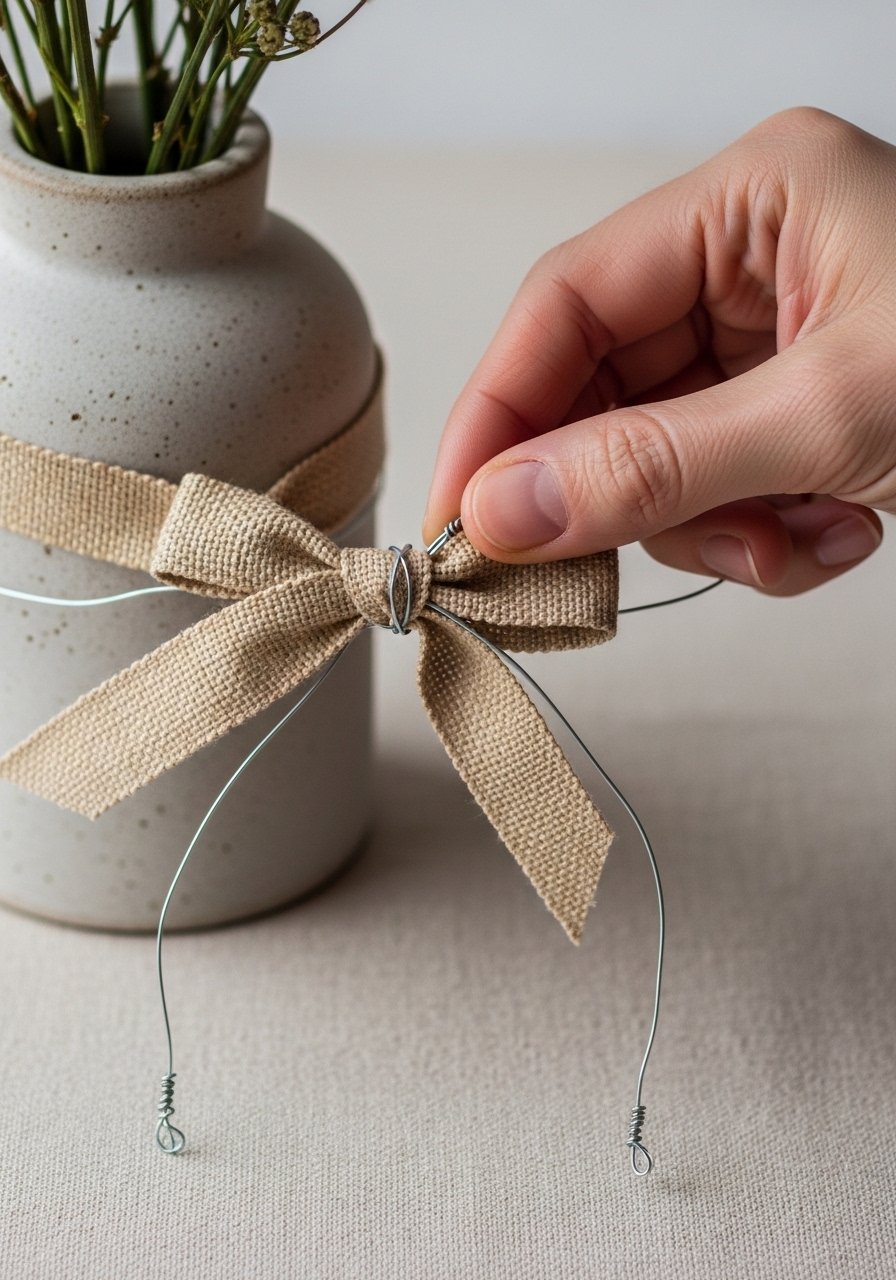
Bows make the project pop. Wired ribbon keeps loop shapes crisp.
- For full bows: make 3–4 loops per side, pinch center, wrap with clear floral wire and fluff loops outward.
- For quick ties: a flat double-loop knot looks tidy — fold ribbon into two loops and knot like shoelaces.
If you struggle with even loops, a simple ribbon bow maker speeds things up and ensures symmetry.
Attach bows with:
- A dab of hot glue from your mini hot glue gun (sets in ~2–5 minutes), or
- Wrap the floral wire around the vase neck and tuck the wire loop beneath the ribbon wrap for a removable option.
Finishing touches for gifting and display (polished, gift worthy)
Trim tails at an angle or with a neat V-cut; wired ribbon holds the shape when bent slightly upward. To prevent fraying, seal cut edges with a liquid fabric sealant like Fray Check and let dry 15–30 minutes.
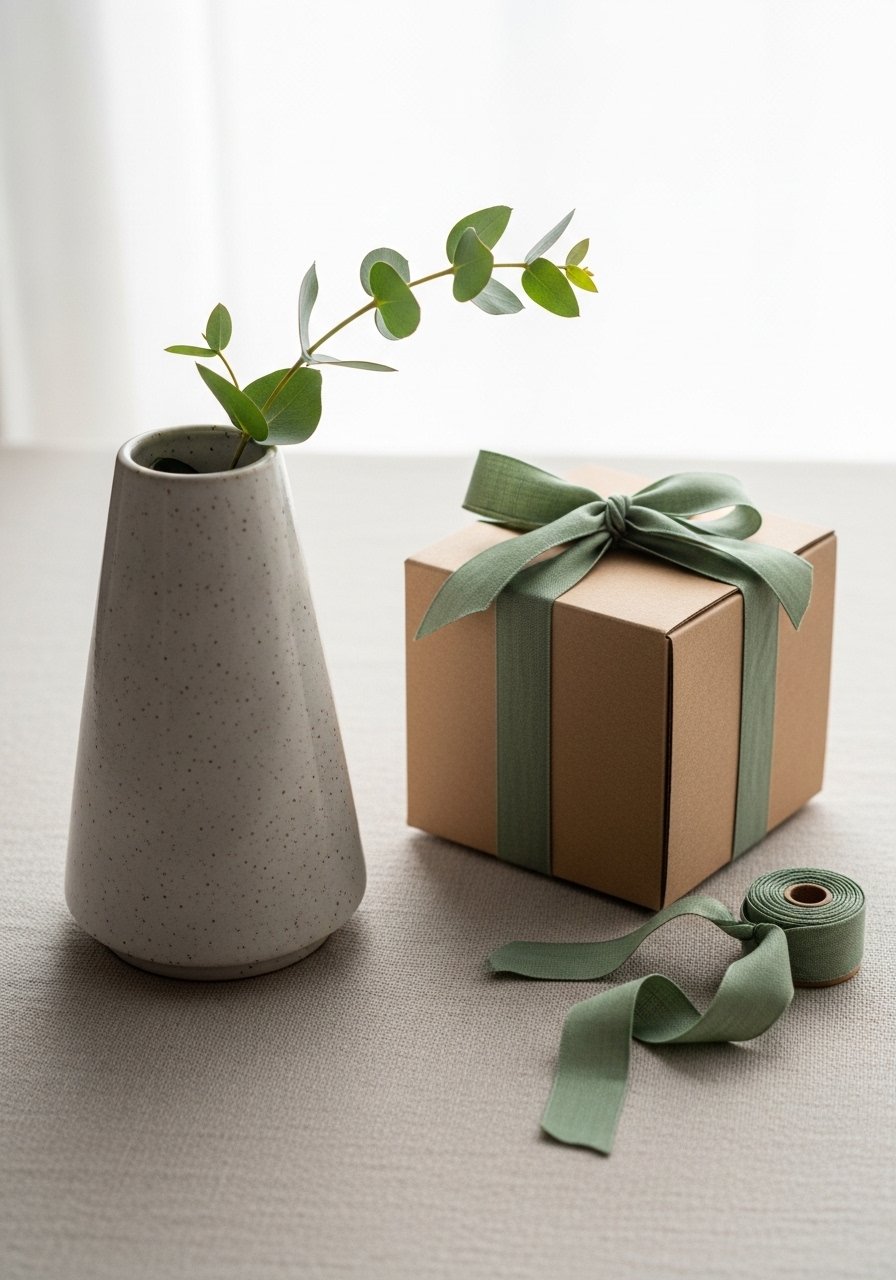
Wrap the finished vase in tissue and tuck into kraft gift boxes for a photo-ready present. Store extra ribbon in clear zip pouches so colors and widths stay visible.
Troubleshooting:
- Ribbon sliding? Add a second tape tab at top and bottom.
- Bow droops? Re-fluff wired loops or replace with a wider wired ribbon.
You’ve just learned how to decorate a vase with ribbon so it looks polished, elegant, and gift-ready without fuss. Save this guide and pin it for your next craft afternoon — which ribbon combo will you try first? If you’re going to buy one helpful tool, a small mini hot glue gun is the easiest way to get clean, fast joins across projects. Pin this tutorial and share with a friend who loves quick, beautiful gifts!


