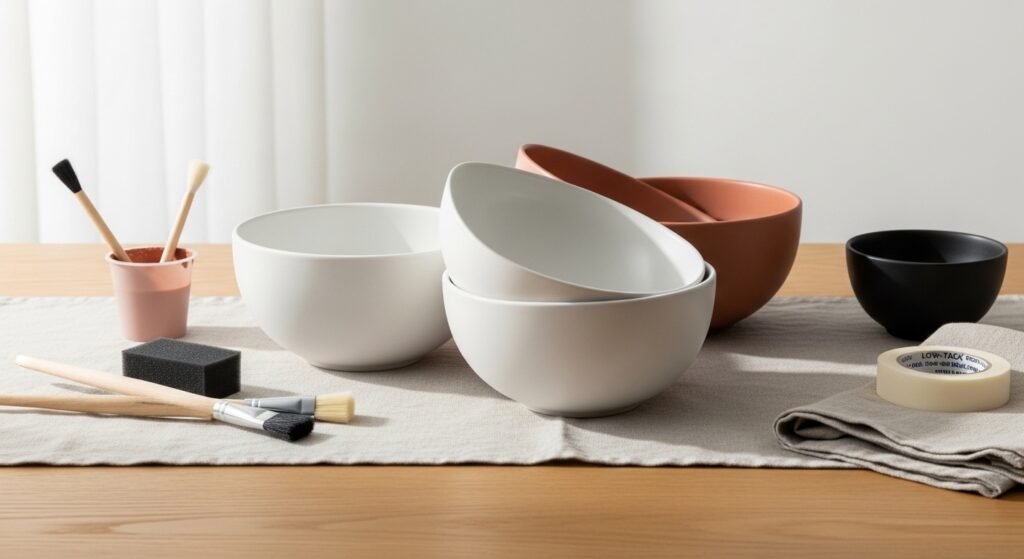
Painting geometric shapes can make plain ceramic bowls feel modern, calm, and gift-ready — even if you’re a beginner. If your lines always look wobbly or paint bleeds under tape, you’re not alone. This how-to shows exactly how to paint geometric patterns on ceramic bowls in a clean, repeatable way so your bowls look crisp, modern, and gallery-ready in one afternoon.
The secret? Low-tack painter’s tape and fine-tip paint pens keep edges sharp and details manageable. Try low-tack painter's tape for clean lines and a set of Posca-style paint pens for tiny details that won't feather. You’ll learn layout, painting order, drying tips, and sealing techniques so your geometric bowls last.
Expect to spend about 2–4 hours total (plus curing time). This guide covers prep, layout, painting, sealing, and display — with product tips that save time and keep results neat.
Gather and Prep for a one-afternoon project
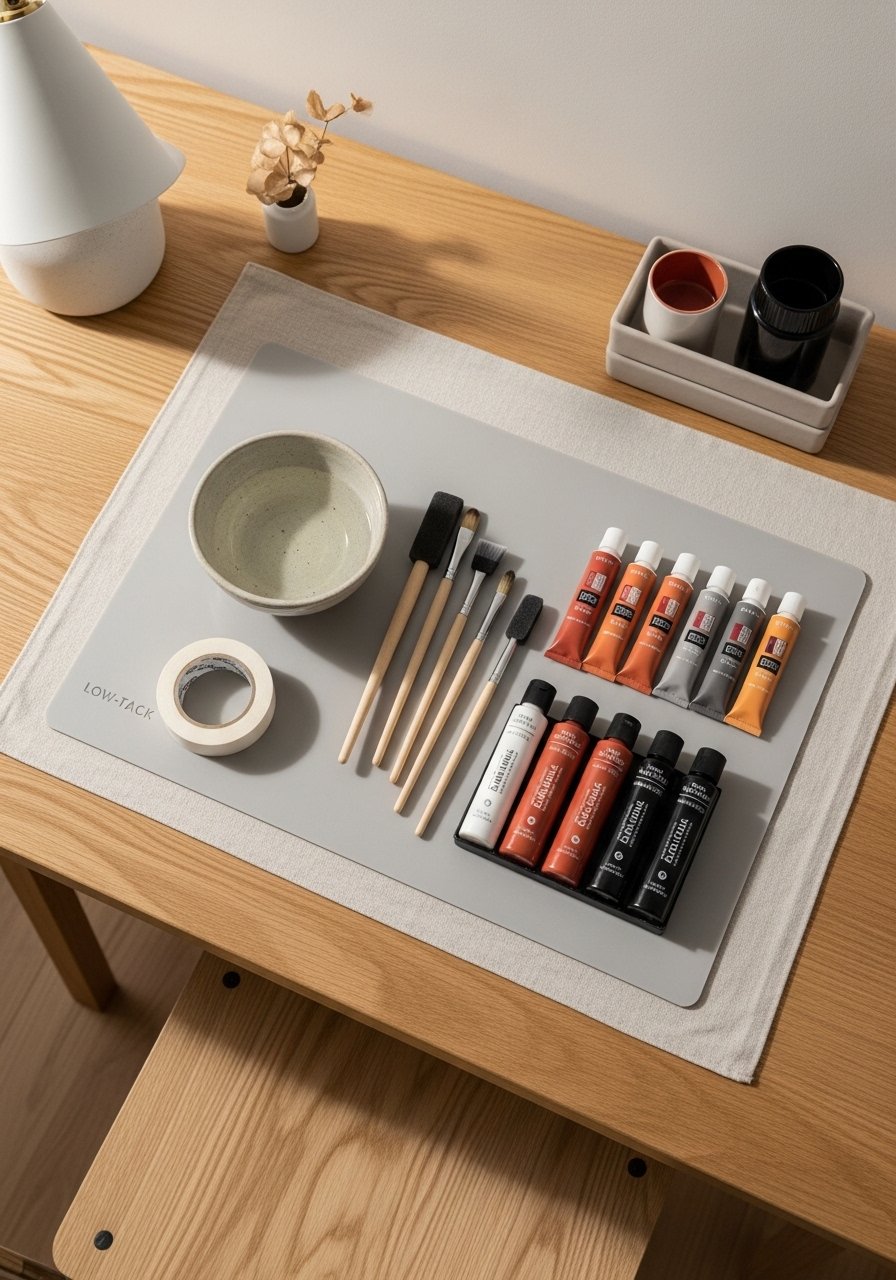
Start with clean, dry bowls — remove any stickers and wash with warm soapy water, then wipe with rubbing alcohol. Lightly sand any glossy glaze with 220–400 grit sandpaper to help paint stick, then dust off.
Quick tips:
- Light sanding: 1–2 minutes per bowl with fine grit sandpaper.
- Protect surface with a silicone craft mat so paint wipes off easily.
- Organize paints in a stackable craft organizer tray for one-afternoon flow.
Tape, measure, and lay out beginner-friendly geometric guides
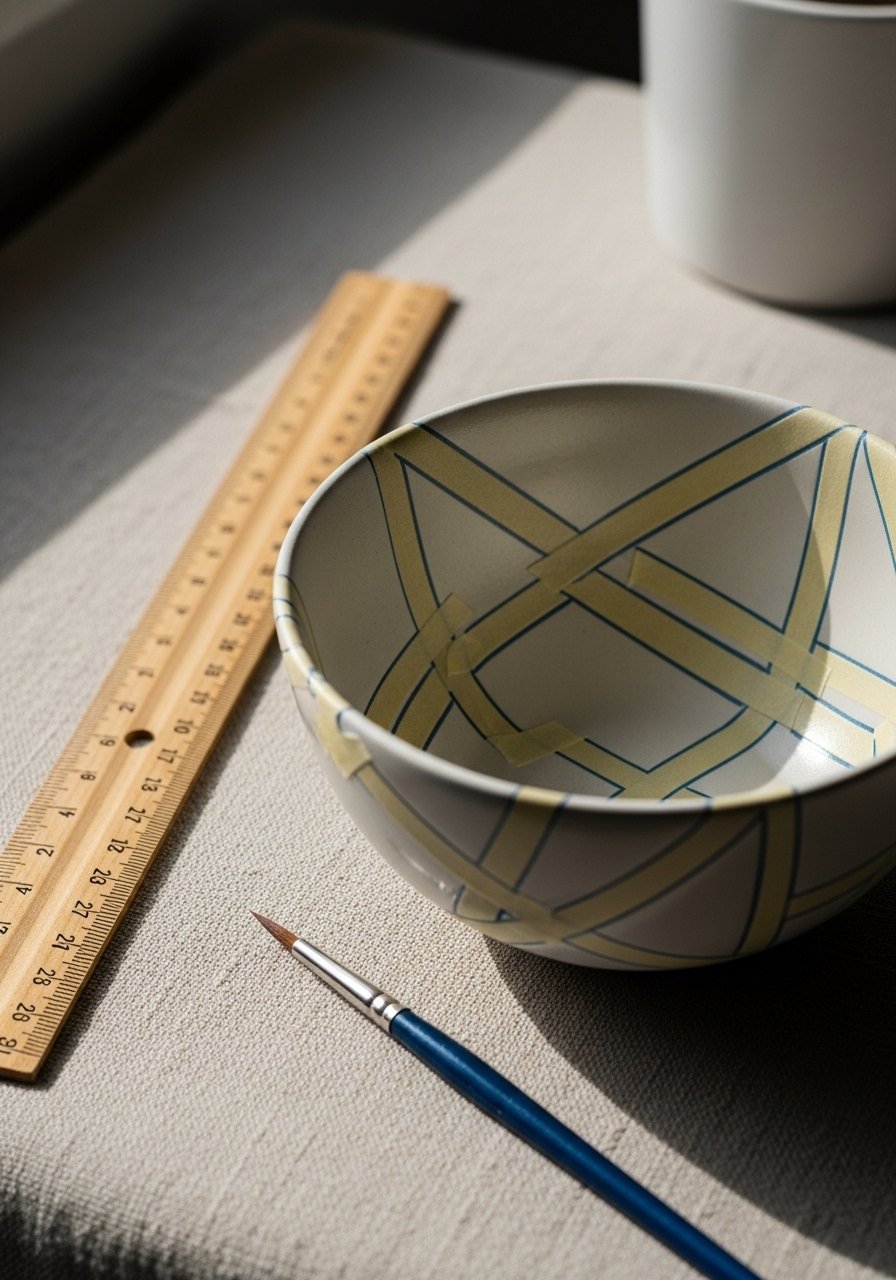
Geometric precision starts with layout. Use thin strips of low-tack tape to mark triangles, stripes, or chevrons. For consistent spacing:
- Use a small ruler or straight edge to measure 1/4"–1/2" gaps for stripes.
- Tear tape into manageable lengths and press edges with your finger or a small brayer roller for full adhesion.
- For curved sections, overlap short tape pieces rather than trying to bend one long strip.
Helpful products:
- A low-tack painter's tape keeps paint from peeling glaze.
- A brayer roller removes tiny bubbles and helps tape seal.
Common mistake: pressing tape diagonally or leaving tiny gaps. Press firmly along edges and test with a dab of paint in a hidden spot.
Paint clean shapes and build color in layers

Work from light to dark and thin to thick:
- Use a foam brush set for flat fills and a fine detail brush set for edges.
- Apply thin coats: 1st coat thin (dry in 15–30 minutes), 2nd coat for opacity (dry 30–60 minutes). Acrylic will be touch-dry quickly but plan 24 hours before sealing.
- For tiny lines or dots, finish with paint pens — they’re fast and beginner-friendly.
Numbered quick steps:
- Fill geometric sections with thin strokes; avoid pooling.
- Let coat dry 15–30 minutes before a second coat.
- Remove tape slowly at a 45-degree angle once paint is dry to the touch.
Troubleshooting:
- If paint bleeds, sand the edge gently, let dry, and retrace with tape for a second pass.
- If edges are jagged, touch up with a tiny detail brush and matching color.
Seal, cure, and style for display or gifting
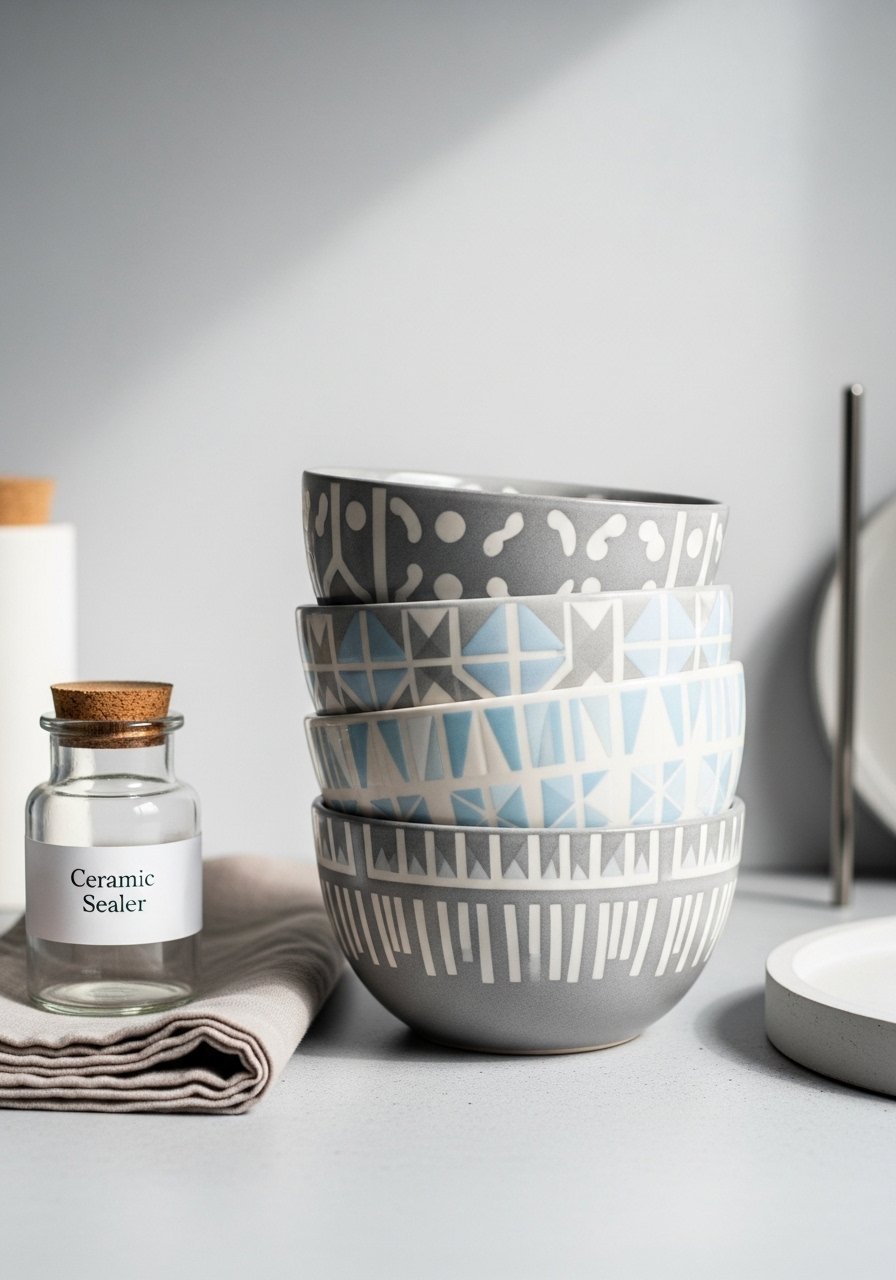
Once paint is dry to the touch, seal for durability. For functional bowls, choose a dishwasher-safe acrylic sealer or hand-wash only depending on sealer instructions. Apply one thin coat with a foam brush and let cure.
Sealing schedule:
- Sealer coat dry: 1–2 hours
- Light use/handwash after: 24–48 hours
- Full cure for regular use: 72 hours (follow product instructions)
Recommended products:
- Mod Podge Dishwasher Safe Sealer for higher durability.
- Store or gift in a craft organizer tray or wrap in kraft tissue.
Final styling tip: group bowls with a limited palette — muted terracotta, matte black, and white — for a pin-worthy, minimalist look.
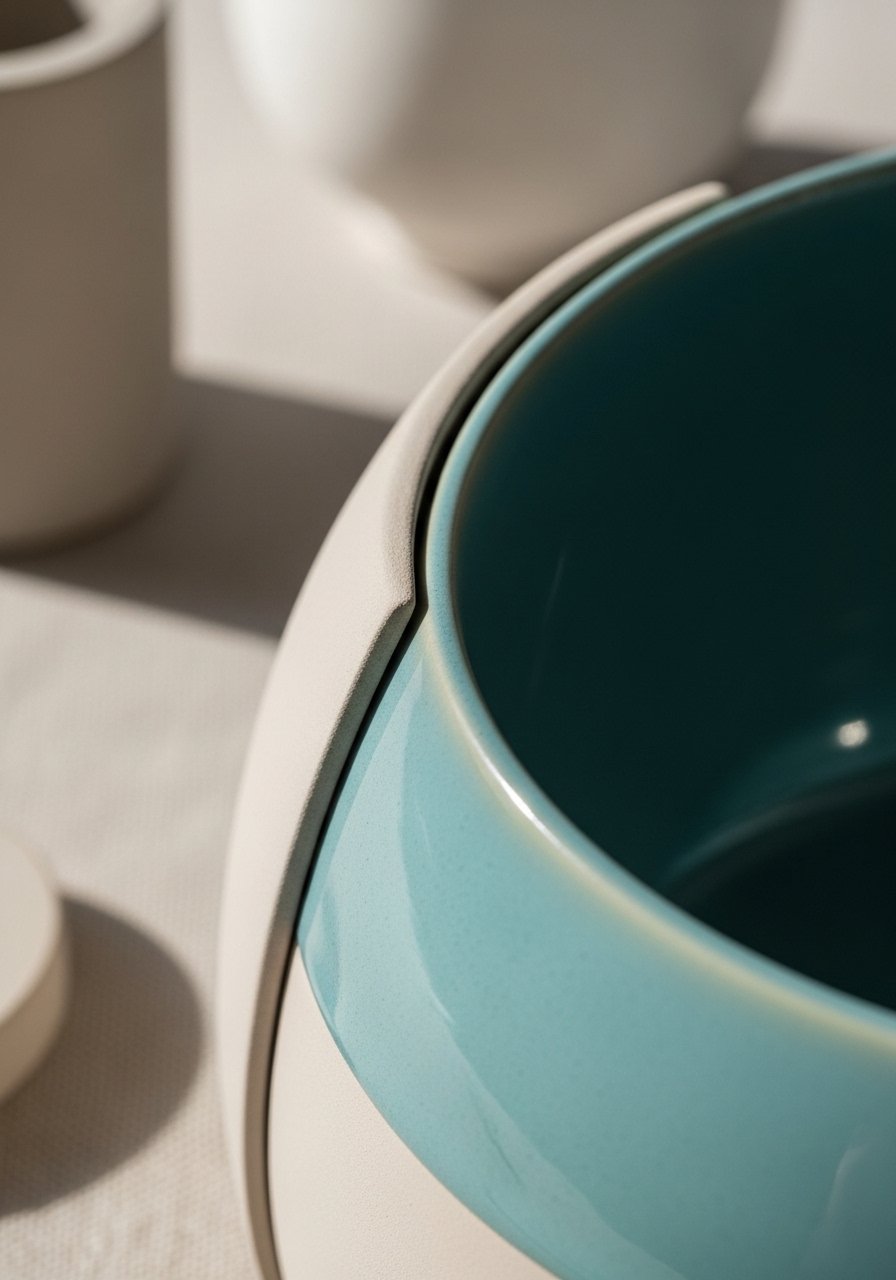
You’ve learned how to paint geometric patterns on ceramic bowls with crisp edges, layered color, and a lasting finish. Give yourself one afternoon to practice a couple of shapes, then try variations in scale and color. Pin this guide for your next craft afternoon, share with a friend who loves simple DIY homewares, and tell me — which geometric pattern will you try first? If you want one reliable tool to keep on your bench, a set of Posca-style paint pens is worth grabbing.





