Editing computer embroidery designs can feel intimidating when a stitched test doesn't match the tidy digital preview. You’ve spent hours digitizing a logo or customizing a nameplate only to see puckering, jumped stitches, or odd fill direction on fabric. If you want to edit computer embroidery designs like a pro and get polished, wearable results, this guide walks you through the exact workflow I use for fast, reliable fixes.
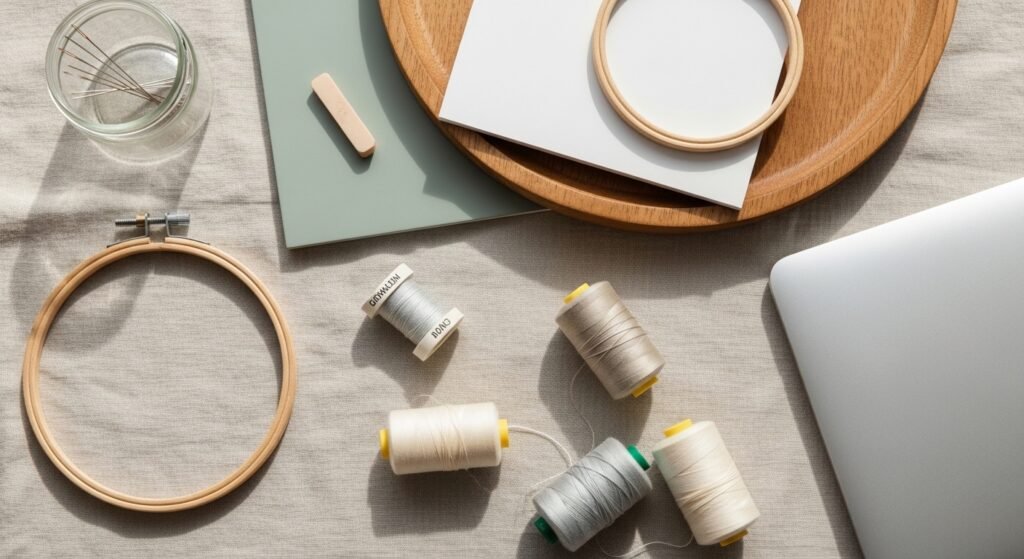
Start by prepping a test-ready sample—hoop a small square of fabric and stabilizer, and keep a spool of matching thread on hand. A good embroidery hoop set helps keep fabric taut and easier to troubleshoot; I like a solid wooden set like this embroidery hoop set. For quick mockups, plain muslin is forgiving; try a yard of muslin fabric yardage.
You’ll learn how to set up your workspace, make targeted edits in design files, test stitch efficiently, and finish for display or gifting. Expect to spend 30–90 minutes per iteration depending on complexity, and plan for at least two test stitches before finalizing.
Set up a tidy, efficient workspace (beginner-friendly)
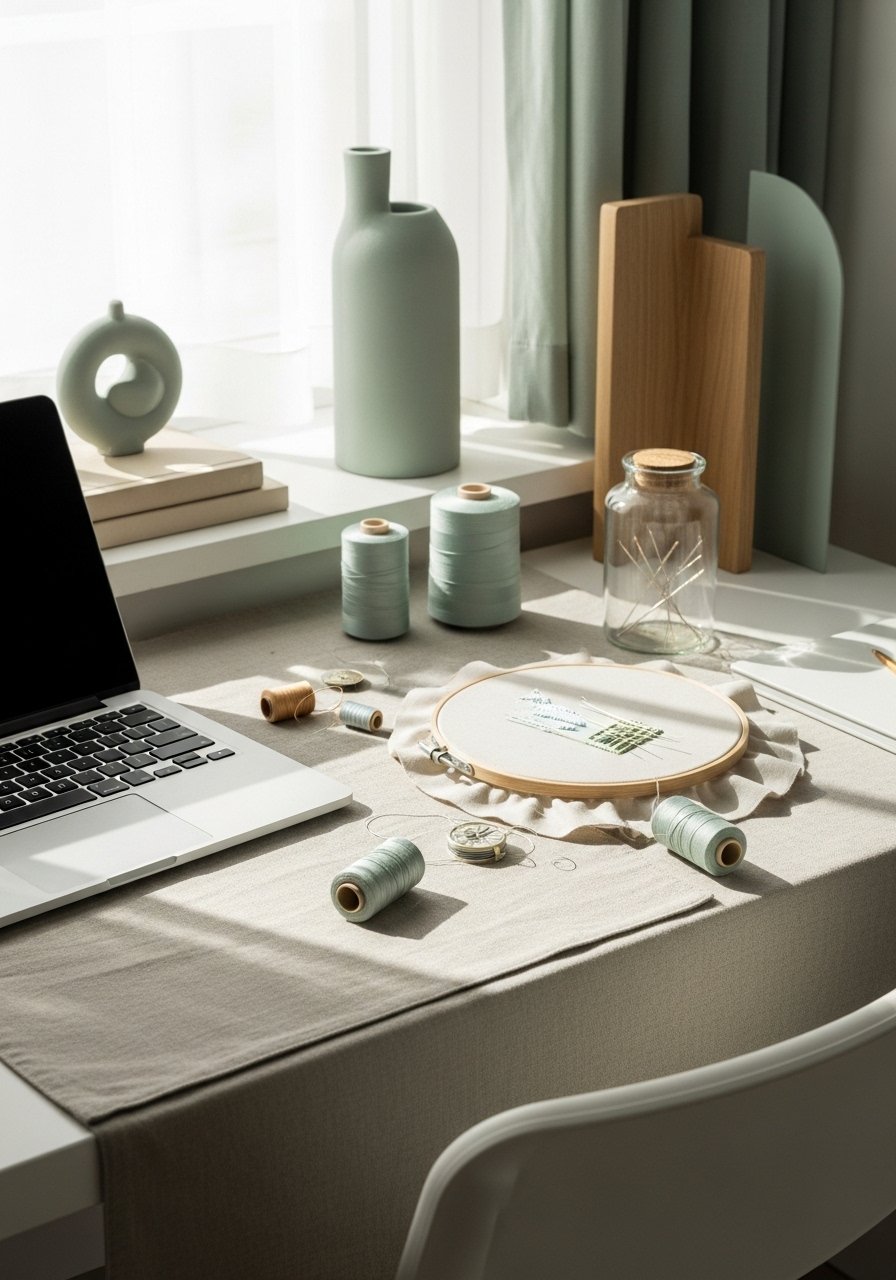
A calm workspace prevents mistakes and saves time when you edit computer embroidery designs. Keep your laptop stable and fabric nearby.
- Use a self-healing cutting mat under test cuts for appliqué patches.
- Store spare threads and needles in stackable craft organizer trays so you can reach colors fast.
- Prep multiples: cut 3×3 inch test squares and label them. That reduces re-hooping time.
Quick tip: Arrange tools in zones — digital (laptop), hand tools (scissors, needles), and test samples — so every edit flows into a stitch test immediately.
Make targeted digital edits (easy steps to fix common problems)

When you edit computer embroidery designs, small, deliberate changes fix most issues.
- Inspect stitch order and flag problem areas like dense fills or satin overlaps.
- Reduce stitch density in dense fills by 5–10% to prevent puckering.
- Change underlay from none to a simple cross-hatch underlay to stabilize fabric.
- If overlapping satin columns bite into each other, nudge stitch angles by 10–20 degrees.
- For appliqué, add a 0.5–1.0 mm compensation for fabric thickness.
Use a precision fabric scissors for trimming appliqué jump threads after the test stitch. Save versions with clear filenames like v1_name_hoop to track progress.
Fast test stitching and physical tweaks (one-afternoon, time-saving)
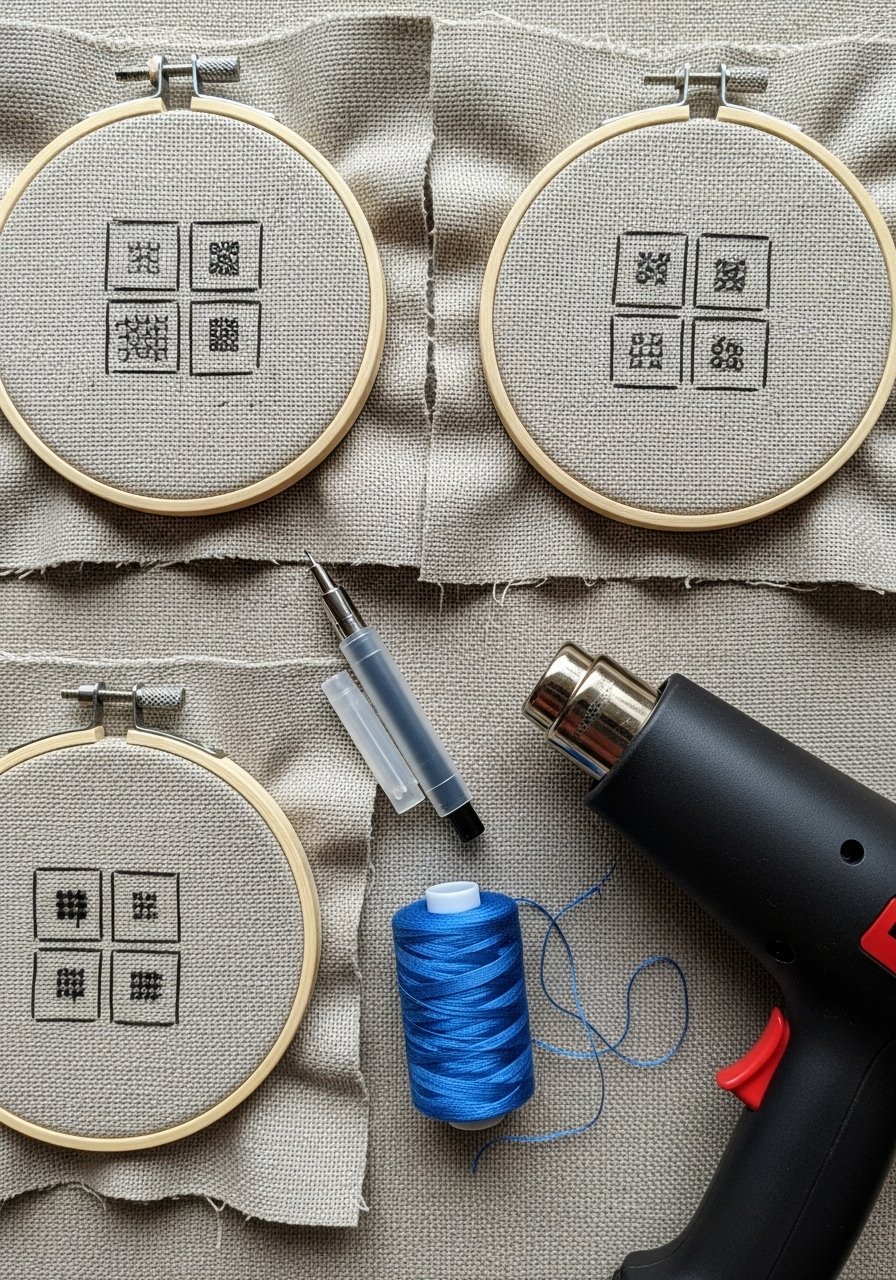
Testing quickly is the key to confidence when you edit computer embroidery designs.
- Stitch tests take 10–20 minutes for small designs; schedule 30–60 minutes for larger logos.
- Use a beginner sewing machine with embroidery capabilities if you’re doing in-house samples.
- For stabilizing tricky fabrics, rely on a soft but firm hoop from your embroidery hoop set.
Pro tricks:
- Fight bubbles by rehoning the hoop between attempts.
- If jump threads harden, a quick pass with a heat gun craft on low clears fuzz and speeds finishing.
Finish, present, and store polished pieces (pin-worthy results)
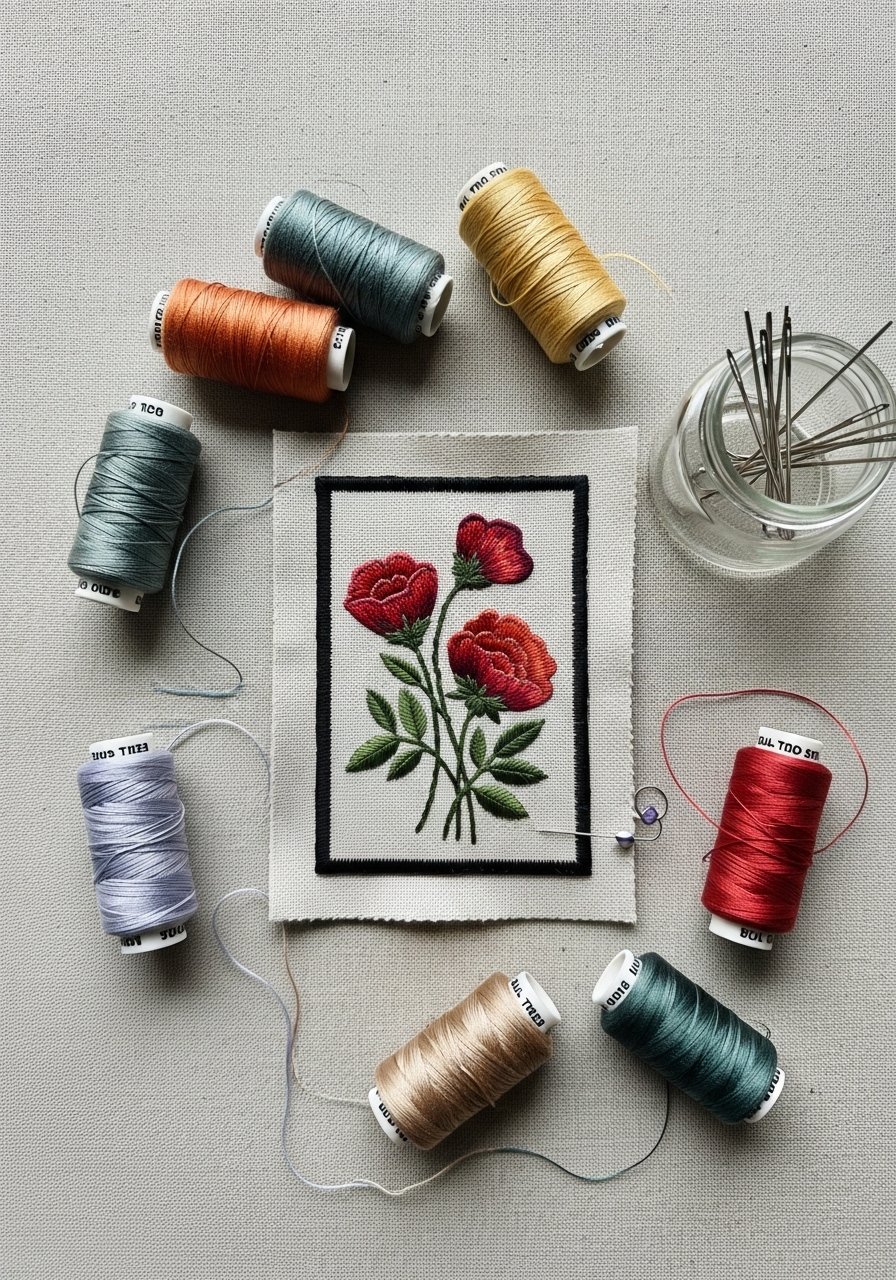
Once your edits stitch cleanly, finish like a pro so the piece looks gift-ready.
- Trim backing fabric to 1/8–1/4 inch from the edge of the stitching for a neat finish.
- Store extras in clear zip pouches so you can grab matching pieces later.
- Keep loose threads and small supplies organized in stackable craft organizer trays for assembly or gifting.
If you plan multiple runs, label batches and keep a stitched sample photo for color and tension reference.
Once you get the hang of it, editing computer embroidery designs becomes a fast, repeatable workflow. Save this guide for your next custom patch or monogram project — pin it and share with a friend who stitches. Which design will you fix first? And if you’re picking one tool to buy, a sturdy embroidery hoop set will give you cleaner tests and less re-hooping frustration. Pin this guide for your next craft afternoon!





