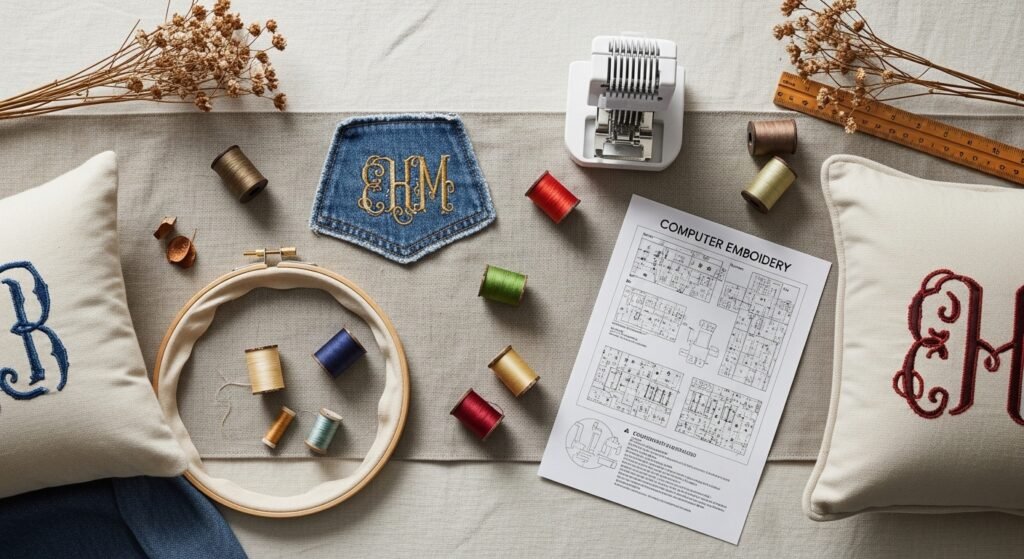
You’ve got a folder full of sparkly digitized files and a sewing machine calling your name—now what? These 24 computer embroidery design ideas are made so you can pick a project, load your file, and stitch something you’ll actually use and love. Whether you’re turning a modern monogram into a farmhouse pillow or embossing a floral motif onto a silk scarf, you’ll find projects that suit cottagecore, boho, japandi, and classic styles.
I’ll walk you through realistic materials lists, exact hoop sizes, thread quantities, stabilizer choices, drying times for adhesives, and step-by-step instructions you can follow tonight. I start most design prep by previewing files in Embrilliance or my embroidery software and trimming fabric with a self-healing cutting mat for perfectly straight edges. Grab a hot glue gun for quick applique holds and let’s make your next stitched piece sing.
- Personalized Linen Tea Towels with Monogram Medallion
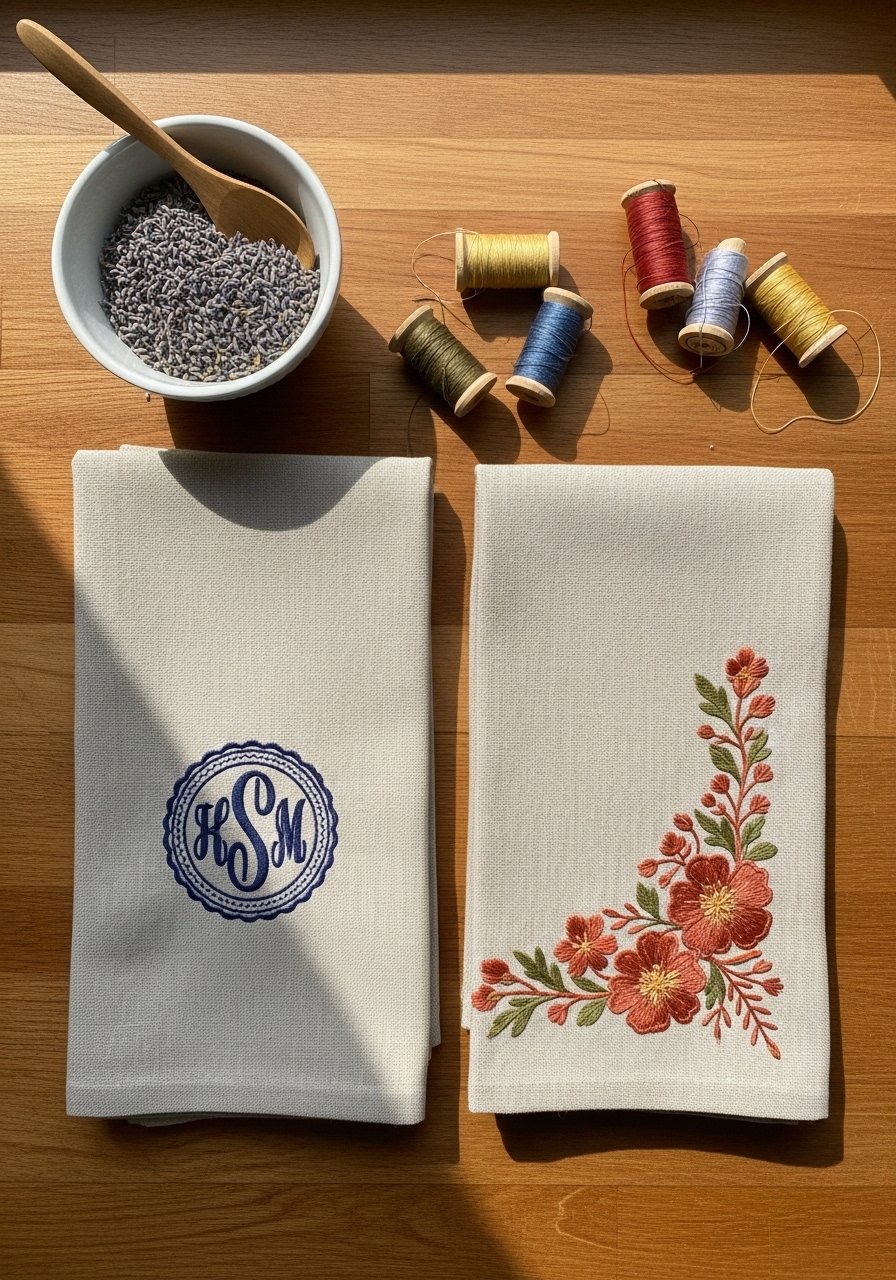
This project turns a simple flour-sack towel into a gift-ready piece using a centered computer embroidery monogram. The linen texture gives a slightly rustic, farmhouse look that softens with washing. Perfect for beginners and gift-makers who want an heirloom feel.
Materials
- 2 flour-sack linen tea towels, 18 x 28 inches
- 1 tear-away stabilizer sheet, 8 x 10 inches
- Embroidery thread set, 35wt rayon or polyester, 50–100 yds in main color
- Embroidery needle size 75/11
- Embroidery hoop, 6–8 inch
- Water-soluble marking pen (air-erasable)
- Steam iron and pressing cloth
- Optional: lightweight fusible interfacing, 8 x 10 inches
Instructions
- Prewash and press the towels to remove sizing; iron while slightly damp for best flattening.
- Center your chosen computer embroidery design (approx 3.5–4.5 inches diameter for towels). Trace the center lightly with a marking pen.
- Hoop the towel with an 8-inch hoop, sandwiching a piece of tear-away stabilizer under the stitching area. Make sure fabric is taut but not stretched.
- Load design into your embroidery machine. Test-stitch on scrap linen using the same stabilizer and thread tension.
- Stitch the design at standard 480–800 spm depending on machine; slow down for dense fills.
- When finished, carefully tear away stabilizer from the backside. Trim stray threads and press from the reverse with a pressing cloth.
- If using fusible interfacing under the design, fuse before stitching per manufacturer instructions; let cool fully before embroidery.
How to Display or Gift It
Fold with a sprig of dried lavender tied with twine and tuck into a kraft box for gifting. Display on a small kitchen hook or drape over a cutting board for styling. Store flat unfolded in a breathable cotton bag to preserve stitching.
- Denim Jacket Floral Patch (computer embroidery design idea)
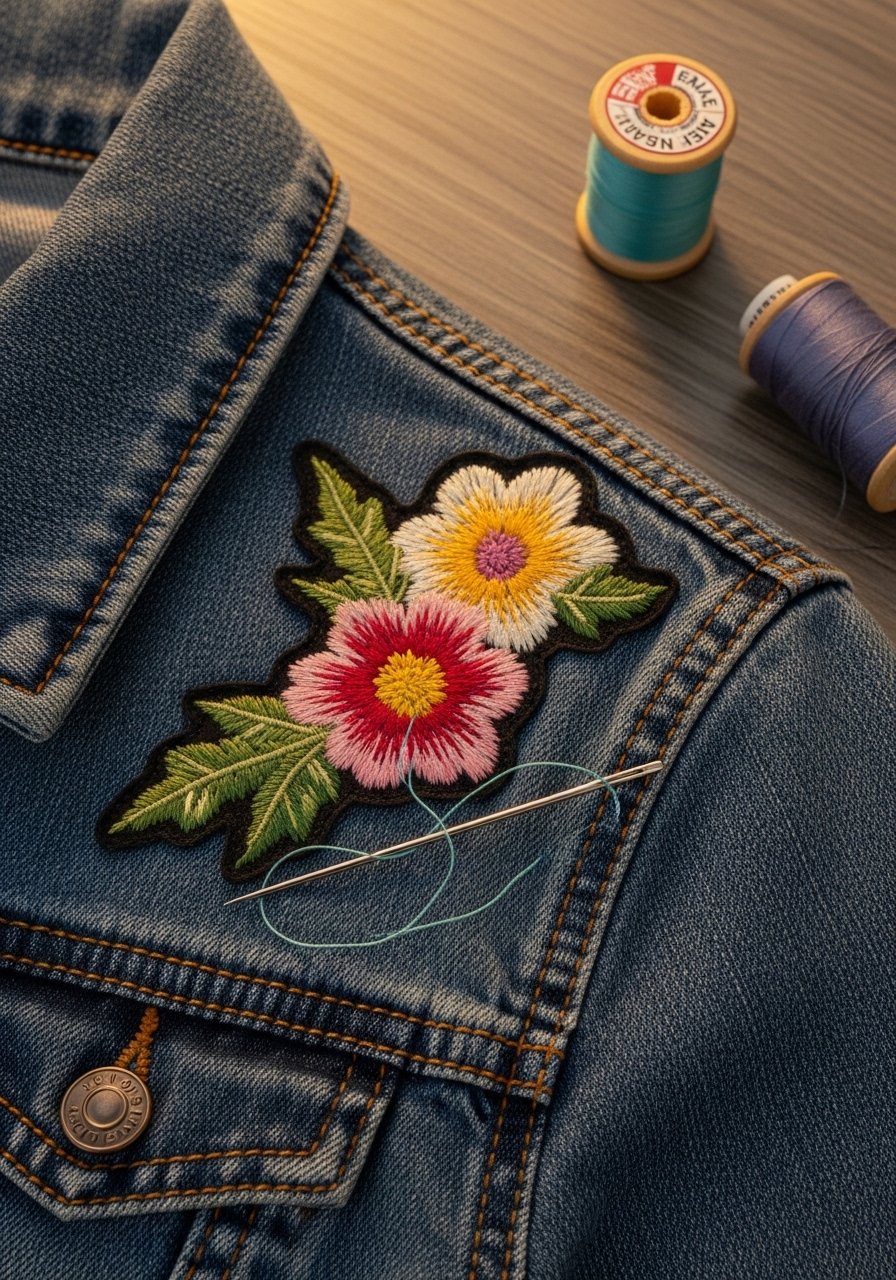
Add a bold floral patch to a thrifted denim jacket using a wash-away backing for crisp edges. The patch has slightly raised satin stitches for a tactile boho vibe. Great for upcycling and wearable statement pieces.
Materials
- Denim jacket (pre-washed)
- Medium-weight cut-away stabilizer, 6 x 8 inches
- Embroidery thread set (polyester), approx 120 yards total
- Iron-on fabric backing or adhesive sheet, 2 x 3 inches
- Tear-away patch backing paper (if creating removable patches)
- Embroidery hoop, 5–6 inch
- Sharp embroidery scissors
- Sewing machine or hand needle for edge stitching
Instructions
- Wash and dry the jacket to pre-shrink denim. Mark placement with chalk.
- Hoop stabilizer and hoop fabric using a magnetic hoop or adhesive so denim sits flat.
- Load the floral computer embroidery design sized to 3–4 inches wide. Do a test on scrap denim.
- Embroider slowly; denim is thick so check bobbin tension and use a size 90/14 needle.
- If making a patch, trim around the motif, leaving 1/4 inch fabric. Use an iron-on backing to stabilize edges, then edge-stitch with a narrow zigzag on a sewing machine.
- For permanent jacket application, position and topstitch by zigzag or satin stitch around the edge.
How to Display or Gift It
Pair the jacket with neutral linen pieces for a modern look. If gifting, wrap in tissue and tuck in care instructions: wash inside out cold, low tumble dry. Store in a breathable garment bag.
- Heirloom Baby Onesie with Sweet Animal Motif
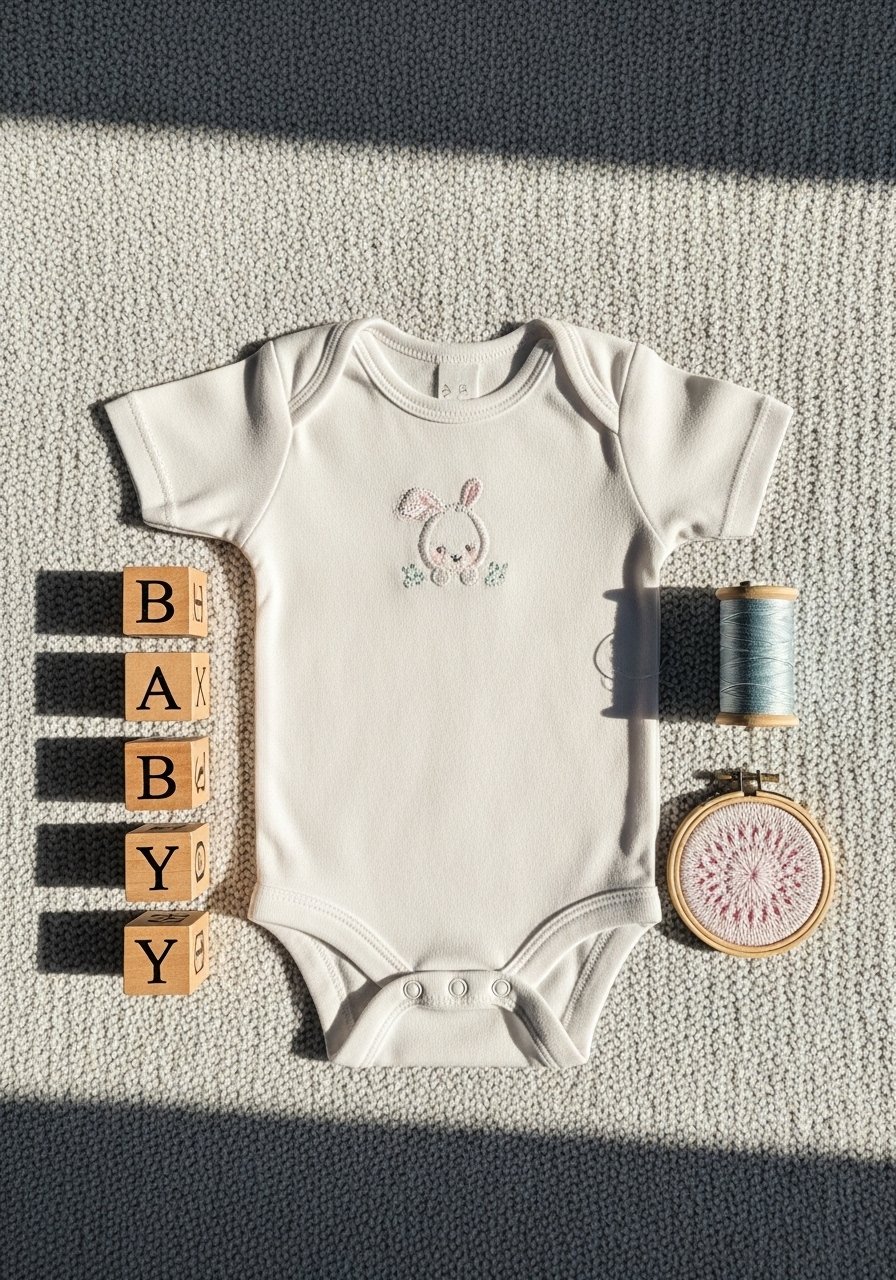
Soft, low-density fills keep baby-safe garments comfy. This baby onesie uses a small computer embroidery file that stitches quickly and has minimal bulk—perfect for baby showers.
Materials
- Cotton baby onesie, 3–6 months size
- Lightweight cut-away stabilizer, 4 x 6 inches
- Embroidery thread (polyester, hypoallergenic), 25–50 yards
- Embroidery needle size 75/11
- Small hoop, 3–4 inches
- Wash-away backing for inside-of-garment use
- Heat-seal tape for quick hemming (optional)
Instructions
- Prewash onesie in baby-safe detergent and dry.
- Hoop stabilizer, then layer onesie fabric over hoop, centering design area. Use wash-away backing inside to protect seams.
- Set design to 2–2.5 inches width. Run a test on scrap jersey for tension.
- Stitch at moderate speed; if fabric puckers, reduce tension and use a longer stitch length for trims.
- Remove stabilizer per product directions; if wash-away, rinse under warm water and let air-dry.
- Press gently through a pressing cloth to maintain softness.
How to Display or Gift It
Fold and place in a small kraft box with tissue paper and a drying-time note: allow wash-away stabilizer to dry fully if rinsed. Store in a baby keepsake box.
- Appliqué Monogram Pillow (computer embroidery design idea)
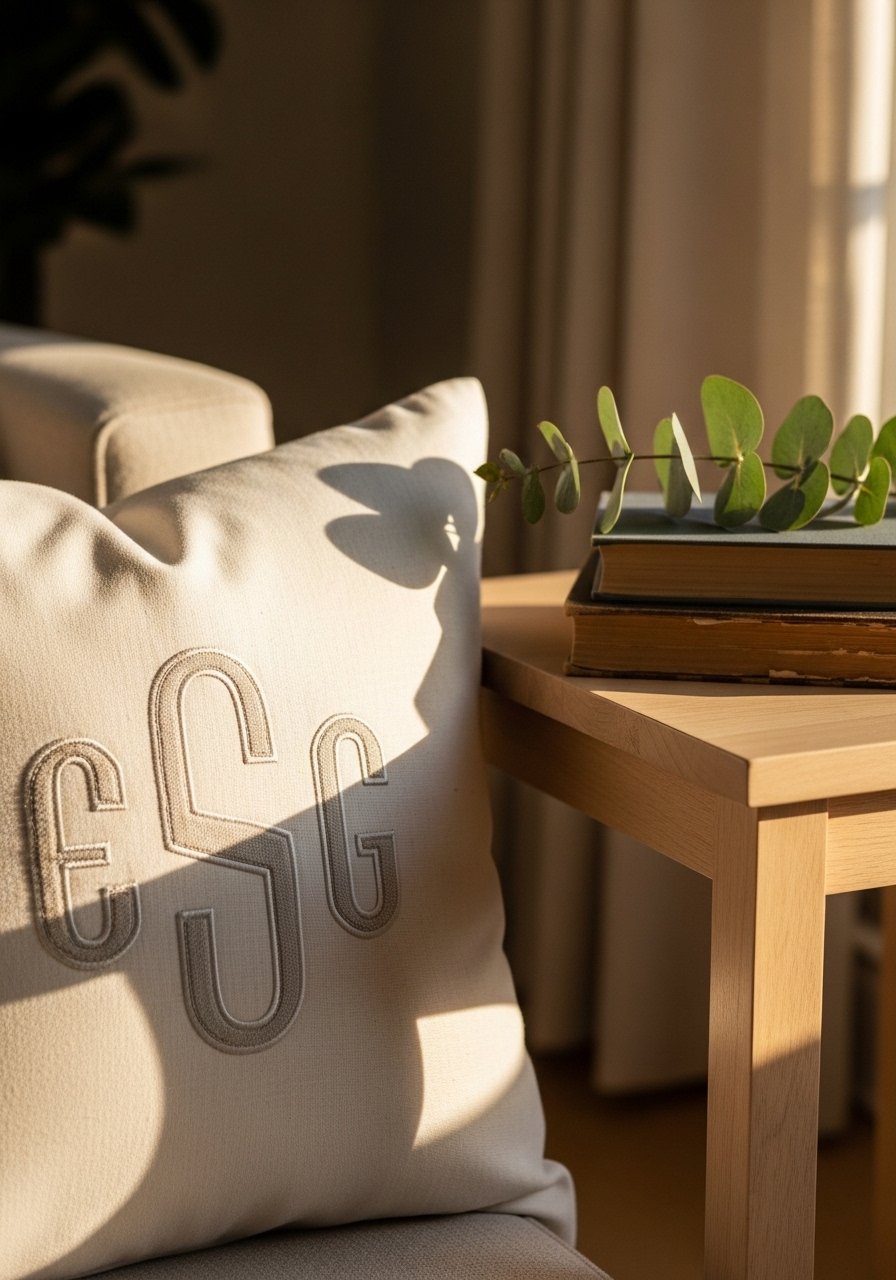
Combine laser-cut applique shapes with machine embroidery for a clean monogram. Applique saves time and adds color blocking to modern pillows.
Materials
- Pillow cover, 16 x 16 inches, prewashed linen or cotton
- Cotton applique fabric scraps, 4 x 4 inches per letter
- Heat-away stabilizer, 8 x 8 inches
- Fusible web, 8 x 8 inches
- Embroidery thread for satin stitch, 50–100 yards
- Embroidery hoop, 5–6 inch
- Small brayer roller to smooth fusible
- Microtex sewing needle when topstitching
Instructions
- Trace and fuse applique shapes onto fabric using fusible web and a low-heat iron, using a pressing cloth.
- Hoop pillow fabric with heat-away stabilizer underneath.
- Load monogram computer embroidery design sized to 5–6 inches.
- Place fused applique shape in position and tack down with a basting stitch in the machine.
- Finish edges with a satin stitch; trim jump threads and remove heat-away backing by reheating slightly and peeling.
- Insert pillow form and fluff.
How to Display or Gift It
Pair with neutral throw blankets and display on a bench or couch. For gifting, wrap in tissue and tie with ribbon. Store unused pillow covers in a plastic-free fabric storage cube.
- Floral Hoop Art Duo
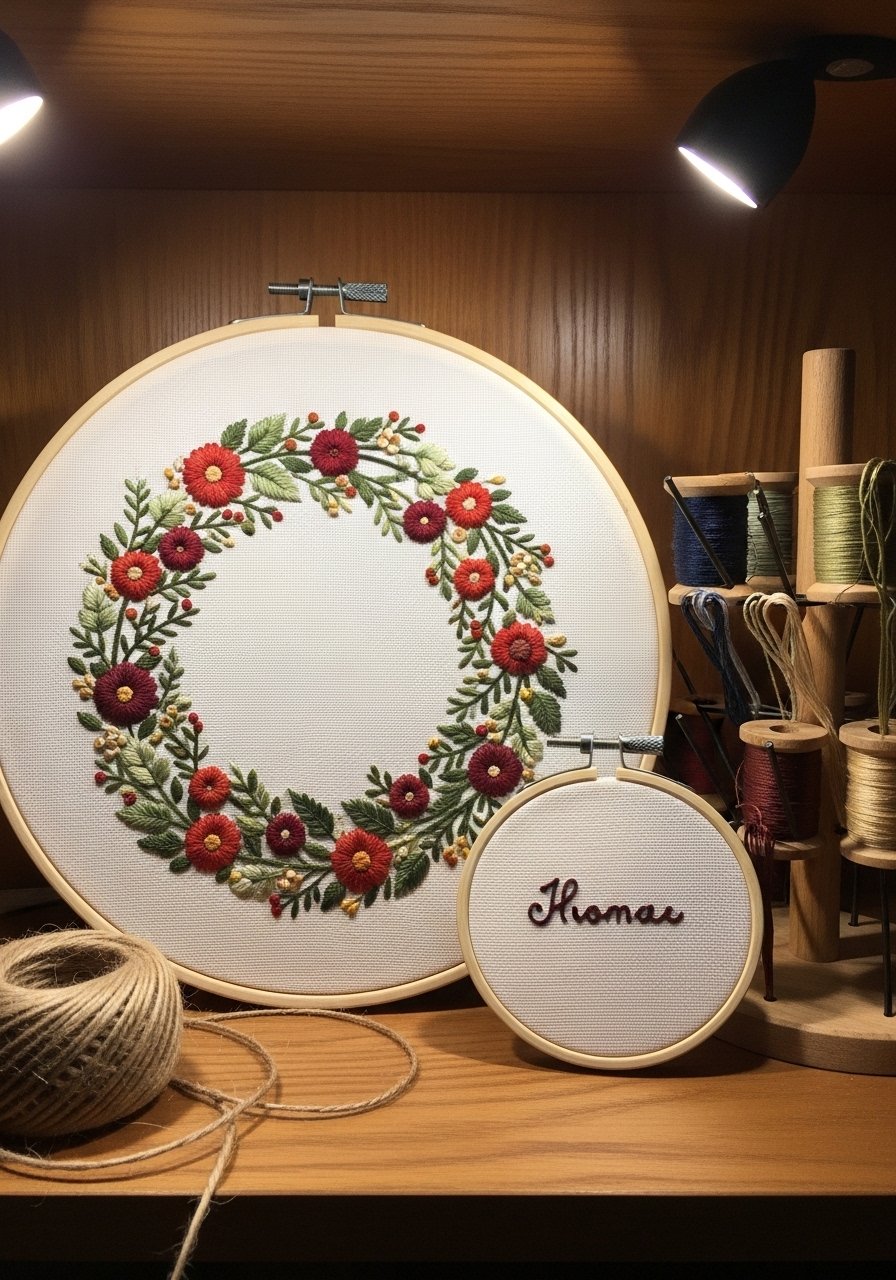
Create a gallery wall with layered hoop sizes. Smaller motifs contrast larger filled pieces for a curated craft look.
Materials
- Embroidery hoops, 5-inch and 8-inch
- Cotton quilting fabric, 8 x 8 inches per hoop
- Tear-away stabilizer, 6 x 6 inches
- Embroidery thread set (varied colors), 30–200 yards depending on density
- Embroidery needle sizes 75/11 and 80/12
- Iron and pressing cloth
- Small wooden hanging hook
Instructions
- Cut fabric squares, press and center in hoop with stabilizer beneath.
- Load computer embroidery designs sized to hoop (e.g., 5-inch motif, 7-inch motif).
- Stitch at standard speed, pausing to check tension on dense fills.
- Finish hoop backs with a felt circle glued with fabric glue and trimmed.
- Tighten hoops and add a finishing knot on top for hanging.
How to Display or Gift It
Arrange in a staggered cluster over a mantel or nursery shelf. Use a small wooden easel for tabletop display and store flat in stackable craft trays when not in use.
- Quilted Mug Rug with Embroidered Corner
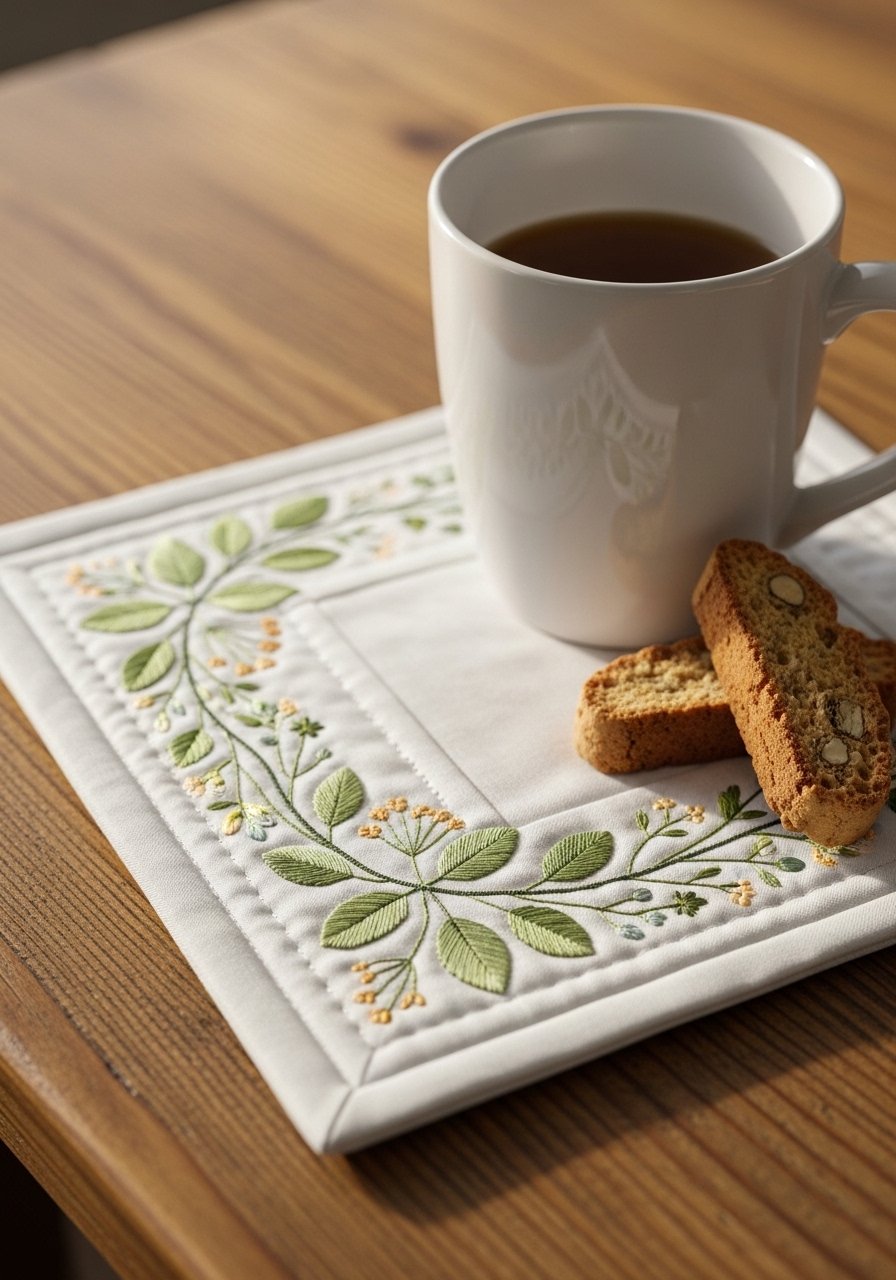
Mug rugs are fast, functional, and make great club gifts. This one blends quilting with a computer-stitched motif in the corner.
Materials
- Cotton quilting fabric: 2 pieces 8 x 8 inches (top & backing)
- Batting square, 8 x 8 inches
- Tear-away stabilizer, 6 x 6 inches
- Embroidery thread, 20–30 yards
- Quilting hoop or small 6-inch hoop
- Rotary cutter and ruler
- Walking foot for sewing machine (recommended)
Instructions
- Layer top fabric, batting, and backing; baste with pins.
- Hoop top layer only with stabilizer and stitch corner motif sized 2–3 inches.
- Quilt pieces with straight-line quilting using a walking foot, trimming excess to 7.5 x 7.5 inches.
- Bind edges with 1/2-inch bias binding, miter corners, and press.
- Press finished rug flat for crisp corners.
How to Display or Gift It
Pair with a matching coaster set in a small kraft box. Store stacked in a small drawer organizer to save space.
- Holiday Ornament Set (computer embroidery design idea)
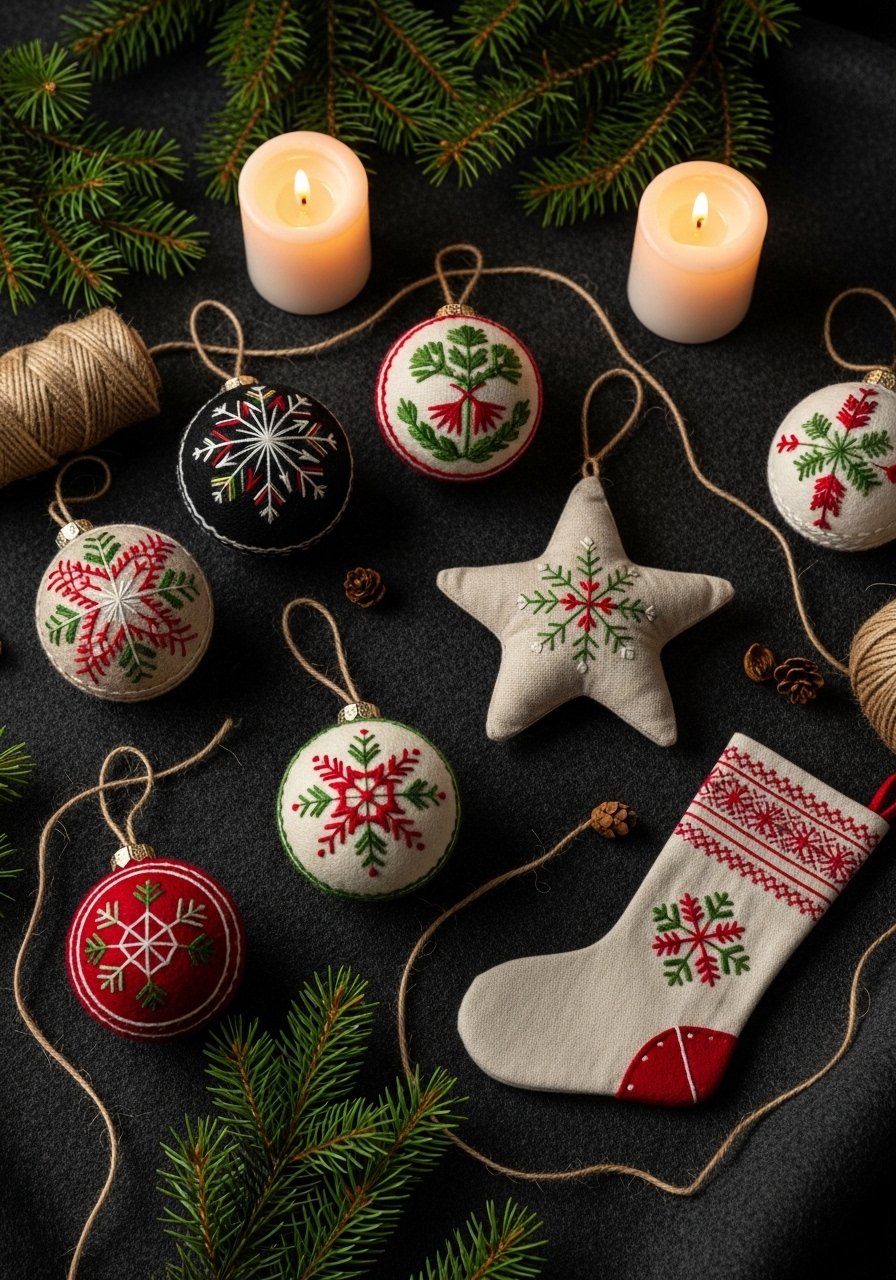
Small embroidered ornaments are fast to stitch, use minimal stabilizer, and make sweet keepsakes. Use water-soluble backing for full-floating stitches.
Materials
- Wool felt squares, 4 x 4 inches each
- Water-soluble stabilizer, 4 x 6 inches
- Embroidery thread (variety), 10–30 yards per ornament
- Small stuffing (polyfill), pinch per ornament
- Embroidery hoop, 3–4 inch
- Thin ribbon or jute for hanging, 6–8 inches per ornament
- Sharp small scissors
Instructions
- Hoop felt with water-soluble stabilizer beneath.
- Stitch design sized 1.5–2.5 inches, then remove hoop and rinse away stabilizer per product directions. Let air-dry (~30–60 minutes).
- Cut out motifs leaving 1/4 inch seam allowance, stitch two pieces together right sides out, leaving a small opening.
- Stuff lightly and close opening with ladder stitch or small whipstitch.
- Add hanging ribbon and finish knots securely.
How to Display or Gift It
Package in clear ornament boxes and include a small drying-time note if wash-away stabilizer was rinsed. Store in acid-free tissue and a kraft ornament box between seasons.
- Leather Key Fob with Debossed Embroidery Look
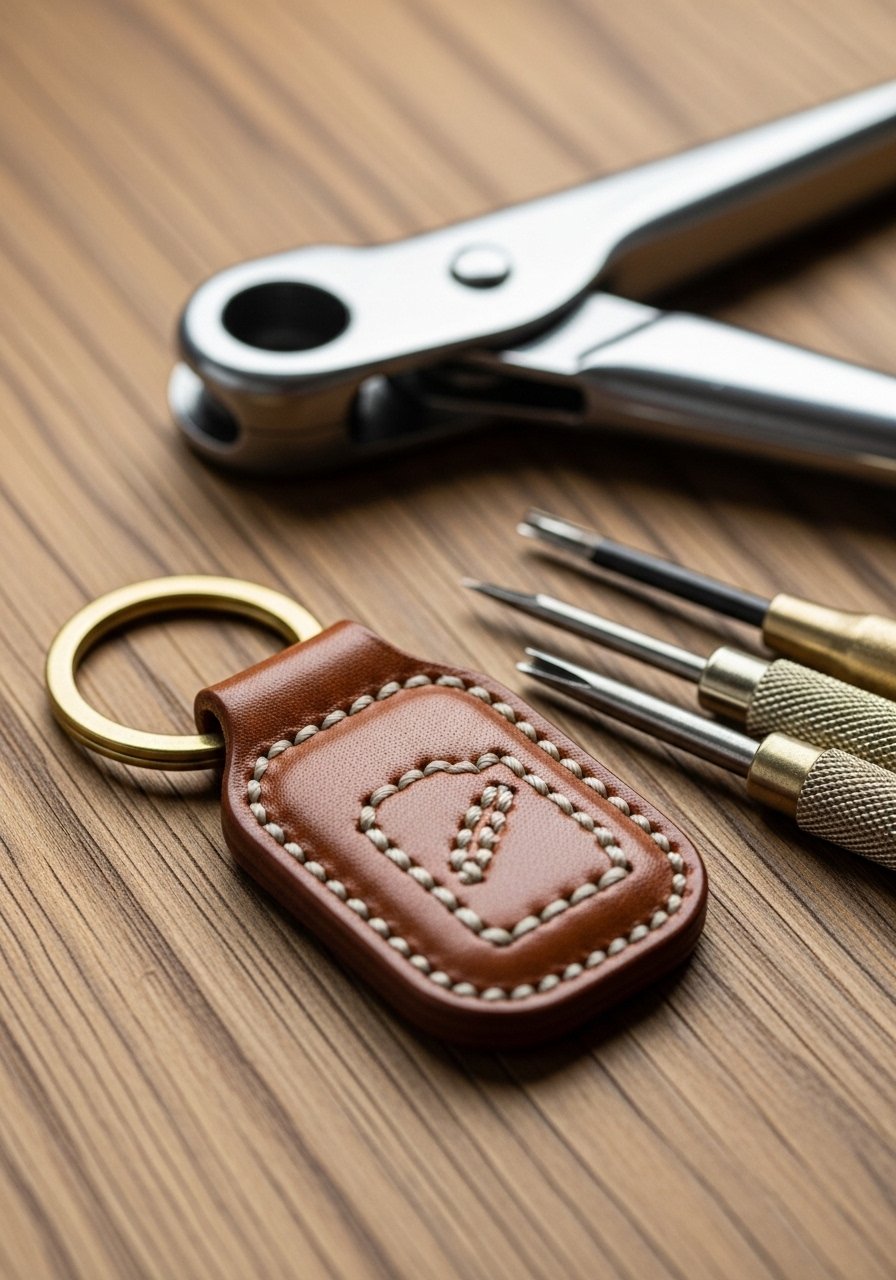
You can simulate embroidered motifs on thin veg-tanned leather using precision stitching or stitch-through applique. The result is chic and durable.
Materials
- Thin vegetable-tanned leather, 3 x 6 inches
- Key ring hardware, brass or nickel
- Waxed polyester thread, 10–20 meters
- Leather punch and needle
- Small printed computer embroidery file scaled to leather
- Edge burnisher and leather dye (optional)
Instructions
- Trace the design scaled to 1.5–2 inches on leather with a fine-tip pen.
- Use a leather punch or stitching chisel to make evenly spaced holes.
- Stitch through using waxed thread, keeping tension even. Backstitch at start and end.
- Attach hardware and burnish edges. Dye edges if desired and let dry 24 hours.
How to Display or Gift It
Slip into a small kraft envelope with a note on leather care. Store in a dry, cool drawer away from sunlight.
- Linen Napkin Set with Corner Motifs
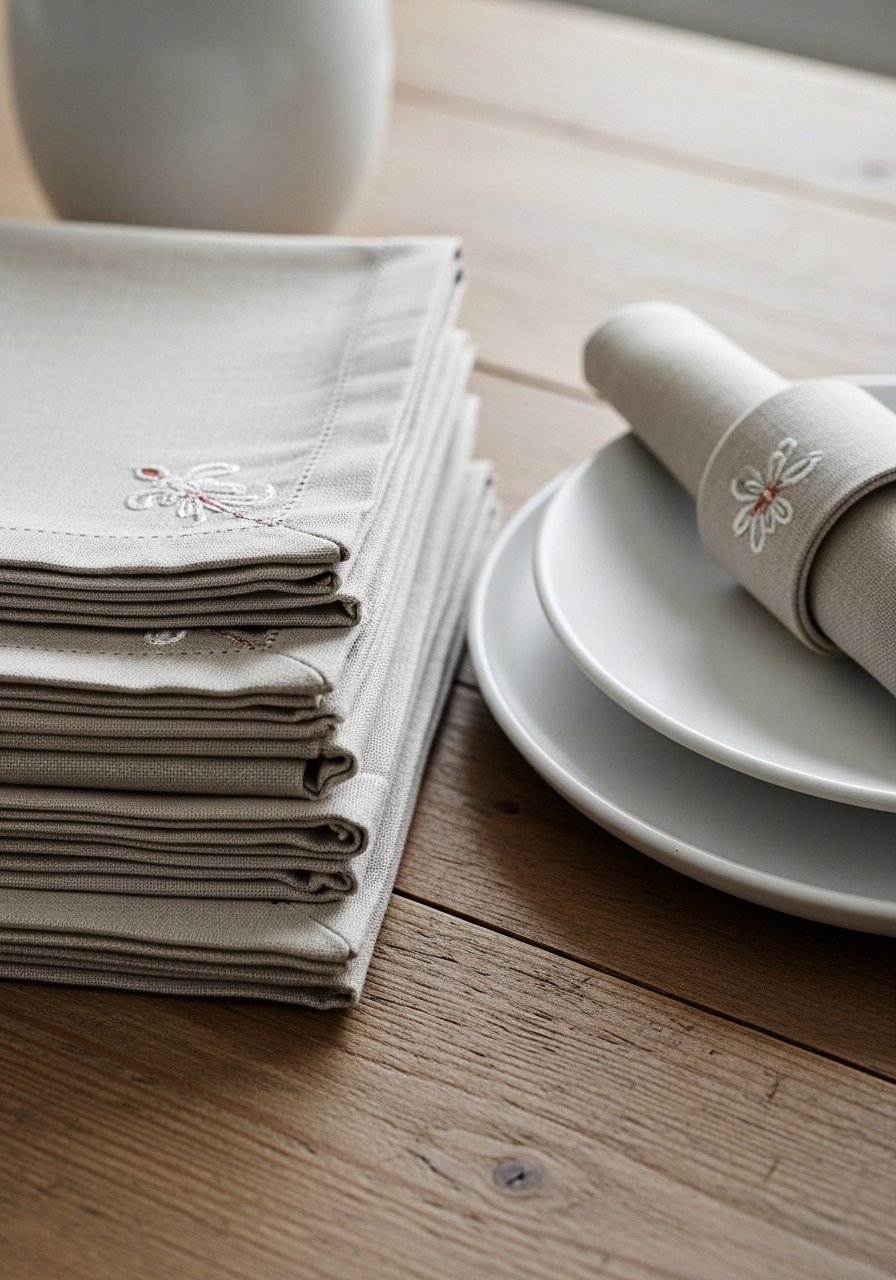
Corner motifs on napkins add a subtle formal touch without overwhelming a table setting. Keep motifs small so they’re visible when napkins are folded.
Materials
- Linen napkins, 18 x 18 inches, set of 4
- Tear-away stabilizer, 6 x 6 inches per napkin
- Embroidery thread, neutral tones, 50–100 yards
- Small hoop, 4–5 inch
- Steam iron
- Straight pins or fabric clips
Instructions
- Prewash and press napkins. Mark corner placement 1.5 inches from edge.
- Hoop each napkin with tear-away stabilizer beneath.
- Stitch motifs sized 1.25–1.75 inches in the corner. Use small, low-density fills to prevent stiffness.
- Remove stabilizer and press from reverse with a damp pressing cloth.
How to Display or Gift It
Wrap with twine and tuck in a sprig of dried herb. Store flat in a fabric-covered box to prevent creasing.
- Silk Scarf Edge Embroidery
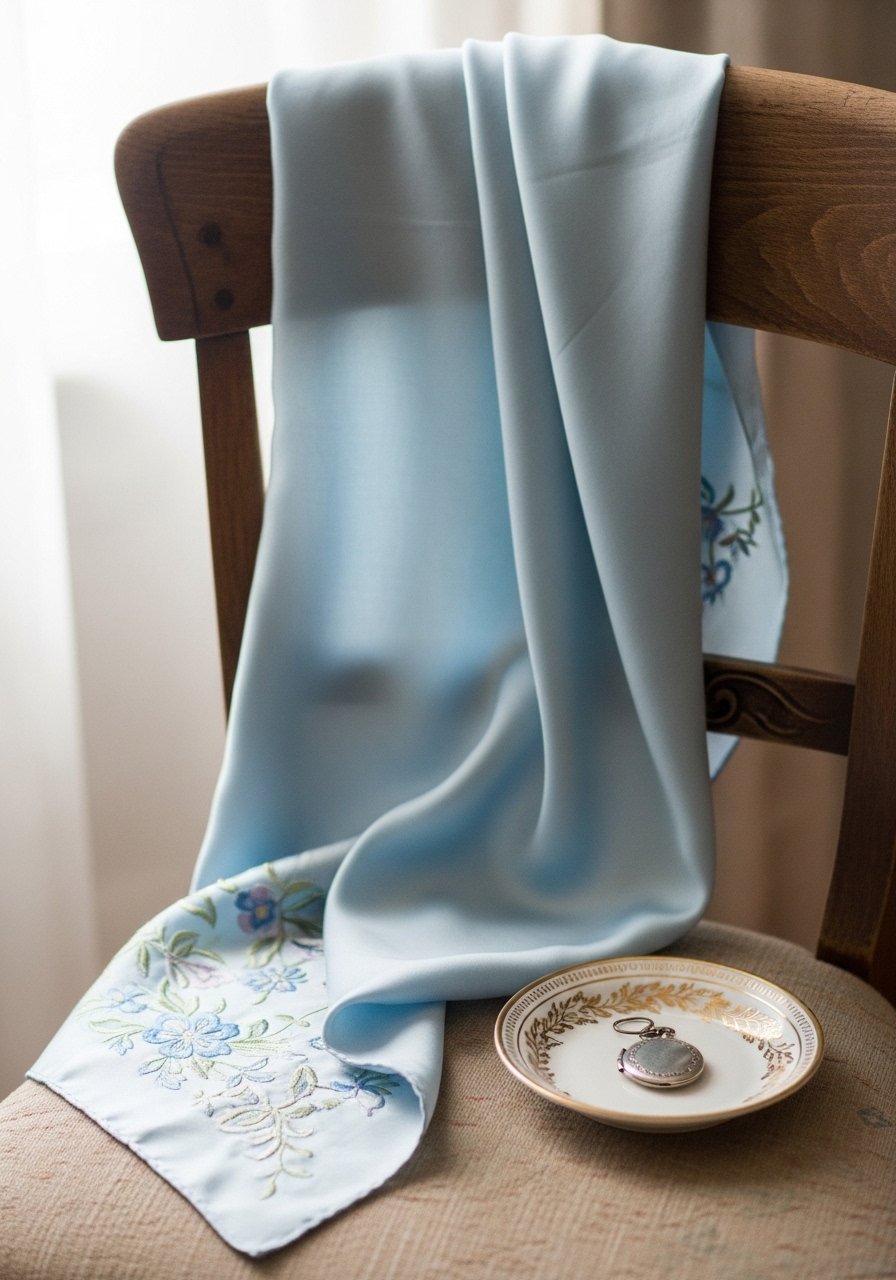
Embroidering on silk requires delicate stabilizing and a fine needle. The result is elegant and lightweight.
Materials
- Silk scarf, 30 x 30 inches
- Water-soluble or soluble mesh stabilizer, 8 x 8 inches
- Embroidery floss (silk or polyester), 20–60 yards
- Microtex needle, size 70/10
- Small hoop, 4–6 inch
- Pressing cloth and low-heat iron
Instructions
- Pre-press silk on low setting; avoid steam.
- Hoop silk gently with soluble stabilizer beneath; keep fabric smooth.
- Use small designs, 1–3 inches at each corner.
- Stitch at reduced speed, using a fine needle to avoid snags.
- Rinse soluble stabilizer per instructions and air-dry flat.
- Press on reverse with a damp pressing cloth to finish.
How to Display or Gift It
Fold and place in a tissue-lined box with a care card: hand wash cold, line dry. Store in a drawer drawer organizer or silk storage bag.
- Pet Bandana with Name Embroidery
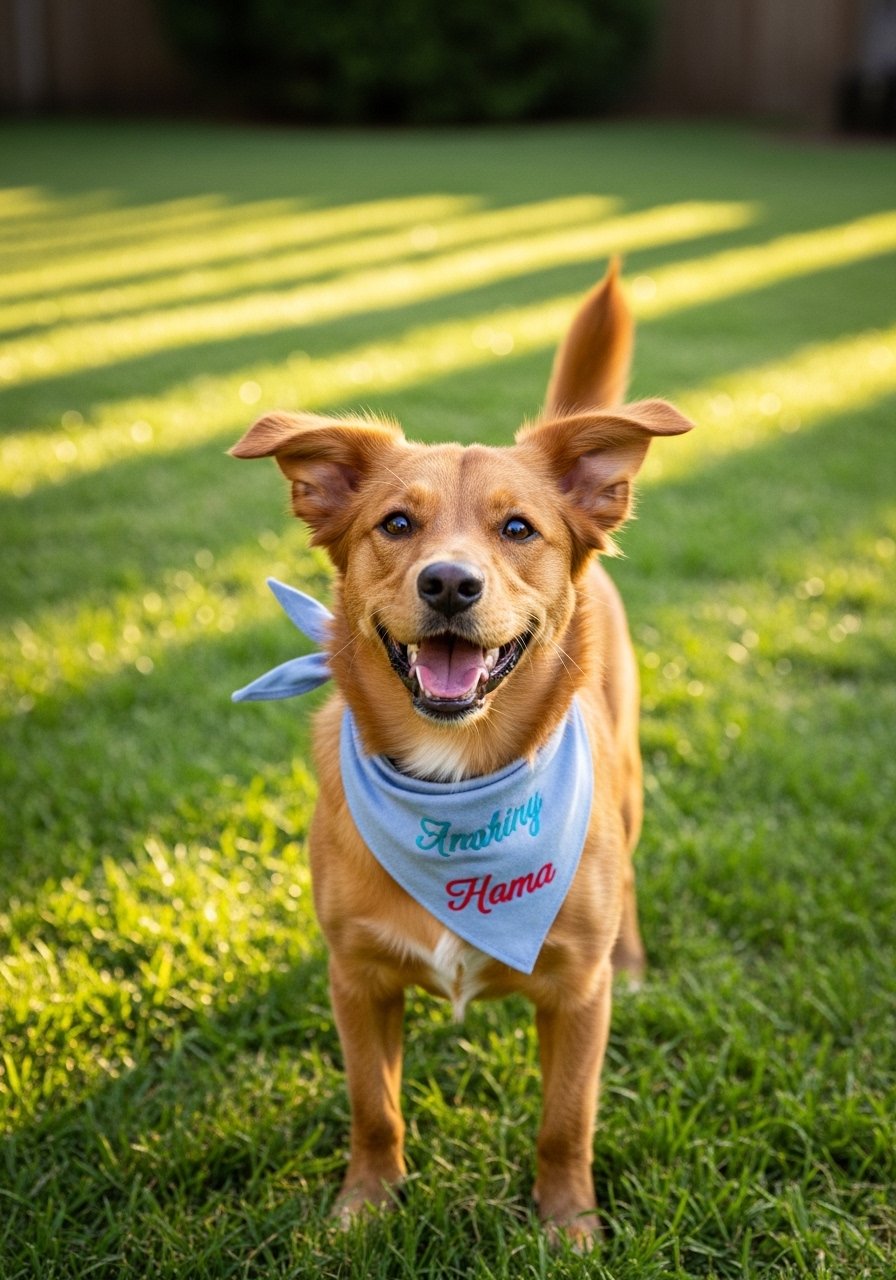
Personalized pet bandanas are fast to make and perfect for gifting. Use sturdy cotton and a small applique for extra contrast.
Materials
- Cotton bandana triangle, 18 inches base
- Tear-away stabilizer, 6 x 6 inches
- Embroidery thread, 20–40 yards
- Small hoop, 4–5 inch
- Sewing machine for finishing edges
- Fabric scissors and ruler
Instructions
- Hem bandana edges if not pre-finished.
- Hoop bandana corner and stitch name design sized 2–3 inches.
- Back with tear-away stabilizer and press gently.
- Reinforce with small topstitch around name if desired.
How to Display or Gift It
Roll and tie with twine with a small tag for dog’s name and care. Store flat in a labeled drawer organizer.
- Denim Pocket Patches for Tote Bags (computer embroidery design idea)
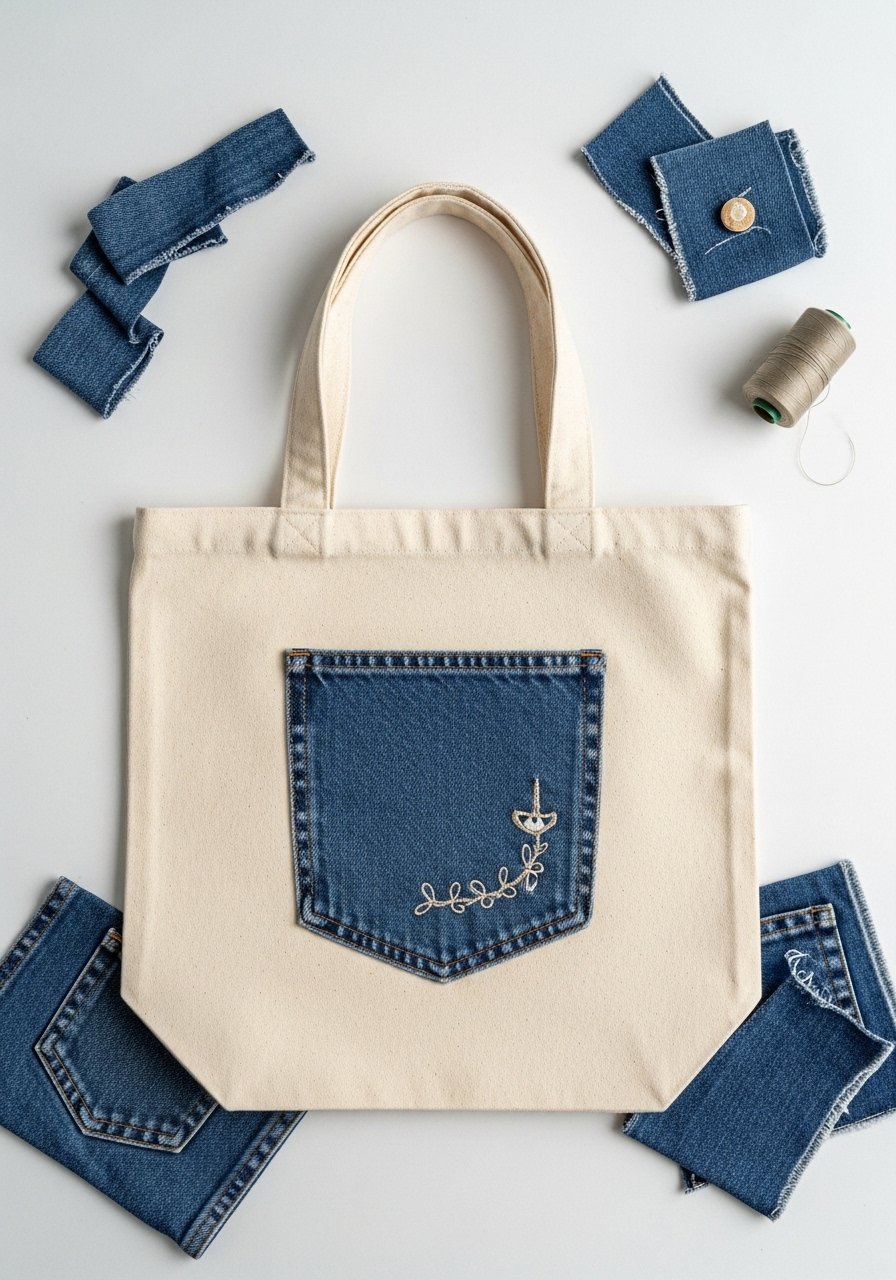
Add functional pockets to plain tote bags with embroidered accents. Denim pockets take embroidery well and add durability.
Materials
- Canvas tote bag
- Recycled denim pocket piece, 5 x 6 inches
- Cut-away stabilizer, 6 x 8 inches
- Embroidery thread (heavy polyester), 60–100 yards
- Sewing machine for topstitching
- Embroidery hoop, 5–6 inch
Instructions
- Prepare denim pocket and press.
- Hoop denim with cut-away stabilizer and stitch motif sized 2–3 inches.
- Trim to pocket size and stitch onto tote with a 1/8-inch topstitch.
- Reinforce corners with backstitching.
How to Display or Gift It
Fill with small market items and gift as a reusable kit. Store tote folded in a cotton bag between uses.
- Framed Linen Quote with Script Embroidery
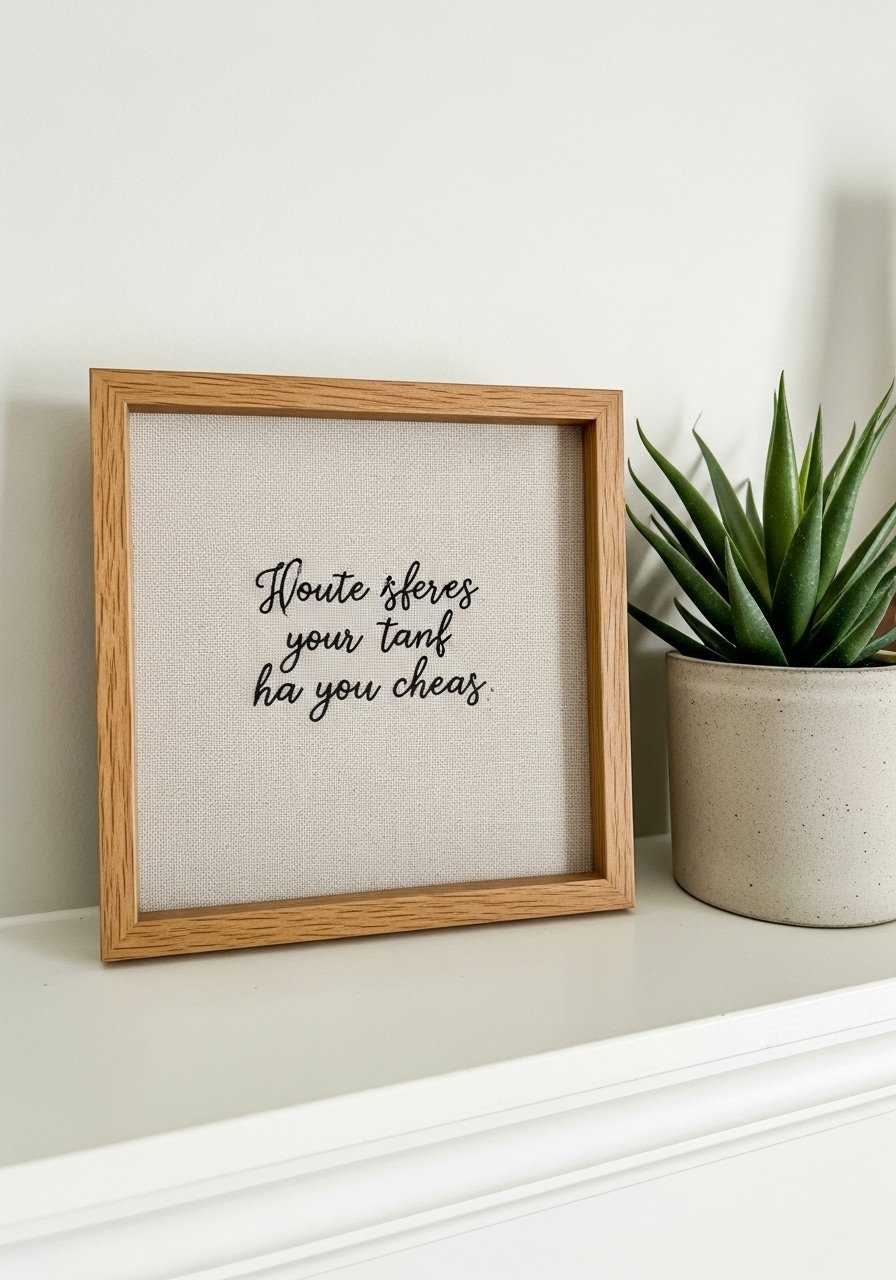
Script fonts look gorgeous when digitized cleanly. Choose a medium-density script to prevent thread build-up.
Materials
- Linen square, 10 x 10 inches
- Cut-away stabilizer, 10 x 10 inches
- Embroidery thread (variegated for script), 40–80 yards
- Embroidery hoop or magnetic hoop
- Frame with mat sized to 8 x 8 inches
- Steam iron and pressing cloth
Instructions
- Center and hoop linen with stabilizer.
- Size script to fit 6–7 inches width.
- Stitch at moderate speed; stabilize with cut-away for scripts.
- Press gently and mount into frame with acid-free mat.
How to Display or Gift It
Frame for wall grouping or mantel. Pack flat in a sturdy, padded mailer if gifting long distance.
- Travel Jewelry Roll with Stitched Pockets
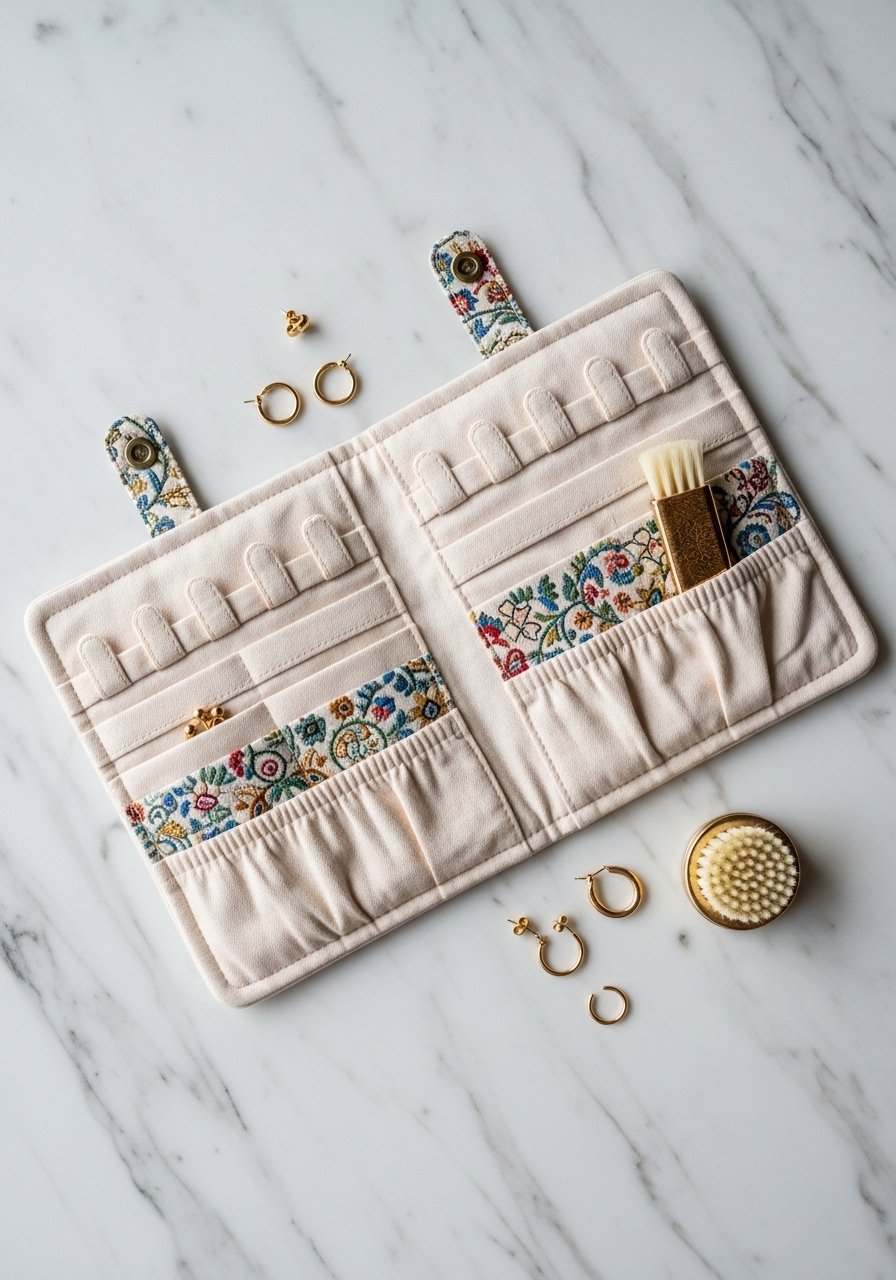
Small stitched pockets keep delicate items organized and make great travel gifts.
Materials
- Cotton canvas for outer, 12 x 24 inches
- Quilting cotton for lining, 12 x 24 inches
- Batting, 12 x 24 inches
- Tear-away stabilizer for pocket motifs
- Embroidery thread, 30–80 yards
- Snap or ribbon closure
- Rotary cutter and ruler
Instructions
- Cut and quilt outer + batting pieces.
- Hoop pocket lining and stitch small motifs sized 2–3 inches.
- Attach pockets and topstitch to form compartments.
- Add ribbon or snap closure; press and finish edges.
How to Display or Gift It
Roll and secure with ribbon, tuck into a small gift box with care instructions. Store flat when not traveling to avoid wrinkles.
- Leather Patch Hat with Embroidered Logo
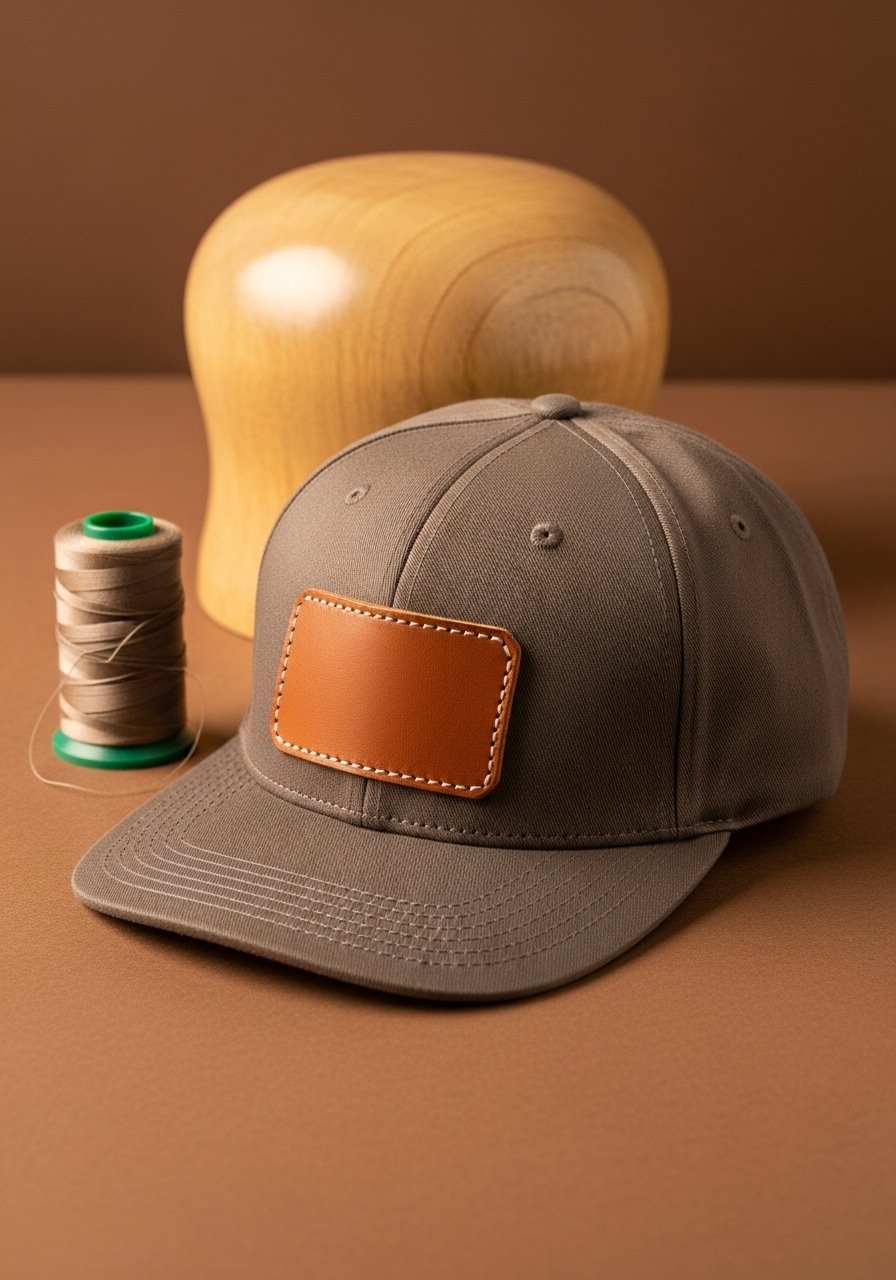
Add a sewn-on leather or canvas patch to give caps a boutique look. Embroidered logos read crisp on textured patches.
Materials
- Baseball cap (structured)
- Thin leather or canvas patch, 2 x 3 inches
- Tear-away or cut-away stabilizer for patch
- Embroidery thread (poly), 20–40 yards
- Sewing needle and strong thread for attaching patch
- Awl for marking
Instructions
- Hoop patch material with stabilizer and stitch logo sized 1.75–2.5 inches.
- Trim patch leaving 1/8 inch border and topstitch onto cap front with durable thread.
- Reinforce with small zigzag if needed.
How to Display or Gift It
Box with a coordinating accessory like a key fob. Store on a hat rack to maintain shape.
- Linen Wedding Handkerchief with Lace Edge
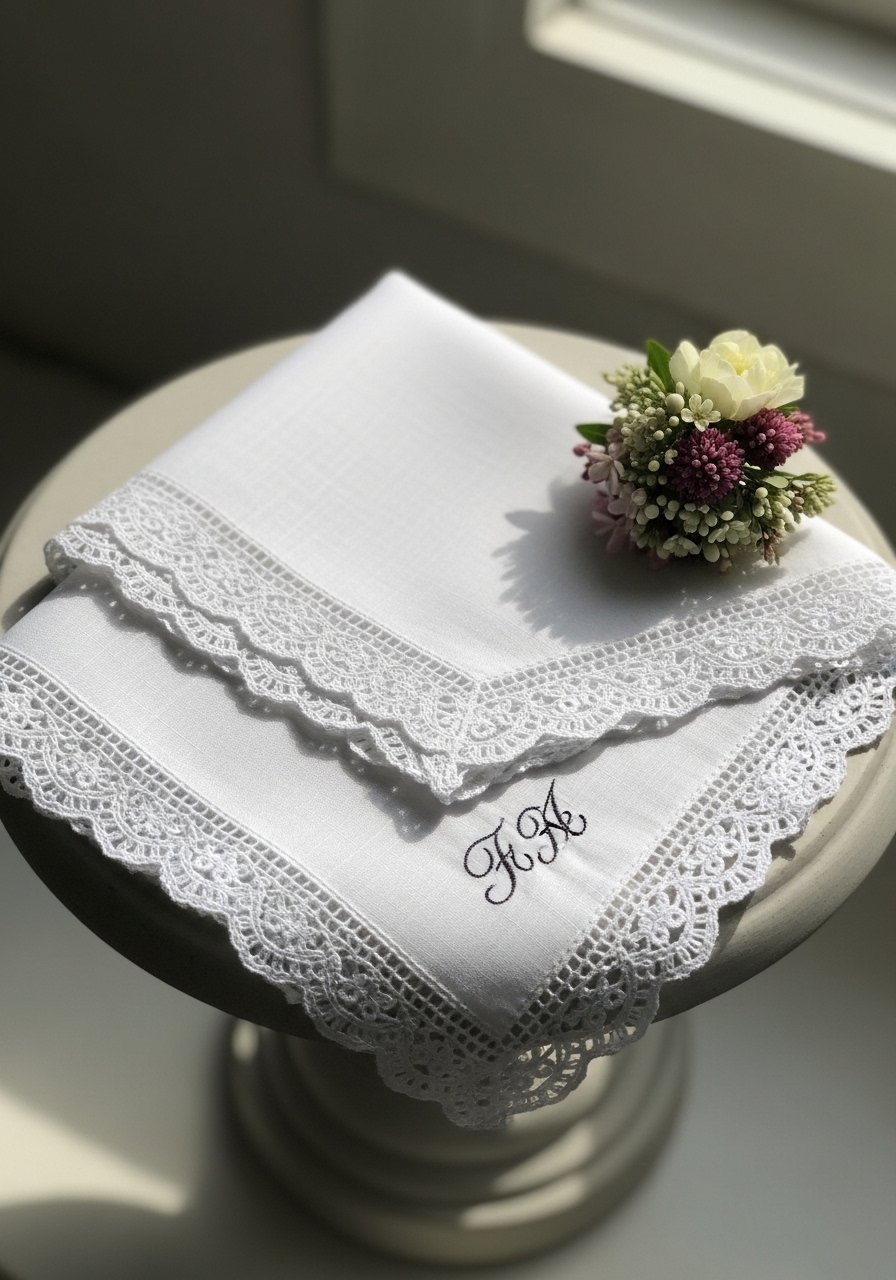
Wedding handkerchiefs are sentimental and quick. Use fine stitches and cotton floss for a delicate finish.
Materials
- Linen handkerchief, 12 x 12 inches
- Water-soluble topping for delicate fabric
- Embroidery floss (6-strand, use 2 strands), 10–20 yards
- Micro needle size 70/10
- Small hoop, 3–4 inch
- Steam iron and lace trim if adding
Instructions
- Hoop with soluble topping on top of fabric to prevent sinking.
- Stitch initials sized 1–1.5 inches and remove topping per instructions.
- Add lace edge by hand-sewing if desired.
How to Display or Gift It
Wrap in tissue and tuck a small card with washing instructions. Store flat in a keepsake box.
- Baby Quilt Block with Embroidered Center
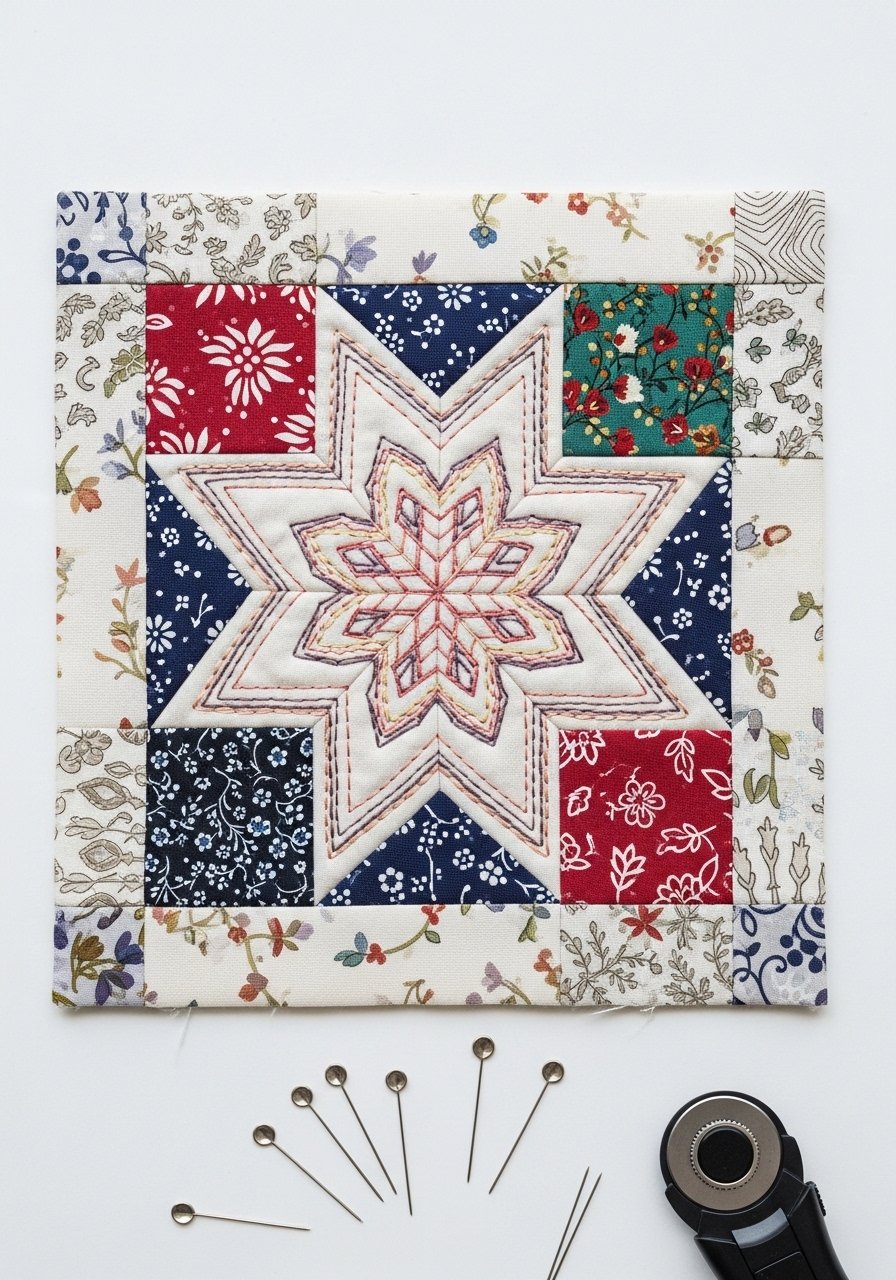
Use embroidered centers in quilt blocks for keepsakes without creating a whole embroidered quilt.
Materials
- Cotton quilting fabrics for block pieces, 5 x 5 inches per piece
- Batting scraps, 10 x 10 inches
- Cut-away stabilizer for center motif
- Embroidery thread (varied), 50–150 yards
- Sewing machine with quarter-inch foot
Instructions
- Assemble block pieces to form background, press seams.
- Hoop center square with stabilizer and stitch motif sized 3–4 inches.
- Quilt as usual and bind after piecing multiple blocks.
How to Display or Gift It
Make multiple blocks for a baby quilt and package with matching burp cloths. Store folded in a breathable cotton quilt bag.
- Pocket Notebook Cover with Embroidered Title
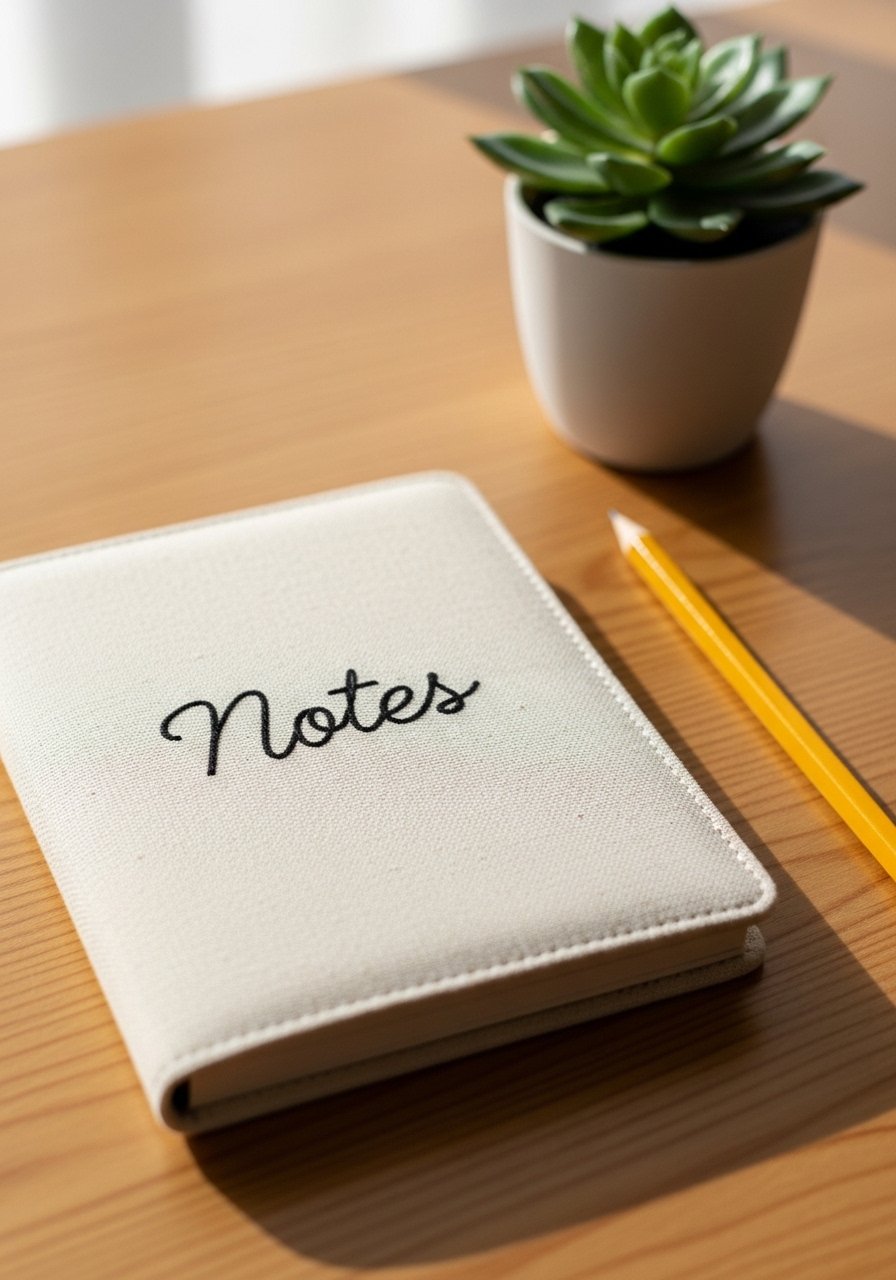
Create small journal covers with stitched motifs or words. They’re perfect for market stalls and office gifts.
Materials
- Pocket notebook, 3.5 x 5.5 inches
- Cotton cover fabric, 6 x 7 inches
- Tear-away stabilizer, 6 x 6 inches
- Embroidery thread, 10–30 yards
- Fusible interfacing for cover stability
- Sewing machine for assembly
Instructions
- Fuse interfacing to fabric for structure.
- Hoop and stitch title sized 2–3 inches.
- Wrap fabric around notebook and topstitch edges.
How to Display or Gift It
Bundle with a coordinating pen and wrap with twine. Store in a desktop organizer.
- Custom Tea Cozy with Floral Band
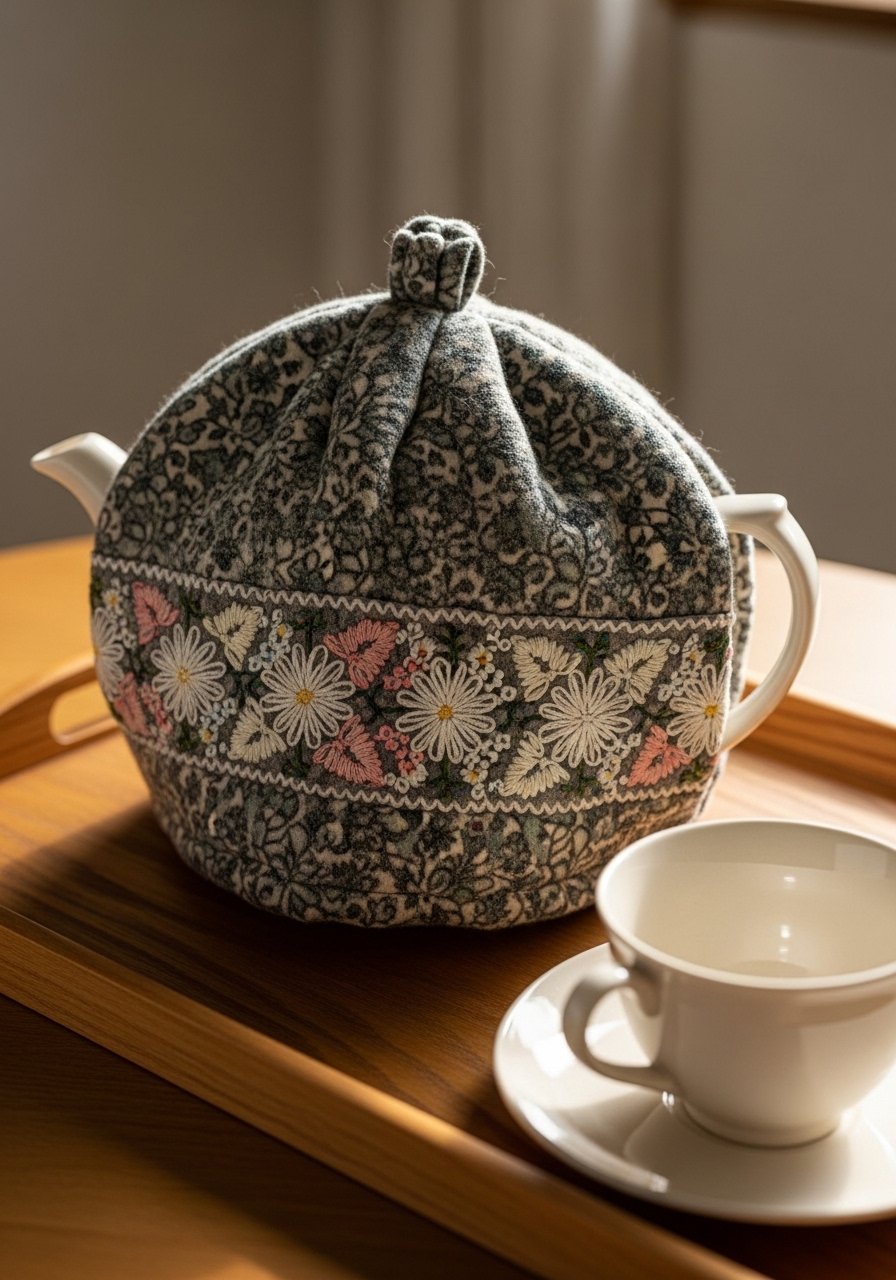
Embroidered bands on tea cozies give a handcrafted touch without embroidering thick, curved shapes.
Materials
- Cotton tea cozy pattern, fits standard 4-cup teapot
- Insulating batting, 10 x 12 inches
- Tear-away stabilizer for band
- Embroidery thread (poly), 80–150 yards
- Sewing machine and large needle for thick seams
Instructions
- Cut cozy pieces and quilt batting to outer fabric.
- Hoop band fabric and stitch floral design sized to fit 10–12 inches band.
- Assemble cozy and topstitch edges.
How to Display or Gift It
Pair with a tea sampler and package in a kraft box. Store folded in a kitchen cupboard.
- Embroidered Patchwork Tote (computer embroidery design idea)
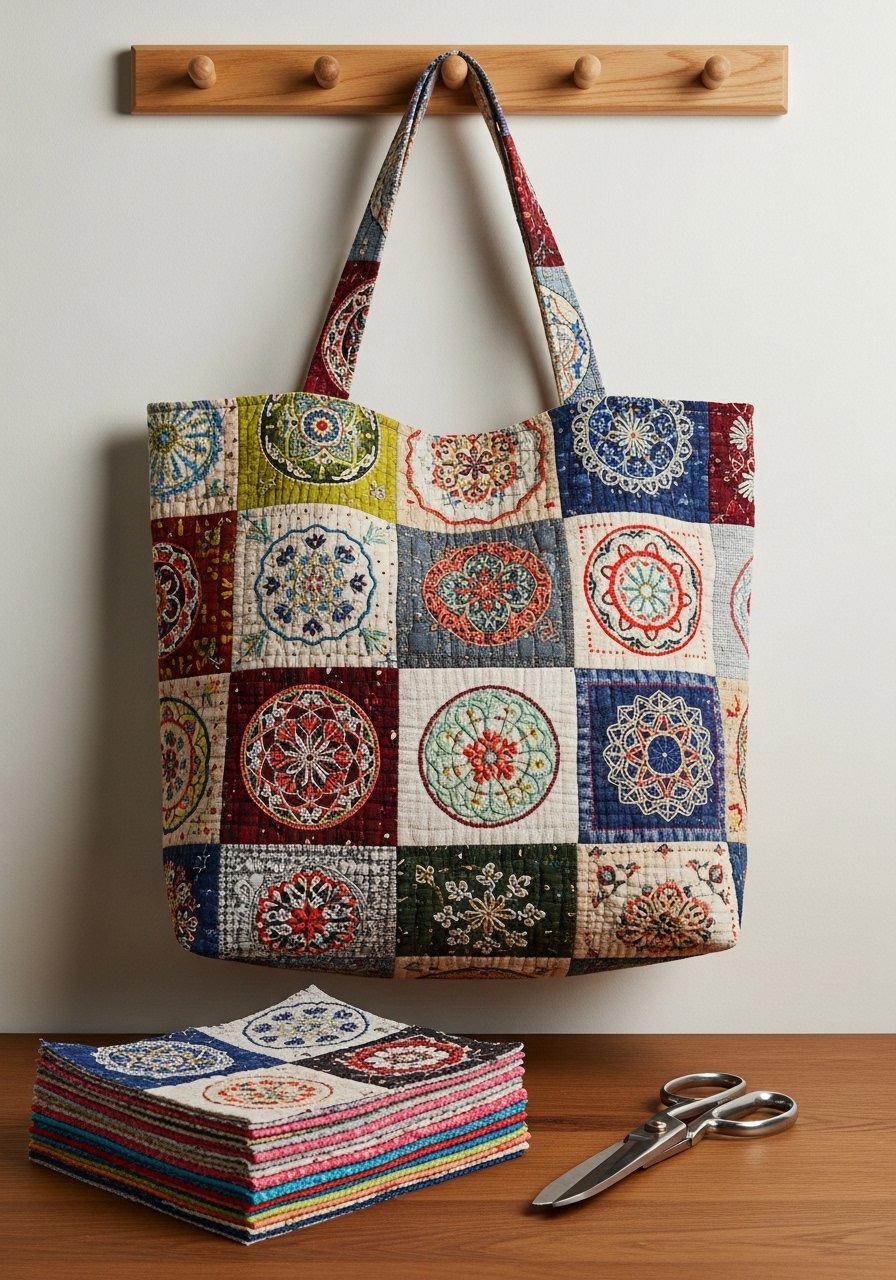
Combine small embroidered motifs across patchwork squares for a rich, artisan tote. Distribute motifs for balance and color.
Materials
- Canvas tote base or fabrics to construct, 14 x 15 inches
- Multiple fabric squares, 6 x 6 inches each
- Cut-away stabilizer for each embroidered square
- Embroidery thread set, 200–400 yards
- Quilting ruler and rotary cutter
- Sewing machine with strong needle
Instructions
- Plan layout and hoop each square with stabilizer.
- Stitch motifs sized to fit each square (usually 3–4 inches).
- Piece squares, quilt if desired, and assemble tote.
- Finish seams and add sturdy handles.
How to Display or Gift It
Fill with small books or a market gift set. Store hanging on a peg or in a tote basket.
- Cork Coasters with Minimalist Motifs
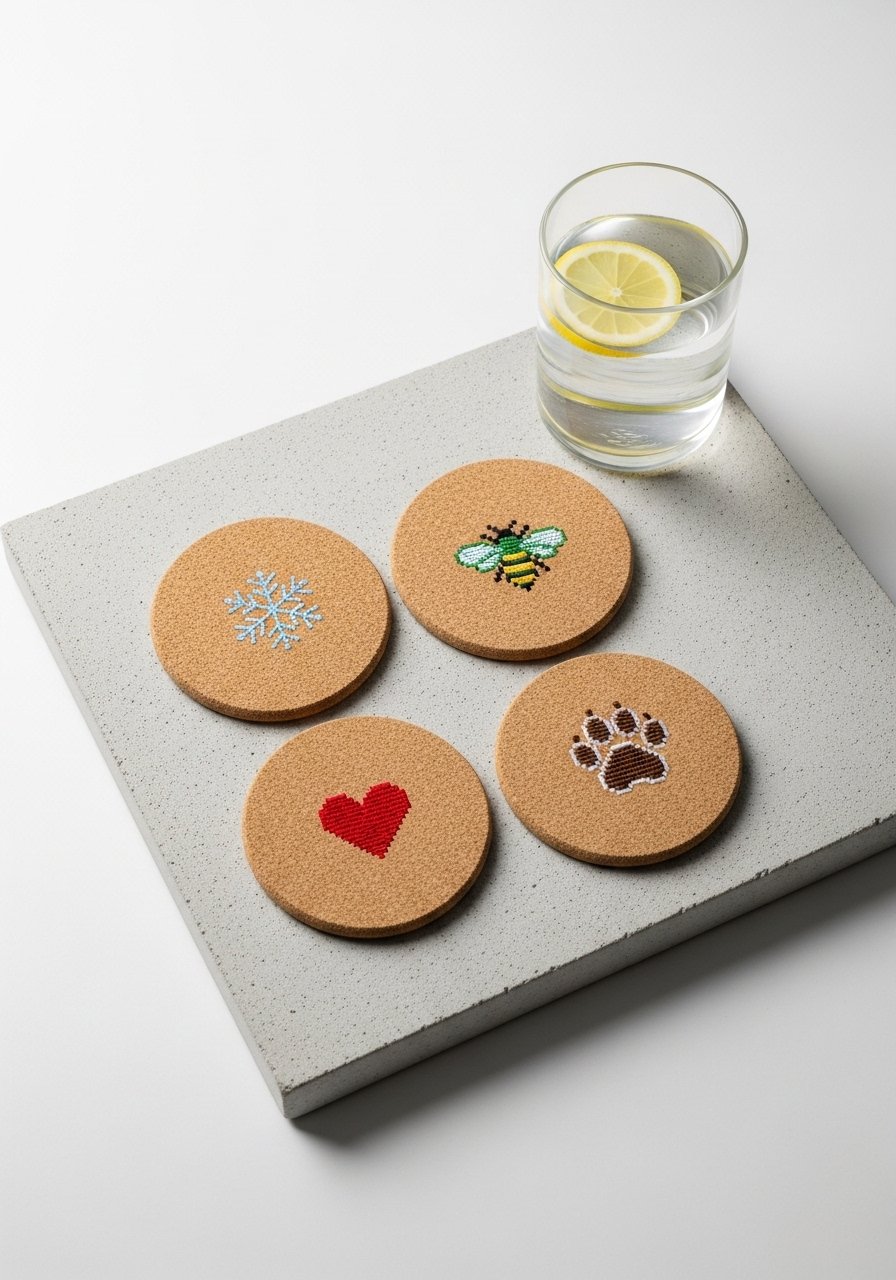
Cork coasters are absorbent and stylish. Use a stabilizer and test stitch density to avoid tearing cork.
Materials
- Cork coasters, 4 inches diameter
- Tear-away stabilizer or adhesive stabilizer
- Embroidery thread, 10–30 yards per coaster
- Small needle and leather punch for edge finishing
- Fabric glue for bumper adhesive (optional)
Instructions
- Adhere stabilizer to cork backing and hoop carefully.
- Stitch small motifs sized 1.25–1.75 inches.
- Remove stabilizer and add felt backing if desired for protection.
How to Display or Gift It
Wrap in a paper band with a small tag. Store flat in a coaster box.
- Makeup Bag with Embroidered Chevron
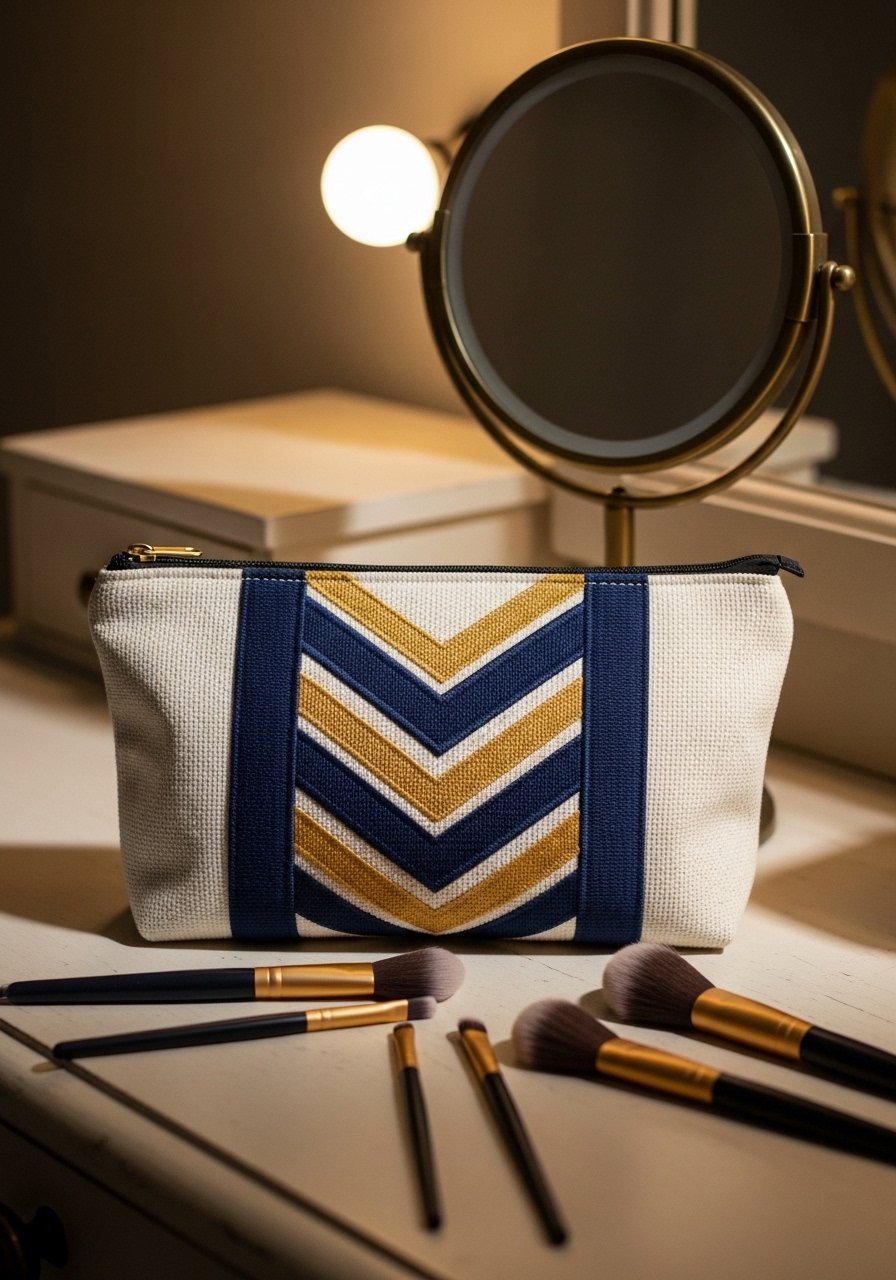
Zippered pouches are quick sellers and make great gifts. Use a medium-density design to avoid heavy stiffness.
Materials
- Zippered pouch base or fabric to sew, 9 x 6 inches
- Cut-away stabilizer
- Embroidery thread for chevron pattern, 40–80 yards
- Zipper, 9 inches
- Sewing machine with zipper foot
Instructions
- Hoop pouch panel with stabilizer and stitch chevron band sized to panel width (7–8 inches).
- Assemble pouch per standard zipper pouch construction.
- Press and finish seams.
How to Display or Gift It
Fill with small cosmetics and tuck into a gift bag. Store in a cosmetic drawer organizer.
- Linen Table Runner with Repeating Motifs
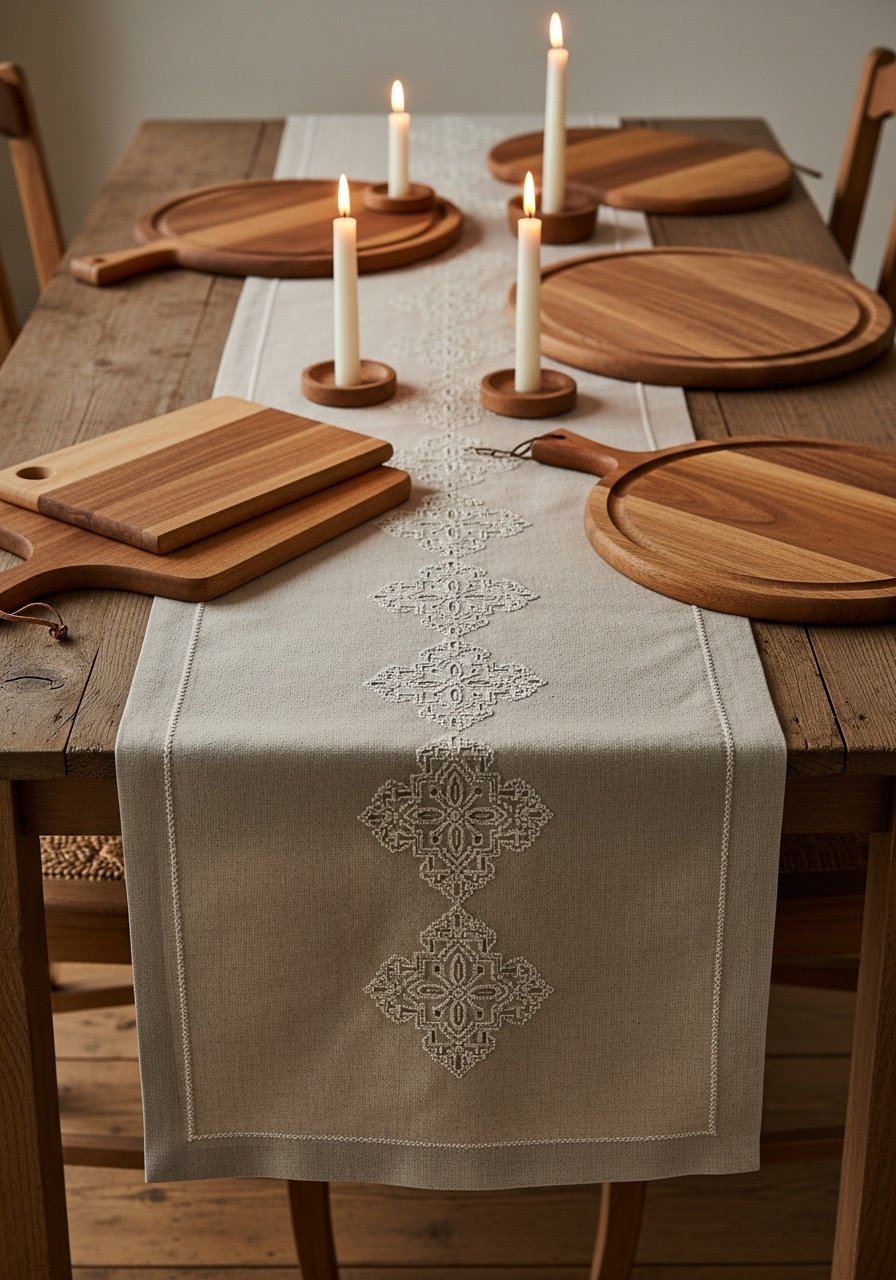
Repeat motifs create rhythm across a runner. Calculate spacing precisely to ensure even distribution.
Materials
- Linen table runner, 14 x 72 inches
- Cut-away stabilizer, 12 x 12 inches sections
- Embroidery thread, 200–400 yards total
- Measuring tape and washable marker
- Embroidery hoop, 6–8 inch
Instructions
- Mark motif centers at equal intervals along runner; typical spacing 6–8 inches depending on motif size.
- Hoop and stitch each motif (size 3–4 inches) individually.
- Press runner and finish edges.
How to Display or Gift It
Drape along dining table with seasonal centerpieces. Store rolled in acid-free tissue paper.
- Personalized Denim Pocket Journal Cover (computer embroidery design idea)
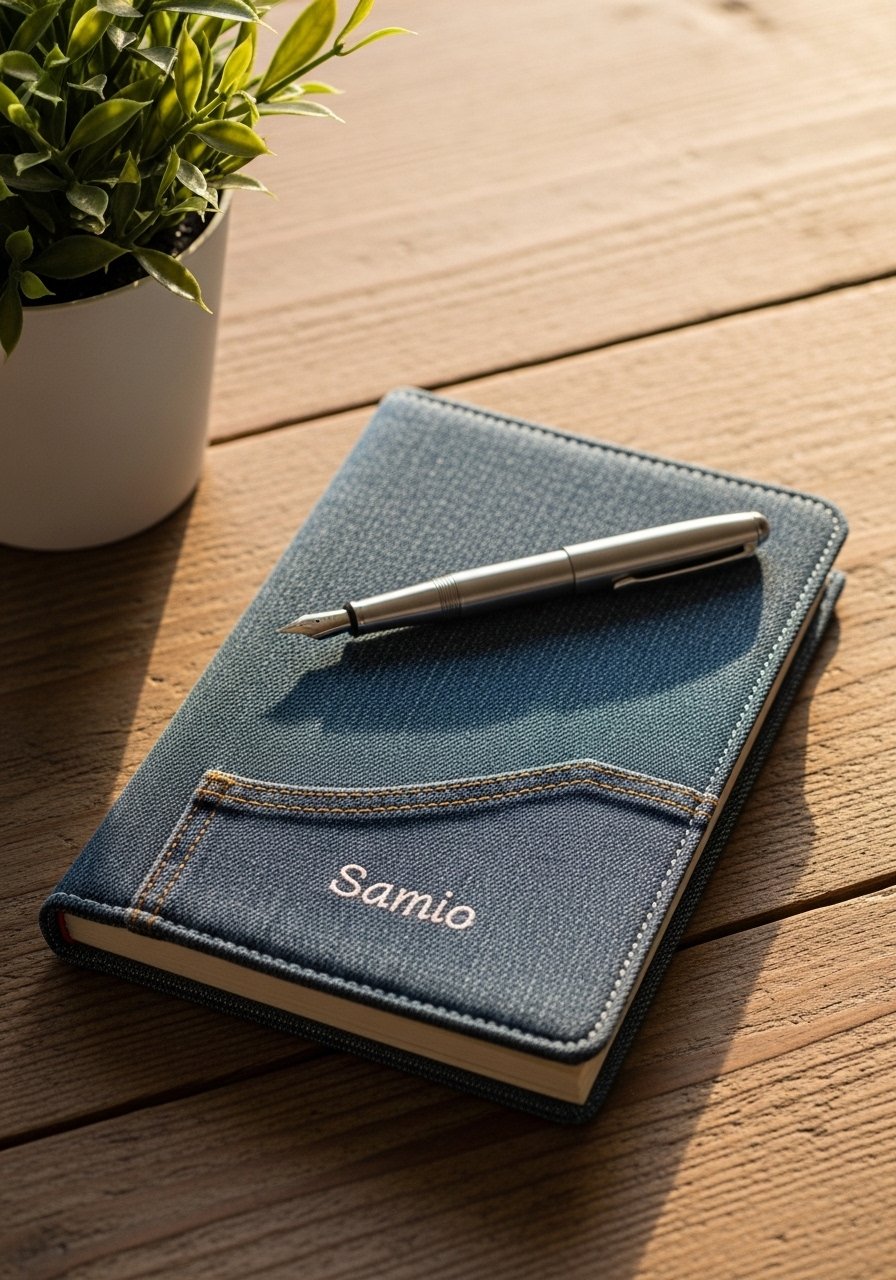
Turn a simple pocket into a personalized journal sleeve. Denim resists wear and gives a casual, modern vibe.
Materials
- Small journal, 3.5 x 5.5 inches
- Denim pocket piece, 4 x 5 inches
- Cut-away stabilizer
- Embroidery thread, 20–60 yards
- Sewing machine to attach pocket
- Small hoop, 4–5 inch
Instructions
- Hoop pocket with stabilizer and stitch name or motif sized 2–3 inches.
- Trim and attach pocket to journal cover with a topstitch.
- Add interior card slots if desired.
How to Display or Gift It
Pair with a matching pen and wrap in kraft paper. Store in a desktop organizer or gift box.
Trust your embroidery machine and a quality embroidery hoop set to make alignment easier across dozens of projects. Pin this list and pick two projects to test before committing to a large run. Which project are you trying first—a baby onesie, a tea towel, or maybe a denim patch? Share a photo when you stitch it so others can get inspired, and if you’re shopping, a reliable hot glue gun with temperature control made finishing trims so much faster for me.
Happy stitching—and may your next project from these computer embroidery design ideas become a favorite in your home.





