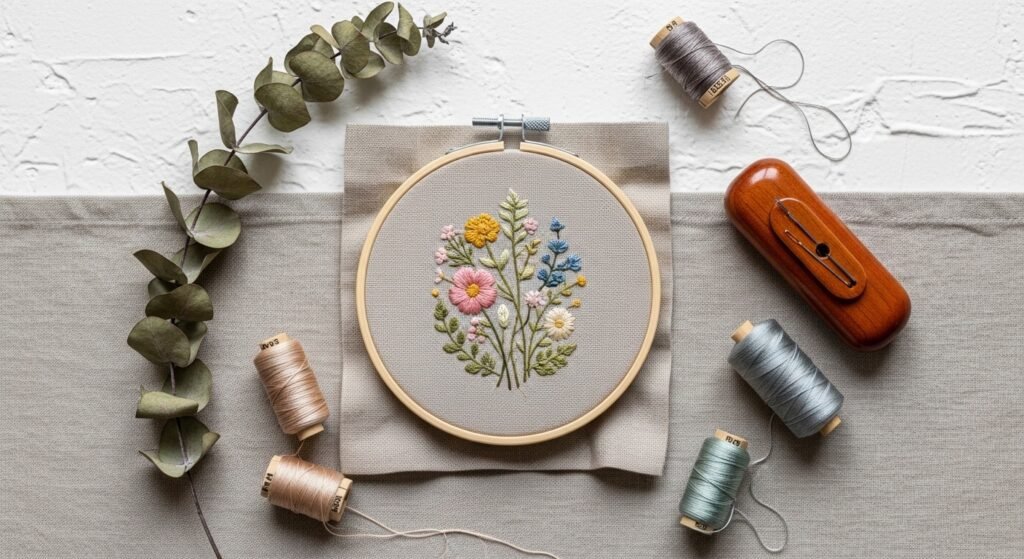
Want embroidery that feels handmade but looks professionally finished? If you’re just getting started with machine work, these 27 easy computer embroidery designs offer friendly stitches, forgiving techniques, and beautiful results you’ll be proud to gift or display. You’ll find tiny monograms, floral patches, home accents, and wearable embellishments — all tailored for beginners who want polished pieces without a steep learning curve.
I’ve kept every project within reach: most use a 4×4 or 5×7 hoop, common stabilizers, and approachable digitized designs. You’ll hear tips for avoiding puckering, how to choose the right stabilizer, and where a little tack-and-trim goes a long way. I start most small pieces on my compact embroidery machine and finish edges with a sharp pair of embroidery scissors — both help keep seams clean and designs crisp. Try one of these to practice stitches, color blending, or simple applique techniques.
Ready to stitch? Grab a hoop or pop open your embroidery software and let’s make something pretty. If you’re shopping, I often run thread and small tools from my embroidery thread set and keep a sturdy 4×4 embroidery hoop nearby.
- Classic Monogram Patch — Easy Computer Embroidery Designs for Beginners
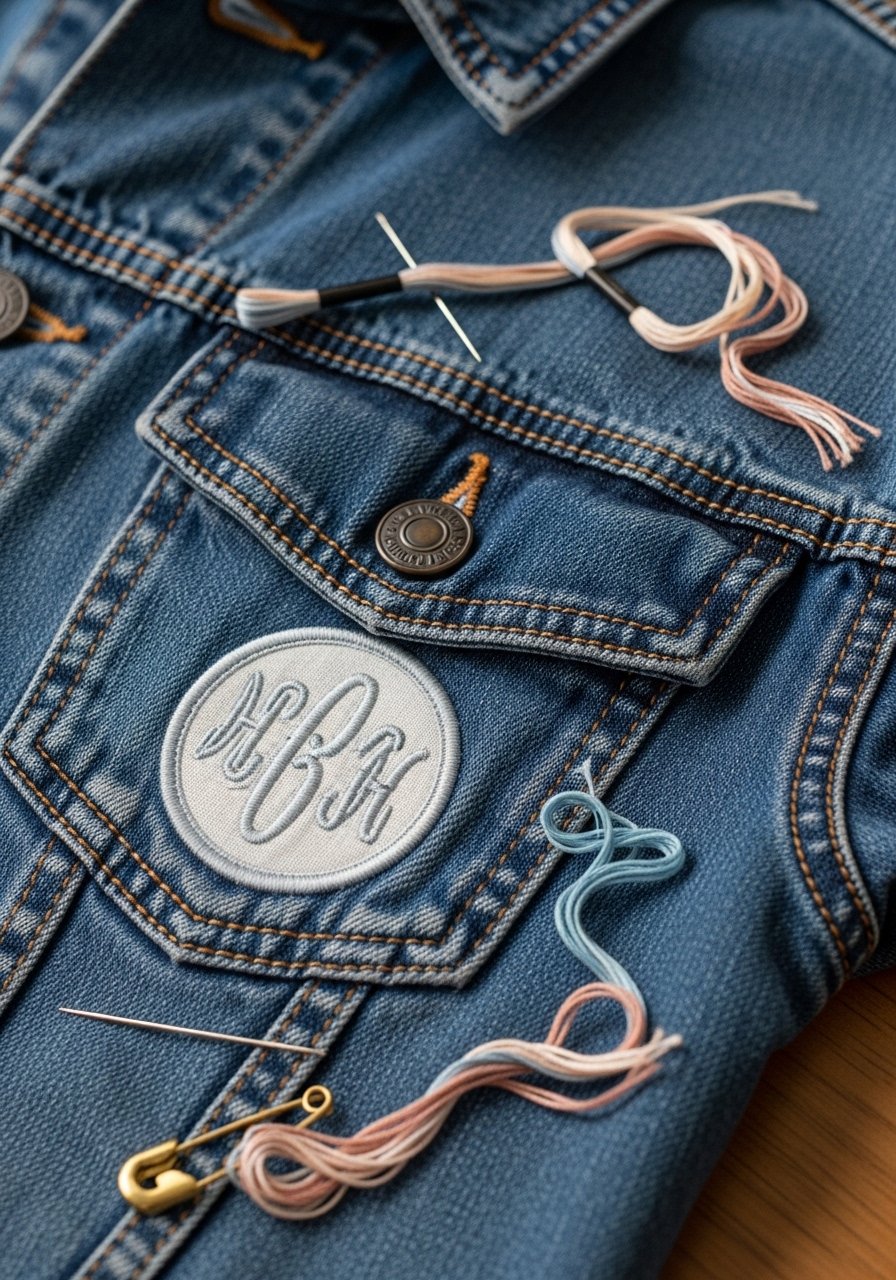
A single-letter monogram is the easiest place to start. This small circular patch uses simple satin and fill stitches to create a neat, wearable accent. The result is tidy, slightly raised texture that reads well at a distance. Beginners, gift-makers, and monogram lovers will appreciate how fast these stitch out. Use a stabilizer and a light iron-on backing for a crisp finish.
Materials
- 1 small denim scrap 4" x 4"
- 1 piece medium cutaway stabilizer 5" x 5"
- Embroidery thread: Madeira rayon or polyester, 1 spool main color + 1 contrast
- Embroidery backing (light iron-on), 2" circle
- 1 4" embroidery hoop
- Embroidery needle, size 75/11
- Heat-seal adhesive (optional) 1 sheet
- Embroidery scissors, small
Instructions
- Hoop the denim with the cutaway stabilizer tightly in a 4×4 hoop.
- Load the monogram file sized to 2" diameter in your machine.
- Stitch the placement tackdown if your design includes it.
- Stitch the fill then satin outline; reduce stitch density if fabric is thick.
- Trim jump threads and remove from hoop.
- Iron-on backing to the patch back following package heat settings (about 10–15 seconds on cotton).
- Trim patch to 2.5" circle leaving 1/8" seam allowance; finish edges or zigzag stitch around.
How to Display or Gift It
Pin the patch to a denim jacket pocket or sew it on for a permanent finish. Tuck into kraft gift boxes and add a small care tag. Store extra patches flat in a stackable craft organizer until you’re ready to sew them on.
- Tiny Floral Hoop Art — Easy Computer Embroidery Designs for Wall Display
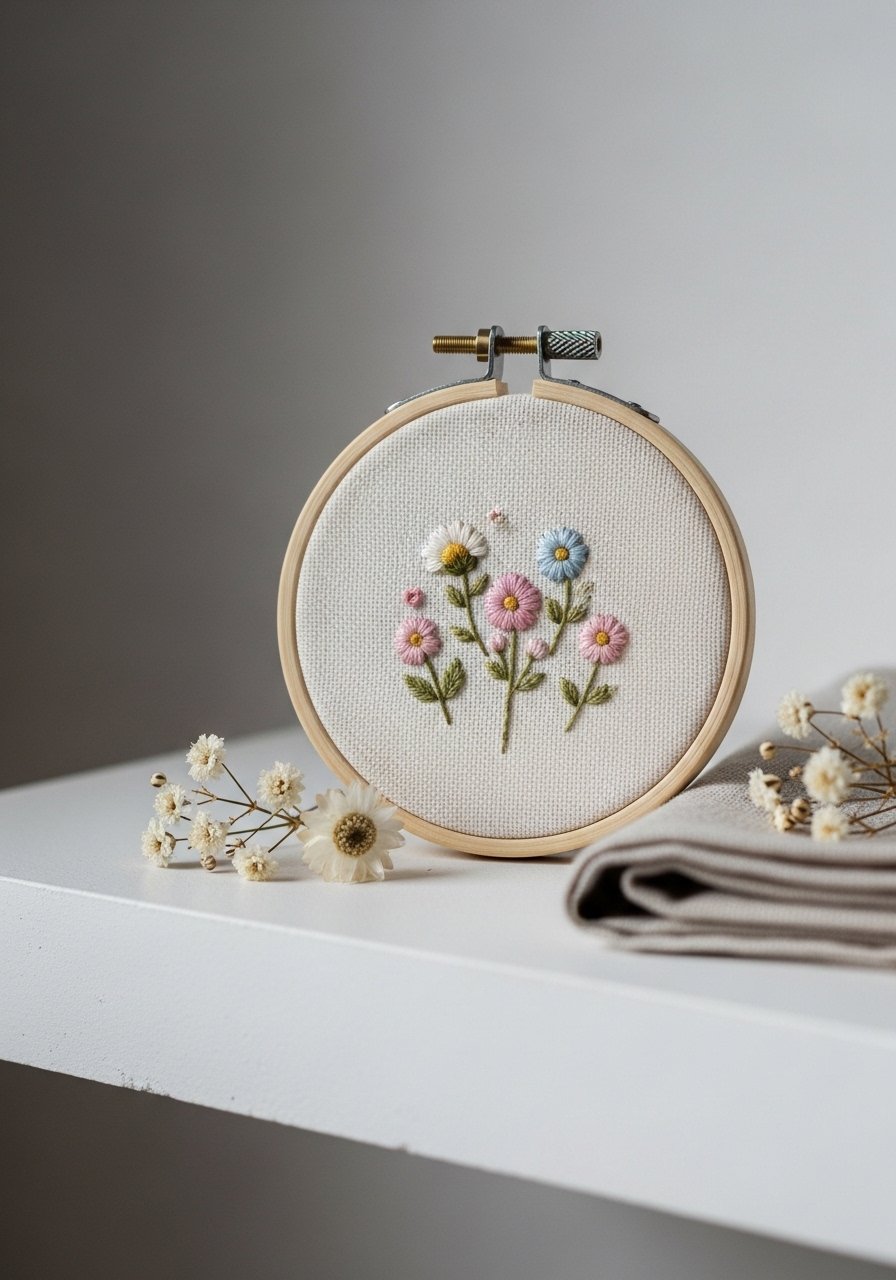
This petite floral sampler stitches up quickly and has a soft, textured finish. It’s a great way to practice color changes and simple fill stitches that look hand-stitched. It fits in a 4" hoop and makes a charming shelf accent or gift tag.
Materials
- 1 4" wooden hoop
- Cream linen scrap 6" x 6"
- Tear-away stabilizer 6" x 6"
- Embroidery thread: 3 small spools of rayon colors
- Embroidery needle size 75/11
- Small sharp embroidery scissors
- Lightweight fusible web (optional for applique petals)
Instructions
- Hoop linen with tear-away stabilizer, centering fabric.
- Load the tiny floral file sized to 3" wide.
- Stitch baselayer (often a leaf or tiny satin stitches).
- Change thread colors as prompted; clip jump stitches close.
- Remove excess tear-away stabilizer after stitching.
- Press lightly from the back for a flat finish (use a press cloth).
How to Display or Gift It
Leave in the hoop and hang as a set on a small gallery wall. For gifting, wrap in tissue and tuck into a small kraft gift box.
- Nursery Onesie Applique — Cute Baby Gift with Easy Computer Embroidery Designs
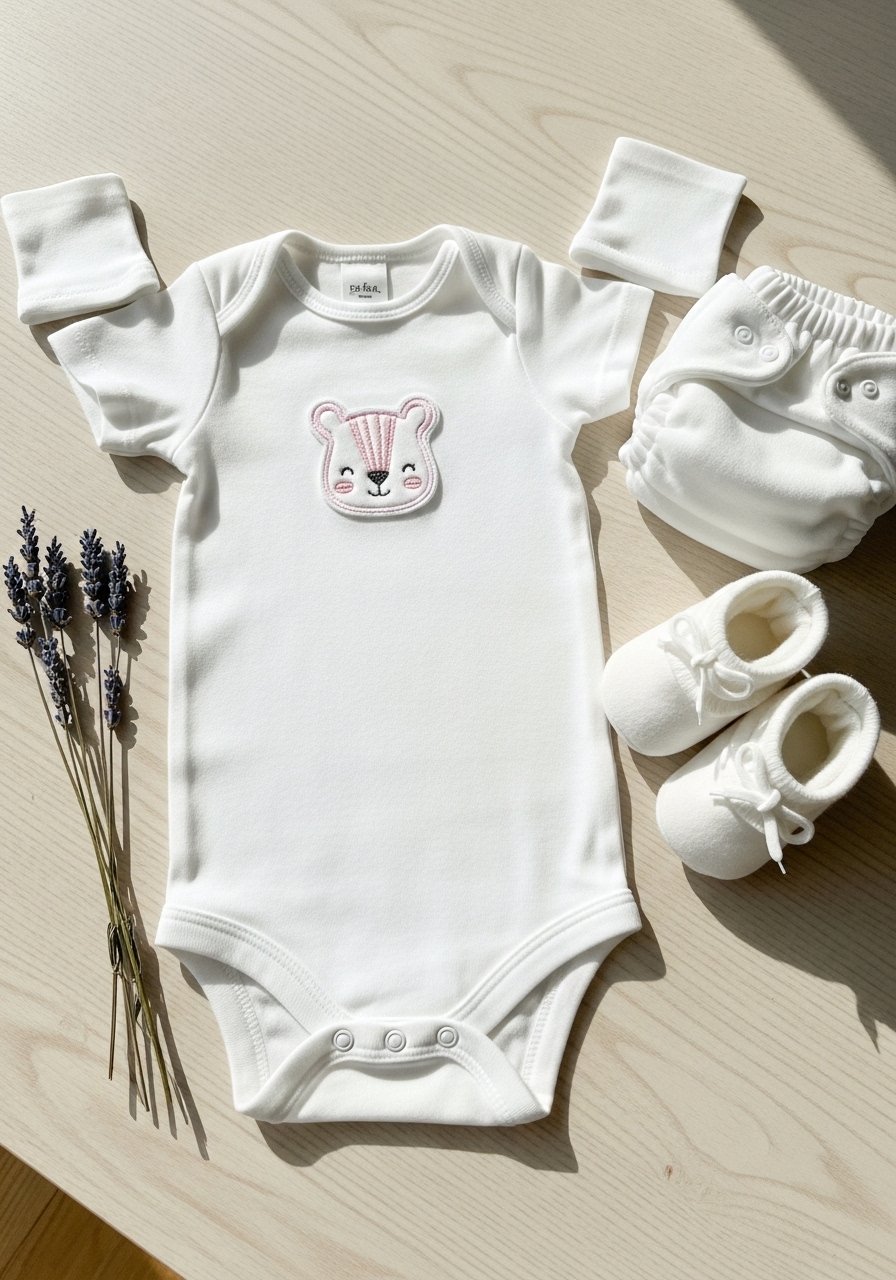
Machine applique is forgiving and makes fast, washable personalization for baby clothes. This project uses an adhesive-backed applique fabric and a simple satin tackdown. It’s soft to the touch and washes well when you follow heat-setting steps.
Materials
- 1 plain cotton baby onesie (size 0–6 months)
- Fusible applique fabric scraps 3" x 3" per shape
- Tear-away stabilizer 8" x 8"
- Embroidery thread 2 coordinating colors
- Heat press or iron
- Stitching needle size 75/11
- Heat-seal pressing cloth
Instructions
- Place tear-away stabilizer in hoop, center the onesie.
- Position applique fabric under the hoop and secure with a temporary spray or lightweight fusible.
- Load the applique design (size 2–3" depending on onesie).
- Stitch tackdown, trim applique close to first stitch line.
- Finish with satin or narrow zigzag border as the design calls for.
- Remove tear-away stabilizer and press with a cloth for 10–15 seconds to set.
How to Display or Gift It
Fold in soft tissue, tie with twine, and include a washing instruction card. Store finished onesies flat in small garment bags for gifting.
- Linen Tea Towel Corner Motif — Beginner-Friendly Machine Embroidery
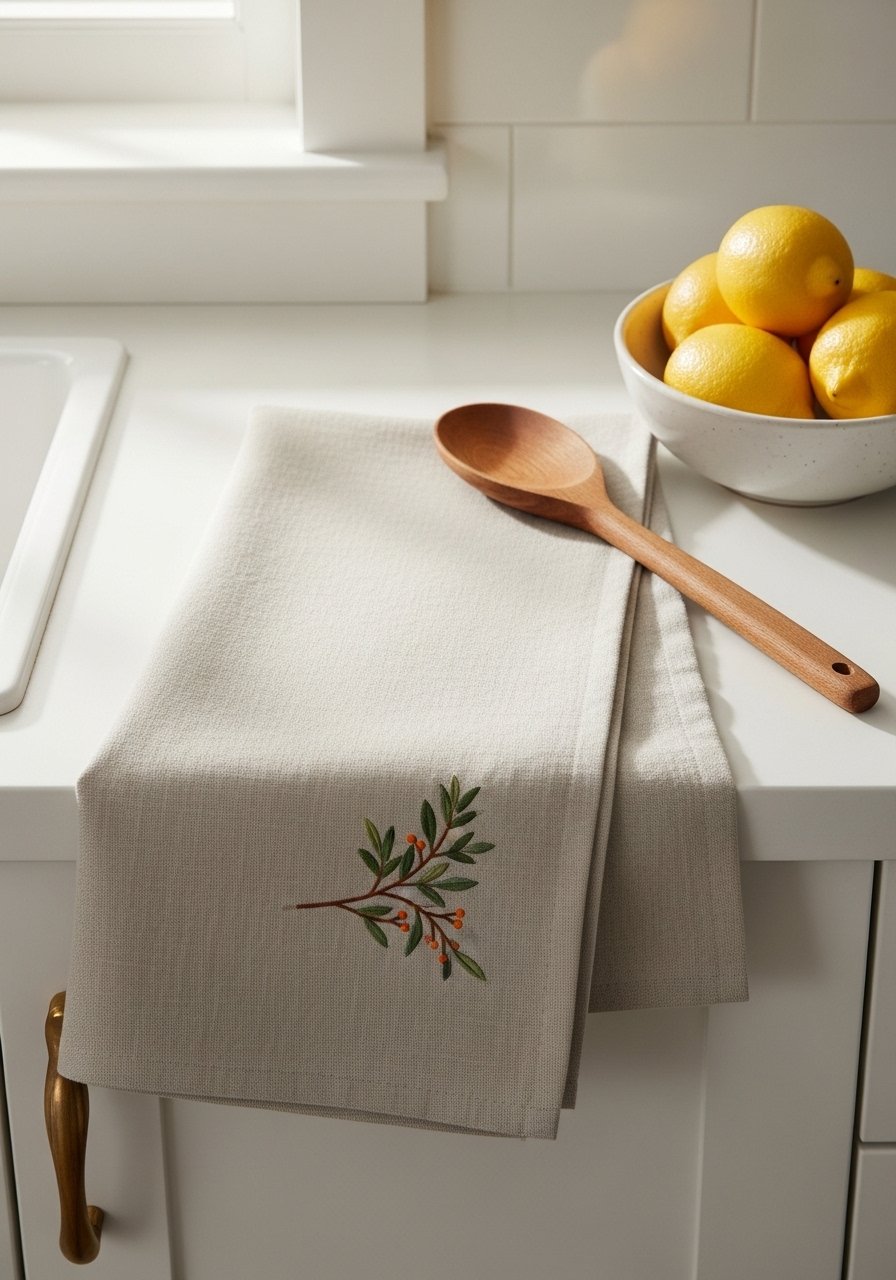
Add a delicate sprig to a towel corner for instant charm. This low-density design won’t distort the linen if you use a medium cutaway and a stabilizing spray. Perfect for cottagecore or farmhouse kitchens.
Materials
- 1 linen tea towel 18" x 28"
- Medium cutaway stabilizer 8" x 8"
- Embroidery thread 2 colors
- Temporary adhesive spray, light mist
- 4×4 or 5×7 hoop
- Embroidery needle 75/11
- Iron
Instructions
- Mark towel corner placement with removable fabric marker.
- Hoop stabilizer, attach towel with spray adhesive and hoop tightly.
- Load the corner sprig file sized 2.5"–3".
- Stitch, pausing for color changes.
- Remove hoop and trim stabilizer to 1/4" from stitches.
- Press from back for 10 seconds to set.
How to Display or Gift It
Pair with a wooden spoon and wrap in kraft paper for hostess gifts. For storage, fold with acid-free tissue in a drawer or kitchen linen basket.
- Personalized Tote Pocket — Custom Pocket Using Easy Computer Embroidery Designs
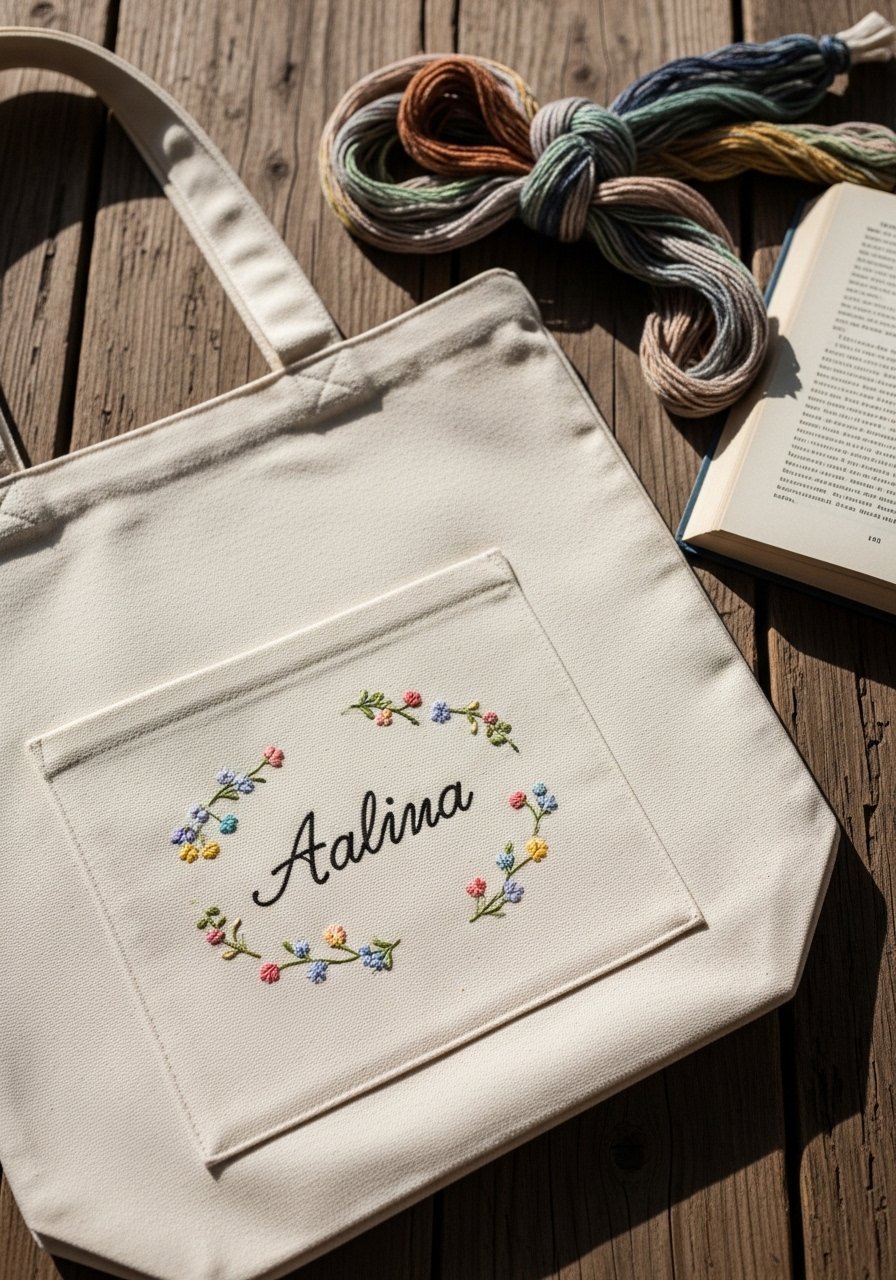
Add a name and small motif to a tote pocket for a functional, personalized accessory. This project uses a larger hoop and medium stitch density so the pocket keeps its shape. Great for gift-giving or makers’ markets.
Materials
- Canvas tote bag with plain pocket
- 5×7 hoop
- Cutaway stabilizer 8" x 10"
- Embroidery thread 3 colors
- Embroidery needle size 90/14 (for canvas)
- Chalk marking pencil
Instructions
- Hoop stabilizer and secure the tote pocket over it.
- Mark placement with chalk, load name file sized 3.5"–4" width.
- Stitch name and motif; use heavier needle for canvas.
- Remove hoop and trim stabilizer to 1/4".
- Press from the front using a press cloth for 10–12 seconds.
How to Display or Gift It
Fill the tote with supplies and tie with ribbon. For markets, display each tote on a pegboard with small wooden hangers.
- Denim Repair Patch — Functional Embroidered Patch for Jeans
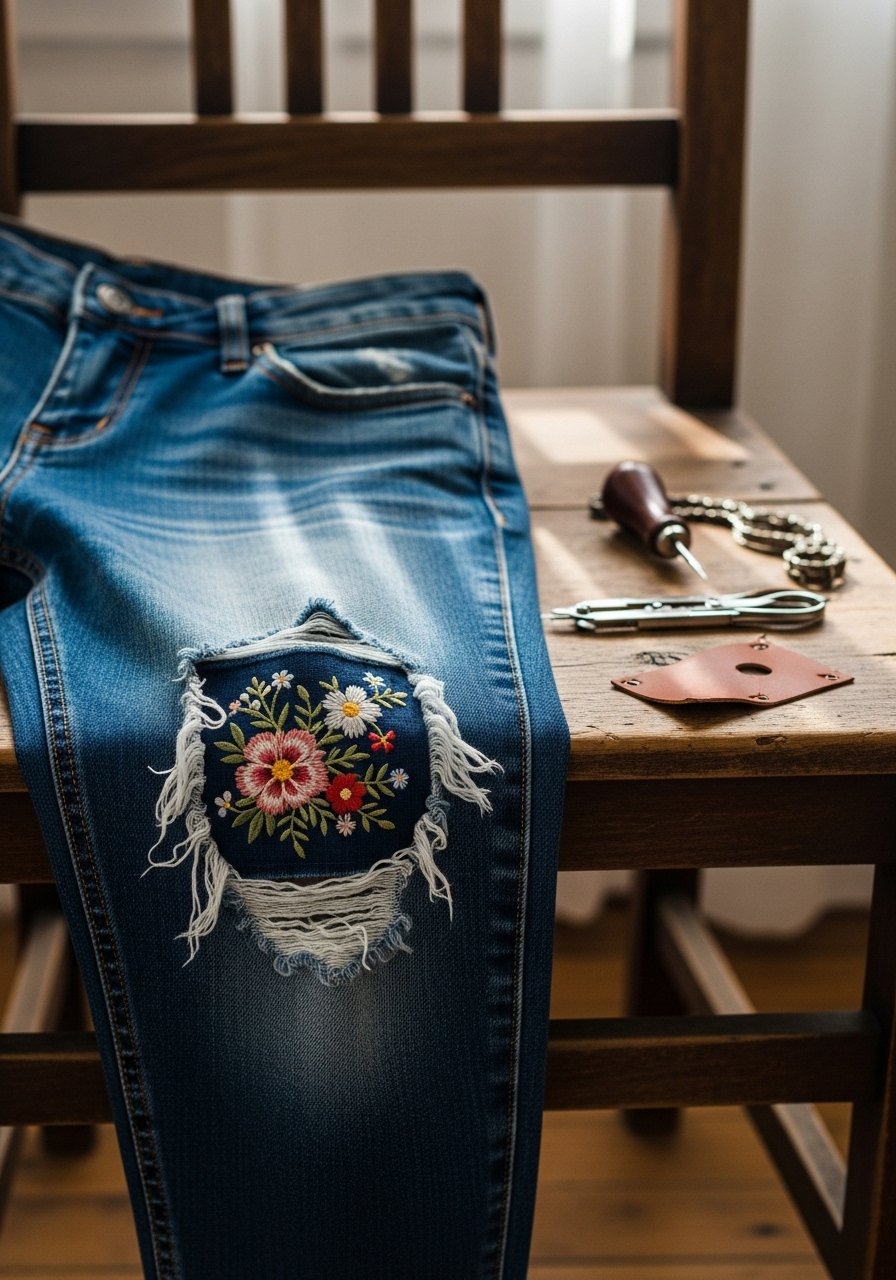
Use machine embroidery to create decorative patches that cover worn areas. This technique blends appliqué and satin edging for durability and style. Use heavy polyester thread for strength.
Materials
- Denim scrap 5" x 5"
- Heavy cutaway stabilizer 6" x 6"
- Polyester embroidery thread 1 spool
- Heat-seal adhesive 1 sheet
- Sewing needle size 100/16 for denim (optional)
- Embroidery hoop 4×4 or 5×7
- Fabric marker
Instructions
- Hoop denim with heavy cutaway stabilizer.
- Position design to cover the worn area; size 2.5–3.5" depending on damage.
- Stitch tackdown and applique layers first.
- Finish with dense satin border to seal edges.
- Remove excess stabilizer leaving 1/8" around stitches.
- Press from back with heavy iron for 12–15 seconds.
How to Display or Gift It
Finish several patches to keep in a repair kit. Store flat in a small zip-top craft pouch for quick mending.
- Felt Bookmark with Embroidery — Quick Stitch Gift for Book Lovers
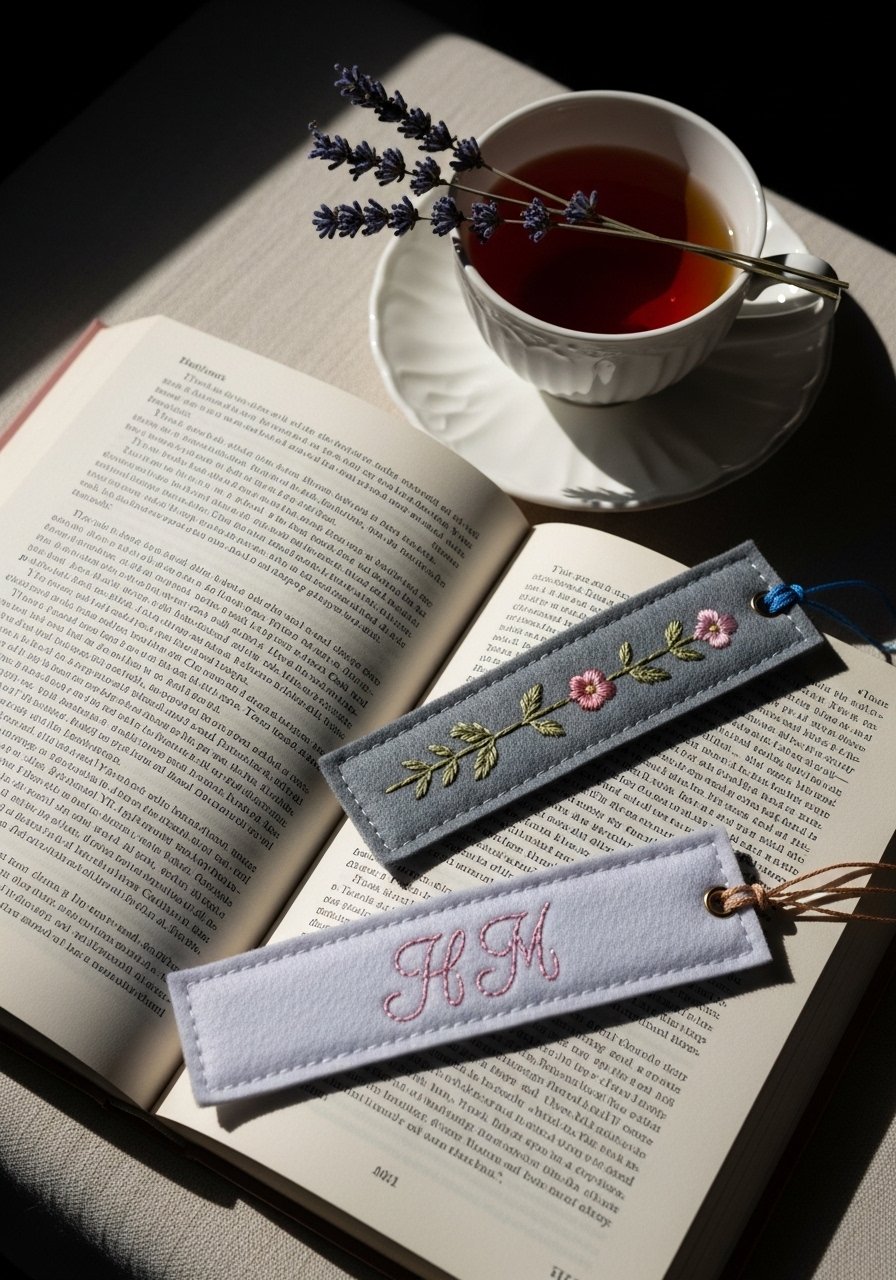
This felt bookmark uses light embroidery to create a soft, tactile finish that doesn’t fray. It’s quick, portable, and a lovely small gift for readers.
Materials
- Wool felt sheets 2 pieces 2.5" x 7"
- Tear-away stabilizer 8" x 8"
- Embroidery thread 1–2 colors
- Embroidery needle 75/11
- Pinking shears
- Ribbon 6" length for tassel
Instructions
- Hoop one felt layer with tear-away stabilizer.
- Load the bookmark design sized 2"–2.5" wide.
- Stitch design; felt tolerates light satin and fill.
- Remove hoop and trim stabilizer.
- Sandwich with second felt layer and stitch perimeter by hand or in machine.
- Trim edges with pinking shears to prevent fuzz.
How to Display or Gift It
Tie with ribbon and tuck into a paperback. Store bookmarks flat in small kraft envelopes until gifting.
- Simple Key Fob — Durable Embroidered Leatherette Fob
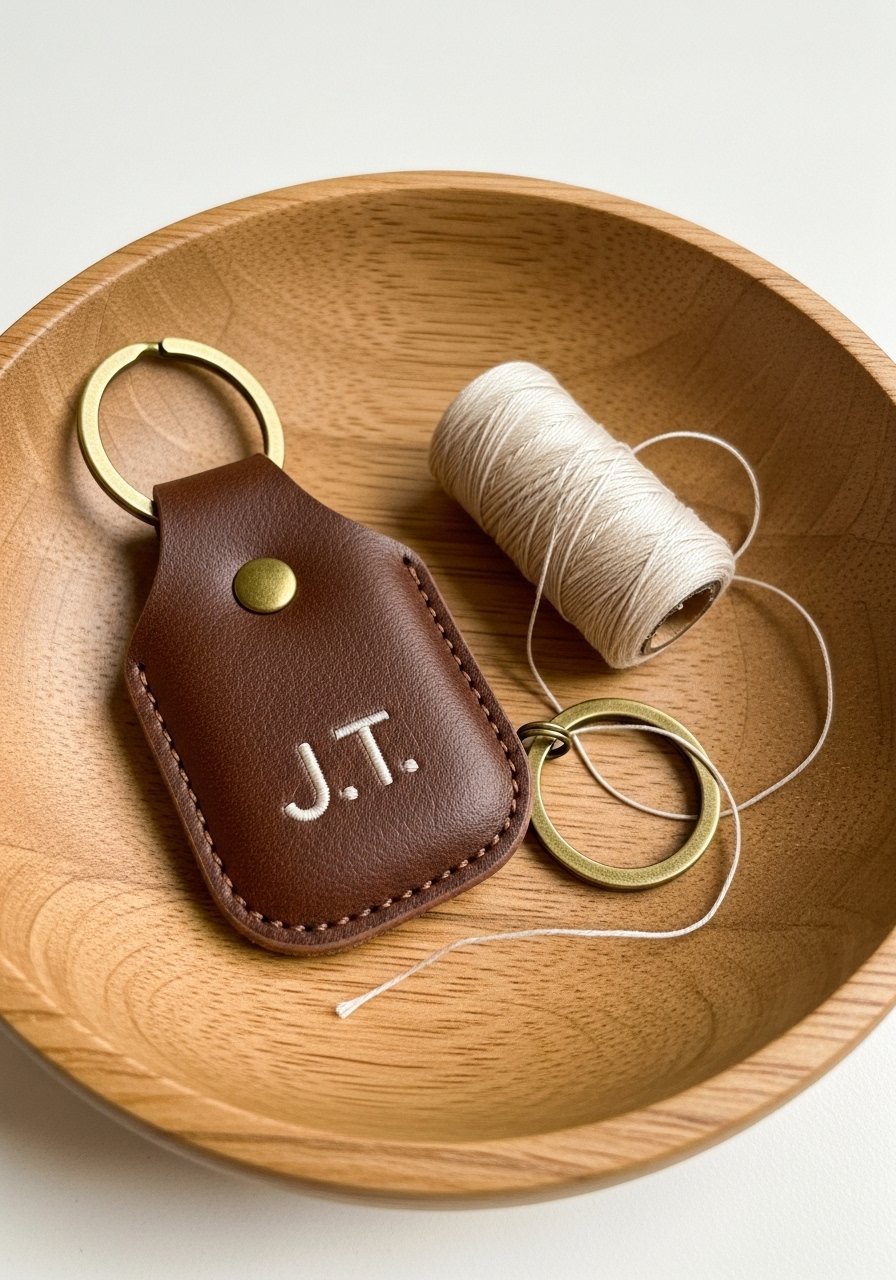
A key fob is a fast project that stitches well on faux leather or vinyl. Use a tear-away stabilizer and a heavy needle; finish edges with a snap or rivet kit.
Materials
- Faux leather scrap 3" x 5"
- Tear-away stabilizer 6" x 6"
- Heavy embroidery thread
- Size 90/14 sewing needle
- Keyring hardware 1 set
- Rivet or snap kit
- Leather punch (optional)
Instructions
- Hoop stabilizer and place faux leather on top.
- Load key fob design sized 1.75"–2".
- Stitch slowly with a heavy needle.
- Remove stabilizer and trim leaving 1/4" seam allowance.
- Fold and finish ends with rivet or snap per hardware instructions.
- Attach keyring.
How to Display or Gift It
Add to a gift card or attach to a small kraft gift tag for a handmade touch.
- Applique Baseball Cap Patch — Personalize Hats with Computer Embroidery
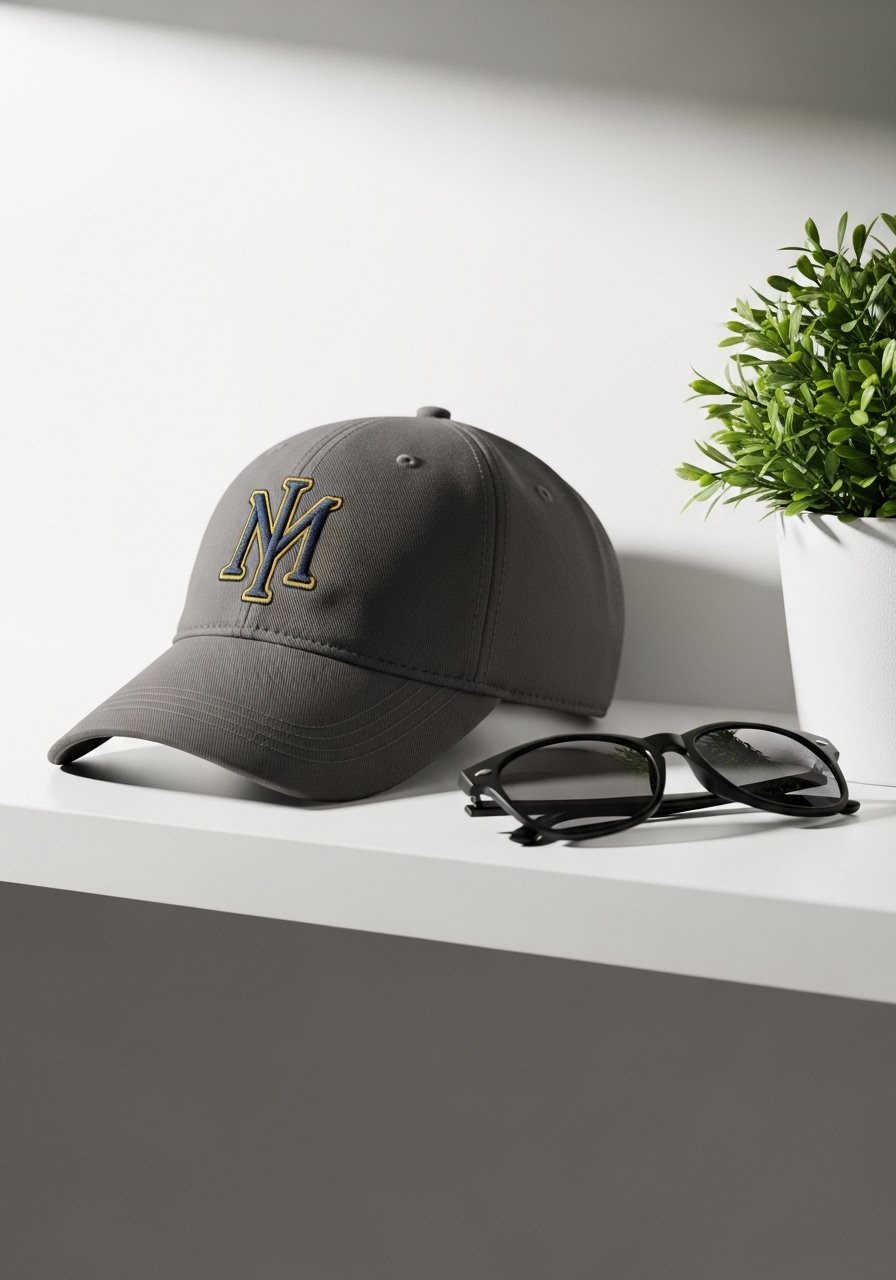
Hats require a cap frame and low-profile designs. Use a woven cotton applique and lower stitch density to avoid puckering. Great for teams or casual branding.
Materials
- Baseball cap
- Cap frame or stabilizer sheet
- Fusible applique fabric scrap 3" x 3"
- Topstitch thread 1 spool
- Embroidery needle 90/14
- Embroidery machine with cap hoop
- Heat-seal pressing cloth
Instructions
- Place cap in cap frame and stabilize with a cap sheet.
- Load applique logo sized 1.5"–2.5" wide.
- Stitch tackdown, trim applique, finish with narrow satin.
- Remove from frame and press lightly from inside for 8–10 seconds.
- Test on scrap first to set density.
How to Display or Gift It
Wrap in tissue and place in a hat box or display on a shelf peg. Keep extra cap frames stored in a tool organizer.
- Monogrammed Linen Napkins — Formal Table Setting Made Easy
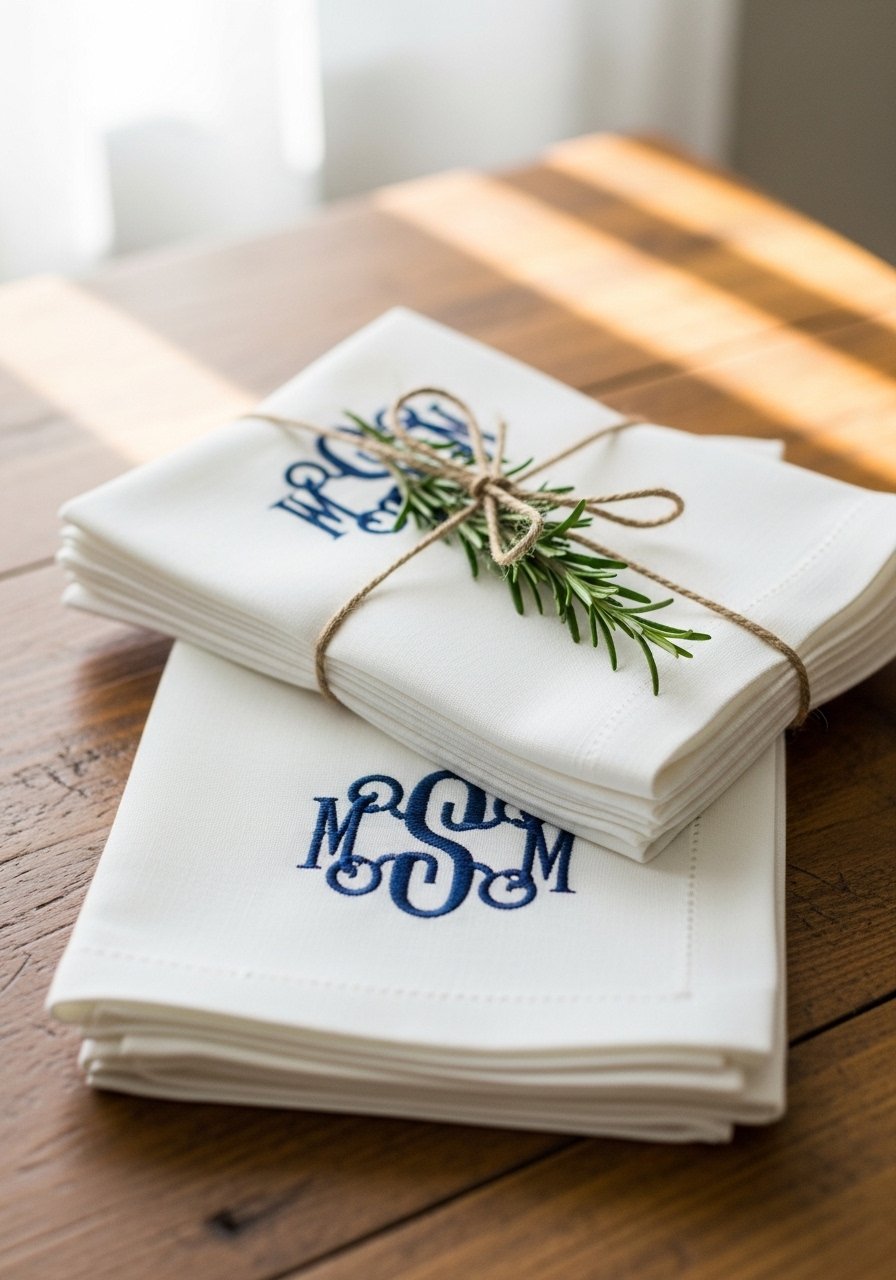
Machine monograms on linen look refined for special dinners. Use cutaway stabilizer and a medium-density font to prevent pull. These make excellent wedding or hostess gifts.
Materials
- Linen napkins set of 4, 16" x 16"
- Medium cutaway stabilizer for each napkin 6" x 6"
- Embroidery thread 1 spool per monogram color
- 4×4 hoop
- Embroidery needle 75/11
- Fabric marking pencil
Instructions
- Measure and mark monogram placement, ~1.5" from corner.
- Hoop stabilizer and place napkin to match marking.
- Load monogram file sized 2"–2.5".
- Stitch, then remove hoop and trim stabilizer to 1/8".
- Press napkin gently with a press cloth for 10–12 seconds.
How to Display or Gift It
Stack and tie with twine, tuck in a sprig of rosemary, and send in a linen storage bag.
- Simple Wallet Card Slot — Embroidered ID Window Accent
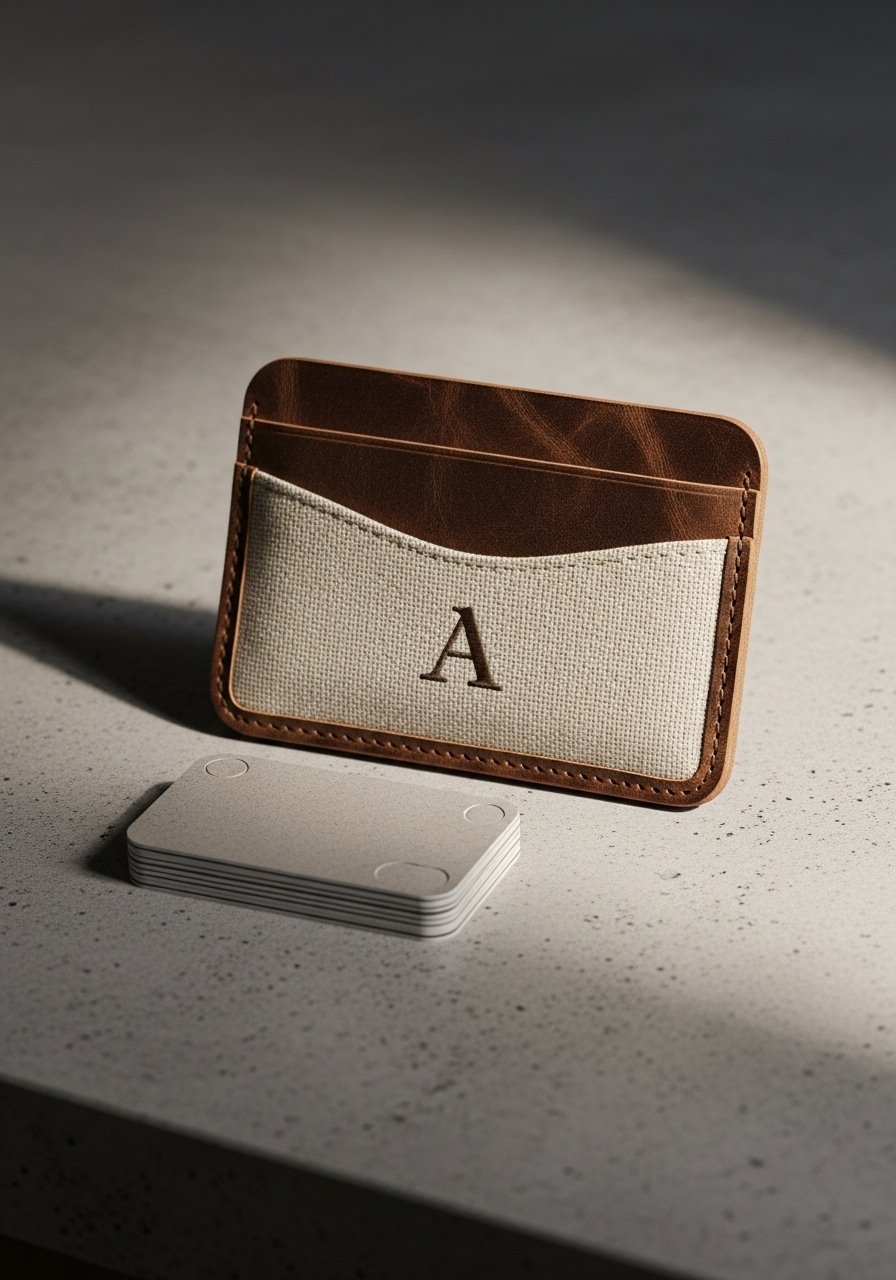
Add a decorative patch to a slim fabric wallet for a subtle customization. Keep designs low-density to avoid bulk.
Materials
- Fabric wallet or cardholder
- Tear-away stabilizer 6" x 6"
- Embroidery thread 1 color
- Embroidery needle 75/11
- Rotary cutter for trimming edges
Instructions
- Hoop stabilizer and align wallet pocket.
- Load small initial or motif sized 1"–1.5".
- Stitch at slow speed and trim jump threads.
- Remove stabilizer and press from the back for 6–8 seconds.
How to Display or Gift It
Slip into a small kraft gift box with a business card for gifting.
- Heirloom Baby Bib — Soft Terry Cloth with Machine Embroidery
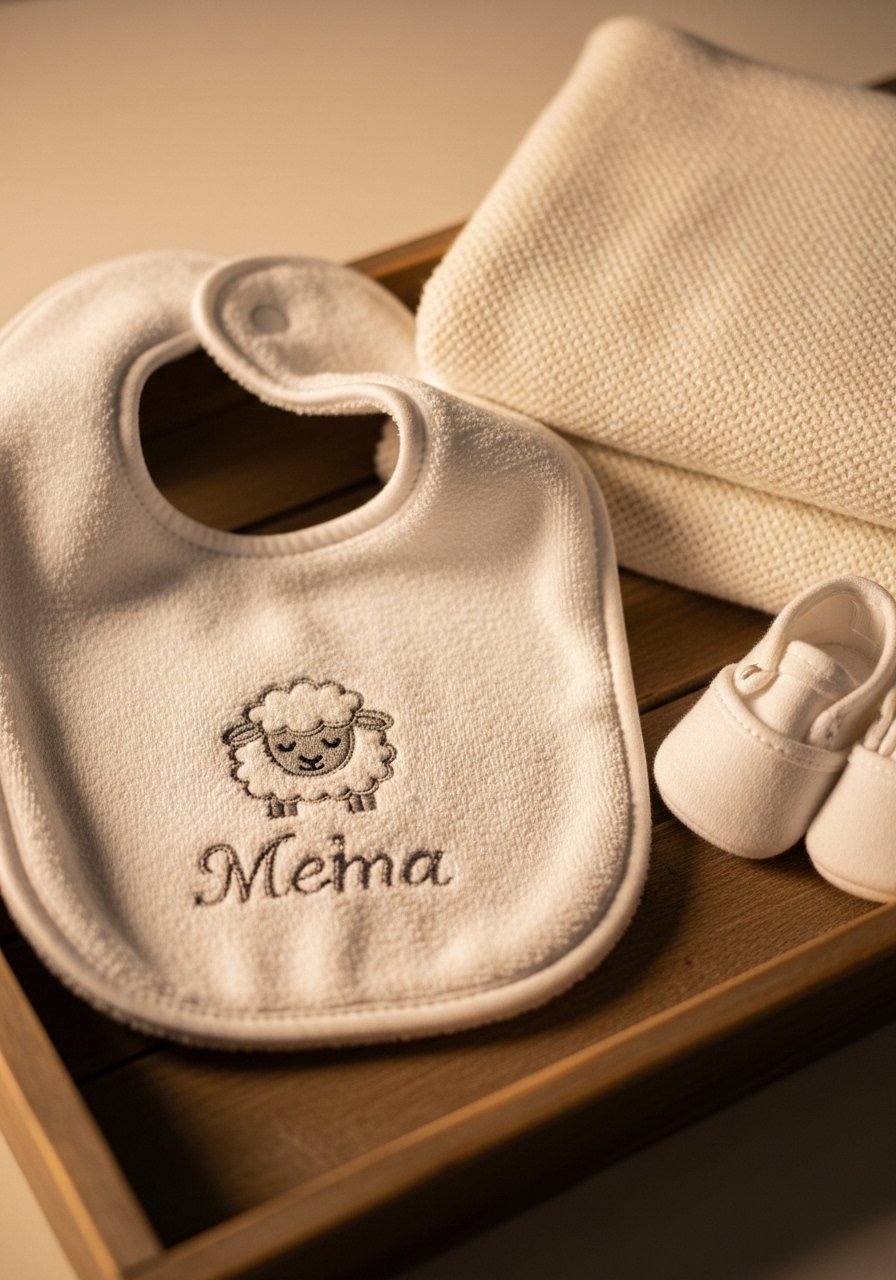
Terry cloth can shift, so use a water-soluble topping stabilizer to keep stitches clear. The result is plush and machine-washable.
Materials
- Terry cloth bib
- Cutaway stabilizer 6" x 6"
- Water-soluble topping 6" x 6"
- Embroidery thread 2 colors
- Embroidery needle 80/12
Instructions
- Hoop cutaway stabilizer, place bib over it.
- Lay water-soluble topping over bib surface.
- Load design sized 2"–3" and stitch.
- Rinse topping under cool water per product instructions (usually immediate rinse).
- Dry bib flat; avoid tumble drying for first wash.
How to Display or Gift It
Wrap with a small muslin blanket and tie with ribbon. Store bibs flat in a baby drawer.
- Cozy Mug Rug — Small Table Mat with Machine Embroidery
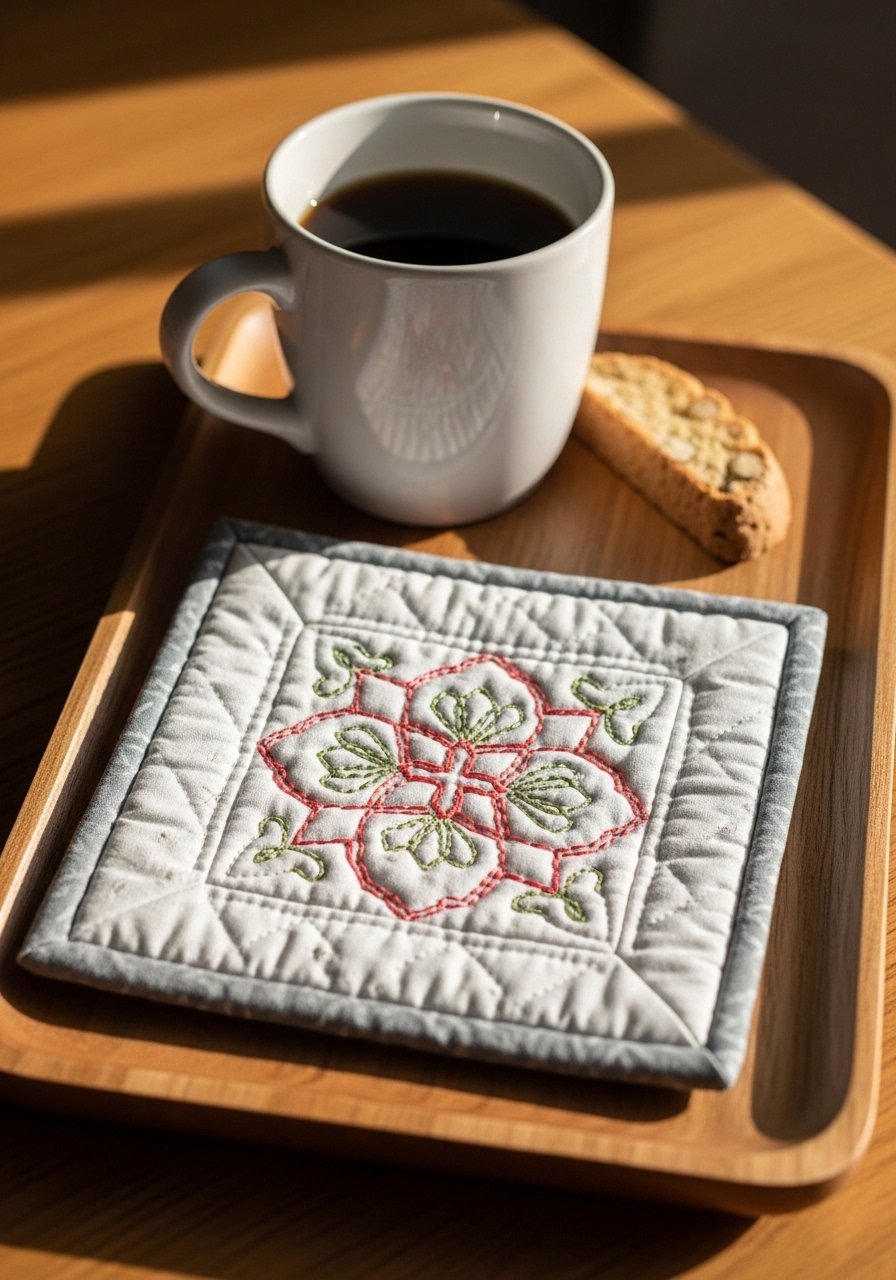
Mug rugs let you practice simple quilting lines plus a central embroidered motif. Use cotton batting and a tight satin border for durability.
Materials
- Cotton fabric 2 squares 6" x 8"
- Cotton batting 1 piece 6" x 8"
- Tear-away or cutaway stabilizer 8" x 10"
- Embroidery thread 2 colors
- Quilting ruler and rotary cutter
Instructions
- Hoop stabilizer and top fabric, position design at center (size 2.5"–3").
- Stitch motif.
- Layer batting and backing, quilt with a few straight lines either in-machine or by hand.
- Bind edges with a 1/2" bias binding.
- Press for 10 seconds to finish.
How to Display or Gift It
Create a matching set and package in a small kraft box with a note.
- Personalized Pet Bandana — Adorable Embroidered Name Tag
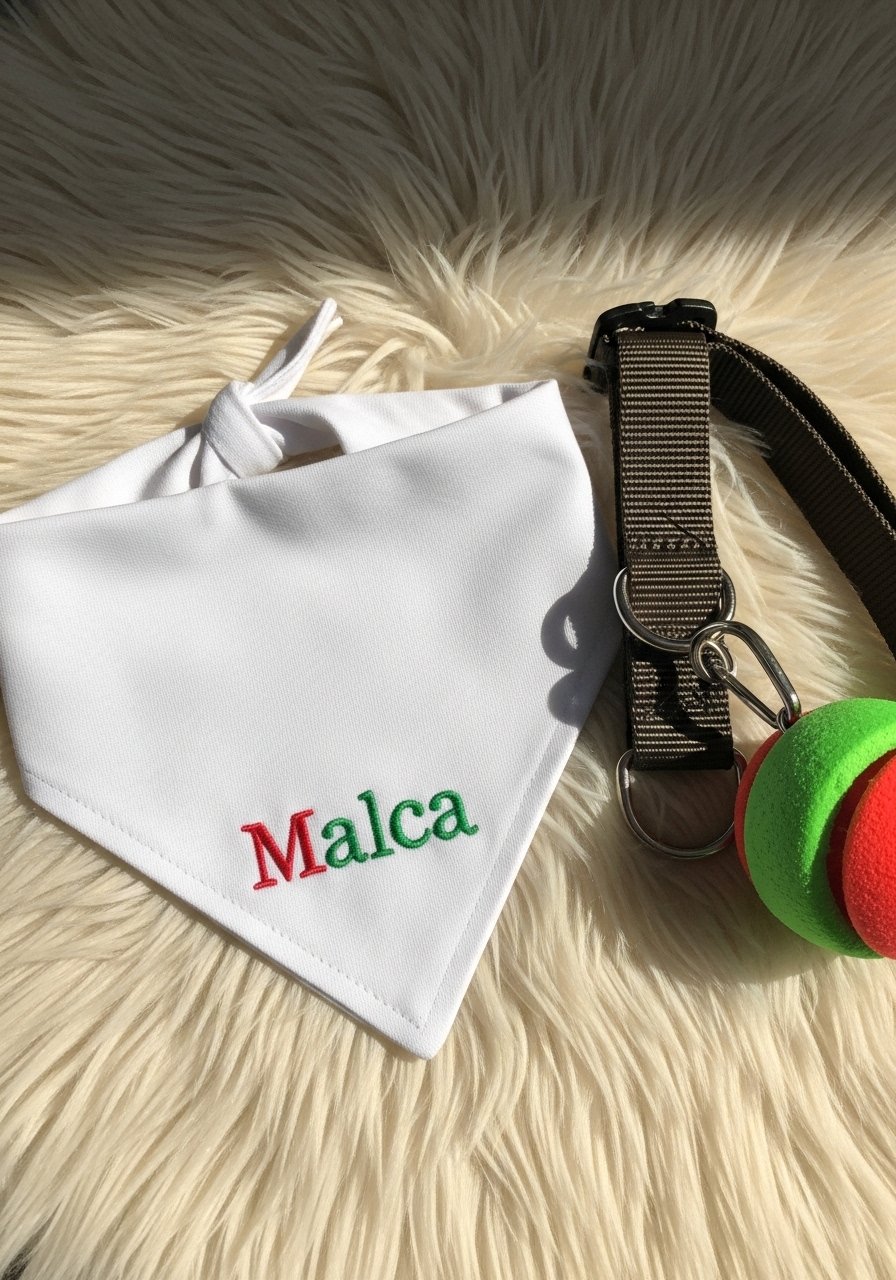
Embroidering pet bandanas is quick and durable. Use appliqué letters or satin-stitched names and a medium cutaway stabilizer so washing doesn’t distort stitches.
Materials
- Cotton bandana 14" x 10"
- Medium cutaway stabilizer 8" x 8"
- Embroidery thread 1–2 colors
- Embroidery needle 75/11
Instructions
- Hoop stabilizer and secure bandana.
- Load name file sized 2"–3" depending on bandana size.
- Stitch slowly and trim jump threads.
- Remove stabilizer to 1/8" from stitches.
- Wash bandana before first wear to remove any stabilizer residue.
How to Display or Gift It
Fold and tuck with a small bag of treats in a gift bag. Store extras in a labeled craft drawer.
- Minimalist Wall Hoop — Modern Type + Simple Line Art
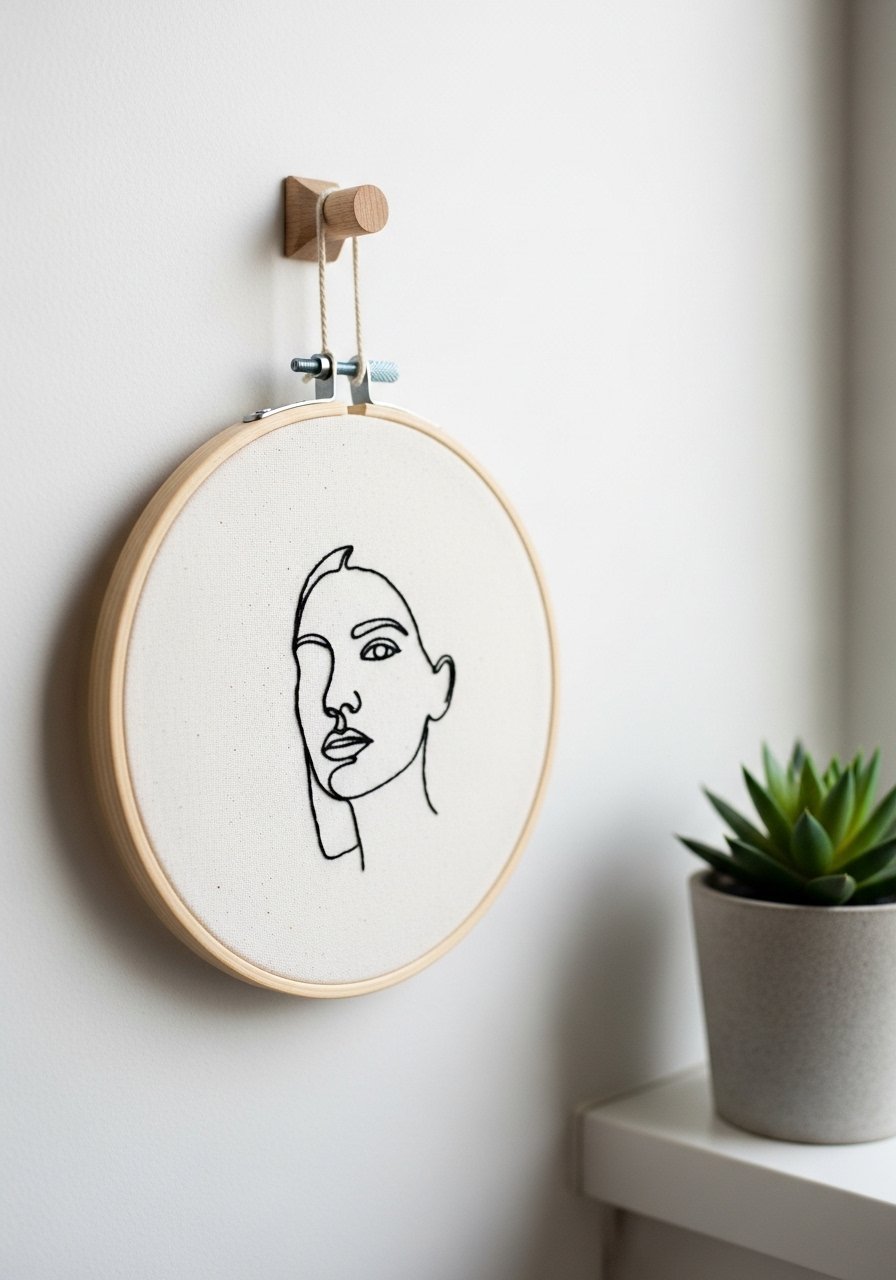
Minimal line art uses single-run stitches and looks graphic and modern. It’s a great practice piece for digitized one-stitch designs.
Materials
- Off-white cotton 8" x 8"
- Tear-away stabilizer 8" x 8"
- Embroidery thread 1 black spool
- 6" wooden hoop
- Embroidery needle 75/11
Instructions
- Hoop cotton with tear-away stabilizer.
- Load single-run line art file sized 4"–5".
- Stitch at moderate speed to keep lines smooth.
- Remove stabilizer and trim close to stitches.
- Stretch in hoop and trim excess fabric.
How to Display or Gift It
Hang as a small gallery grouping. Slip into a small wooden easel for table display.
- Holiday Ornament — Quick Felt Embroidery Ornament
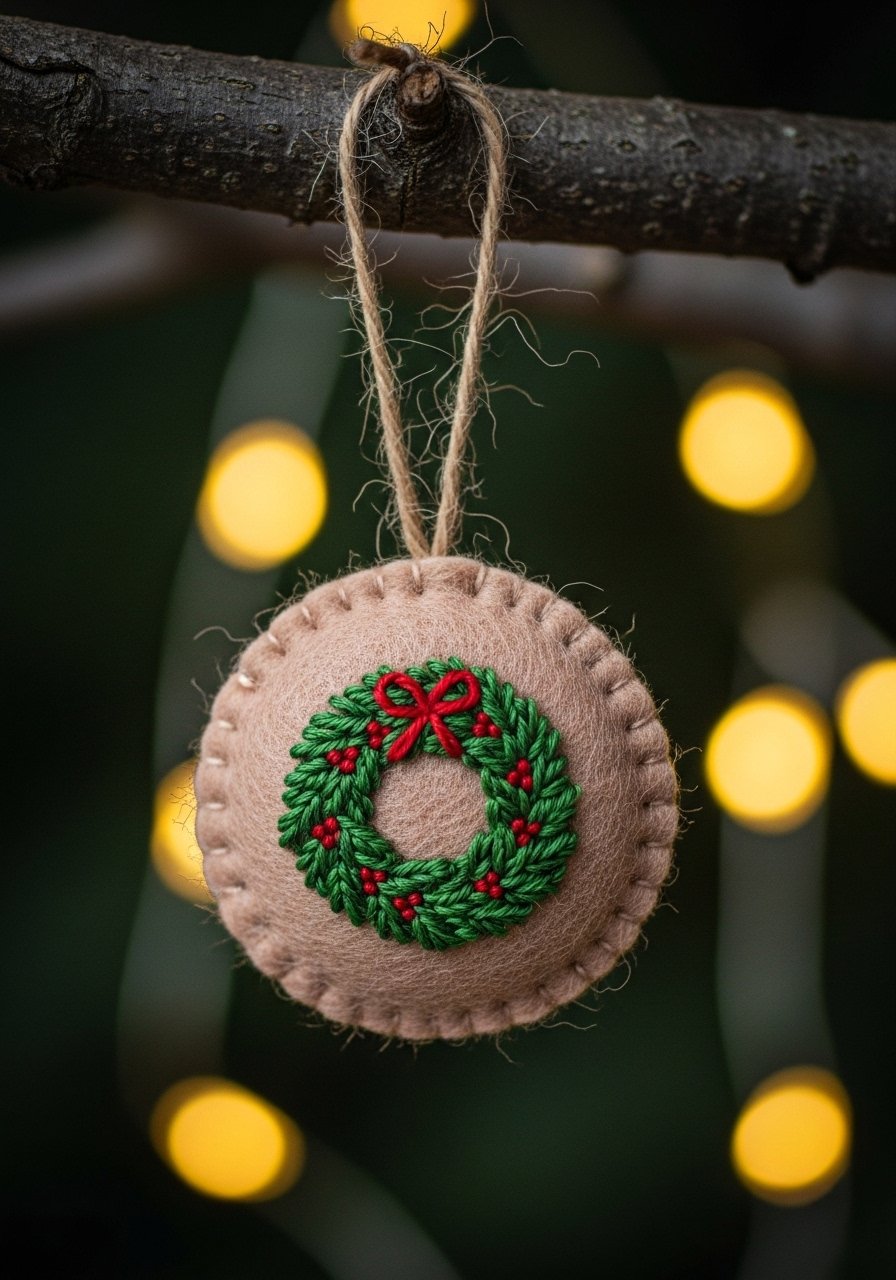
Felt ornaments stitch quickly and are forgiving. Use a water-soluble topping for dense designs and finish with a stitched perimeter.
Materials
- Wool felt circles 3" diameter
- Water-soluble topping 3" circle
- Embroidery thread 2–3 colors
- Ribbon 8" for hanging
- Embroidery needle 75/11
Instructions
- Hoop felt with tear-away stabilizer and add topping.
- Load ornament design sized 2.5" and stitch.
- Remove topping with cool water rinse.
- Layer two felt circles and stitch around edge.
- Insert ribbon loop and secure with stitching.
How to Display or Gift It
Package in a small ornament box or tie to a gift tag. Store ornaments flat in tissue until holiday season.
- Simple Tea Cozy Patch — Hand-stitched Look with Machine Embroidery
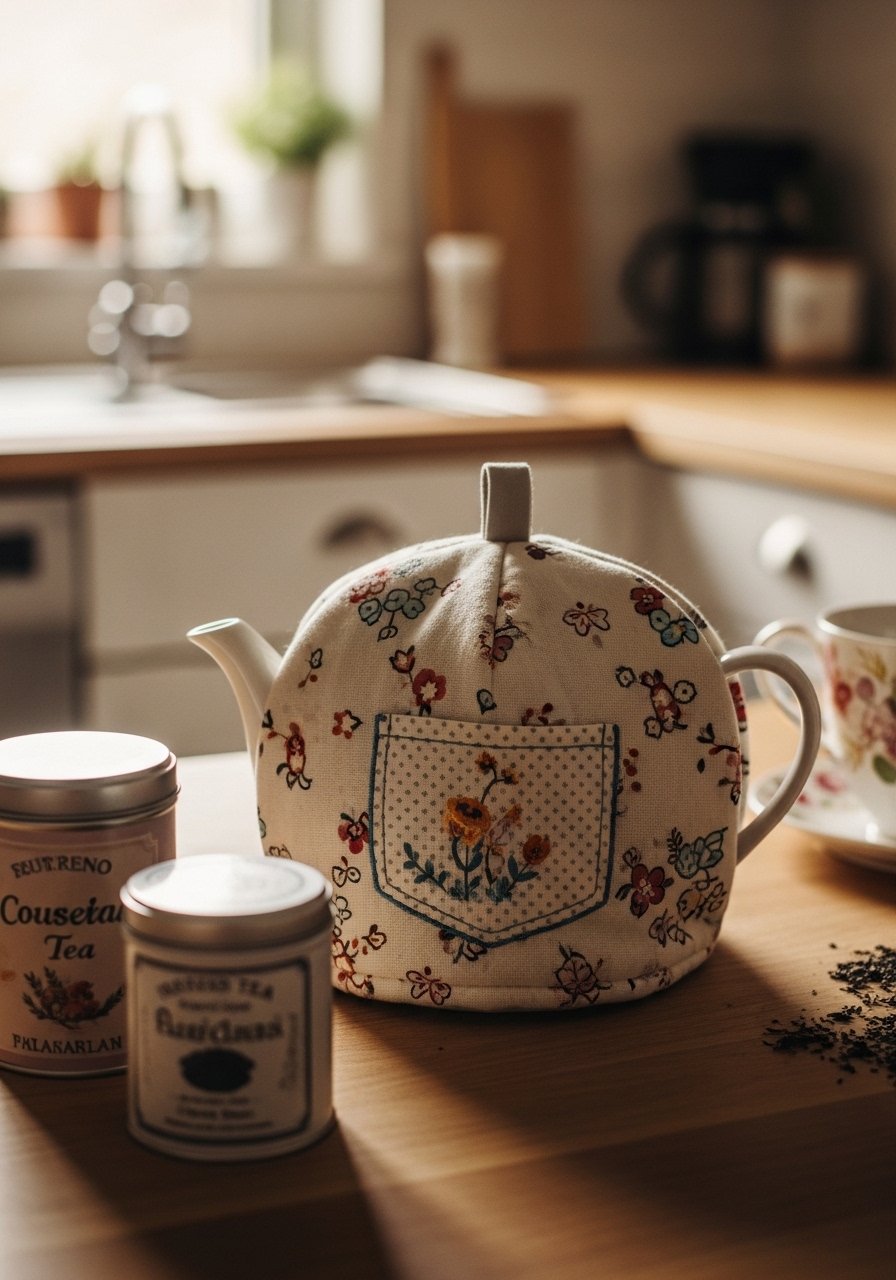
A small embroidered patch sewn onto a tea cozy gives a handmade feel. Use medium cutaway stabilizer and bright thread for contrast.
Materials
- Tea cozy or fabric cover
- Fabric scrap for patch 4" x 4"
- Cutaway stabilizer 6" x 6"
- Embroidery thread 2 colors
- Sewing thread to attach patch
Instructions
- Hoop stabilizer and fabric patch scrap.
- Load motif sized 2.5"–3" and stitch.
- Trim patch leaving 1/8" seam and sew onto cozy by hand or machine.
- Press patch with cloth for 10 seconds.
How to Display or Gift It
Pair with specialty tea in a kraft tea box for a hostess set.
- Linen Pocket Notebook Cover — Embroidered Title Band
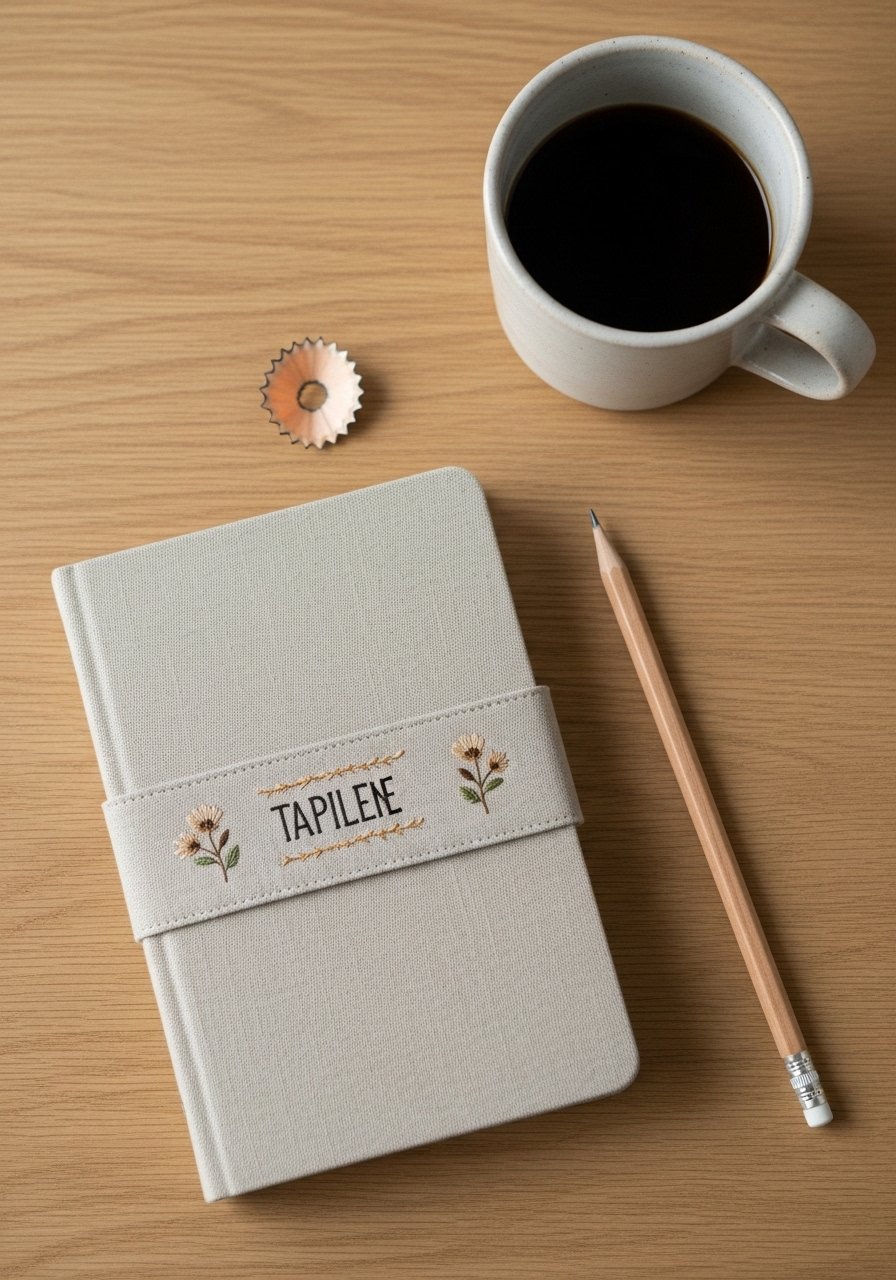
Add a stitched band to a notebook cover for personalization. Use tear-away stabilizer to keep text crisp.
Materials
- Linen notebook cover (fits 5" x 8" notebook)
- Tear-away stabilizer 8" x 10"
- Embroidery thread 1–2 colors
- Embroidery needle 75/11
- Ruler
Instructions
- Hoop stabilizer and position cover to match the band placement.
- Load text file sized 4" wide.
- Stitch slowly, remove stabilizer carefully.
- Press from back for 8–10 seconds.
How to Display or Gift It
Pair with a pencil and tuck into a small kraft pencil sleeve for gifting.
- Simple Patchwork Pillow Accent — Mix Embroidery + Piecing
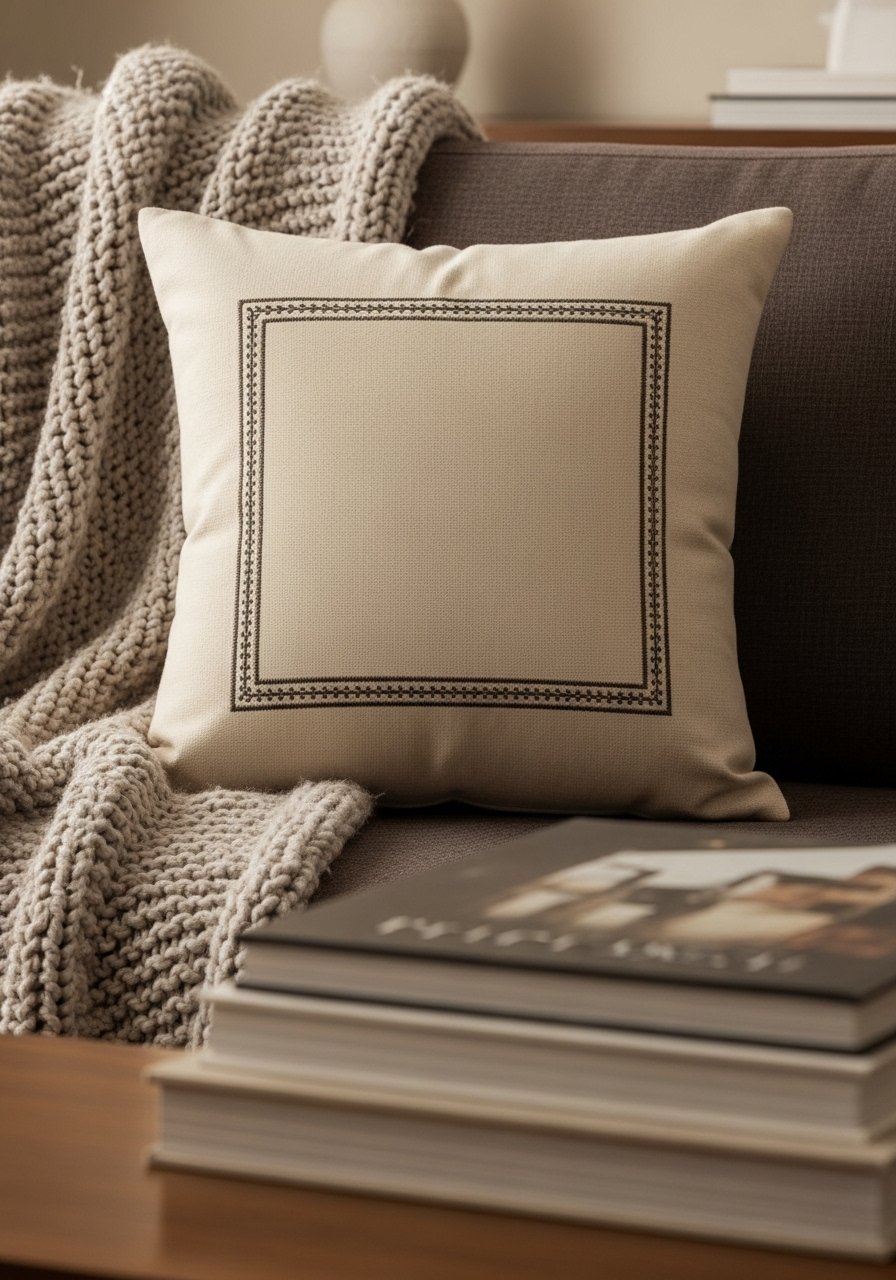
Center a small embroidered square and finish with simple piecing for a quick pillow. Use cutaway stabilizer behind the embroidered square.
Materials
- Fabric squares 4 pieces 6" x 6"
- Cutaway stabilizer for embroidered square 6" x 6"
- Pillow form 12" x 12"
- Embroidery thread 2 colors
- Sewing thread matching fabric
Instructions
- Hoop stabilizer with the central square fabric.
- Load design sized 3" and stitch.
- Piece surrounding squares and sew into a pillow top.
- Insert pillow form and close seam by hand or machine.
How to Display or Gift It
Display on a sofa or gift as a set. Store extra pillow covers in a fabric storage box.
- Personalized Cosmetic Pouch — Zip Bag with Embroidered Label
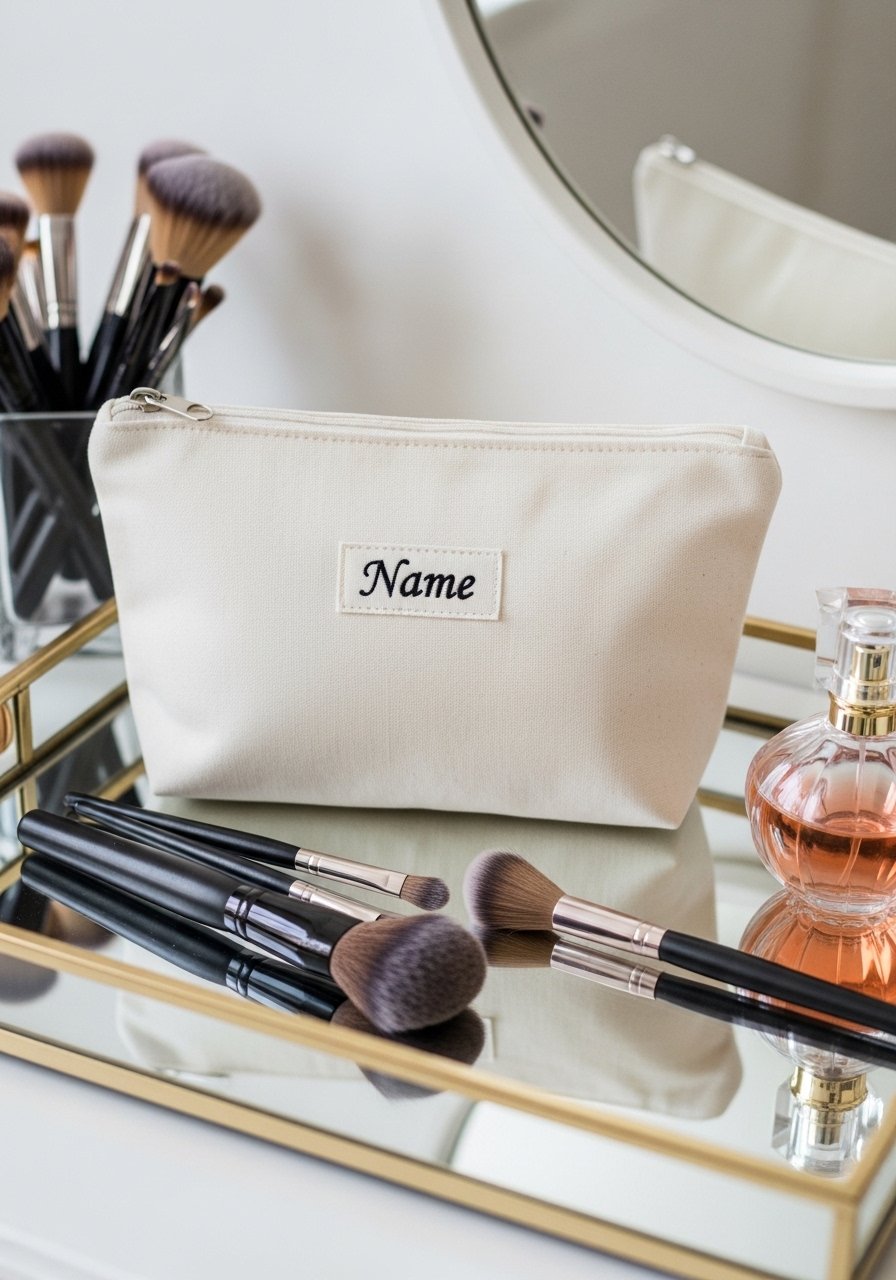
A cosmetic pouch is a useful project that showcases names or tiny motifs. Use a medium cutaway and a nylon zipper for durability.
Materials
- Cotton pouch or make your own 7" x 5"
- Medium cutaway stabilizer 8" x 8"
- Embroidery thread 2 colors
- Nylon zipper 6–7"
- Embroidery needle 75/11
Instructions
- Hoop stabilizer and place pouch front.
- Load name or motif sized 2.5"–3".
- Stitch and trim stabilizer leaving 1/8".
- Attach zipper if building pouch from scratch.
How to Display or Gift It
Fill with sample-size cosmetics and place in a small kraft cosmetic box.
- Simple Cloth Face Mask Accent — Subtle Embroidery on Mask Corner
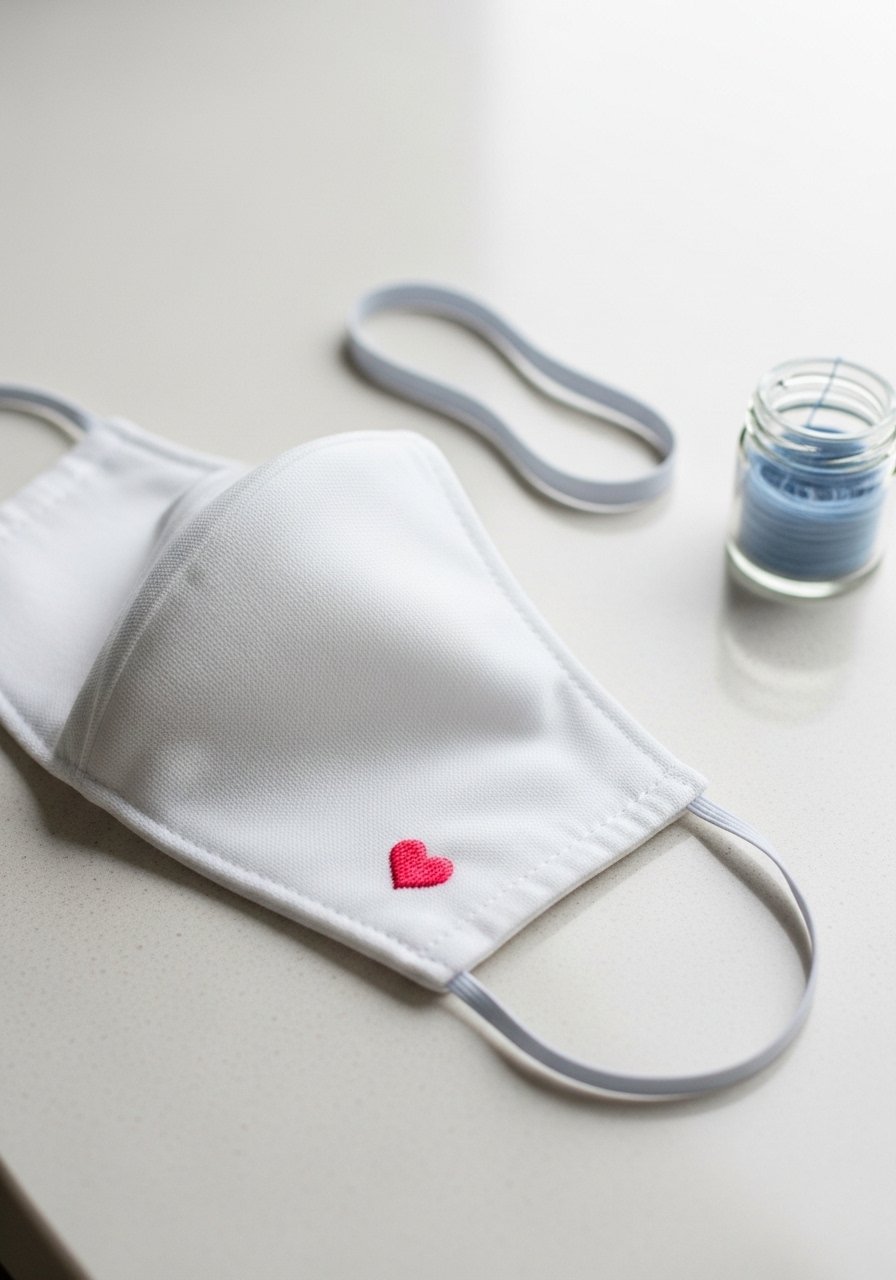
Small corner motifs personalize masks without adding bulk. Use a tear-away topping if the fabric has texture and a cutaway stabilizer for longer wear.
Materials
- Cotton face mask
- Cutaway stabilizer 6" x 6"
- Water-soluble topping 3" circle
- Embroidery thread 1 color
- Embroidery needle 75/11
Instructions
- Hoop stabilizer and place mask under topping.
- Load tiny motif sized 0.5"–1".
- Stitch, remove topping with cool water.
- Press and test mask fit after embroidery.
How to Display or Gift It
Bundle several masks with a small care card describing washing instructions.
- Table Runner Block — Repeat Embroidered Motif for a Runner
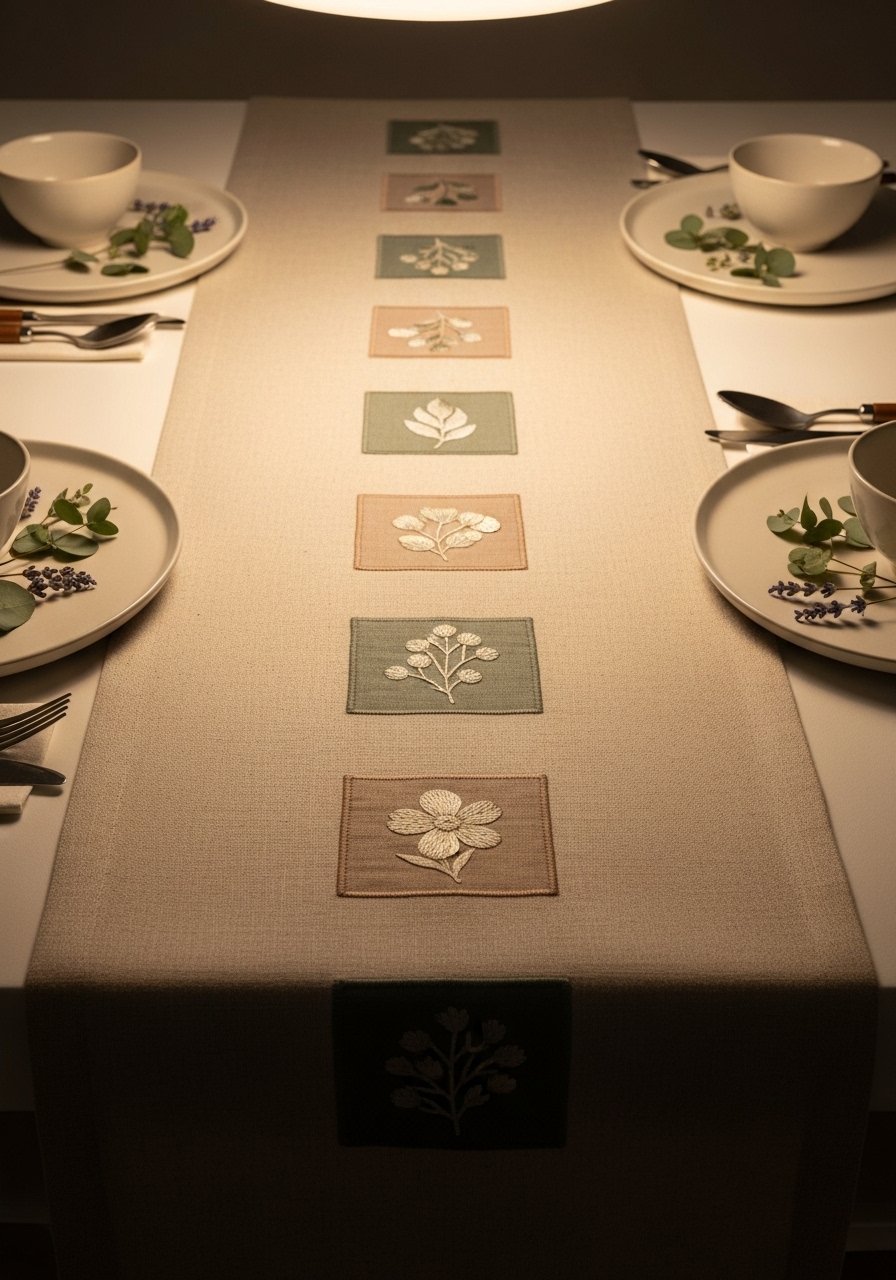
Repeat a single block motif down a runner for a cohesive table statement. Ensure consistent placement and use cutaway stabilizer for linen or cotton runners.
Materials
- Table runner 14" x 48"
- Cutaway stabilizer per block 8" x 8"
- Embroidery thread 1–2 colors
- Measuring tape and fabric marker
- Embroidery needle 75/11
Instructions
- Measure and mark placement for blocks every 4–5" down runner.
- Hoop stabilizer and align runner to first mark.
- Load block design sized 3" and stitch.
- Repeat for each block, re-hooping carefully to keep spacing even.
- Press runner for 10–12 seconds.
How to Display or Gift It
Use for seasonal tables and fold lengthwise for storage in a lined drawer.
- Small Coin Purse — Embroidered Front Accent
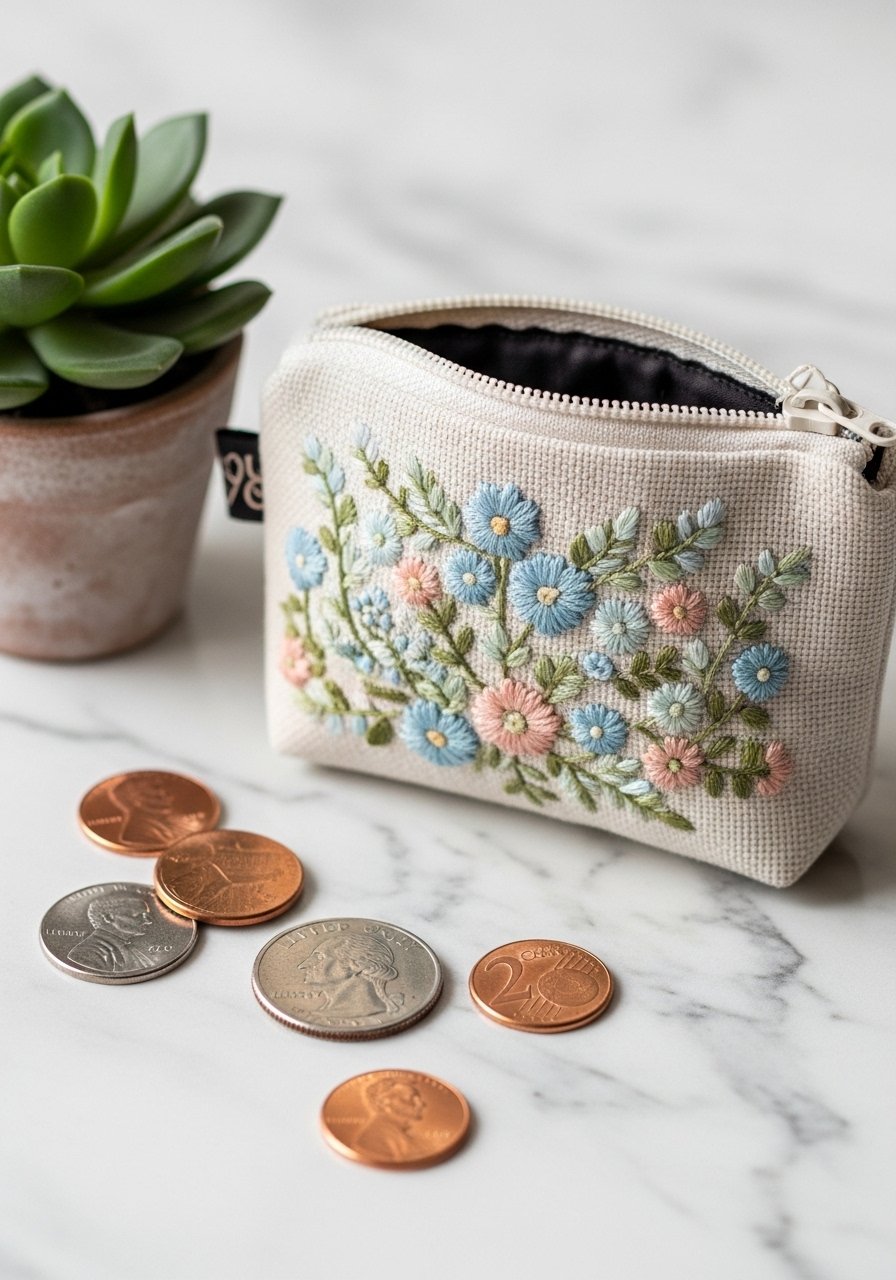
A coin purse is a compact project that lets you practice small designs and zippers. Use a sturdy fabric and a tight satin border to prevent fraying.
Materials
- Cotton or canvas coin purse 4" x 4"
- Tear-away stabilizer 6" x 6"
- Embroidery thread 1 color
- Zipper 4"
- Embroidery needle 75/11
Instructions
- Hoop stabilizer and place purse front.
- Load motif sized 1.5"–2" and stitch.
- Trim stabilizer and attach zipper if making from scratch.
- Press lightly from the back.
How to Display or Gift It
Fill with a few coins and tuck into a small envelope for gifting.
- Simple Stocking Name Tag — Holiday Personalization
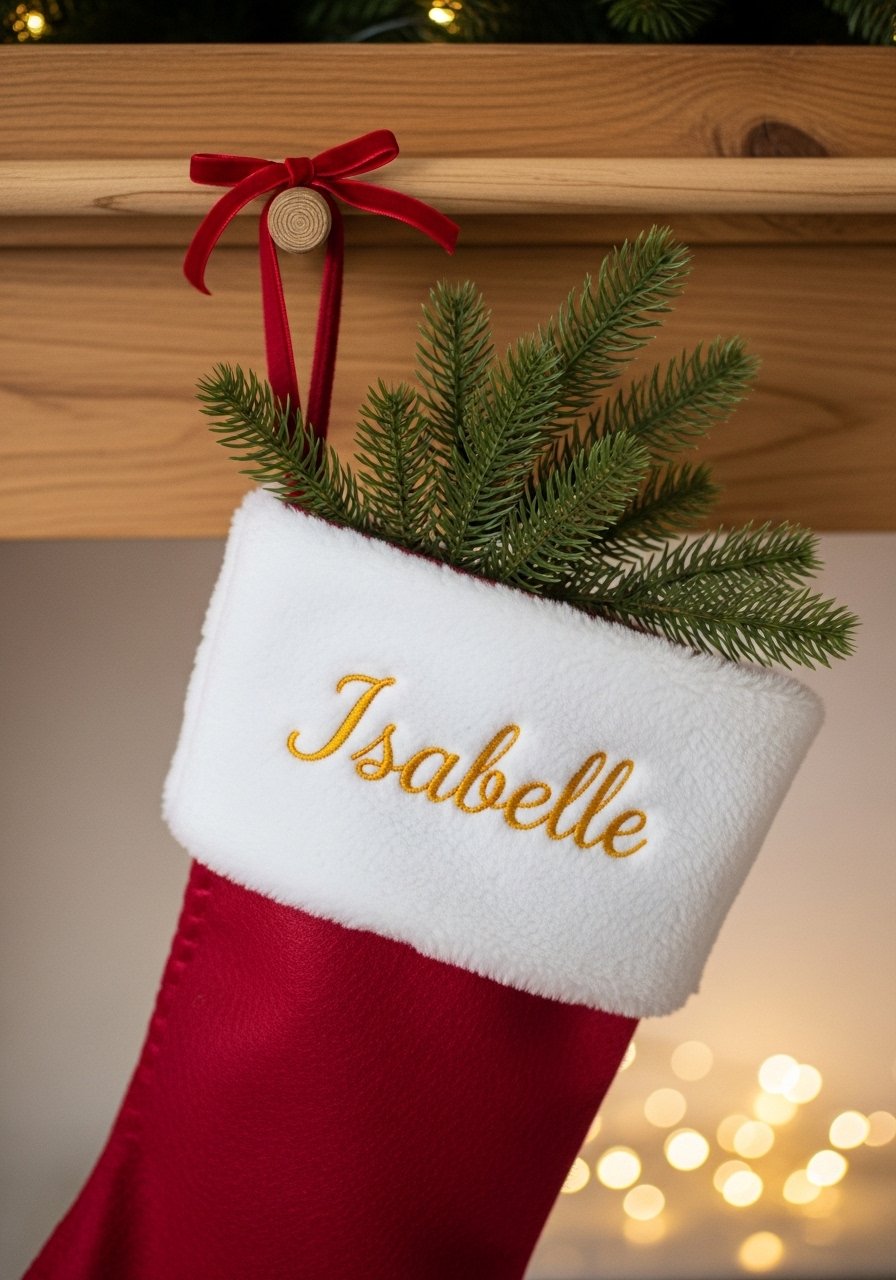
Names on stocking cuffs stitch quickly and look festive. Use cutaway stabilizer on felt and choose a clear, readable font.
Materials
- Felt stocking
- Medium cutaway stabilizer 6" x 6"
- Embroidery thread 1 color
- Embroidery needle 75/11
- Chalk marking pencil
Instructions
- Hoop stabilizer and place stocking cuff.
- Load name file sized 3"–4" depending on cuff width.
- Stitch, trim stabilizer, and press from back for 8–10 seconds.
How to Display or Gift It
Hang on a mantel or gift with a small treat tucked inside. Store personalized stockings in a cedar storage box during off-season.
- Travel Eyeglass Case — Soft Pouch with Embroidered Accent
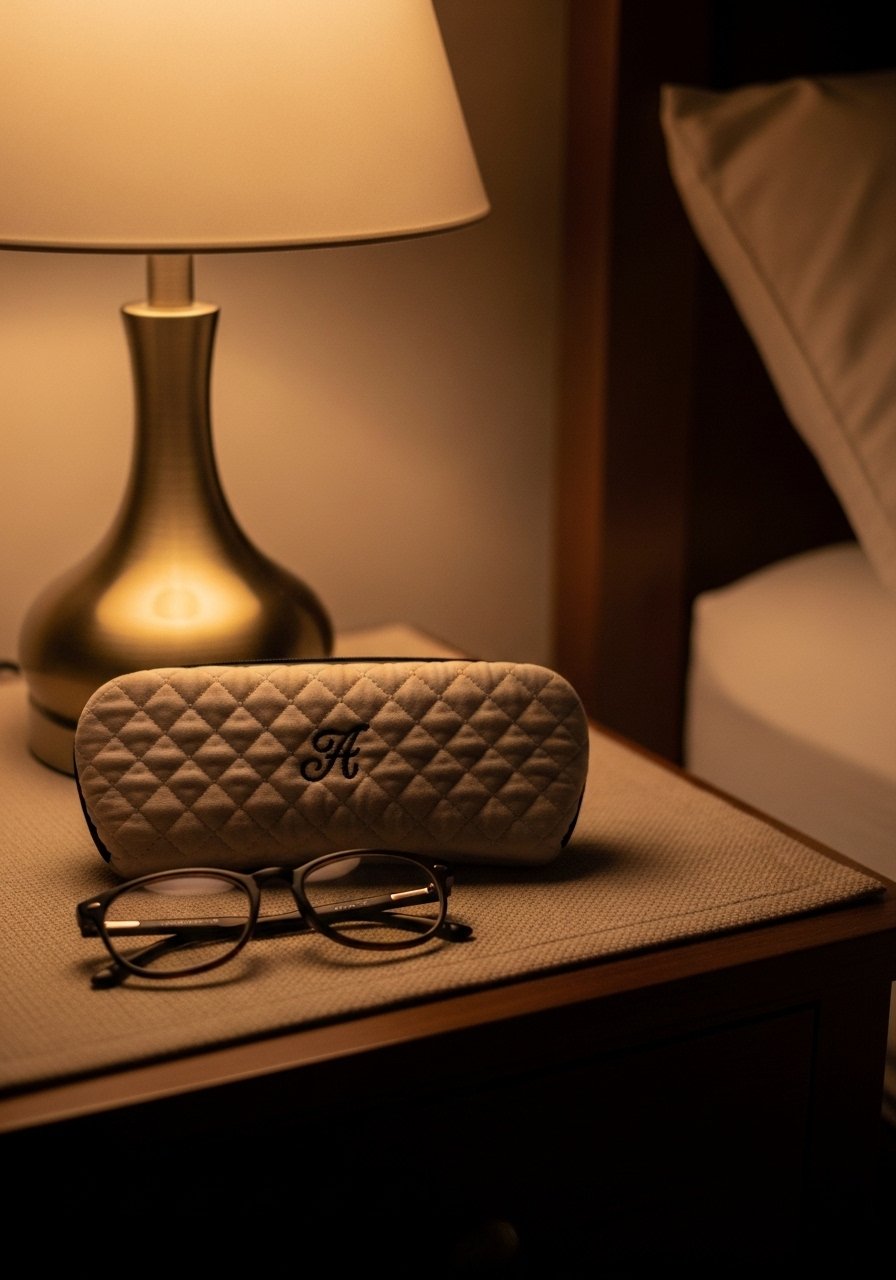
Embroider a small initial on a soft case to add a luxe touch. Use a lightweight batting and cutaway stabilizer for shape.
Materials
- Eyeglass case fabric cut to size 3.5" x 7"
- Lightweight batting 3.5" x 7"
- Cutaway stabilizer 6" x 6"
- Embroidery thread 1 color
- Sewing thread to assemble
Instructions
- Hoop stabilizer and fabric front.
- Load initial sized 1"–1.5" and stitch.
- Assemble case with batting and sew edges.
- Turn and press gently.
How to Display or Gift It
Pair with a cleaning cloth and store in a small protective pouch.
- Simple Wall Banner — Bold Lettering on Cotton Banner
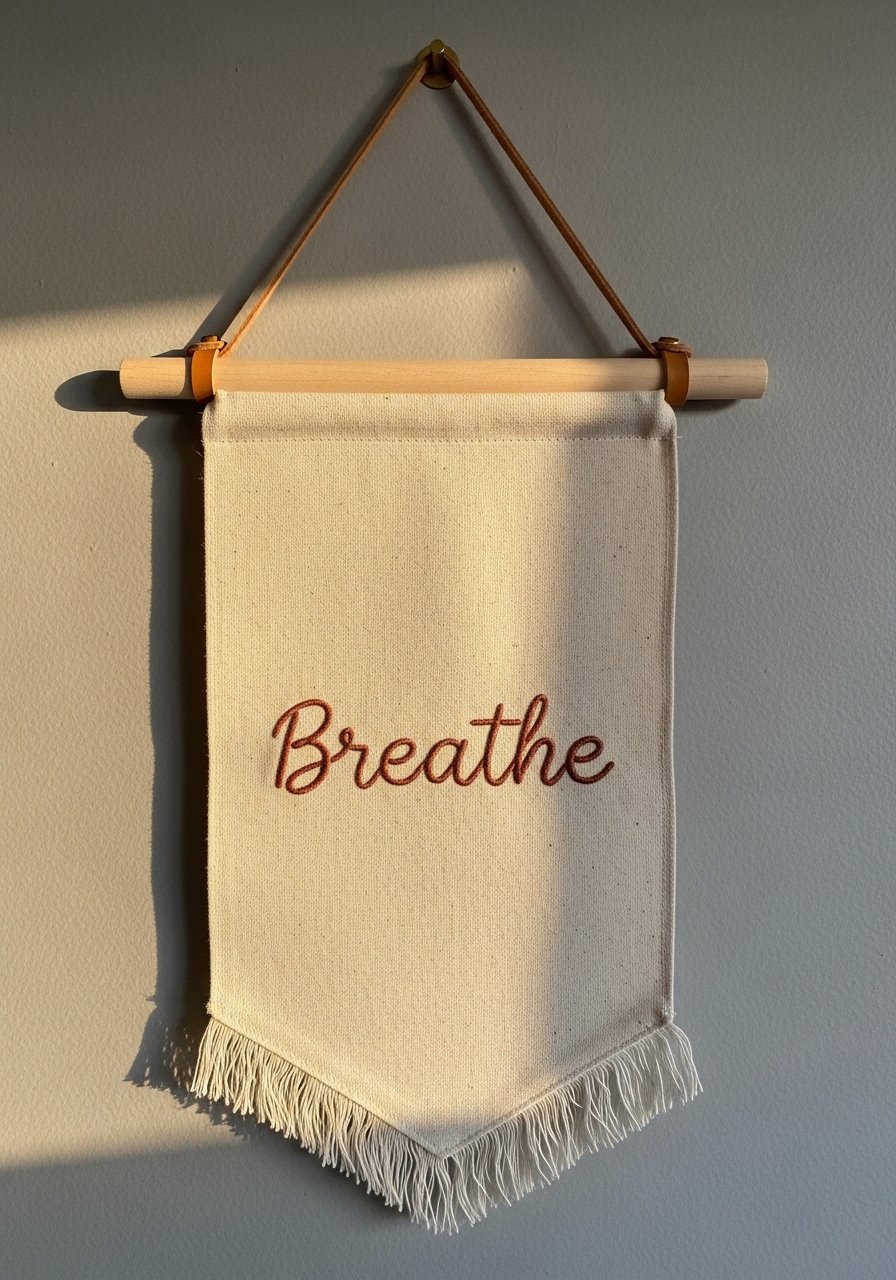
Large lettering looks striking on a small banner. Use cutaway stabilizer and a heavier font for readability.
Materials
- Cotton banner 8" x 12"
- Cutaway stabilizer 10" x 12"
- Embroidery thread 1 color
- Wood dowel 8"
- Embroidery needle 75/11
Instructions
- Hoop stabilizer and center banner fabric.
- Load word file sized 6" wide and stitch.
- Remove stabilizer and fold top edge to insert dowel; stitch closed.
- Hang and press front if needed.
How to Display or Gift It
Hang in a small entryway or gift as a housewarming present.
- Beginner Floral Patch Set — Trio of Easy Computer Embroidery Designs
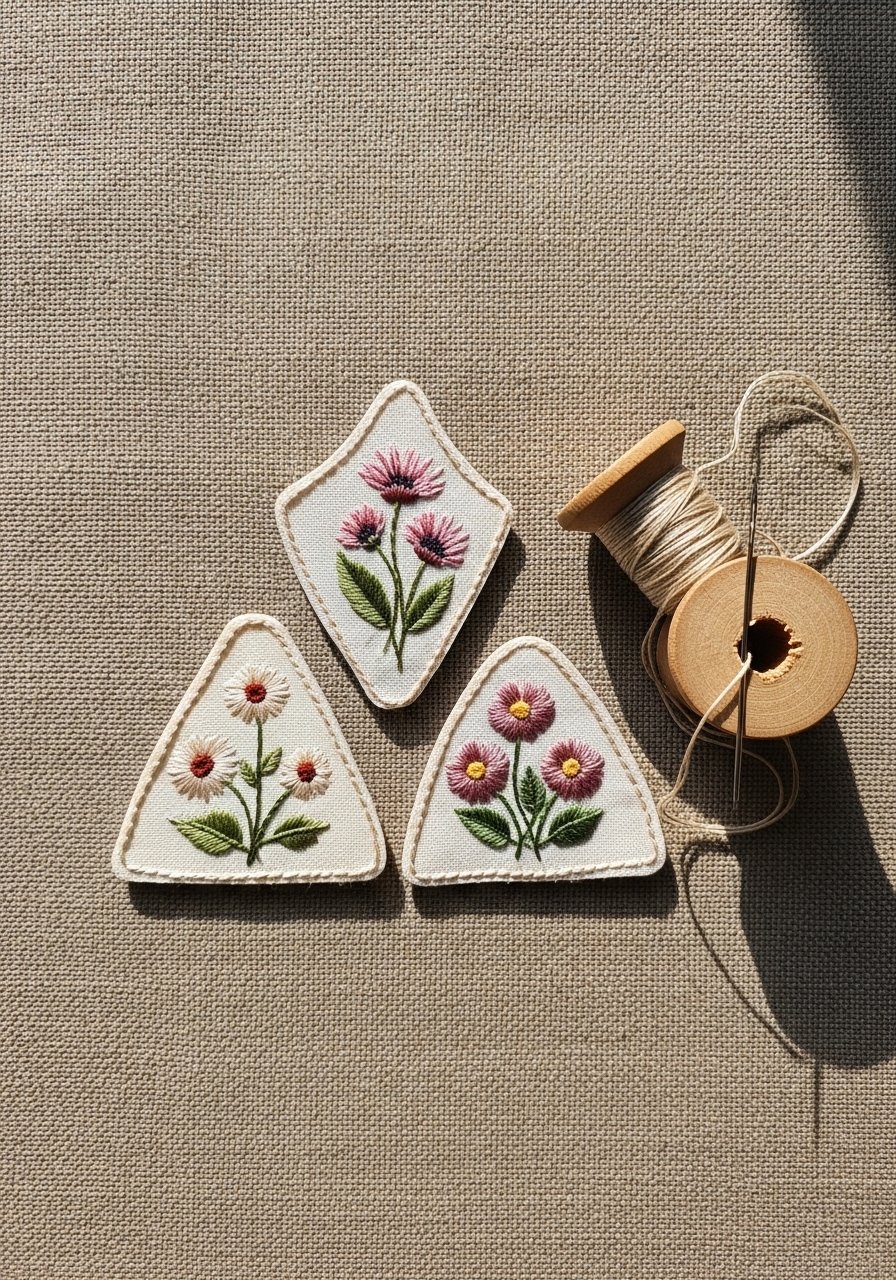
Stitch a trio of coordinating floral patches to practice color blending and satin borders. These are great for backpacks, jackets, or gift tags.
Materials
- Fabric scraps three 3.5" x 3.5"
- Tear-away stabilizer three 6" x 6"
- Embroidery thread 3 colors
- 4×4 hoop
- Embroidery needle 75/11
- Heat-seal backing 3 small circles
Instructions
- Hoop stabilizer and fabric scrap, load first floral file sized 2"–2.5".
- Stitch, remove tear-away stabilizer, repeat for remaining two patches.
- Iron on heat-seal backing per product directions (10–15 seconds).
- Trim patches to shape, leaving 1/8" for satin edging if desired.
- Test placement on garment before final application.
How to Display or Gift It
Mount on a small card and wrap in tissue for gifting. Store extras in a labeled craft box.
I hope these 27 projects spark a week’s worth of stitching and help you get comfortable with machine settings, stabilizer choices, and simple applique. Which project are you trying first — a tiny monogram or a set of floral patches? Save this pin for later and share it with a friend who loves easy, beginner-friendly projects. If you’re equipping your kit, a dependable hot glue gun with temperature control and a set of Madeira rayon threads have saved me time and frustration on dozens of pieces. Happy stitching — I can’t wait to see what you make!





