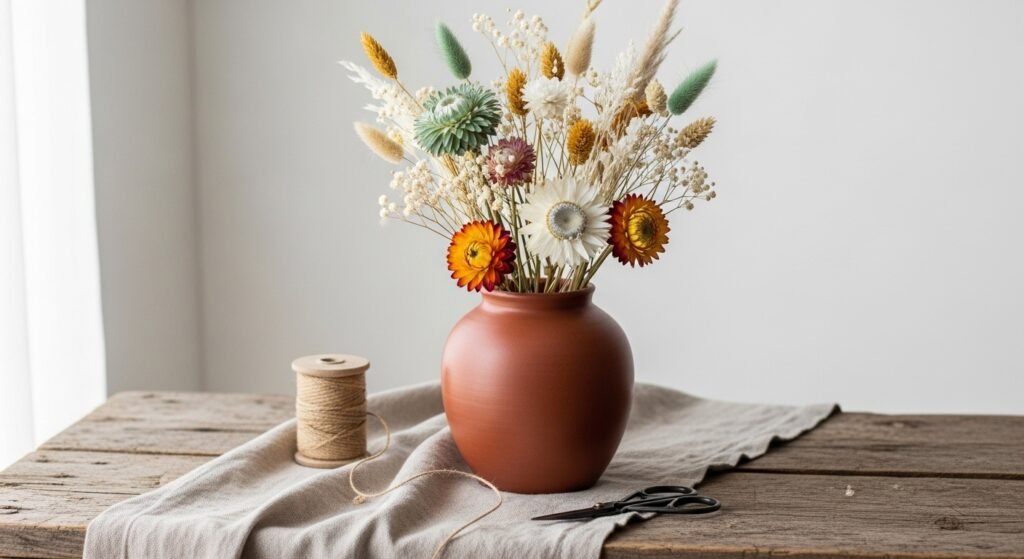
You love the look of a rustic bohemian bouquet but hate how fresh flowers wilt. If you want to decorate a vase with dried flowers that looks curated, long-lasting, and pin-worthy, this guide walks you through a simple, beginner-friendly process you can finish in an afternoon or over a few days. You’ll learn how to prep stems, build a balanced arrangement, and seal delicate blooms so they last.
The secret tools that speed this project are good trimming scissors and a reliable hot glue gun. I use floral scissors for clean cuts and a hot glue gun to secure fragile pieces without bulk. Both save time and prevent crushed petals.
Keep reading for measured tips (how tall to cut stems, drying times), styling ideas for a rustic bohemian vase, and quick troubleshooting so your dried arrangement looks full and natural.
Gather and prep: beginner-friendly choices that save time
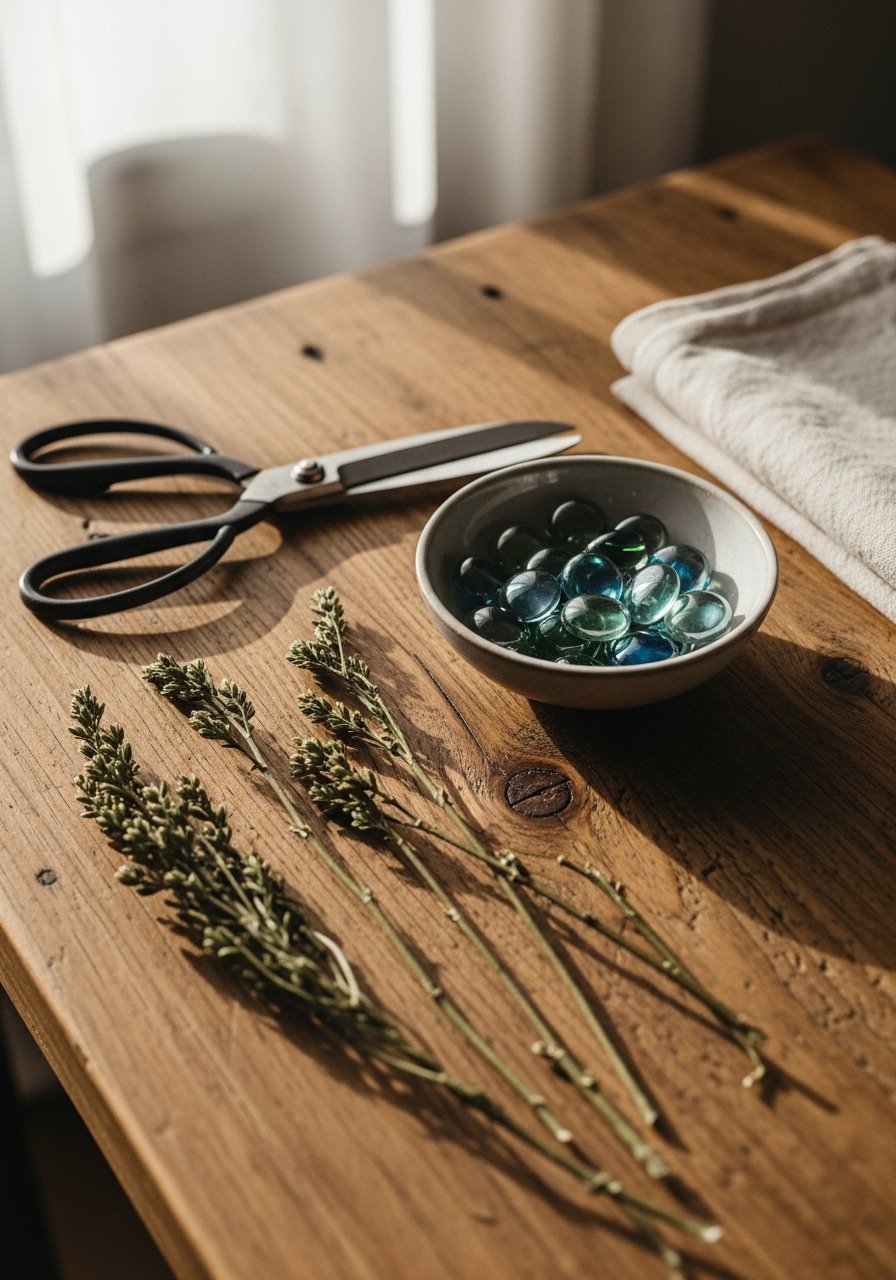
Start by sorting your dried blooms by size and texture. For a single medium vase plan on 10–16 stems total: 3 focal stems (pampas, bunny tails), 4–6 filler stems (statice, poppy pods), and 3–6 thin accents (dried grasses). If stems are too long, cut them to roughly 1.25–1.5× the height of your vase — for an 8 in vase, trim stems to 10–12 in.
- Air-dried bunches usually take 1–3 weeks; silica-dried pieces finish in 2–7 days.
- Store small parts in clear zip pouches so they don’t scatter.
- Protect your table with a self-healing cutting mat before trimming.
Tips:
- Trim at a 45-degree angle to help the stem sit naturally.
- Keep a craft organizer tray nearby for sorted stems during assembly.
Build the base: easy arranging techniques for a boho look
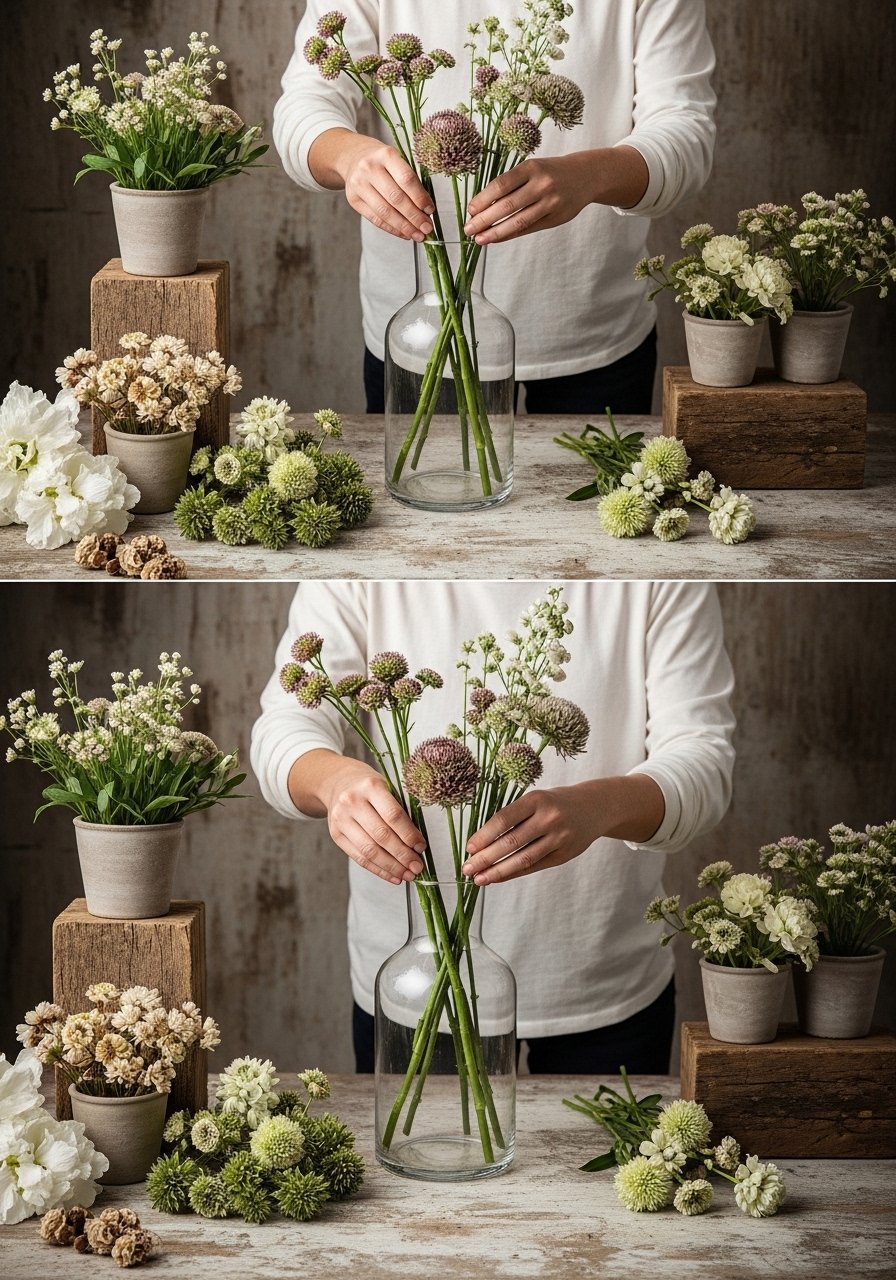
Start with your tallest focal stems placed slightly off-center. Add mid-height fillers around them, rotating the vase as you work so the arrangement reads well from all sides.
- Insert 3 focal stems first, spaced in a loose triangle.
- Add 4–6 filler stems, angling slightly outward for volume.
- Finish with thin accent stems to soften the silhouette.
Helpful products:
- Use precision craft scissors for delicate snips near fragile seed heads.
- If a stem won’t sit, add a dab of hot glue at the base and press gently for 10 seconds.
Pro tricks:
- For balance, make sure the tallest stem is no more than 1.5× vase height.
- Group odd numbers (3 or 5) of the same flower for a natural look.
Finish and seal: make your dried arrangement long lasting
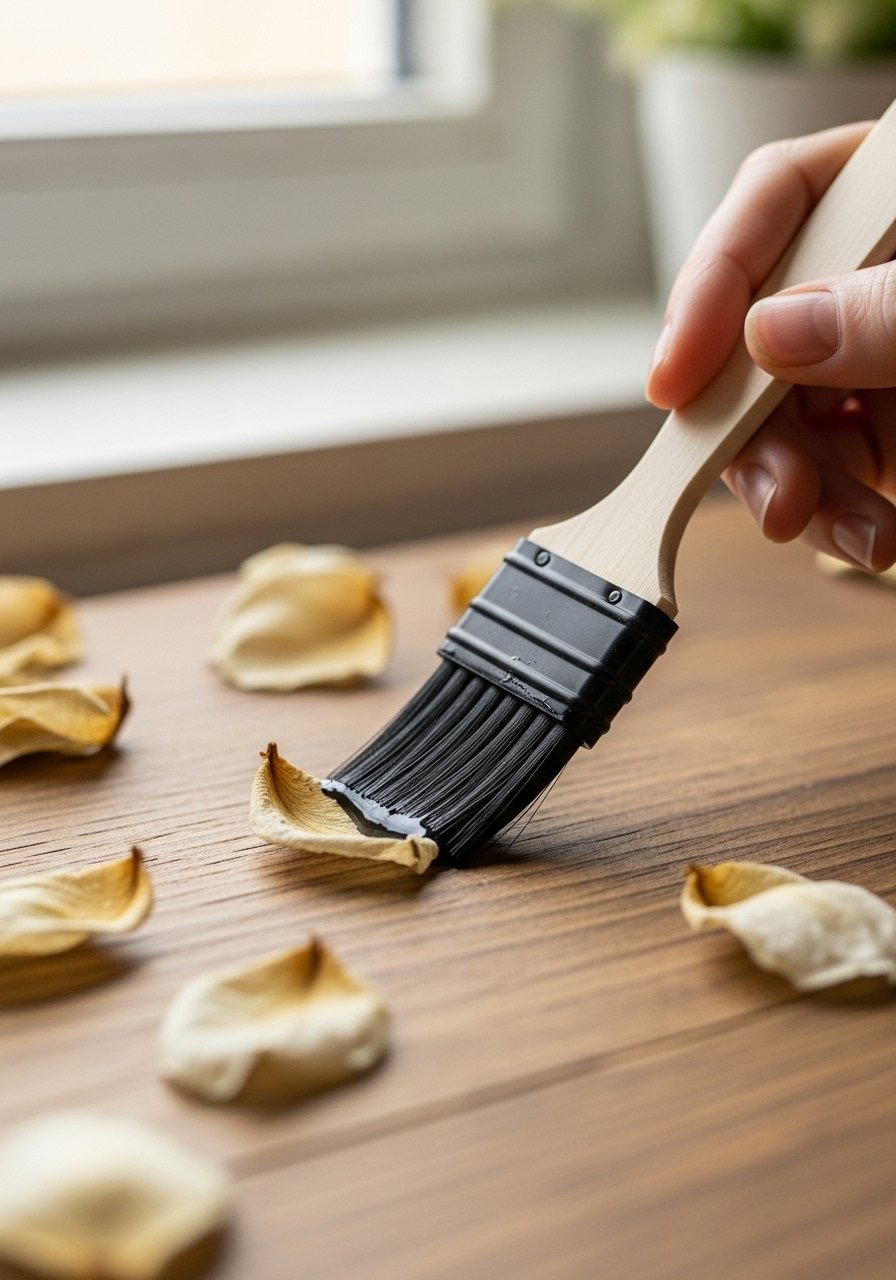
To reduce shedding and preserve color, lightly mist or coat delicate pieces.
- Use a spray sealer for a light hold, or brush a thin layer of Mod Podge matte with a foam brush on very fragile petals.
- Work in a well-ventilated space and test one bloom first — some colors can darken slightly.
Other helpful tools:
- A small heat gun on low can speed-dry any brushed sealant, but keep it moving and 8–12 inches away.
- Seal the inside rim discreetly with a dab of E6000 adhesive if stems shift over time.
Warnings:
- Don’t over-apply sealer; heavy coats make flowers look stiff.
- Avoid sunlight — UV fades dried pigments faster.
Style, display, and easy gifting ideas
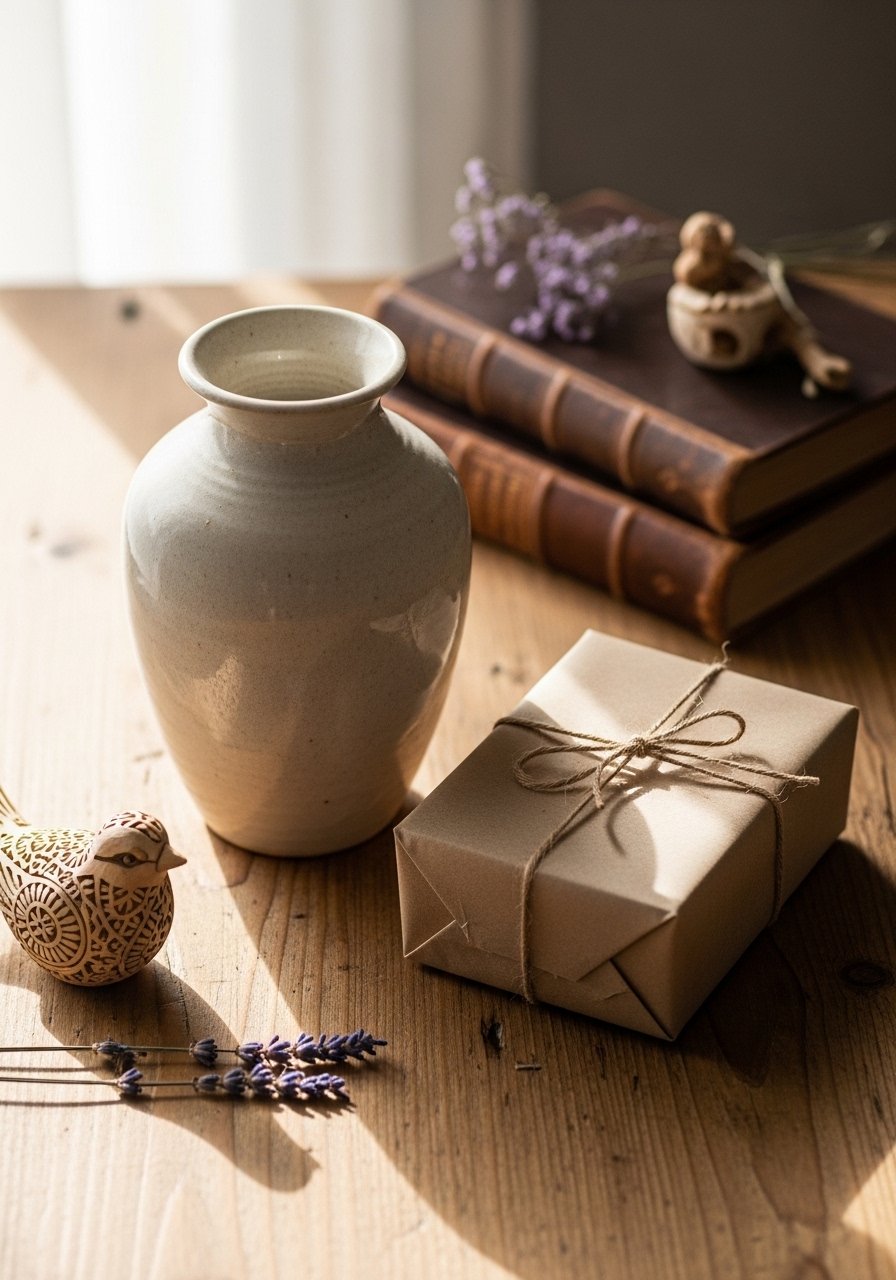
For a true rustic bohemian feel, choose a textured vase—terra cotta, amber glass, or a simple mason jar. Wrap the neck with jute twine or a thin ribbon for a handmade touch.
- For small vases, use 6–10 stems; large floor vases can take 20+ stems.
- Store extras in craft storage bins and refresh arrangements by swapping in a new focal stem seasonally.
Gift tip:
- Lay the arrangement flat in a shallow box, cushion with tissue, and add a loop of twine around the vase for instant, pin-worthy gifting.
Once you decorate a vase with dried flowers using these steps, you’ll have a rustic bohemian arrangement that keeps its charm for months. Pin this guide for your next craft afternoon and share with a friend who loves handmade decor! Which dried flower combo will you try first?





