
You love fresh flowers but your vases never look as lush as the pins you save. If you want to learn how to decorate a vase with flowers so it reads full, balanced, and intentionally arranged, you’re in the right place. You’ll get beginner-friendly steps that fit a one-afternoon session and simple ways to hide stems or add structure.
Start with the basics: a clear vase and a sharp pair of floral shears make a huge difference. I use floral shears for clean 45° cuts and a clear glass vase that shows off the stems. Follow the short steps below and you’ll know how to decorate a vase with flowers that looks lush and perfectly arranged every time.
What you’ll learn: prepping stems, building invisible structure, layering focal flowers and fillers, quick fixes for limp stems, and display tips for pin-worthy photos.
Gather and prep like a pro (easy, beginner-friendly)
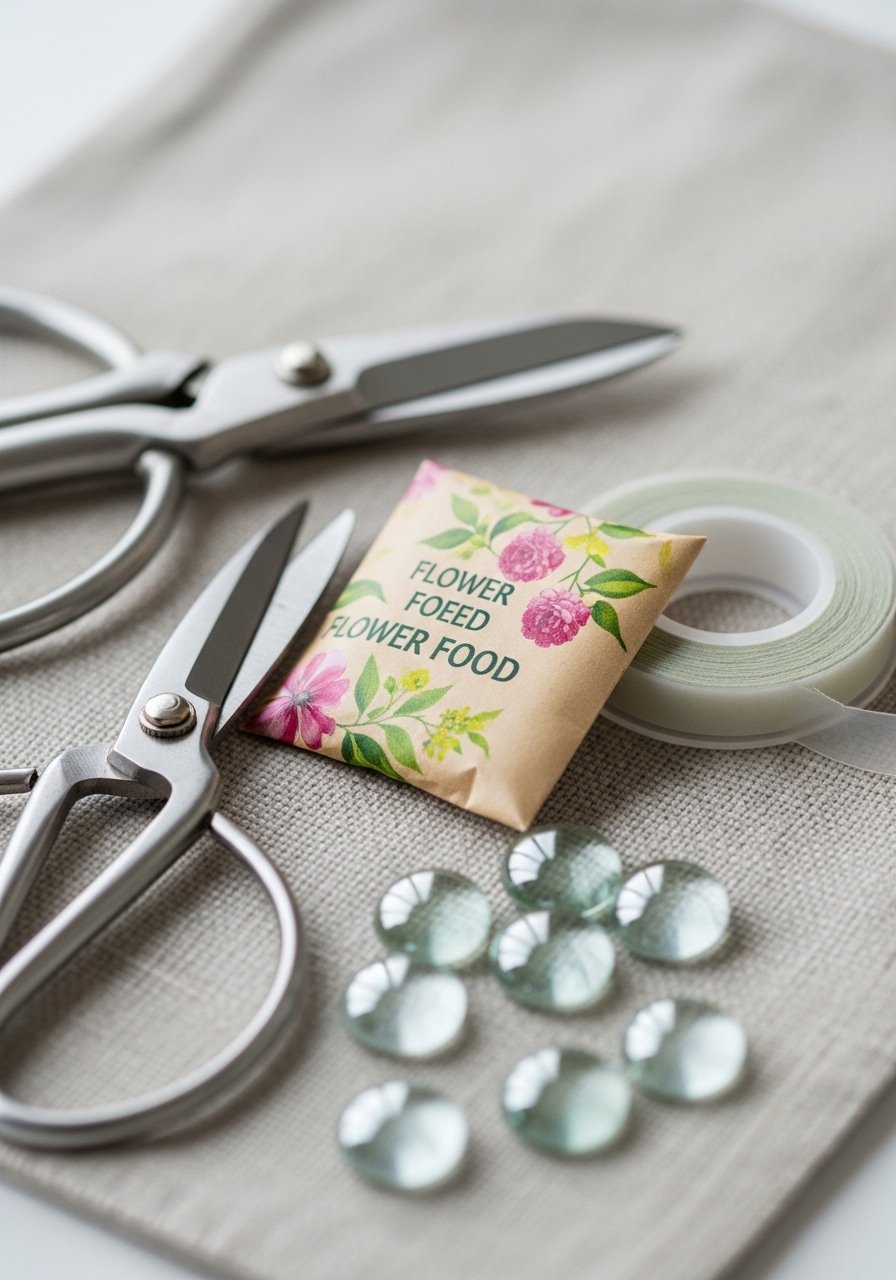
Prep saves time and prevents droop. Trim stems at a 45° angle with floral shears; cut 1–2 inches off right before arranging. Remove any leaves that will sit below the water line to avoid bacteria.
- Soak stems in room-temperature water for 1–4 hours if they’re wilted.
- Add one packet of flower food per 1–2 liters of water.
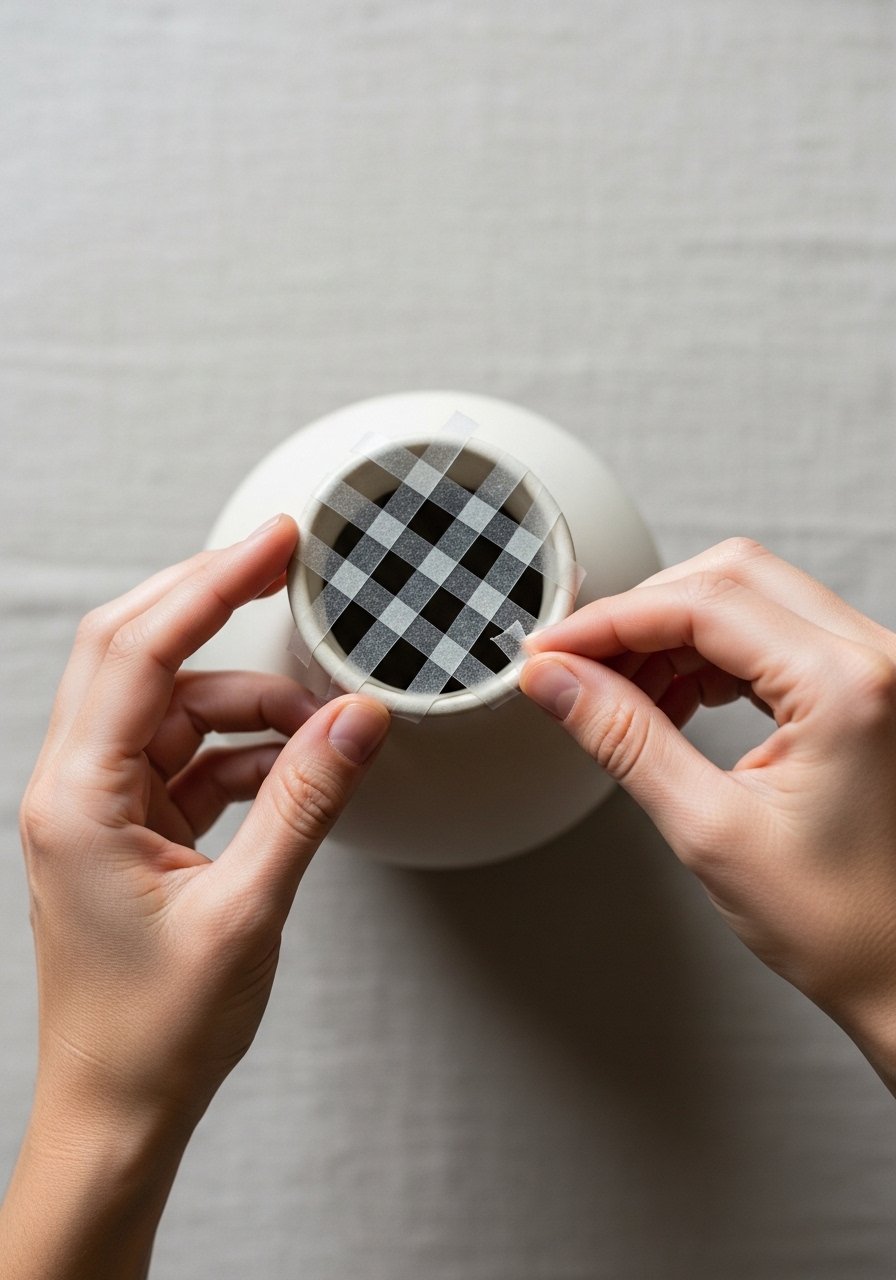
- Use floral tape to make a grid over the vase mouth — it gives instant structure and keeps stems upright.
Tip: Replace water every 2–3 days and re-cut stems to keep arrangements fresh longer.
Build the invisible structure (one-afternoon trick)
A little structure makes a bouquet look full without foam. Floral tape or a floral frog creates anchor points.
- Clean the vase and fill to about 2/3 with water.
- Make a 2–3 strand grid of floral tape across the mouth.
- Start with sturdier stems (greens) near the grid’s edge to create a skeleton.
- Use floral wire to support floppy blooms.
- For clustered low vase styles, use pre-soaked floral foam; let foam soak until it sinks (about 30 seconds per inch of thickness).
Pro tip: A few glass vase fillers or pebbles hide messy stems and add weight so the vase won’t tip.
Arrange for lush layers (budget and upcycled options)
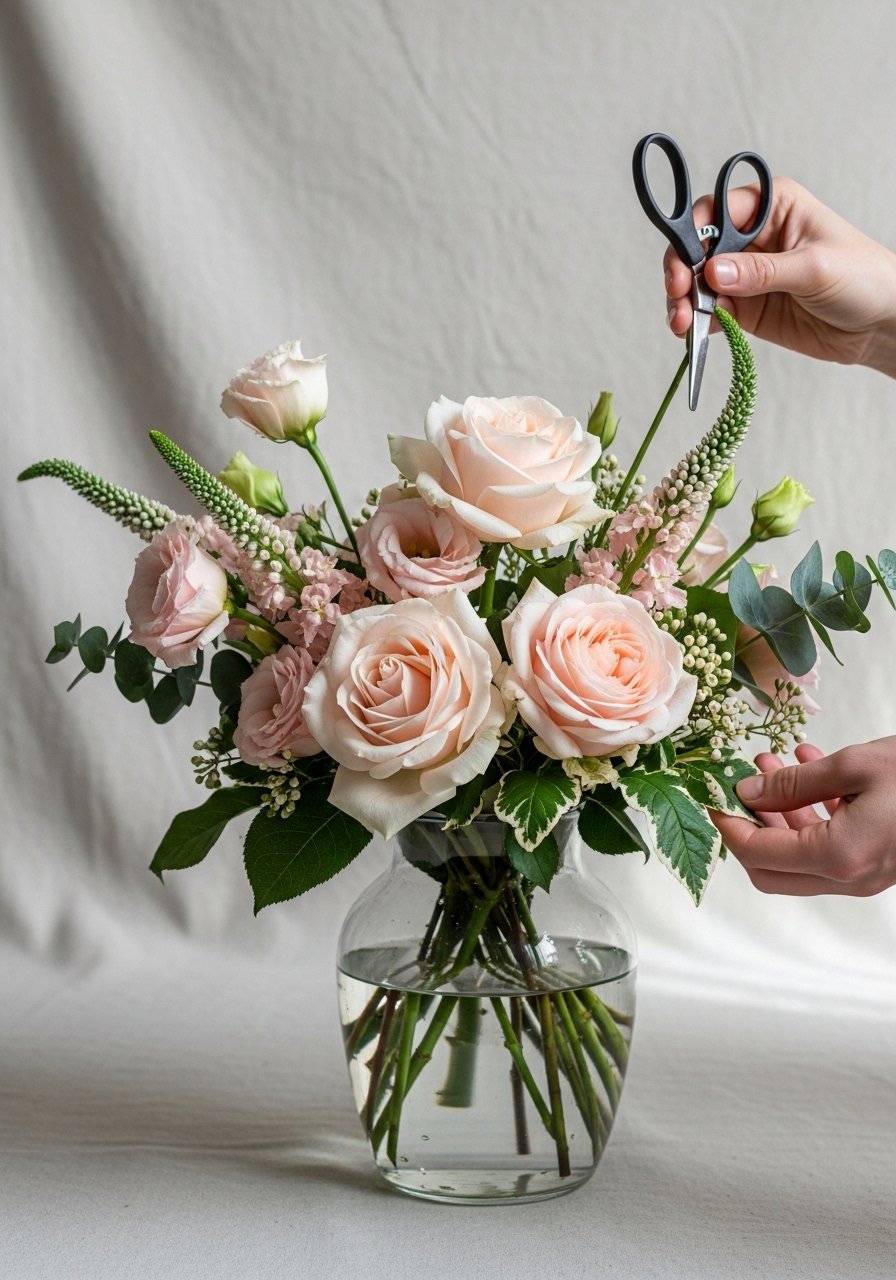
Think in layers: skeleton greens, focal flowers, secondary blooms, then delicate filler.
- Place 3–5 focal flowers (roses, peonies) offset rather than centered.
- Add 5–8 secondary blooms (spray roses, ranunculus) around the focal points.
- Fill gaps with airy fillers (baby’s breath, waxflower) and textured greens.
Numbered steps:
- Start with three structural stems creating a triangle.
- Add focal blooms at varying heights — tallest at back, shortest near front.
- Fill and rotate the vase to keep balance from every angle.
If you’re short on time, use mason jars or mason jar vases and pre-cut stems the night before. For upcycled looks, tuck dried seed heads or eucalyptus for texture.
Finish, display, and preserve the look (pin-worthy presentation)

Finishing makes photos pop. Wipe the vase neck clean, and add a ribbon or twine if gifting. Small details keep arrangements lasting:
- Mist the petals lightly with water for morning freshness.
- Use a clear zip pouch to store leftover floral tape and wire.
- Store arrangements in a cool spot away from direct sun and ripening fruit.
If a bloom droops later, re-cut the stem and place in a separate small bud vase or water tube—those save single stems for a day or two. For multi-vase displays, use matching clear glass vases of varying heights for a curated look.
Once you practice how to decorate a vase with flowers a couple of times, you’ll hit a rhythm — prepping, building structure, and layering — that makes every arrangement look full and intentional. Pin this guide for your next craft afternoon and try the tape-grid trick first. Which flower will you arrange this weekend?


