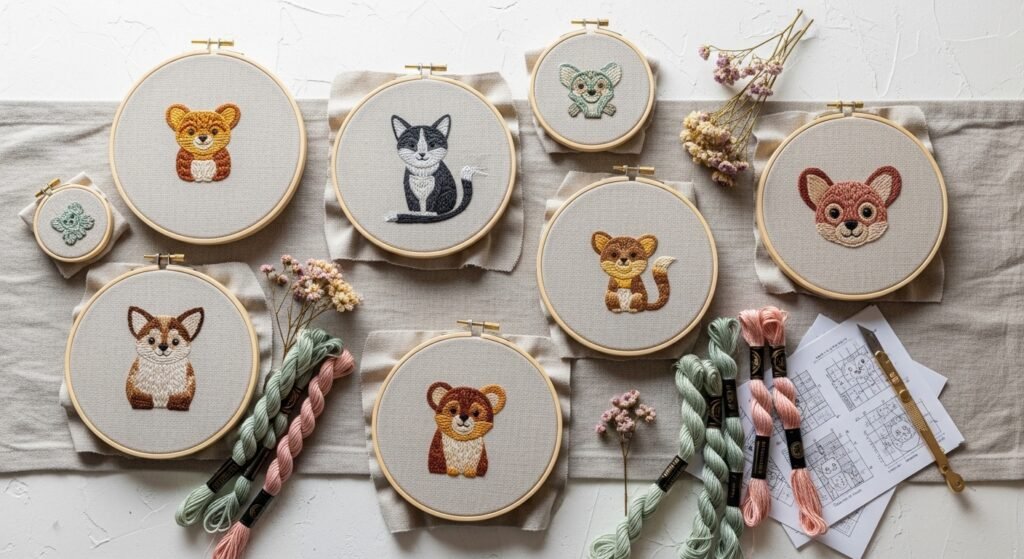
You know that little thrill when a tiny stitched fox or whale suddenly looks like it could blink? That's the joy of animal computer embroidery designs — crisp, repeatable patterns that give you adorable, precise motifs every time. Whether you're patching a tote, personalizing a baby blanket, or making art for a nursery, these computer-ready designs let you scale, resize, and stitch with confidence.
Below you'll find 30 complete projects featuring different animals and styles — from cottagecore bunnies to Japandi-inspired cranes — each written for approachable, satisfying results. I mention tools and materials where they help: I start many small patches by trimming fabric on my self-healing cutting mat and load stable embroidery blanks into oak hoops for a clean finish. Ready your embroidery machine or digitized design files, and let's stitch 30 charming projects that are perfect for gifts, decor, and practice.
- Woodland Fox Hoop Patch
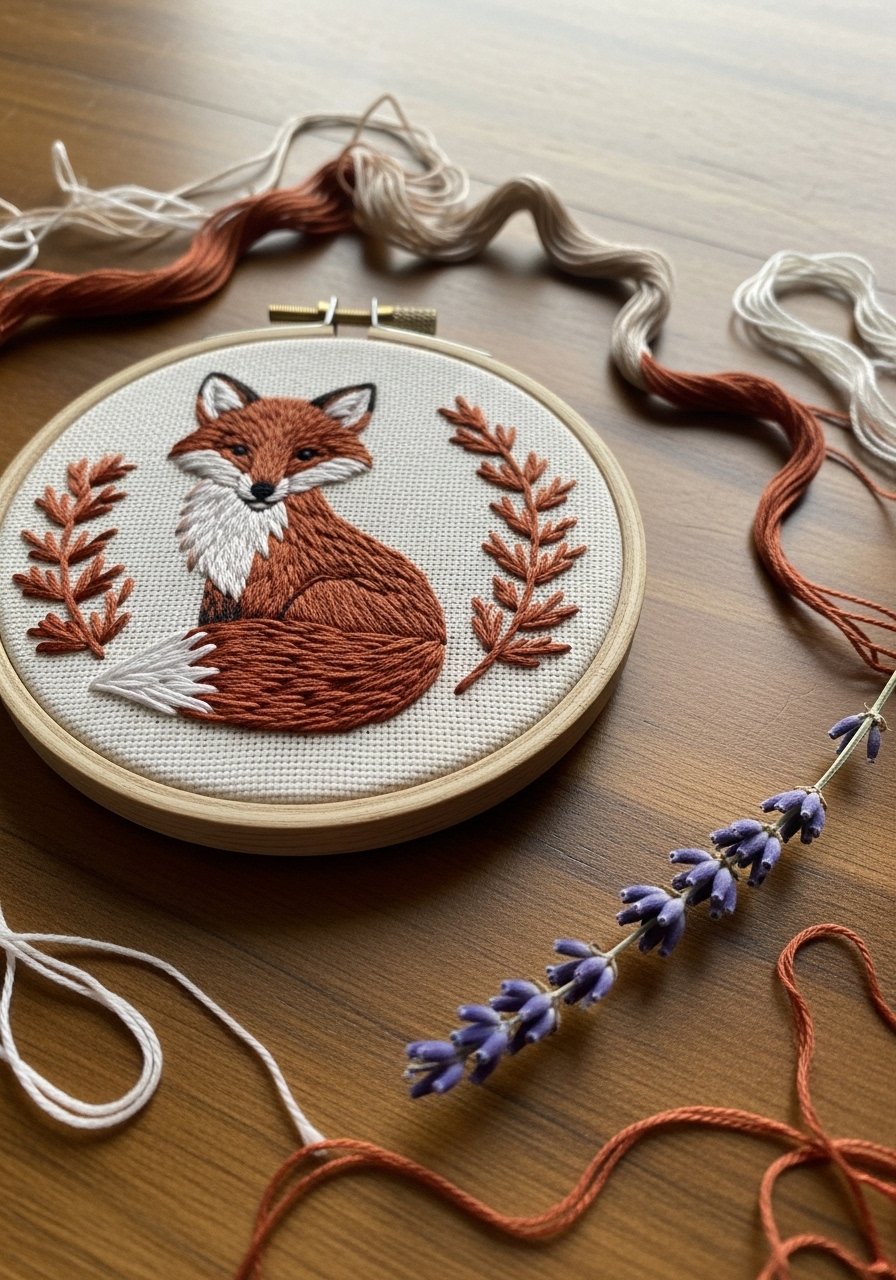
This sweet fox patch pairs a compact computer embroidery design with warm rust tones and dense fill stitches for a cozy, textured look. It's small enough for beginners but satisfying for stitchers who like tidy satin edges. Perfect for backpacks, laptop sleeves, or framing as a set.
Materials
- 2.5" oak embroidery hoop, inner diameter 2.5 in
- Linen fabric, 6" x 6" square, pre-washed
- Computer embroidery file: fox .pes/.dst sized to 1.8" wide
- Embroidery stabilizer: tearaway medium, 5" x 5"
- Embroidery thread: DMC stranded equivalent, 2 skeins rust #920, 1 skein cream #Ecru
- Embroidery machine needle, size 75/11
- Scissors: detail embroidery scissors
- Water-soluble marker, 1 pen
Instructions
- Hoop the linen taut in the 2.5" hoop.
- Fuse a 5" x 5" tearaway stabilizer to the back or hoop without it; align center.
- Load the fox computer embroidery design at 1.8" width into your machine.
- Thread rust #920 and run the first color — use medium speed for accuracy.
- Change to cream for highlights per design prompts; trim jump threads with scissors.
- When stitching finishes, tear stabilizer away gently and trim fabric to hoop edge.
- Press lightly from the back with a warm iron for 3–4 seconds.
- Apply a dab of clear craft glue inside the hoop back to secure edges if desired; allow 30 minutes to set.
How to Display or Gift It
- Frame the hoop trio on a small gallery wall with other woodland pieces.
- Attach a clear adhesive magnet strip to the back for fridge display.
- Tuck the patch into a kraft box with tissue for a handmade gift.
- Store extra patches flat in a stackable craft organizer until gifting.
- Baby Elephant Onesie Appliqué (animal computer embroidery designs)

This gentle elephant appliqué uses a machine-ready computer embroidery design scaled to fit baby clothing. The satin-edge appliqué gives a smooth, finished look that resists washing when proper stabilizer and appliqué fabric are used. Great for shower gifts and beginner machine embroiderers.
Materials
- Pre-washed cotton baby onesie size 0–3 months
- Appliqué fabric: 2.5" x 3.5" grey cotton
- Fusible appliqué stabilizer, 2.5" x 3.5"
- Tearaway stabilizer, 6" x 6"
- Computer embroidery file: elephant appliqué sized to 2.2" x 3.0"
- Embroidery thread: grey 2 skeins, baby-pink 1 skein for heart detail
- Embroidery needle 75/11, embroidery hoop 4"
Instructions
- Place tearaway stabilizer under the onesie and hoop the onesie with the center aligned.
- Position fusible appliqué on top where design will go.
- Load the elephant design sized 2.2" x 3.0" and start the first tack-down stitch.
- Trim excess appliqué fabric close to tack-down prompts between stops.
- Finish satin edge per design; add baby-pink heart detail when prompted.
- Remove hoop, tear stabilizer away carefully, and press from the back for 5 seconds.
- Let garment rest for 12 hours before washing.
How to Display or Gift It
- Fold and tie in tissue with a wooden baby rattle for a boutique-ready gift.
- Label with care instructions: wash cold, tumble low.
- Keep extras in a zip-top storage bag inside a craft drawer.
- Little Hedgehog Key Fob

Tiny motifs shine on leather or faux-leather key fobs. This hedgehog uses a density-optimized computer embroidery design so stitches sit neatly on the leather without perforating it. It's tactile and makes a sweet, durable gift.
Materials
- Faux-leather scrap 3" x 2"
- Keyring hardware with swivel, 1 piece
- Fusible tearaway stabilizer, 3.5" x 2.5"
- Computer embroidery design: hedgehog at 1.5" wide
- Embroidery thread: brown 1 skein, tan 1 skein
- Leather sewing needle or machine needle 90/14
- Binder clip to hold layers
Instructions
- Fuse stabilizer to the back of faux-leather.
- Hoop using a teflon hoop if available, or use binder clips to secure.
- Load design at 1.5" width and stitch slowly; use size 90/14 needle.
- Remove from hoop, trim stabilizer away, leaving 1/4" margin.
- Fold long edge over keyring hardware, glue with fabric glue, and stitch or rivet.
- Let glue cure 24 hours before heavy use.
How to Display or Gift It
- Attach to keys or zipper pulls.
- Present in a small kraft pouch with dried lavender.
- Store extra hardware in small organizer trays for batch-making.
- Farm Duck Burp Cloth Accent

Brighten a plain burp cloth with a cheerful embroidered duck. The design uses low-density fills so it stays soft for baby skin. Ideal for a quick machine embroidery session.
Materials
- Muslin burp cloth 1 (12" x 18")
- Tearaway stabilizer 10" x 10"
- Computer embroidery design: duck 1.5" x 1.5"
- Embroidery thread: yellow 1 skein, orange 1 skein
- Embroidery needle 75/11
- Steam iron
Instructions
- Hoop burp cloth with stabilizer beneath; align 1.5" design in corner.
- Stitch at medium speed, starting with yellow fills.
- Change to orange for beak; trim jumps after each color.
- Remove from hoop and tear stabilizer; press gently from back 5–7 seconds.
- Test softness by rubbing area; if stiff, replace with a softer backing next time.
- Wait 12 hours before washing; tumble low.
How to Display or Gift It
- Pair with a homemade baby washcloth set in a gift box.
- Store burp cloths folded in a fabric storage bin.
- Add a twine bow and a tiny wooden pacifier clip for gifting.
- Tiny Whale Laptop Patch

A minimalist whale design scaled for laptop sleeves gives a subtle nautical accent. Use a lightweight cutaway stabilizer to keep the patch stable through repeated machine washes.
Materials
- Pre-made laptop sleeve 13" internal
- Linen scrap 4" x 4"
- Cutaway stabilizer, 6" x 6"
- Computer embroidery design whale 2.5" wide
- Embroidery thread: navy 1 skein, white 1 skein
- Heat-activated fabric adhesive sheet 2" x 2"
Instructions
- Hoop linen with cutaway stabilizer underneath.
- Stitch whale at 2.5" width, start with navy outline then white fill.
- Cut a 2.25" circle around design leaving 1/8" margin.
- Iron adhesive sheet to the back of patch per manufacturer directions.
- Press patch onto sleeve for 15 seconds with hot iron; cool 60 seconds.
- Edge-stitch around patch if desired using a sewing machine.
How to Display or Gift It
- Pair with a matching mousepad for a themed desk set.
- Wrap in kraft tissue and tuck into a padded mailer for gifting.
- Store extra patches flat in archival envelopes until needed.
- Forest Deer Wall Art (with applique)
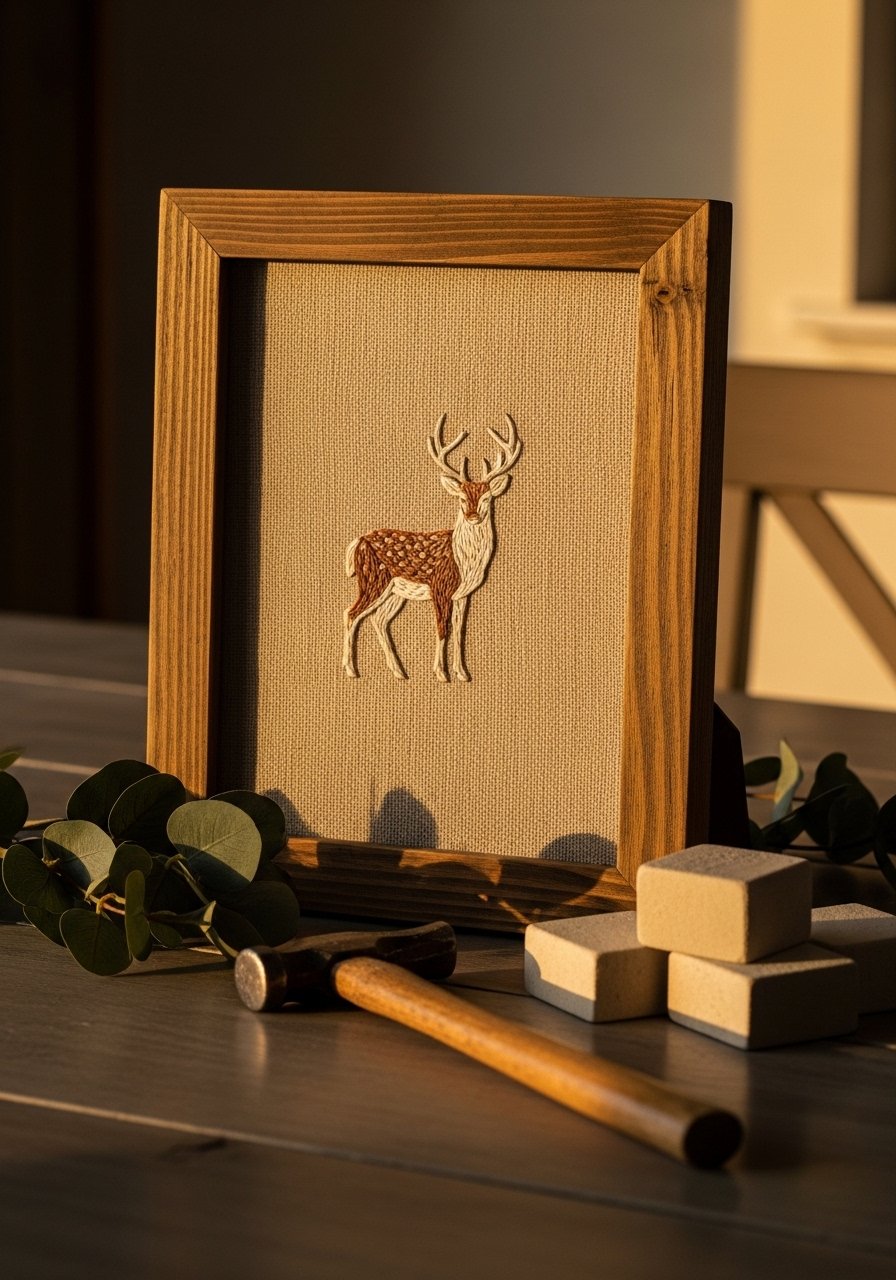
A larger deer appliqué on linen makes a centerpiece for a cozy entryway or nursery. The computer embroidery design includes multiple stops for layers and antler detailing.
Materials
- Wooden frame 8" x 10"
- Linen fabric 12" x 12"
- Fusible interfacing 10" x 10"
- Cutaway stabilizer 12" x 12"
- Computer embroidery file: deer 6" tall
- Embroidery thread: brown 3 skeins, cream 1 skein
- Foam brush for adhesive
Instructions
- Hoop linen with cutaway stabilizer; position design centered.
- Stitch base layers, using fusible interfacing for appliqué shapes where indicated.
- Add antler detail last; trim jump threads after color changes.
- Remove stabilizer per instructions, leaving a thin border for support.
- Mount in frame; stretch slightly for a flat finish.
- Let sit 24 hours before hanging to let hoop marks relax.
How to Display or Gift It
- Lean on a shelf with dried grasses tucked behind frame.
- Give as a housewarming gift wrapped in kraft paper and twine.
- Store framed pieces in padded storage boxes if transporting.
- Sailor Cat Tote Pocket
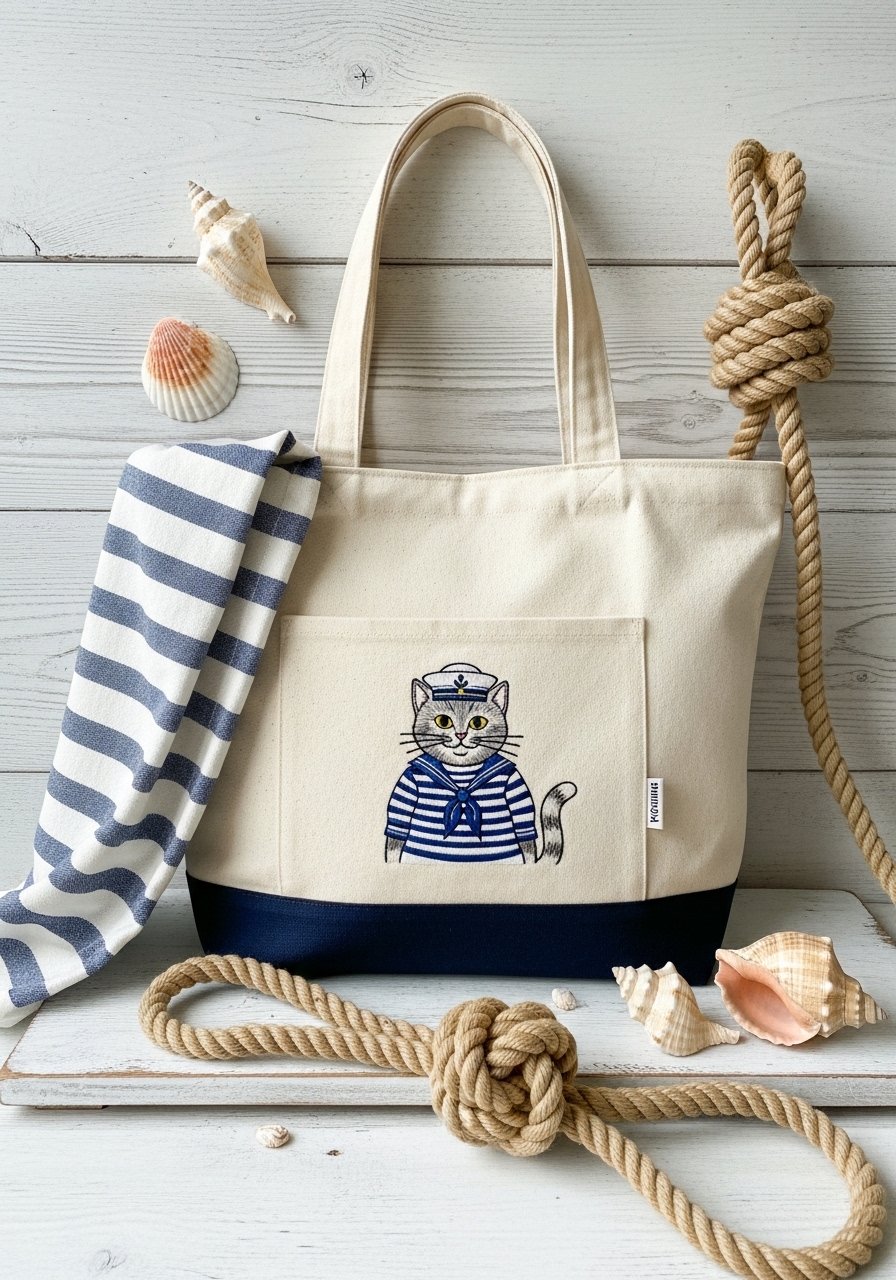
A playful sailor cat stitched onto a tote pocket brings seaside charm to errands. The design uses medium-density fills to avoid stiffness across washes.
Materials
- Canvas tote bag with front pocket 13" x 15"
- Tearaway stabilizer 10" x 10"
- Computer embroidery design: sailor cat 3.0" wide
- Embroidery thread: navy 2 skeins, white 2 skeins, red 1 skein
- Sewing clips or pins
- Soft brush for cleaning lint
Instructions
- Insert stabilizer inside tote to avoid stitching through both sides.
- Hoop pocket area with stabilizer; align cat design to pocket center.
- Stitch at medium speed; follow color prompts for stripes and hat.
- After stitching, tear stabilizer away carefully and press from the back 5 seconds.
- Spot-clean lint with a soft brush and shake out loose fibers.
- Wait 24 hours before heavy use.
How to Display or Gift It
- Pair with a small nautical-themed notebook for a thoughtful gift.
- Hang on a peg by the door for daily use.
- Store totes flat to avoid creasing embroidered area.
- Rainbow Rooster Kitchen Tea Towel
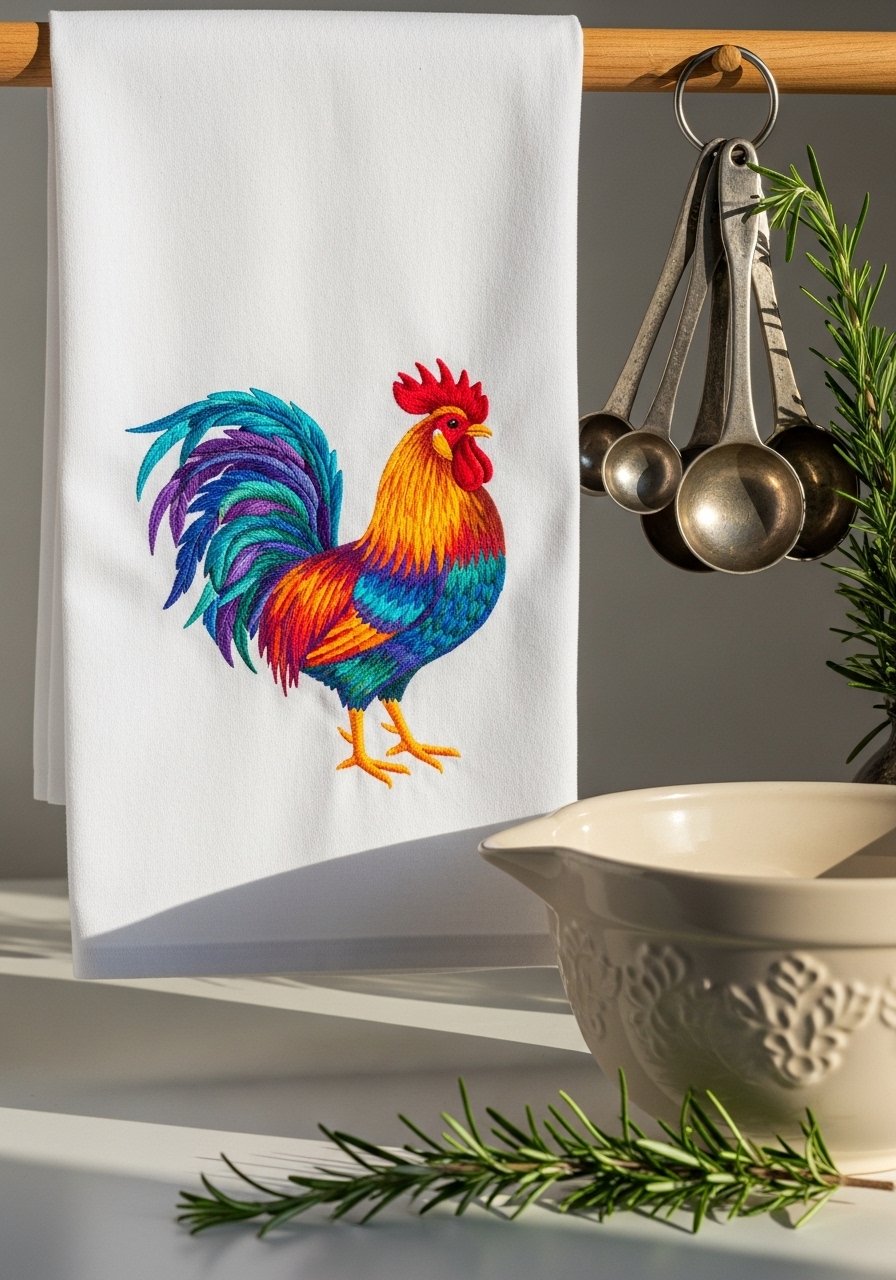
A cheerful rooster adds farmhouse personality to a kitchen. Use a high-quality cotton towel and a cutaway stabilizer to keep stitches stable over time.
Materials
- Cotton tea towel 18" x 28"
- Cutaway stabilizer 12" x 12"
- Computer embroidery design: rooster 4.5" tall
- Embroidery thread: assorted colors 6 skeins (red, yellow, green, blue, brown)
- Sharp fabric scissors
Instructions
- Hoop towel with cutaway stabilizer underneath; center design.
- Stitch at medium speed; switch colors per design prompts.
- Trim jump threads and remove stabilizer from back while leaving small edge.
- Press gently from back for 8 seconds to lock stitches.
- Wait 24 hours before washing; wash cold, tumble low.
- Repeat pressing after first wash if stitches relax.
How to Display or Gift It
- Fold and tie with twine for a gift basket.
- Hang on a vintage towel rack as kitchen decor.
- Store folded in a drawer to protect embroidery from sunlight.
- Little Owl Backpack Badge (animal computer embroidery designs)

An owl badge gives backpacks personality and is a quick make for school or club patches. The computer design uses a tight satin edge for durability.
Materials
- Felt circle base 2.25" diameter, wool felt
- Fusible web 2.5" circle
- Cutaway stabilizer 6" x 6"
- Computer embroidery design: owl 1.75" wide
- Embroidery thread: grey 1 skein, yellow 1 skein
- Pinback hardware 1
- Heat press or iron
Instructions
- Fuse fusible web to felt; hoop felt with stabilizer underneath.
- Stitch owl at 1.75"; trim excess felt after stitching.
- Attach pinback with strong fabric glue; press for 30 minutes to set.
- Remove stabilizer per design instructions.
- Let glue cure 24 hours before pinning to fabric.
- If stitching onto fabric directly, use tearaway stabilizer instead.
How to Display or Gift It
- Pin to backpacks, jackets, or caps.
- Gift in a small organza bag with a handwritten tag.
- Store unused badges in a divided craft organizer.
- Mountain Goat Trinket Pouch
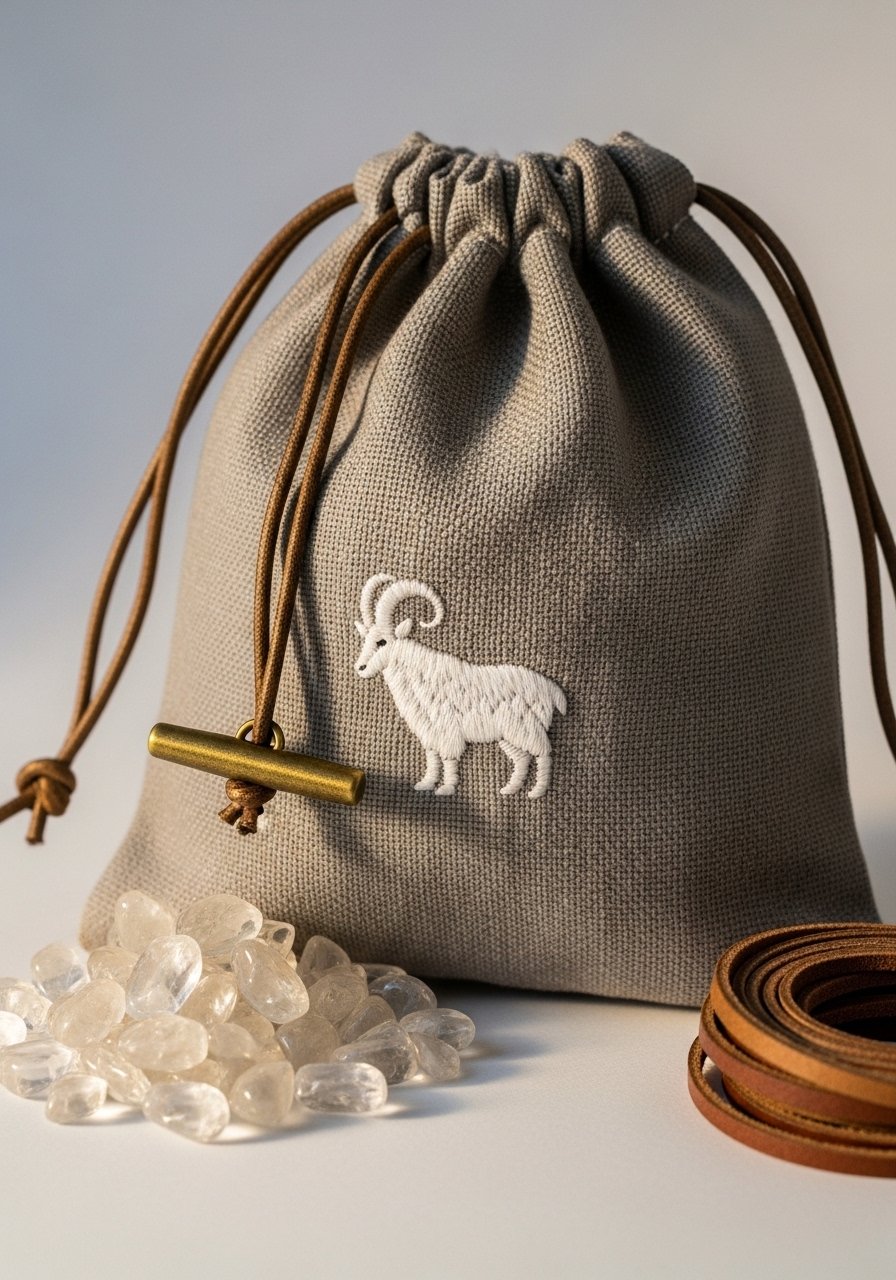
This goat motif on a small pouch is perfect for trinkets or jewelry. Choose a low-density design to keep the pouch supple.
Materials
- Linen drawstring pouch 4" x 5"
- Cutaway stabilizer 8" x 8"
- Computer embroidery design: goat 2.0" tall
- Embroidery thread: white 1 skein, grey 1 skein
- Brass drawstring toggles 2
- Small funnel for filling
Instructions
- Hoop pouch with stabilizer under fabric.
- Stitch goat at 2.0" and trim jumps.
- Remove stabilizer and press lightly for 5 seconds.
- Thread drawstring through toggles.
- Fill with trinkets; test closure for smooth draw.
- Store pouch inside a small box to avoid snagging.
How to Display or Gift It
- Tuck jewelry inside and place in a kraft box.
- Use as party favors tied with twine and a sprig of rosemary.
- Store completed pouches in a shallow drawer organizer.
- Vintage Bird Framed Sampler (animal computer embroidery designs)

A sampler of vintage birds makes a nostalgic art piece. Computer embroidery designs let you replicate consistent spacing and stitch density for a balanced sampler.
Materials
- Linen fabric 12" x 12"
- Cutaway stabilizer 12" x 12"
- Computer embroidery set: vintage bird set, sizes varying 1.2"–2.5"
- Embroidery thread: muted palette 8 skeins
- Wooden frame 10" x 10"
- Steam iron
Instructions
- Design layout using embroidery software; space birds evenly across linen.
- Hoop linen with cutaway stabilizer and stitch row by row.
- Remove stabilizer after all birds are stitched.
- Press sampler on low heat for 6 seconds from the back.
- Stretch into frame backing and secure.
- Let settle 24 hours before hanging to reduce hoop lines.
How to Display or Gift It
- Group in a gallery wall with botanical prints.
- Gift to bird-loving friends wrapped in kraft paper.
- Store under acid-free tissue if not displaying immediately.
- Playful Panda Baby Bib
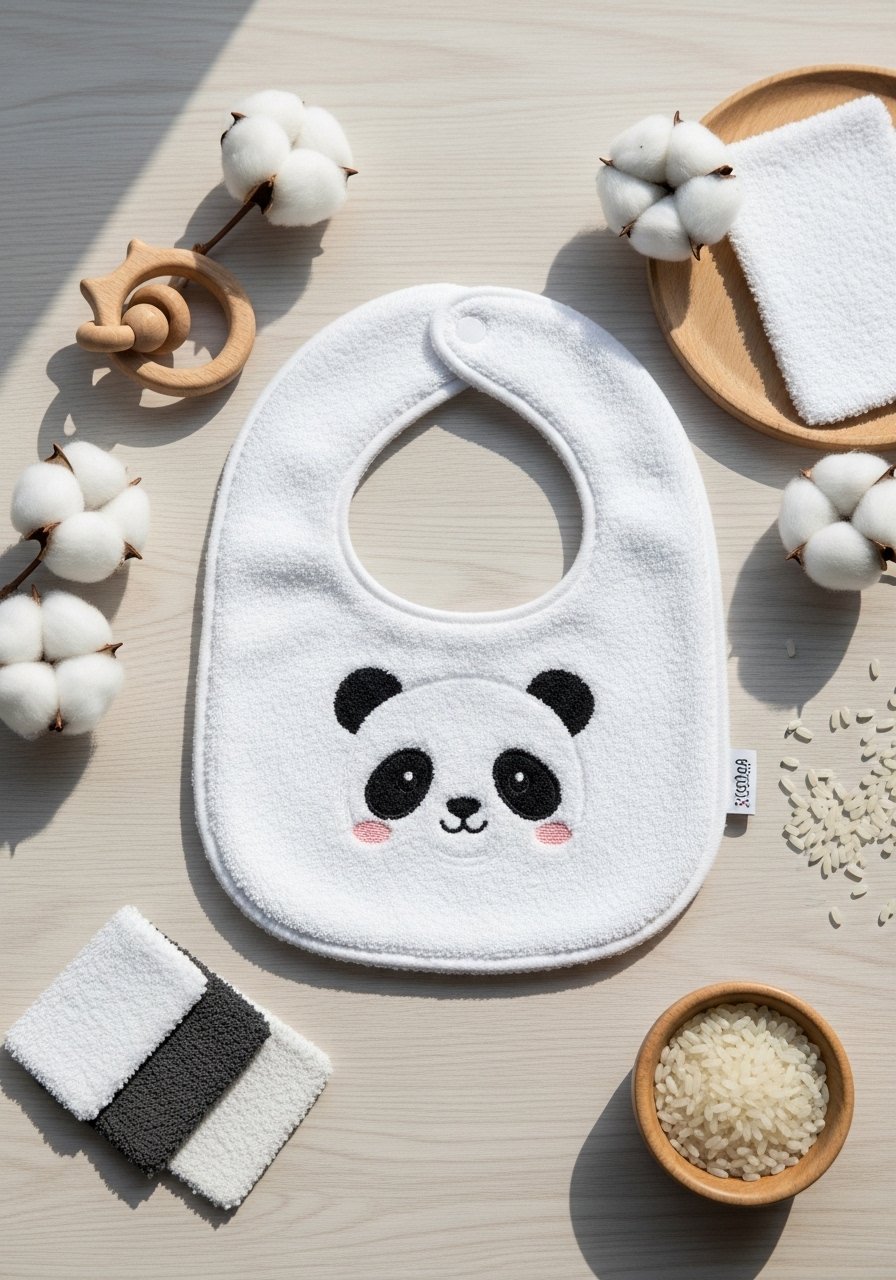
A panda makes nap and feeding time cheerier. Use a dense terry stabilizer and select a low-density panda design to keep bib flexible.
Materials
- Terry baby bib 1 (adjustable neck)
- Tearaway stabilizer for terry 10" x 10"
- Computer embroidery design: panda 2.5" wide
- Embroidery thread: black 1 skein, white 1 skein
- Baby-safe scissors
Instructions
- Insert stabilizer under bib, hoop section with padding for even stitch.
- Stitch panda at 2.5"; stop to trim terry loops if necessary.
- Remove stabilizer and press gently for 4 seconds.
- Wash bib warm before first use; tumble low.
- Check stitches after first wash and re-sew any loose threads.
How to Display or Gift It
- Fold with coordinating burp cloths in a gift box.
- Store bibs stacked in a baby drawer organizer.
- Attach a care tag with gentle-wash instructions.
- Coral Reef Seahorse Hoop
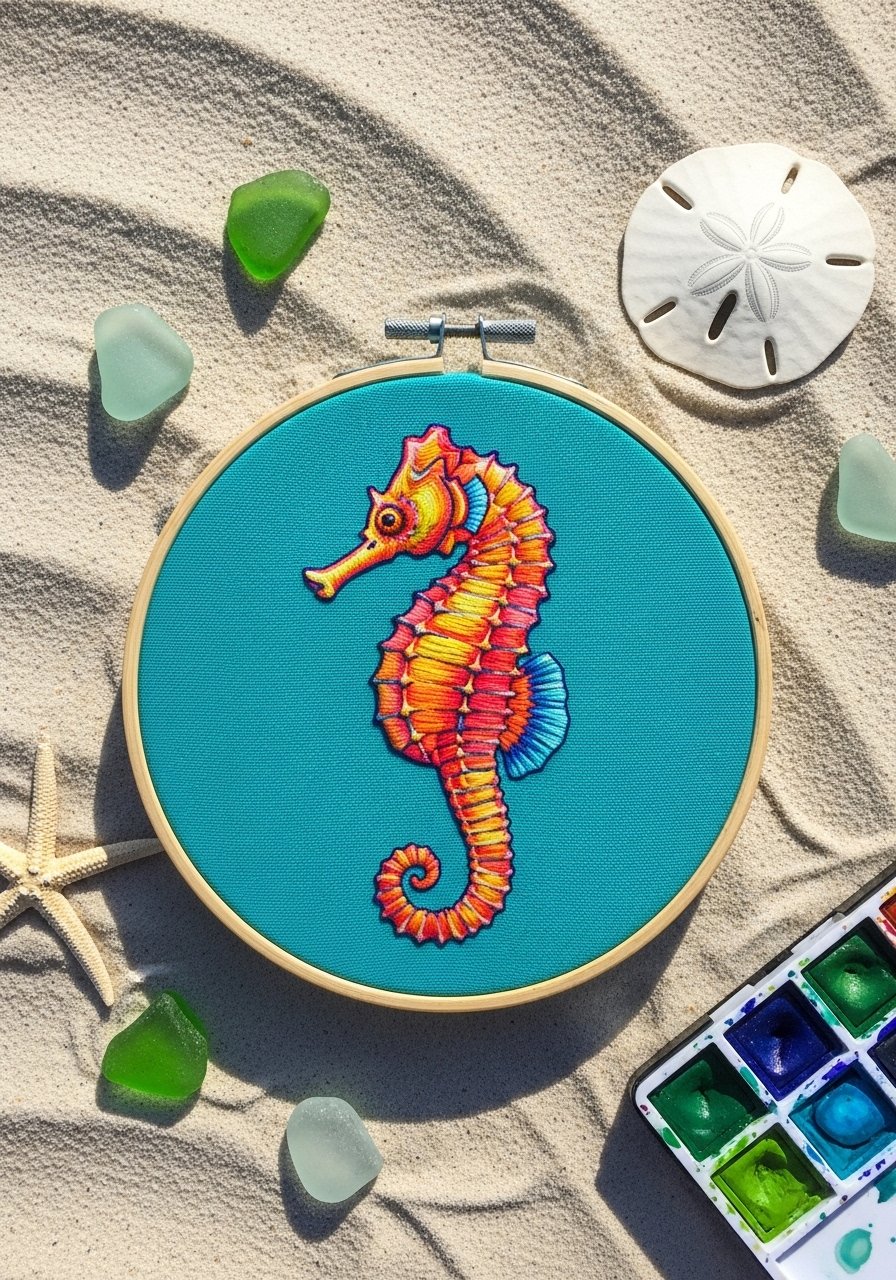
A colorful seahorse stitched with variegated threads gives depth and shimmer. This project benefits from a high-quality embroidery needle and rayon or polyester thread for sheen.
Materials
- Cotton-linen blend fabric 10" x 10"
- 6" hoop
- Cutaway stabilizer 10" x 10"
- Computer embroidery design: seahorse 4.5" tall
- Embroidery thread: variegated rayon 2 skeins, metallic accent 1 spool
- Embroidery needle 75/11
Instructions
- Hoop fabric with stabilizer and center design.
- Stitch base colors with rayon threads for shine.
- Add metallic accents last at low speed to avoid shredding.
- Remove stabilizer and press for 6 seconds from back.
- Trim fabric to frame inside hoop or mount in a shadow box.
- Let metallic threads rest 12 hours to reduce kinking.
How to Display or Gift It
- Hang hoop on a bathroom wall for coastal flair.
- Gift in a flat mailer with a small note card.
- Store in a padded box with tissue between hoops.
- Woodland Squirrel Zipper Pouch
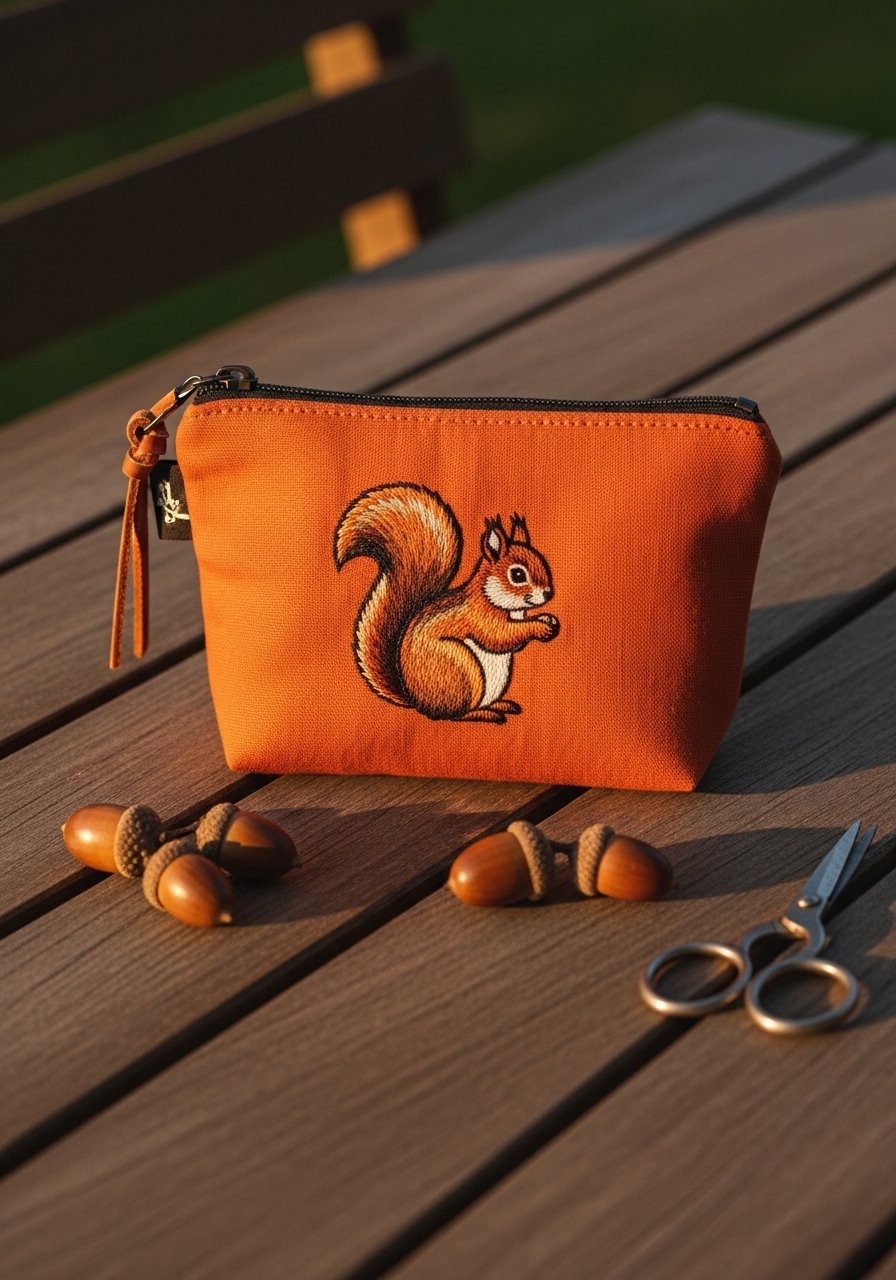
A squirrel motif paired with warm fall tones creates a seasonal pouch for small items. Use a low-loft stabilizer and a sturdy zipper for longevity.
Materials
- Zipper pouch blank 5" x 7"
- Cutaway stabilizer 8" x 8"
- Computer embroidery design: squirrel 2.8" wide
- Embroidery thread: brown 2 skeins, tan 1 skein
- Zipper pull replacement (optional)
- Fabric glue
Instructions
- Hoop pouch front with stabilizer; stitch squirrel at 2.8".
- Trim stabilizer and press gently for 5 seconds.
- Replace zipper pull if desired using pliers.
- Edge-stitch around motif for extra durability.
- Let pouch rest 12 hours before stuffing with items.
How to Display or Gift It
- Fill with stationery or small craft tools.
- Present tucked inside a kraft box with shredded tissue.
- Store in a zip-top bag to protect embroidery during transport.
- Sleepy Sloth Pillow Accent
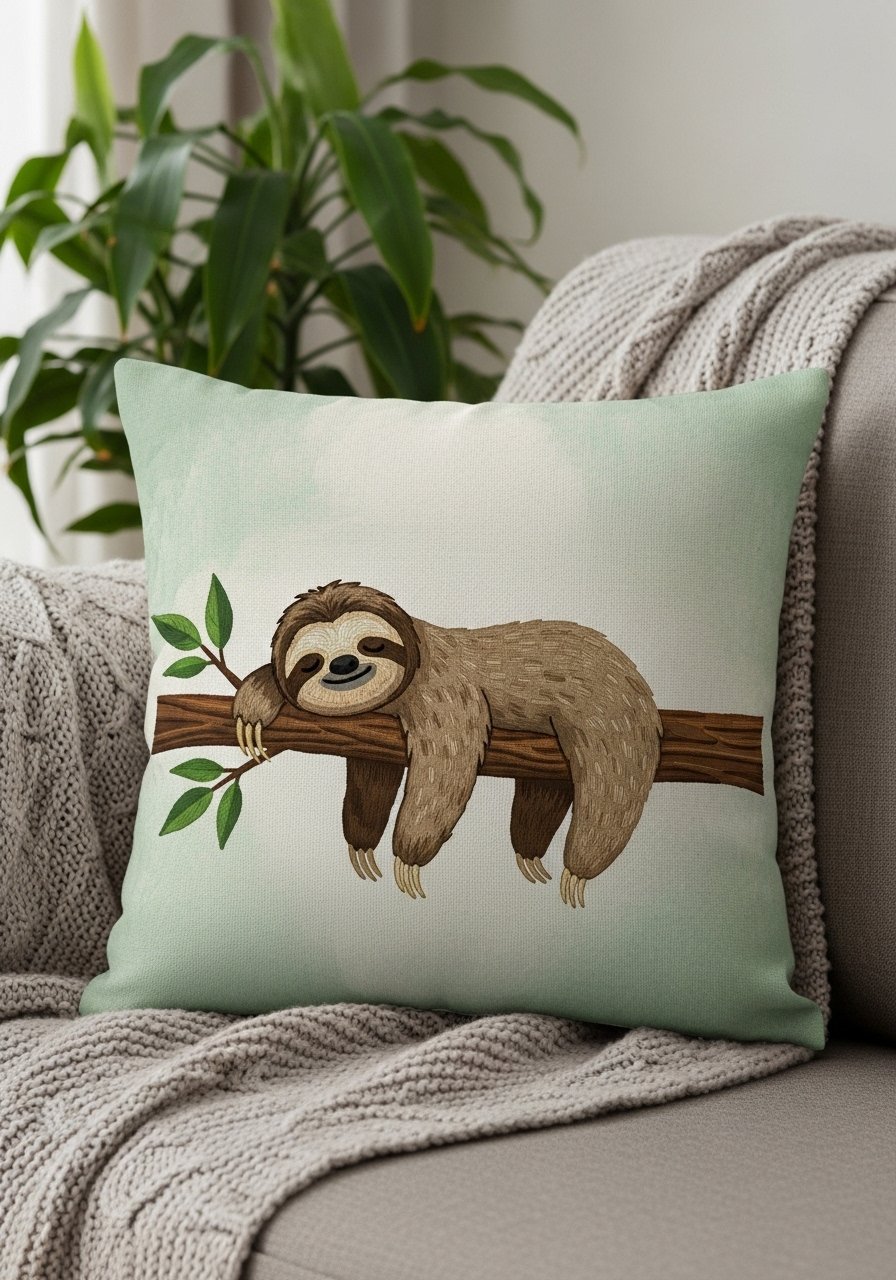
A languid sloth scene adds laid-back charm to a sofa or nursery. Use a removable pillow cover to make washing easy and the embroidery stable.
Materials
- Pillow cover 12" x 12"
- Insert pillow 12" x 12"
- Cutaway stabilizer 14" x 14"
- Computer embroidery design: sloth 6" wide
- Embroidery thread: brown 3 skeins, green 2 skeins
- Steam iron
Instructions
- Hoop pillow cover front with stabilizer; center design.
- Stitch at medium speed; remove stabilizer leaving slight border.
- Press from the back for 8 seconds to smooth.
- Insert pillow and zip cover closed.
- Spot-clean only; remove cover before machine washing if needed.
How to Display or Gift It
- Layer with textured throws on a sofa for cozy styling.
- Gift as a house-warming present wrapped in kraft paper.
- Store spare covers flat in breathable fabric storage bins.
- Tiny Fox Felt Ornament

Mini felt ornaments are quick, portable projects. Use an embroidered fox design scaled small and stabilizer that supports felt without tearing.
Materials
- Wool felt sheets 3" x 3" (two colors)
- Fusible stabilizer 3.5" x 3.5"
- Computer embroidery design: fox ornament 2.5"
- Embroidery thread: orange 1 skein, white 1 skein
- Twine loop 6"
- Hand sewing needle and matching thread
Instructions
- Fuse stabilizer to felt backing and hoop carefully.
- Stitch fox design at 2.5" slowly.
- Remove stabilizer and trim felt leaving 1/8" seam allowance.
- Hand-stitch two felt layers together with twine loop enclosed.
- Stuff lightly with small amount of wool roving.
- Close seam and knot securely.
How to Display or Gift It
- Hang on a seasonal wreath or tree.
- Gift in a small kraft box with tissue.
- Store ornaments in divided boxes with tissue to prevent crushing.
- Peacock Feather Bookmark
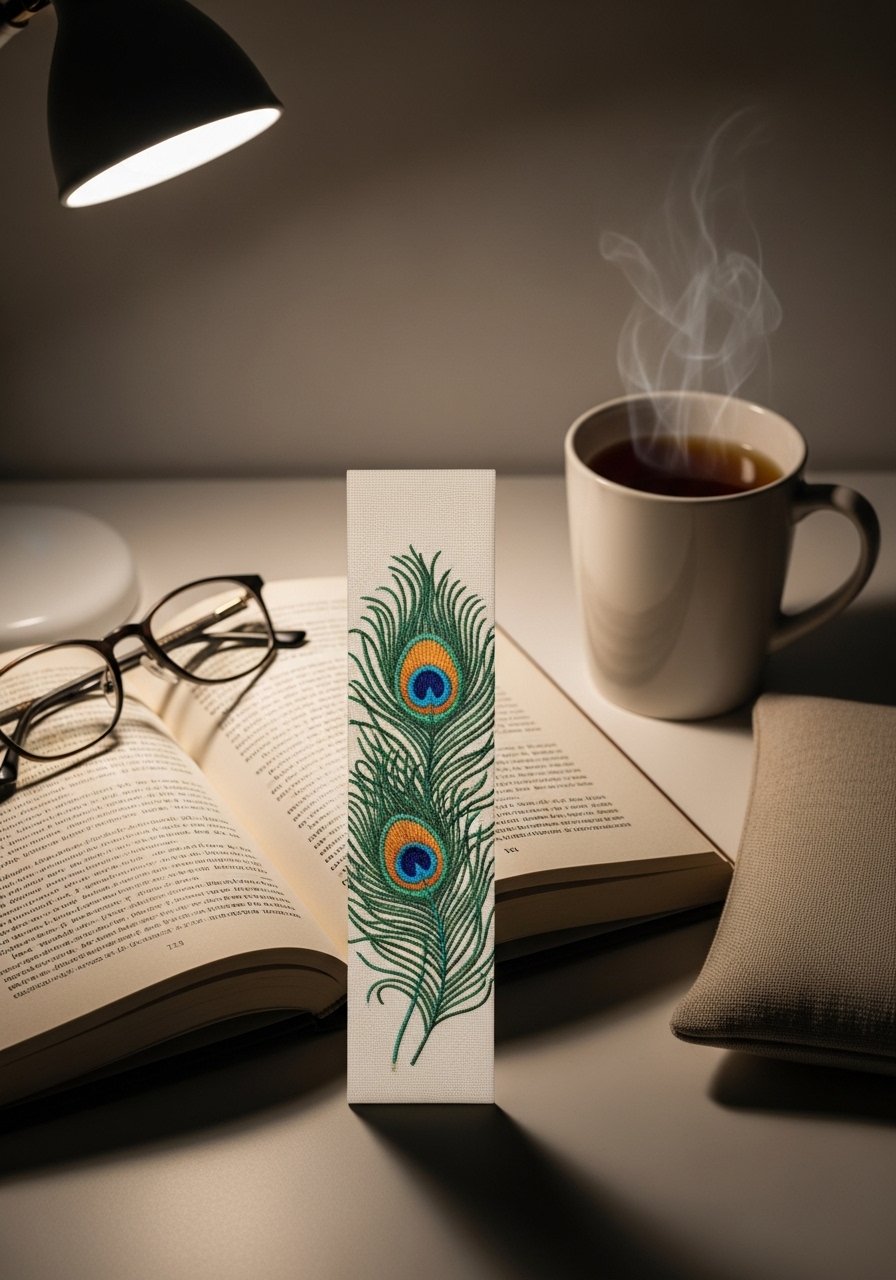
A delicate feather bookmark is thoughtful for readers. Choose a single-layer design to avoid bulk inside pages.
Materials
- Linen strip 2" x 8"
- Tearaway stabilizer 4" x 10"
- Computer embroidery design: feather 1.5" x 6"
- Embroidery thread: teal 1 skein, gold 1 spool
- Clear vinyl laminate (optional) 2" x 8"
- Tassel cord for finishing
Instructions
- Hoop linen with stabilizer and center feather design.
- Stitch slowly and add metallic gold strokes last.
- Remove stabilizer and press gently for 4 seconds.
- Optional: laminate with clear vinyl for durability using a heat press at manufacturer settings.
- Attach tassel cord through top hole.
- Let metallic threads relax 12 hours before use.
How to Display or Gift It
- Tuck into a hardcover with a ribbon for gifting.
- Store in a slim leather bookmark case.
- Pair with a favorite paperback for a small present.
- Monarch Butterfly Napkin Set

Embroidered butterflies add spring warmth to a table. Keep stitch densities moderate for soft folding.
Materials
- Linen napkins 4 (18" square)
- Cutaway stabilizer 10" x 10"
- Computer embroidery design: monarch butterfly 3.0" wide
- Embroidery thread: orange 3 skeins, black 1 skein
- Flat foam brush for removing lint
Instructions
- Hoop each napkin corner with stabilizer and stitch butterfly at 3.0".
- Remove stabilizer and press from back for 6 seconds.
- Repeat for all four napkins.
- Wash cold before first use; tumble low.
- Iron on low if fabric looks wrinkled from hooping.
How to Display or Gift It
- Stack and tie with twine and a sprig of dried marigold.
- Store napkins flat in a linen drawer or fabric storage box.
- Use for seasonal table settings or gifts.
- Fox Family Baby Blanket Corner
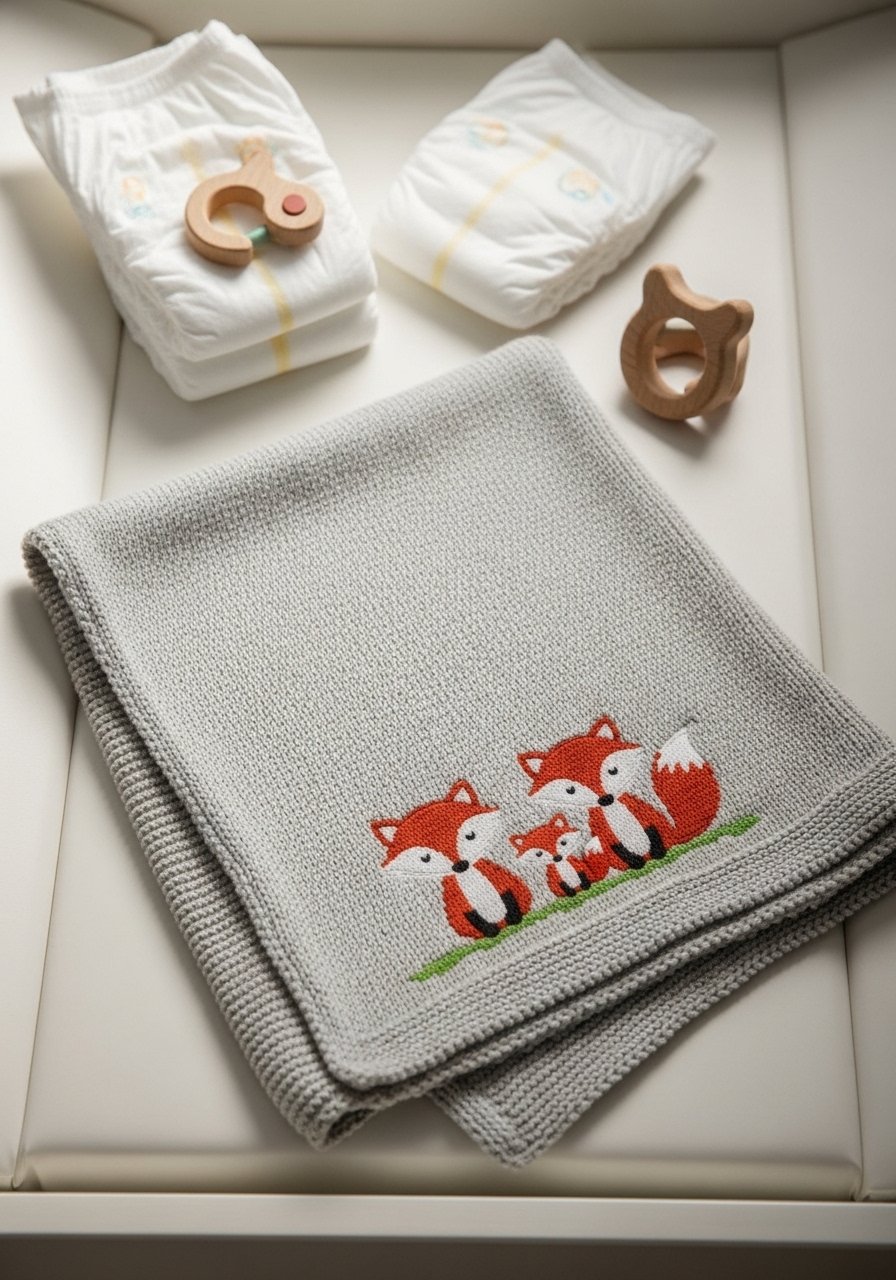
A fox family adds charm to a textured knit blanket. Use an embroidery topper or hoop frame to stabilize the knit.
Materials
- Baby blanket 36" x 36"
- Tearaway stabilizer 12" x 12"
- Computer embroidery design: fox family 4.0" wide
- Embroidery thread: rust 2 skeins, white 1 skein
- Hoop stabilizer or hoop clamp
Instructions
- Use a hoop clamp or topper to stabilize knit before hooping.
- Stitch design at 4.0" slowly to avoid stretching.
- Remove stabilizer carefully; use fabric glue sparingly on underside to prevent snagging.
- Press lightly from back for 5 seconds.
- Wait 24 hours before heavy handling to allow stitches to settle.
How to Display or Gift It
- Fold and place in a gift basket with a stuffed animal.
- Store in a breathable cotton bag to protect embroidery.
- Wash gently on delicate cycle and lay flat to dry.
- Nautical Whale Baby Mobile
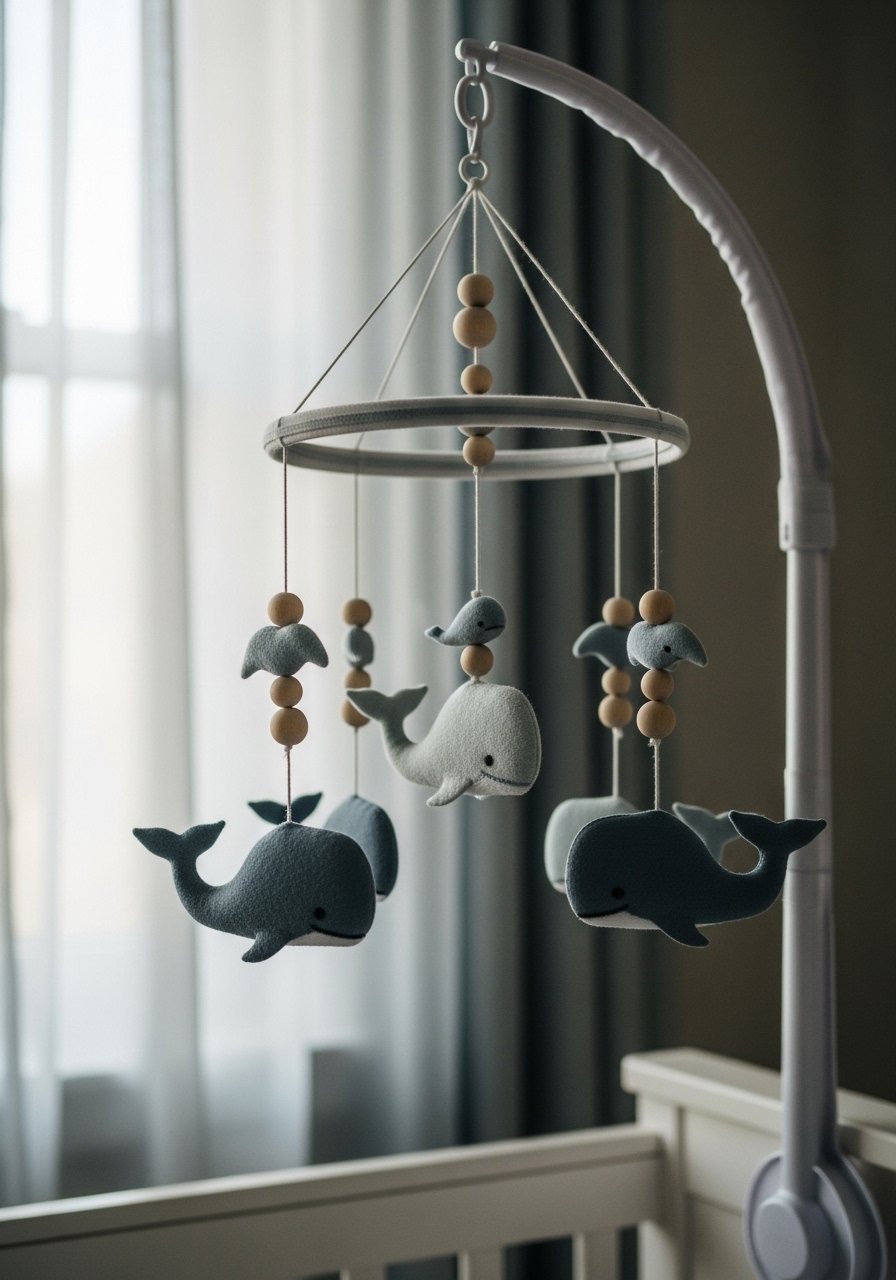
A lightweight stitched whale becomes part of a dreamy nursery mobile. Use soft felt and lightweight embroidery to keep mobile balanced.
Materials
- Wool felt shapes 6 (approx 3" each)
- Embroidery thread: navy 2 skeins, white 1 skein
- Cutaway stabilizer 6" x 6"
- Wooden mobile arm and dowel set
- Nylon cord for hanging 12 ft total
- Small wooden beads 12
Instructions
- Embroider whale designs on felt with stabilizer; remove stabilizer.
- Stitch felt fronts to backs with small running stitch, adding stuffing if desired.
- Thread whales and wooden beads onto nylon cord in desired spacing.
- Attach cords to mobile arm and balance by adjusting bead positions.
- Hang mobile 28–32" above crib mattress edge per safety guidelines.
How to Display or Gift It
- Hang above a bassinet or changing table.
- Gift as a set with matching crib sheet.
- Store mobile disassembled in a craft organizer box.
- Arctic Seal Winter Hat Patch

Add a sealed patch to knitwear for winter charm. Choose low-density fill to keep hat stretch.
Materials
- Knitted beanie with cuff
- Felt circle for patch 2.5"
- Computer embroidery design: seal 1.8" wide
- Embroidery thread: grey 1 skein, navy 1 skein
- Fabric glue or whip stitch thread
Instructions
- Hoop felt with stabilizer and stitch seal design at 1.8".
- Remove stabilizer and trim felt patch to 1/8" margin.
- Attach to hat cuff with whip stitch or fabric glue; allow glue to set 24 hours.
- Stretch hat gently to check adhesion before wearing.
- Hand wash hat cold to preserve patch.
How to Display or Gift It
- Pair with matching mittens for a winter set.
- Gift in a knitted garment bag or kraft box.
- Store finished hats in a breathable fabric bin.
- Jungle Tiger Pencil Case
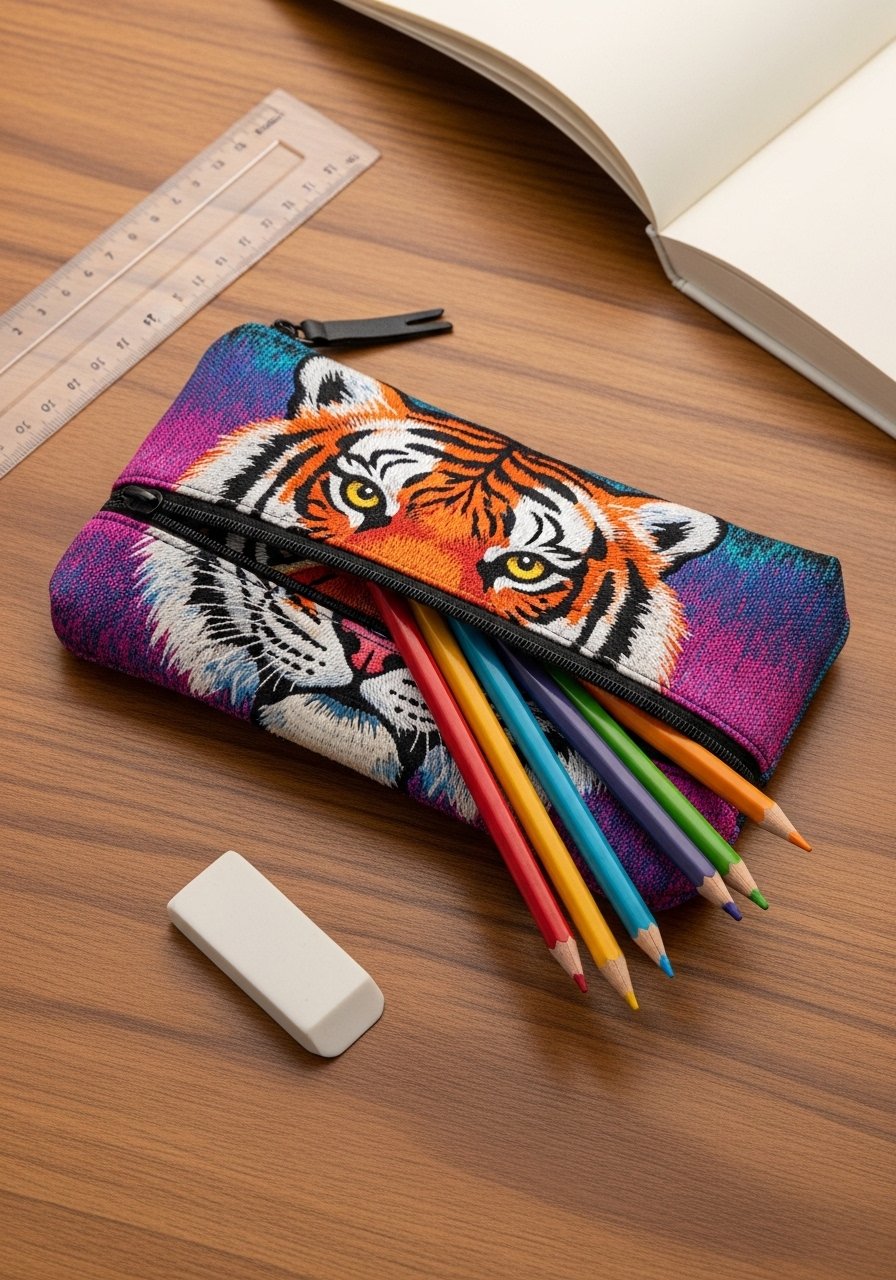
A tiger motif brings energy to a school pencil case. Dense satin edges help the design withstand frequent handling.
Materials
- Zipper pencil case 8" x 4"
- Cutaway stabilizer 9" x 6"
- Computer embroidery design: tiger 3.5" wide
- Embroidery thread: orange 2 skeins, black 1 skein
- Pliers for zipper adjustments
Instructions
- Hoop case front with stabilizer and stitch at 3.5".
- Remove stabilizer and press lightly.
- Replace zipper pull if needed; test zipper motion.
- Wait 12 hours before filling.
- Spot-clean only to protect embroidery.
How to Display or Gift It
- Fill with quality colored pencils and wrap for a back-to-school gift.
- Store in a desk drawer organizer.
- Create matching sets for siblings.
- Charming Rabbit Pillowcase (animal computer embroidery designs)
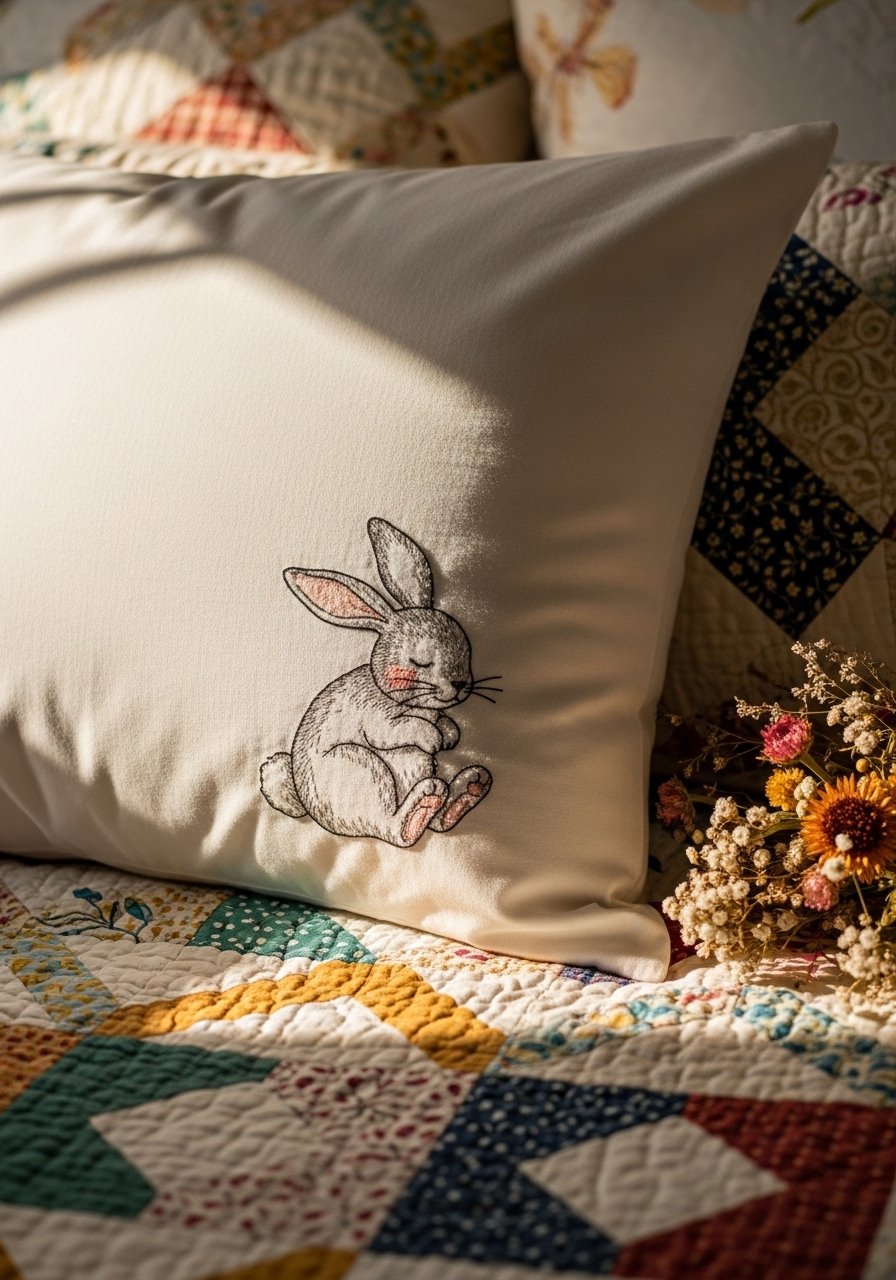
A delicate rabbit design suits cottagecore and farmhouse bedrooms. Choose a low-density design and a high-thread-count cotton pillowcase for comfort.
Materials
- Cotton pillowcase 20" x 26"
- Cutaway stabilizer 14" x 14"
- Computer embroidery design: rabbit 5.0" wide
- Embroidery thread: soft grey 2 skeins, blush pink 1 skein
- Steam iron and pressing cloth
Instructions
- Hoop pillowcase front with cutaway stabilizer and center design.
- Stitch rabbit at 5.0"; trim any long jumps.
- Remove stabilizer, press from back for 8 seconds.
- Machine wash cold before first use and tumble low.
- Re-press after washing to flatten stitch lines if needed.
How to Display or Gift It
- Pair with a matching quilt or duvet for a bedroom set.
- Fold and tie with twine for a cozy housewarming gift.
- Store extra pillowcases in a linen chest.
- Regal Lion Desk Mat Corner Embroidery

Embroider directly on leather desktop mats for understated refinement. Use a stabilizer appropriate for leather and a heavier needle.
Materials
- Leather desk mat 18" x 12"
- Fusible tearaway stabilizer 8" x 8"
- Computer embroidery design: lion 2.0" x 2.0"
- Embroidery needle 90/14 and rayon thread 1 spool
- Leather-safe adhesive for backing (optional)
Instructions
- Fuse tearaway stabilizer to the back and hoop carefully or use a teflon hoop.
- Stitch lion at 2.0" slowly with a heavy needle.
- Remove stabilizer carefully; avoid pulling leather.
- Apply leather-safe adhesive on backside if extra adhesion needed and let cure 24 hours.
- Wipe clean with a damp cloth.
How to Display or Gift It
- Use as a desk accent for a study or office.
- Gift with a leather-bound journal for a refined set.
- Store flat to avoid warping.
- Koala Baby Shower Guest Book Embroidery

A stitched koala makes a sweet, tactile guest book cover for showers. Use stable fabric like cotton-linen blend for a clean finish.
Materials
- Fabric guest book cover 8.5" x 11"
- Cutaway stabilizer 12" x 12"
- Computer embroidery design: koala 3.0" wide
- Embroidery thread: grey 2 skeins, green 1 skein
- Fabric glue for edges
Instructions
- Hoop cover with stabilizer and stitch koala at 3.0" center.
- Remove stabilizer and press from back for 6 seconds.
- Adhere cover to guest book using fabric glue following manufacturer drying time 24 hours.
- Test folds and allow glue to cure fully before guest use.
How to Display or Gift It
- Place on the sign-in table with a decorative pen.
- Store signed books flat in a keepsake box.
- Gift as a memento after the shower.
- Little Llama Coin Purse
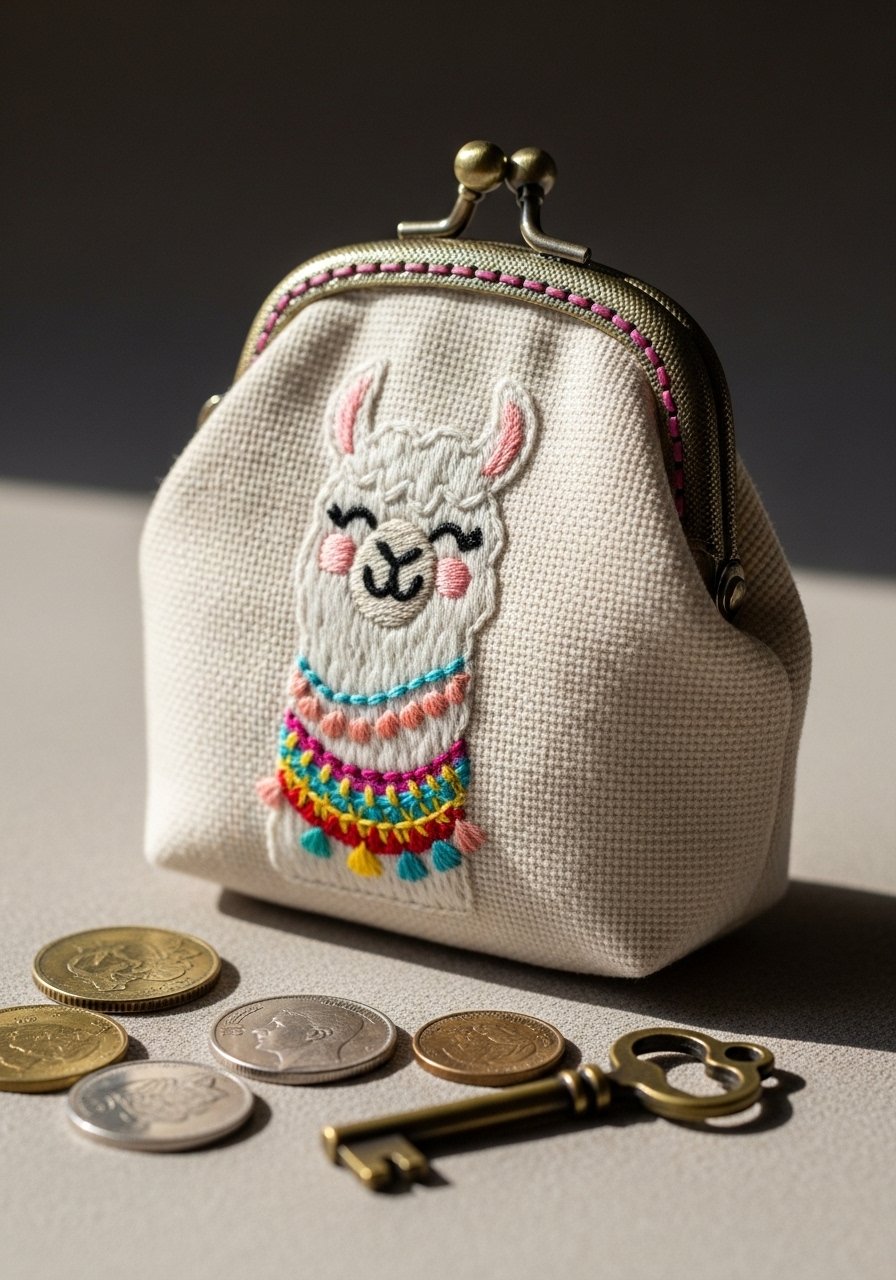
A tiny llama coin purse is a cute beginner project. Use a sturdy canvas and dense satin edges for longevity.
Materials
- Small zippered coin purse 4" x 3"
- Cutaway stabilizer 6" x 6"
- Computer embroidery design: llama 2.0" wide
- Embroidery thread: cream 1 skein, accents 1 skein
- Fabric glue or whip stitch for reinforcement
Instructions
- Hoop purse front with stabilizer and stitch llama at 2.0".
- Trim stabilizer away and press for 4 seconds.
- Reinforce zipper area with glue if needed; let cure 24 hours.
- Test zipper and trim loose threads.
- Hand wash cold if needed.
How to Display or Gift It
- Fill with coins or lip balm for a small token gift.
- Store in a small divided organizer to keep shape.
- Pair with a matching card for presentation.
- Sea Turtle Pot Holder

Add coastal charm to your kitchen with a stitched turtle on a heat-resistant pot holder. Use heat-resistant batting and secure seams strongly.
Materials
- Quilted pot holder 8" x 8"
- Cutaway stabilizer 10" x 10"
- Computer embroidery design: turtle 3.5" wide
- Embroidery thread: teal 2 skeins, cream 1 skein
- Heat-resistant batting layer (in pot holder)
- Thread for quilting reinforcements
Instructions
- Hoop pot holder carefully with stabilizer under the front layer.
- Stitch turtle at 3.5" and remove stabilizer.
- Reinforce stitching by backstitching across high-stress areas.
- Test heat resistance per manufacturer of pot holder before first use.
- Machine wash on gentle if fabric allows; air dry.
How to Display or Gift It
- Bundle with wooden spoons and a recipe card for a kitchen gift.
- Hang on a hook near the stove for easy access.
- Store flat in a kitchen drawer away from heat.
- Bumblebee Sunglasses Case

A zippy bumblebee brightens a sunglasses case for summer. Use a design with medium density to avoid stiffness on neoprene.
Materials
- Neoprene sunglasses case 7.5" x 3.5"
- Cutaway stabilizer 10" x 8"
- Computer embroidery design: bee 2.5" x 1.8"
- Embroidery thread: black 1 skein, yellow 1 skein
- Heat-seal backing (optional)
Instructions
- Hoop case front with cutaway stabilizer; stitch bee at 2.5".
- Remove stabilizer and press gently for 4 seconds.
- Optionally apply heat-seal backing following product instructions.
- Test fit with sunglasses and adjust placement for balance.
How to Display or Gift It
- Pair with polarized sunglasses for a gift set.
- Store in a sunglass organizer compartment to maintain shape.
- Use as a small travel pouch for essentials.
- Red Panda Travel Tag

Make travel playful with a red panda luggage tag. Use durable materials and reinforce seams for airport handling.
Materials
- PVC luggage tag blank 4" x 2.5"
- Felt front 3.5" x 2.0"
- Fusible stabilizer 3.5" x 2.0"
- Computer embroidery design: red panda 2.0" wide
- Embroidery thread: rust 1 skein, white 1 skein
- Clear protective sleeve for info card
Instructions
- Stitch design on felt with stabilizer and trim to tag size.
- Glue felt to PVC blank and allow glue to cure 24 hours.
- Insert info card into clear sleeve and attach to tag back.
- Test attachment on suitcase and check durability after first trip.
How to Display or Gift It
- Attach to luggage or a travel backpack.
- Gift as part of a travel kit with passport holder.
- Store spare tags in a small craft box.
- Gentle Whale Nursery Quilt Square
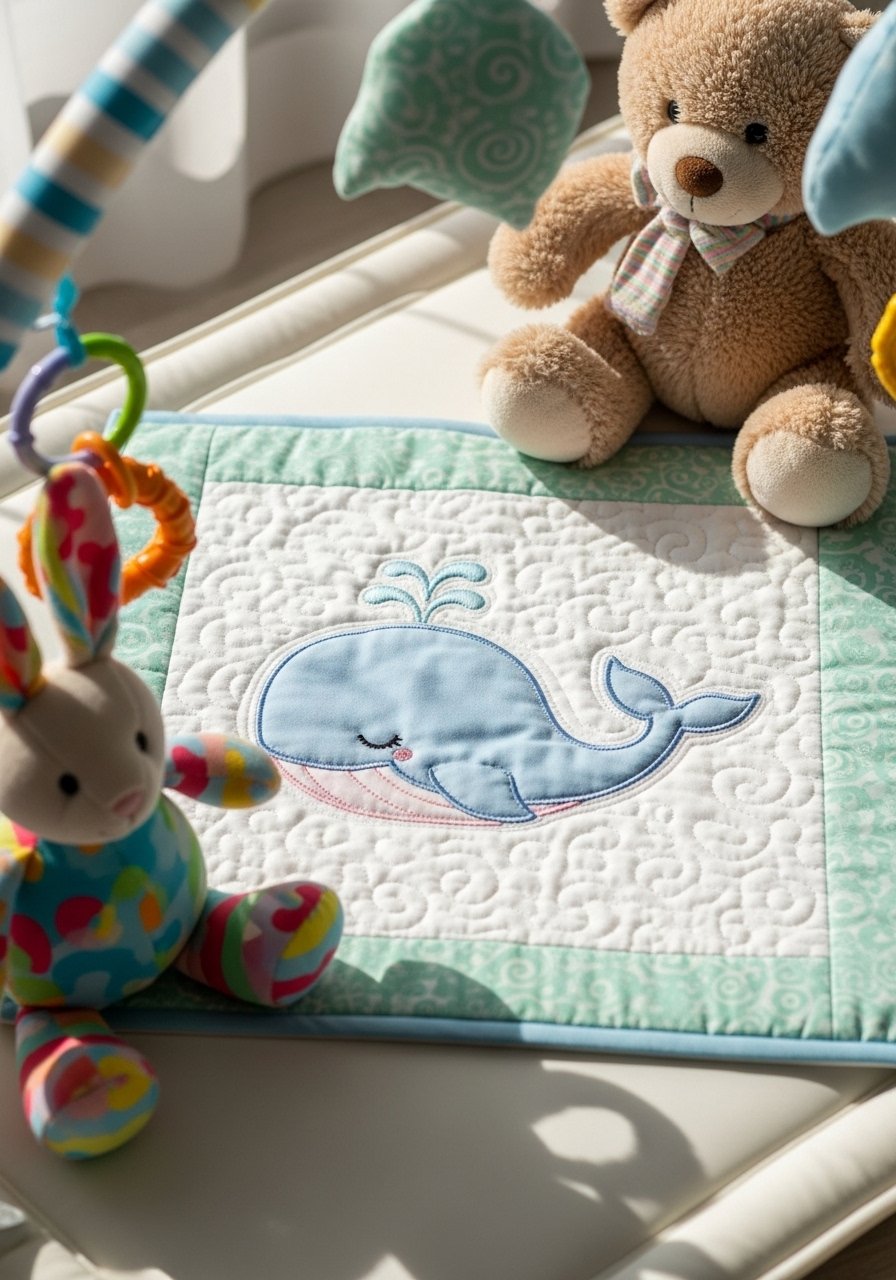
Finish a quilt with a stitched whale square for a calming nursery set. Use cotton batting and secure seams for durability.
Materials
- Cotton quilt square 12" x 12"
- Quilting cotton backing 12" x 12"
- Cutaway stabilizer 14" x 14"
- Computer embroidery design: gentle whale 6" wide
- Quilting cotton threads various, batting 12" x 12"
- Quilting pins and walking foot for machine
Instructions
- Hoop top quilt square with stabilizer and stitch whale at 6".
- Layer batting and backing and quilt in desired pattern.
- Trim and bind edges per standard quilting method.
- Wash quilt on gentle cycle and air dry to avoid shrinkage.
- Let dry fully before gifting or displaying.
How to Display or Gift It
- Lay on a rocking chair or crib for soft decor.
- Gift as a baby shower keepsake wrapped with a note.
- Store in a breathable cotton bag to preserve fabric.
Trust your embroidery machine and a good set of needles to make every one of these animal computer embroidery designs stitch smoothly. If you're looking for a helpful overall tool, I recommend a quality hot glue gun with temperature control for finishing touches — it changed how tidy my hoops and appliqués look without the mess.
You've got 30 sweet projects now — from tiny key fobs to full quilt squares — that cover beginner-friendly patches and approachable framed art. Pin this post to save your favorites and try one project a week; you'll build skill and a delightful handmade collection. Which animal are you stitching first? Share with a friend and make matching gifts.
Final tool suggestion: I rely on my self-healing cutting mat for trimming fabrics and stabilizers precisely.





