You probably have dozens — maybe hundreds — of embroidery files scattered across folders, drives, and email attachments. When a customer asks for a design or you want to stitch something tonight, hunting for the right file wastes time and kills momentum. Learning how to organize computer embroidery designs fixes that.
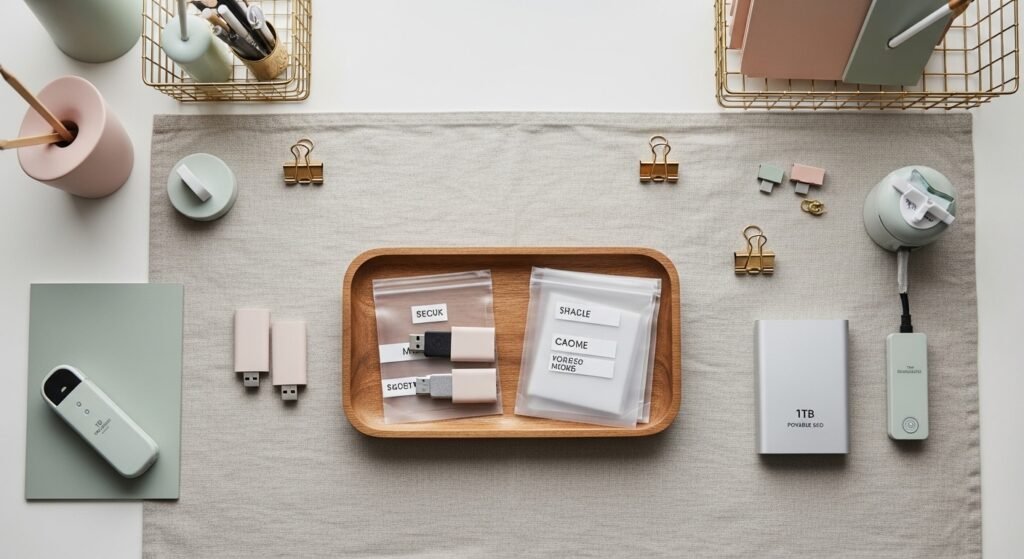
Start with two small tools that change everything: a fast external SSD for a single source of truth and a compact label maker to keep physical backups readable. Try a 1TB portable SSD for nightly backups and a compact label maker for zip pouches and drive cases. Set aside an hour and you’ll reclaim your library.
In this guide you’ll learn an easy folder system, naming and tagging tricks, backup routines, and quick-access tools so you can find and access every file instantly. Follow the steps below and you’ll be pin-ready and production-ready in one afternoon.
Create a simple, searchable folder system (easy, beginner-friendly)
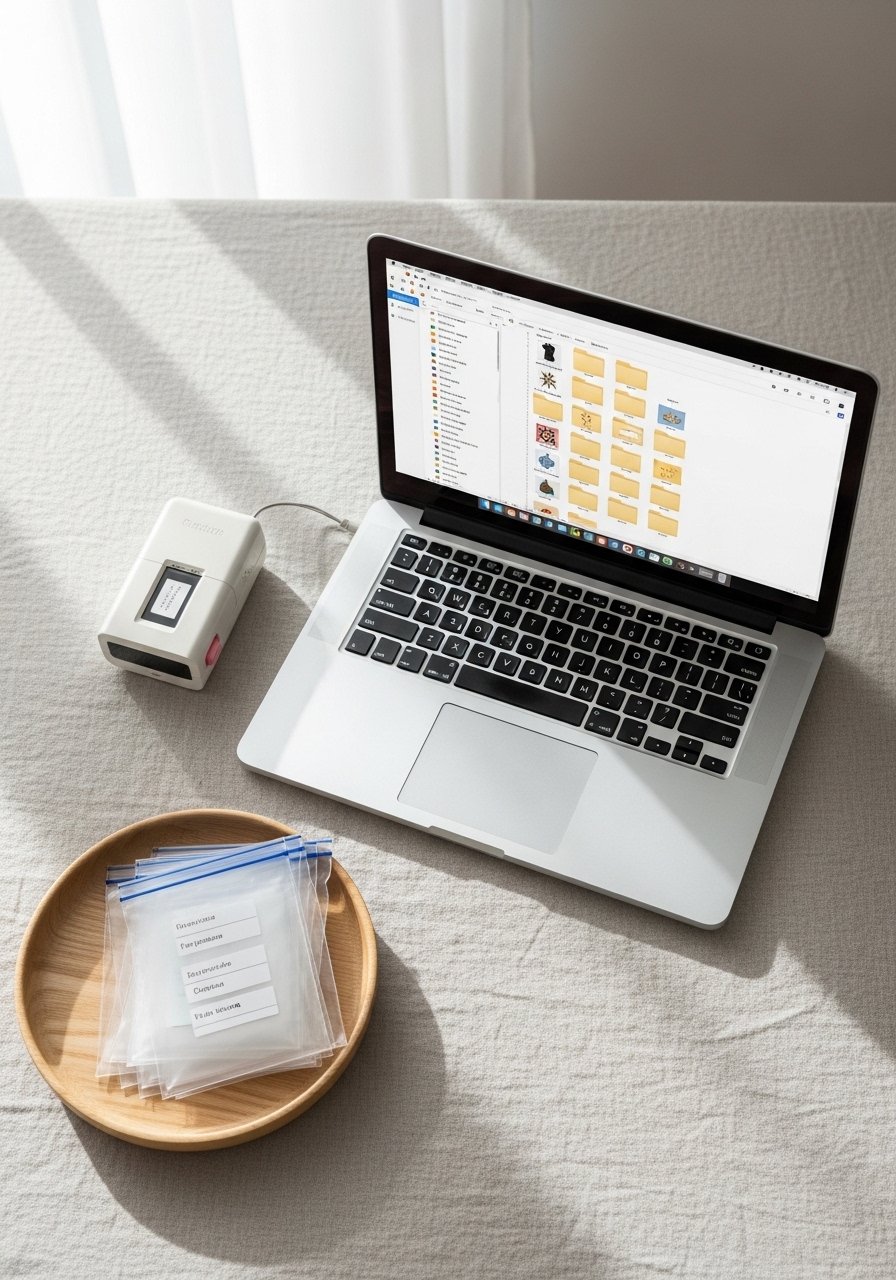
Keep the structure shallow and predictable so your eyes and software don’t have to hunt. Create top-level folders by category: Projects, Clients, Machine Formats, and Archives. Inside Projects, use Year > Client/Theme > Design Name (e.g., 2026 > Bridal > lace-border-04.dst).
Tips:
- Use short folder names and avoid special characters. It speeds transfers and prevents import errors.
- Save machine-ready files in one folder and source art (SVG, EPS) in another.
- Store incremental versions with v01, v02 so you can revert.
Helpful product hints:
- Store small groups of USB backups in clear zip pouches so you can see labels at a glance.
- Use stackable craft organizer trays for printed templates or charted stitch sheets.
Name, tag, and export like a pro (fast access + fewer mistakes)
Naming is search magic. Make filenames consistent: client_project_designsize_format_date.ext (e.g., emma_bridal_lace-4x4_dst_20260422.dst). That structure helps both human eyes and file explorers.
Steps:
- Choose your filename pattern and stick to it.
- Export each design in every machine format you use: .dst, .pes, .exp.
- Add short tags in a simple CSV or the file’s metadata field for colorway, needle count, and hoop size.
Pro tips:
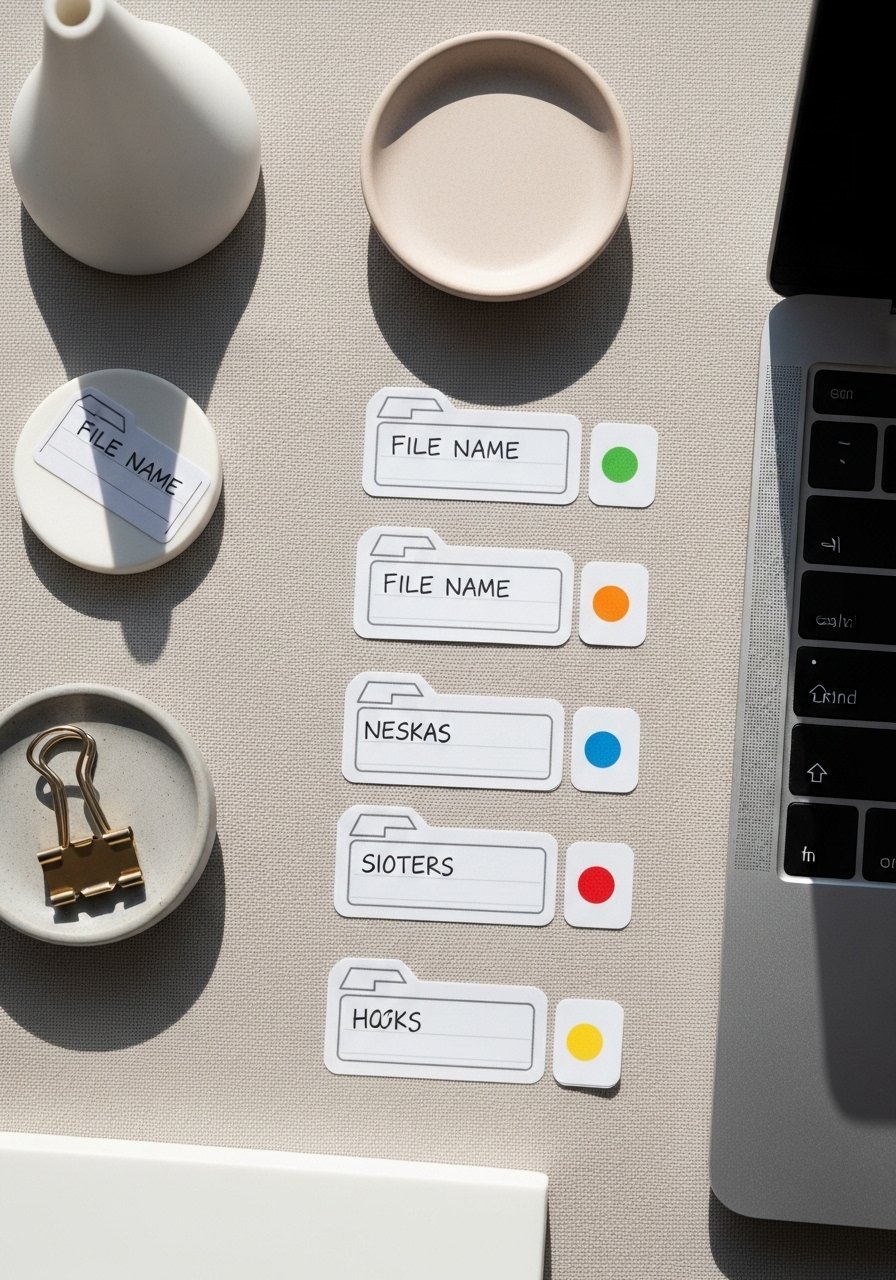
- Keep a small set of color-dot sticker packs to mark printed docs for quick visual cues.
- Use a USB flash drive (128GB) for transferring files to machines that don’t access the main drive.
Backup, sync, and version control (one-afternoon setup)

Backing up is non-negotiable if you want instant access across projects. Set a routine: nightly sync to your portable SSD, weekly cloud sync, and monthly archive to a second physical drive.
Quick plan:
- Buy a reliable external drive for archives (consider 2TB for long-term storage).
- Use automatic folder-sync software and test restores monthly.
- Keep at least two physical copies in separate locations.
Product helpers:
- A rugged external hard drive (2TB) for long-term archiving.
- Cable organizer ties to keep drive cables tidy and ready.
Build a quick-access workflow and display (pin-worthy and practical)

Make your most-used designs instantly reachable. Create a "Hot Files" folder that syncs to your machine and a small physical binder for printed stitch charts.
Fast routine:
- Export a ZIP of weekly projects to a portable SSD you carry to classes.
- Keep printed references in labeled folders or adhesive file folders in a visible spot.
- Display current samples on small wooden easels for quick inspiration.
Pin-worthy finish: Photograph your tidy system under bright window light with soft sage accents — it looks calm and professional.
You’re now set to organize computer embroidery designs so you can find and access every file instantly. It takes about 1–3 hours to set the system and 10–15 minutes daily to maintain. Save this guide for a one-afternoon refresh, pin it for later, and share with a stitching buddy who’s always hunting for files. Which folder will you create first?





