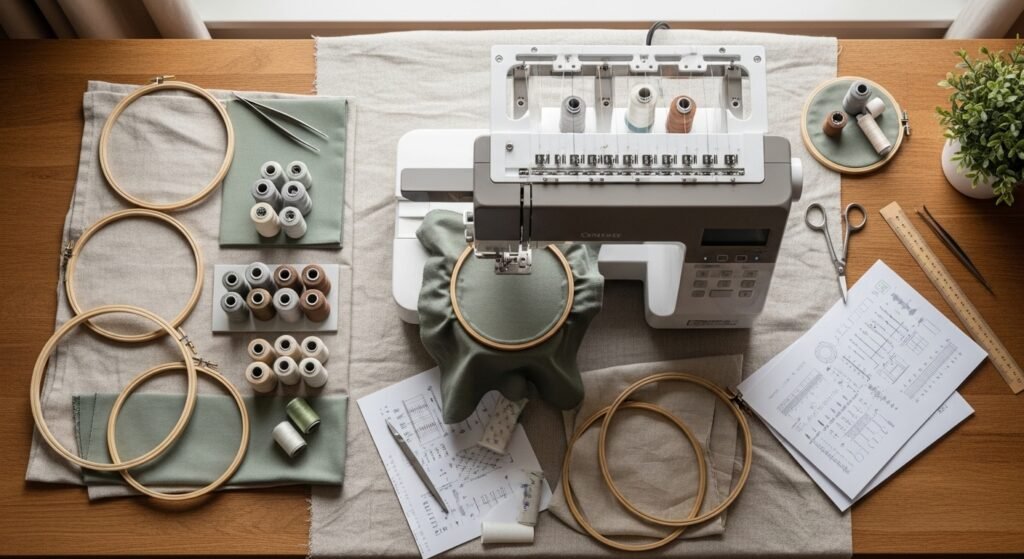
You sketched the perfect patch but when you resize a design it looks squashed or the stitches go wild. Resizing computer embroidery designs without losing stitch quality is a skill you can learn in an afternoon, not a week. You’ll avoid distorted motifs, excessive stitch density, and pulled fabrics by planning, testing, and the right tools.
Start smart: use a reliable embroidery digitizing software search for precise re-scaling and a multi-pack of medium-weight stabilizers so you can test at several sizes without running out. Read on and you’ll learn step-by-step how to resize computer embroidery designs cleanly and quickly.
Set up and test before you resize
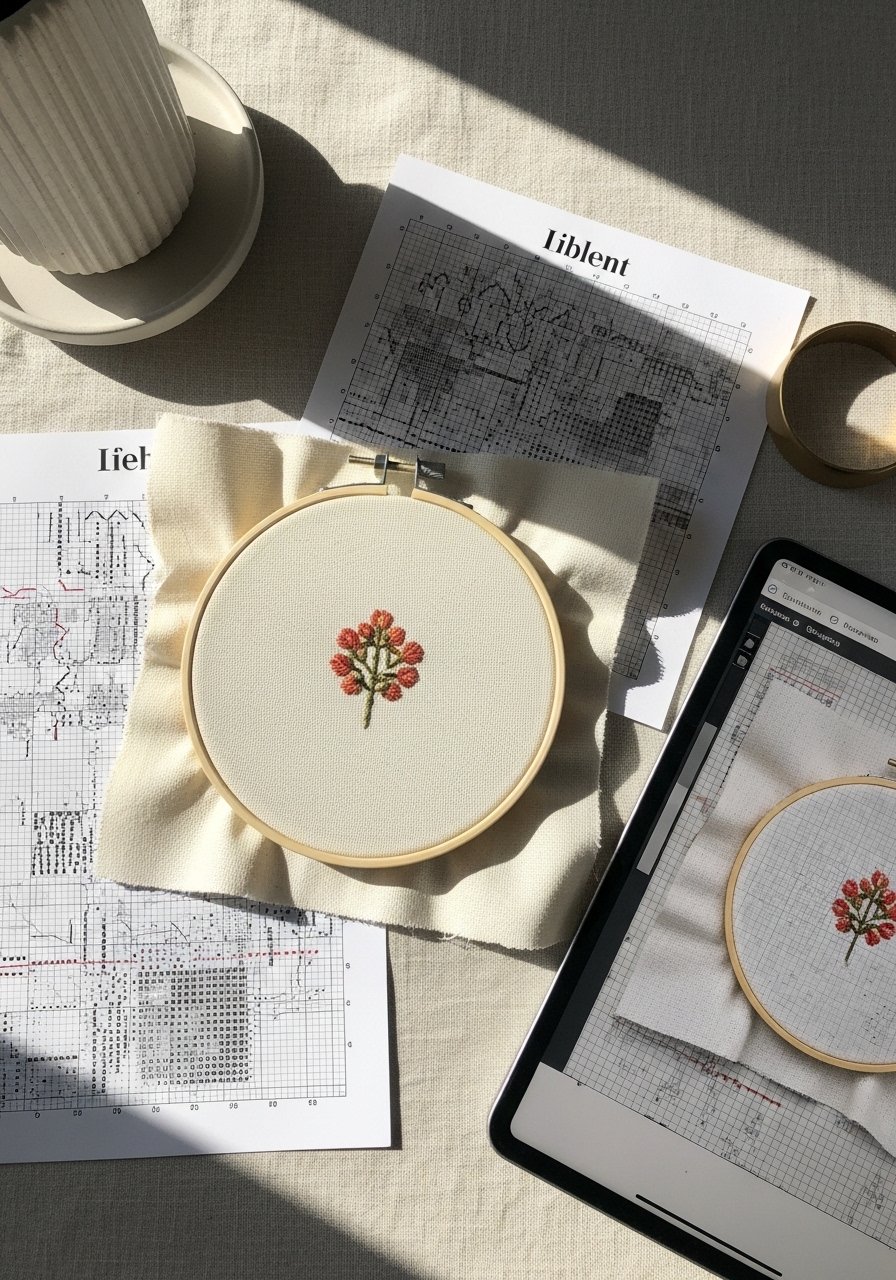
Always test on the actual fabric and hoop you’ll use. A 10–15 minute stitch-out saves hours later. When you resize computer embroidery designs, the visual shape may look right but stitch density can change drastically.
- Stitch one test at each target size: 50%, 75%, 100%, and 125%.
- Use a fresh embroidery needle pack matched to your fabric.
- Swap thread to a neutral color from a quality thread set for quick visibility.
If a test shows too many satin stitches or gaps, go back to your file before hooping the final piece.
Adjust stitch density and underlay like a pro
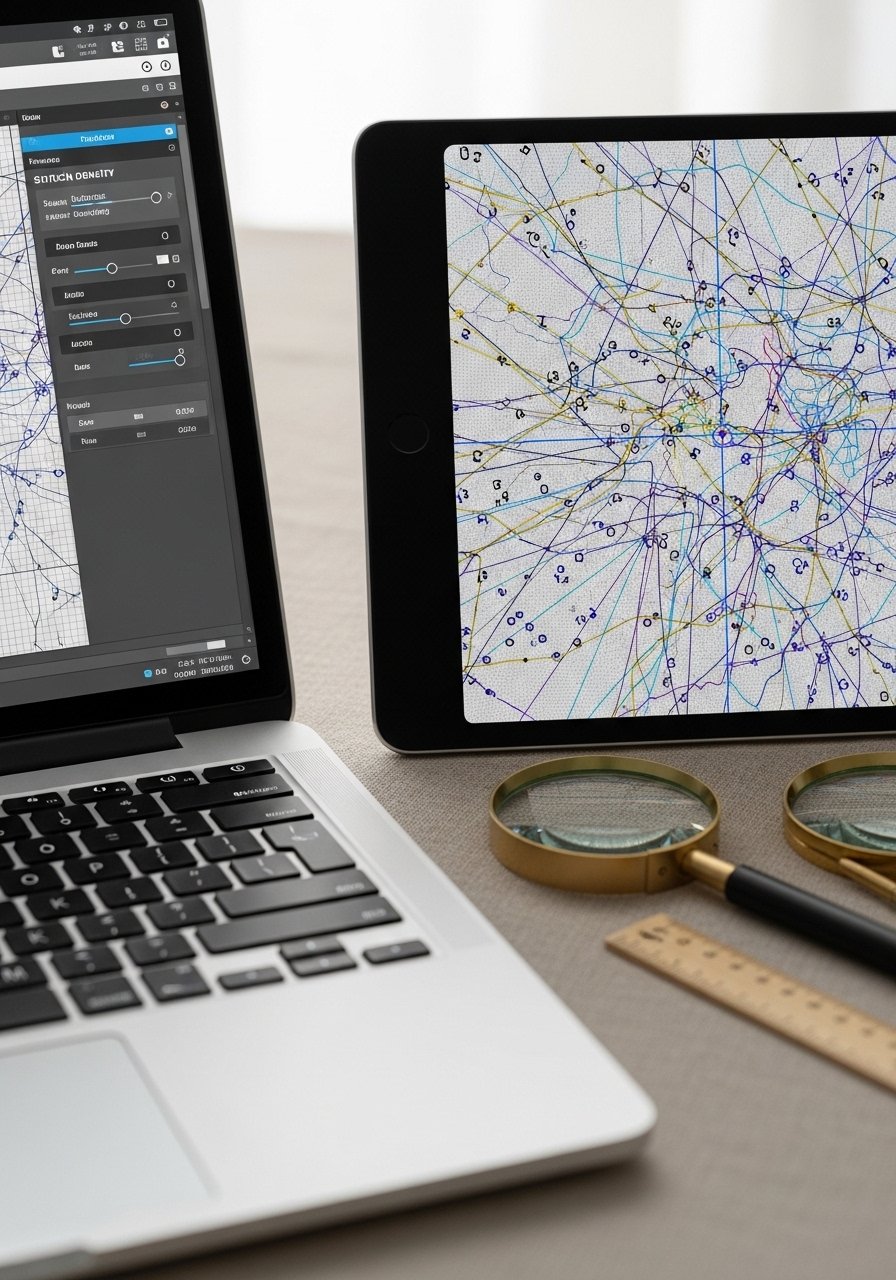
When you resize computer embroidery designs, stitch density must scale with size. Most digitizing software lets you control density and underlay—use these tools rather than only resizing the artwork.
- Reduce satin stitch width for small sizes; aim for a maximum satin width of 2–3 mm on delicate fabrics.
- Increase underlay on larger sizes to stabilize fills and prevent shifting.
- Use a negative-pull compensation option if your software has it.
A calibrated hoop helps keep the fabric taut while you evaluate density on the machine.
Hooping, stabilizers, and machine tension matters

Wrong stabilizer or loose hoop tension ruins resized designs. Match stabilizer to fabric and design size when you resize computer embroidery designs.
- For dense, large designs use a cut-away stabilizer for lasting support: try a multipack of cut-away stabilizer options.
- For small, delicate motifs try a water-soluble stabilizer on top to stop squiggly stitches.
- Use a light coat of stabilizer adhesive spray to prevent slipping on slippery knits.
Tension: tighten the hoop so fabric has no more than 1–2 mm give. Reduce machine upper tension slightly for thicker thread or denser designs.
Final testing, finishing, and troubleshooting
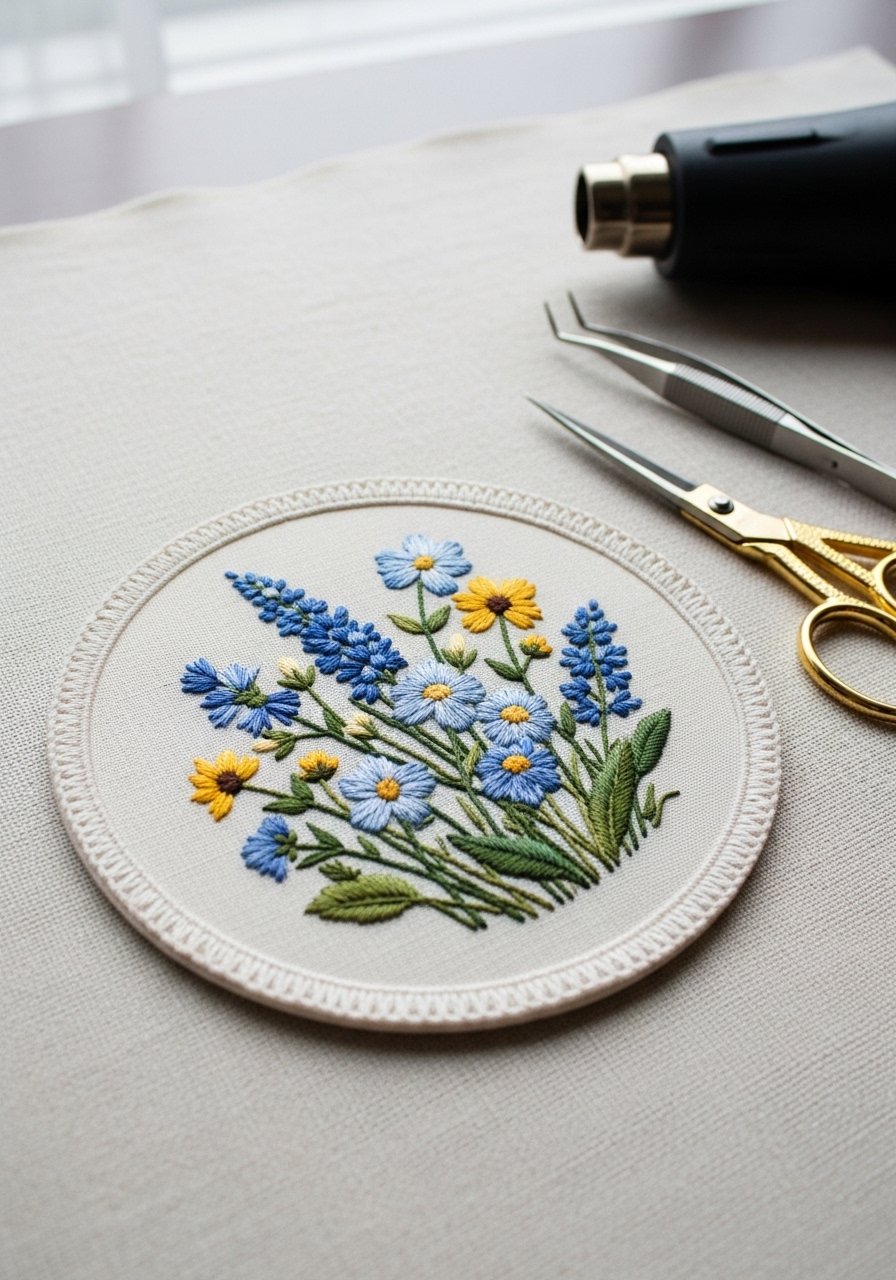
Before committing, do a final stitch-out at the exact scale, fabric, and stabilizer. Check edges for pull, gaps, and excess thread.
- Trim jump stitches with sharp embroidery scissors.
- Use a heat gun on low for shrink-back of stabilizer tails—test first on scrap.
- If letters swell, reduce stitch density or convert satin stitches to a small straight or triple stitch for clarity.
Quick fixes:
- If stitches pucker, switch to a heavier cut-away and reduce hoop tension slightly.
- If small details vanish when scaled down, replace them with applique or print instead of stitching.
You’ll save time by batching test stitch-outs and keeping spare stabilizer sheets on hand.
The right mix of software tweaks, stabilizer choices, and careful hooping makes resizing computer embroidery designs predictable and repeatable. Pin this guide for your next resizing session and try one test stitch-out now—what size will you try first?





