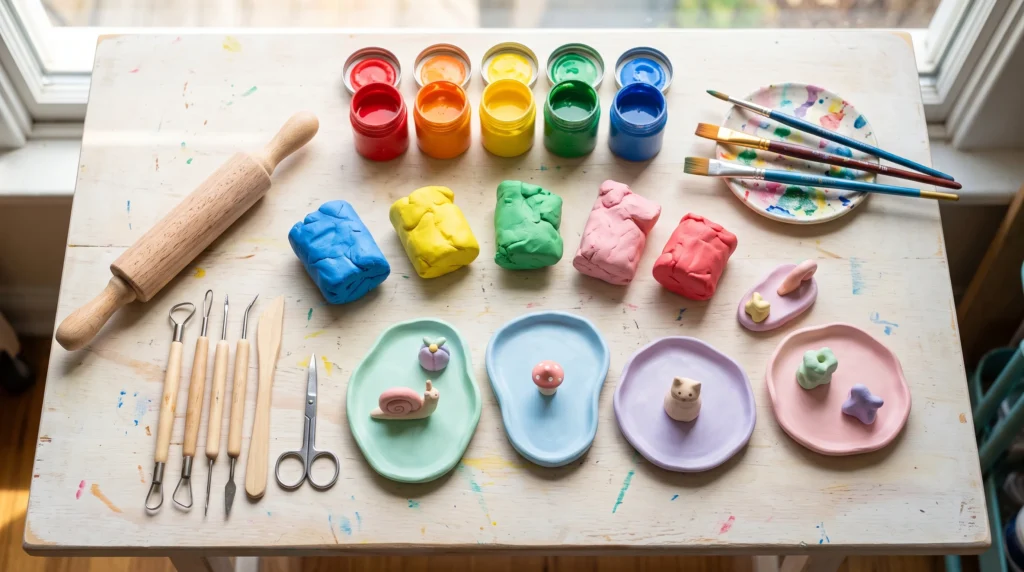
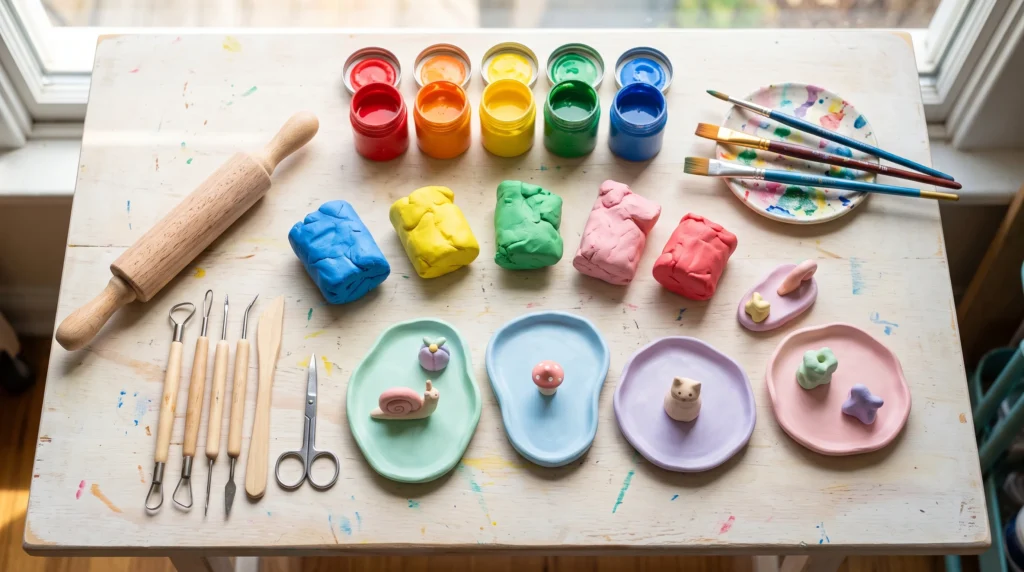
How to make air dry clay projects is one of the best beginner DIY skills because you can create beautiful handmade decor without a kiln. With affordable materials and simple techniques, you can make trinket dishes, coasters, wall decor, planters, and gifts in a single weekend.
Materials You’ll Need
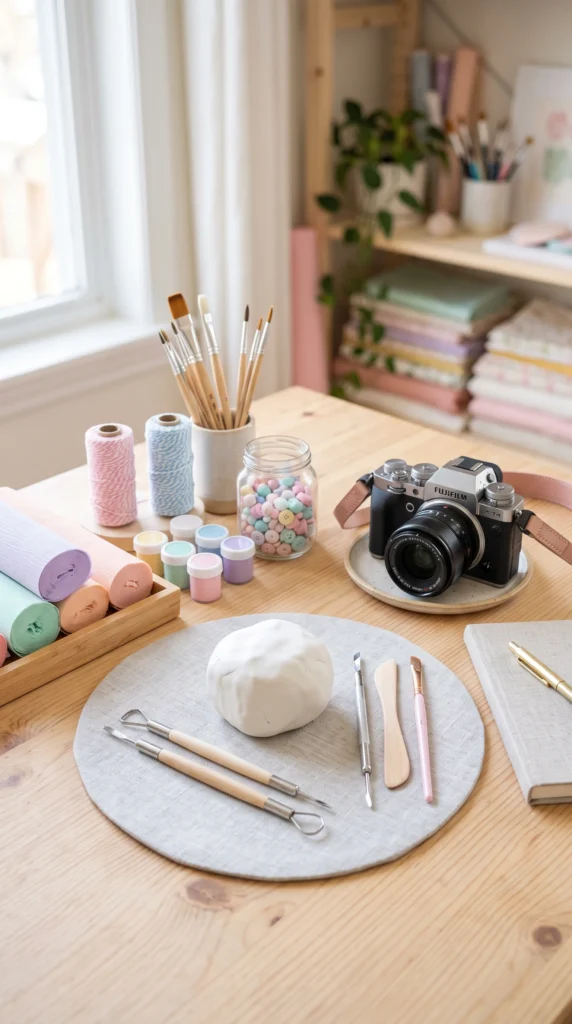
Gather air dry clay, rolling pin, knife, water, sandpaper, acrylic paint, brushes and clear sealer. Keep a smooth surface and simple household items for texture. Start with small projects before trying detailed designs.
Step 1: Shape Your Clay
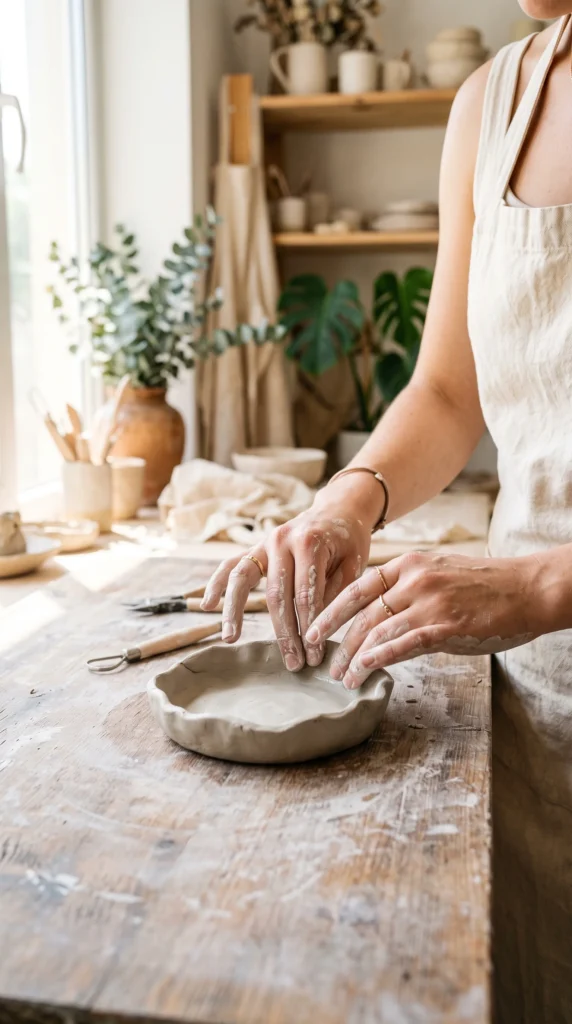
Knead the clay until soft, roll it evenly, and cut simple shapes using bowls, cookie cutters or paper templates. Smooth edges with damp fingers for a clean finish.
Step 2: Dry, Sand and Paint
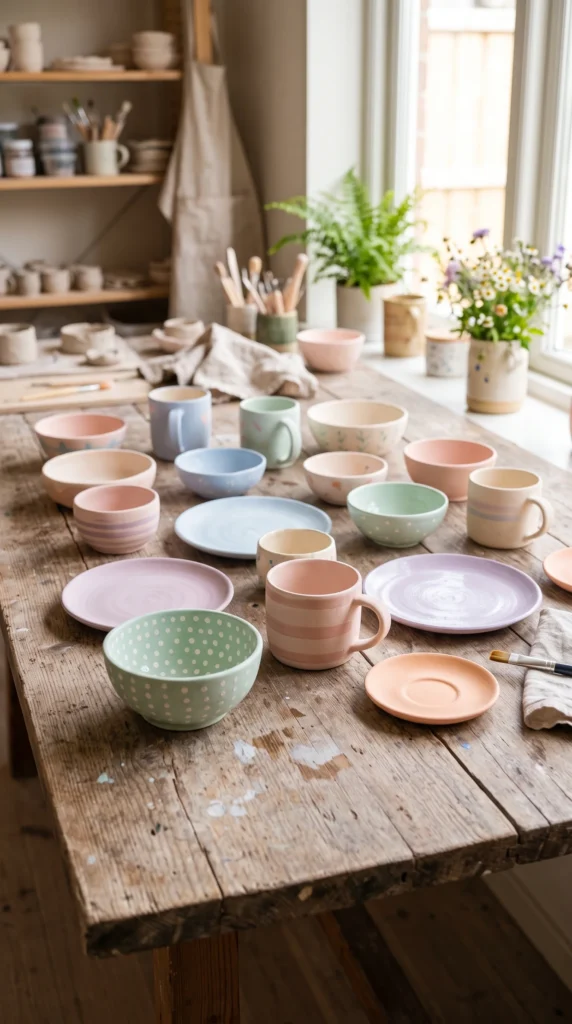
Allow the clay to dry fully according to package directions. Sand lightly, paint with acrylic colors, then protect the surface with a clear sealer for durability.
Easy Beginner Projects
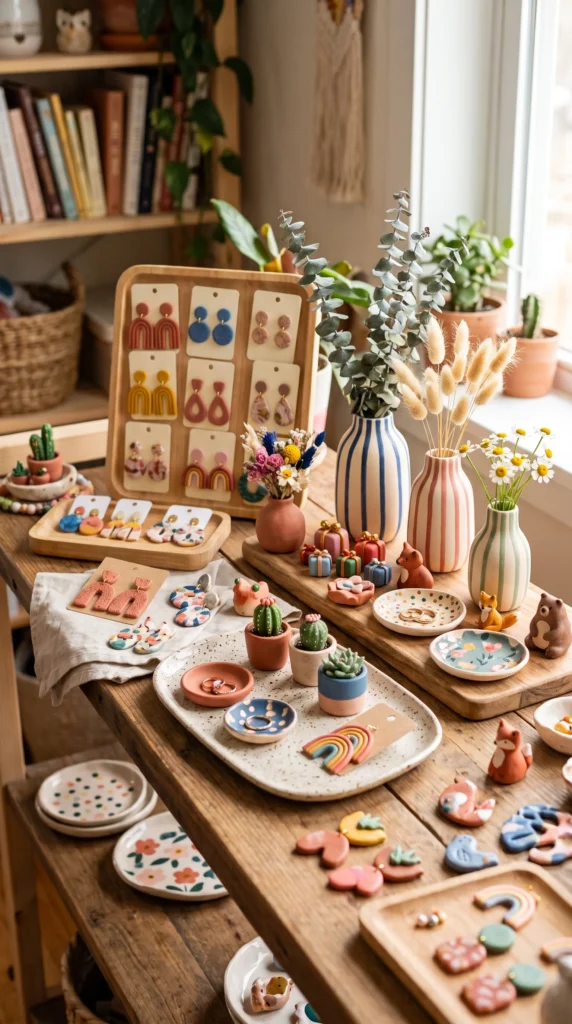
Try trinket trays, coasters, magnets, mini planters, wall hangings and tiny animal figures. Matching sets look beautiful on desks, shelves and bedside tables.
Tips to Prevent Cracks
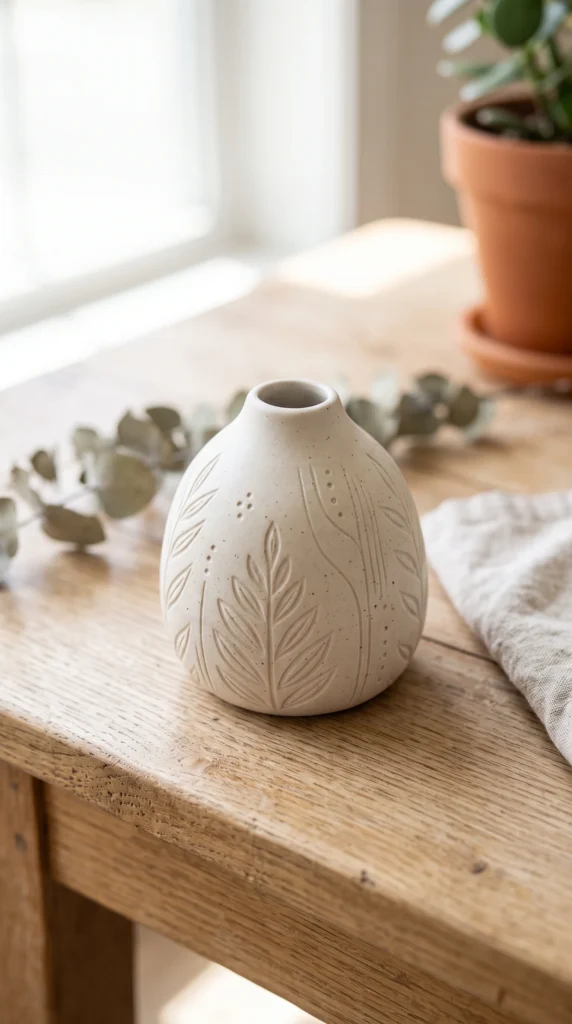
Roll clay evenly, avoid very thin sections, let projects dry slowly, and use small amounts of water while shaping. Repair tiny cracks with soft clay before painting.
Conclusion
Making air dry clay projects is an enjoyable way to create affordable handmade decor and gifts. Practice simple shapes, experiment with colors and textures, and save your favorite ideas for your next DIY session.





